Friday, May 31, 2024

Lush Leaves

I used a beautiful Simon Says Stamp Lush Leaves die, from their Be Bold release, to make a card to let someone know I'm thinking about them...
I am especially loving simplicity, these days!  This card was simply done by die cutting the leaves from some much loved patterned paper, and some thinner vellum.  I used a thicker vellum behind the sentiment, but a thinner one for the leaves behind the colored die cut leaves.  I bent the leaves a bit to give them dimension, and adhered them to the card, with the vellum cut leaves behind them.  I die cut and layered the sentiment, adhered it to it's background, and then to the card.  I thought of putting some bling on the card to finish it, but loved it just the way it was!  Here's a close up...
Such wonderful fun!!  I so love when a card comes together in such an inspirational way, and with such ease...really love this card!  Hope your May has been magnificent...and that the start of June, tomorrow, will be joy filled!!
Thank you so much, for visiting me today!! Hugs!! Lisa

Thursday, May 30, 2024

Meadow Swag

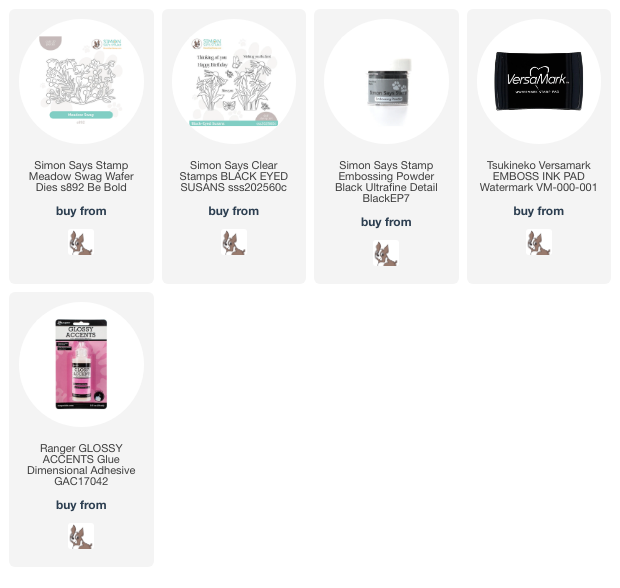
I used the pretty Simon Says Stamp Meadow Swag die set, from their Be Bold release, to make a card for a friend...
I die cut the die from white cardstock and colored with markers.  I used 3 shades of green to color all the stems/leaves.  I layered the die cut with a second layer, then adhered to card panel.  I used Glossy Accents, to give the berries some shine.  I stamped a sentiment from an older Simon stamp set with versamark and black embossed.  Here's a close up...
This card was simply made, and it made me happy.  Hope you have some happy wherever you may be or whatever you do!  Thanks for visiting me today!! Hugs!! Lisa

Wednesday, May 29, 2024

Birthday Cupcake

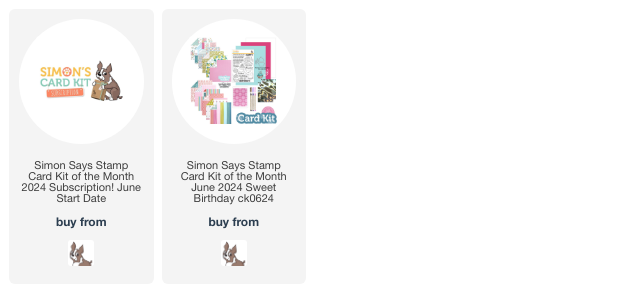
I have used the wonderful new Simon Says Stamp June Card Kit, to make a rainbow filled birthday card...
This new kit had everything you need , and I used, to make birthday cards!  I used the stamp set and coordinating dies, embossing folder, sentiment die, and holographic and white cardstocks!  I die cut and layered the sentiment, stamped, die cut, colored the cupcake and candle, embossed the cardstock.  I adhered them all together, and added some glossy accent dots that I had swiped my markers across, for color....and added touch of bling!  Here's a close up...
The cool thing about the Simon Card Kits, is that you can subscribe, and get them monthly...super cool and super fun to have all you need to make cards, right in kits, and then to get all that fun in a kit, monthly!!  Hope you will check it out...links below!!  
Thanks for visiting me today!! Hugs!! Lisa

Monday, May 27, 2024

Mini Slimline Birthday

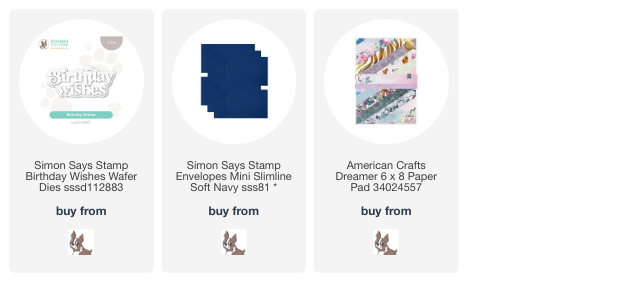
I wanted to show you how easy it is to make a fun, and clean and simple birthday card, with a pretty piece of patterned paper, and a Simon Says Stamp sentiment die!
I LOVE this piece of patterned paper!  I decided to make a mini slimline  card, so that I could put money in it...as that is often my form of birthday presents for my family!  The patterned paper is American Craft Dreamer collection.  I die cut and layered the sentiment, and adhered it the bottom corner of the hearted panel.  I popped up the panel on the card, and paired it with a Simon Soft Navy mini slimline envelope.  Here's a pic with the money peeking out...it fits perfectly in a mini slimline card!...
Here's a close up...
Hope you are having a great Memorial Day! There have been pretty constant thunderstorms here, today, so I opted to make some hotdogs in my broiler, instead of on the grill...delicious despite the storms!!
Thanks for visiting me today!! Hugs!! Lisa

Saturday, May 25, 2024

Daisy Oval Frame Get Well

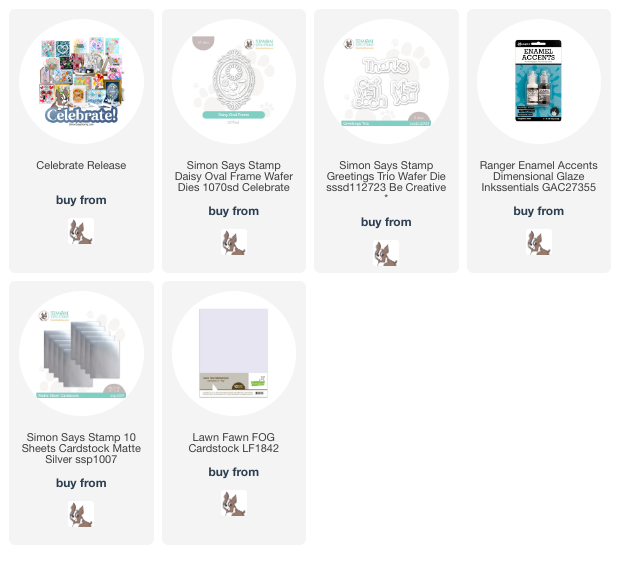
I have made a get well card with a pretty new die set from Simon Says Stamp's Celebrate release!...
This is just die cutting at it's "funnest"!  I die cut the two pieces of frame and layered. I then die cut the daisies and layered, coloring the middles of each of the flowers, then adhering to the frame.  I also colored the leaves of the flowers.  I added a die cut and layered sentiment.  I adhered all the pieces onto a light gray cardstock panel, then onto a silver one, then yet again, onto a card. I added some enamel accents.   Here's a close up...
I had so much fun making this die cut filled card!  Hope you are having a great start to your weekend, and for those of you in the states, the Memorial Day weekend and holiday!
Thanks for visiting me today!! Hugs!! Lisa

Wednesday, May 22, 2024

Fancy Feathered Father

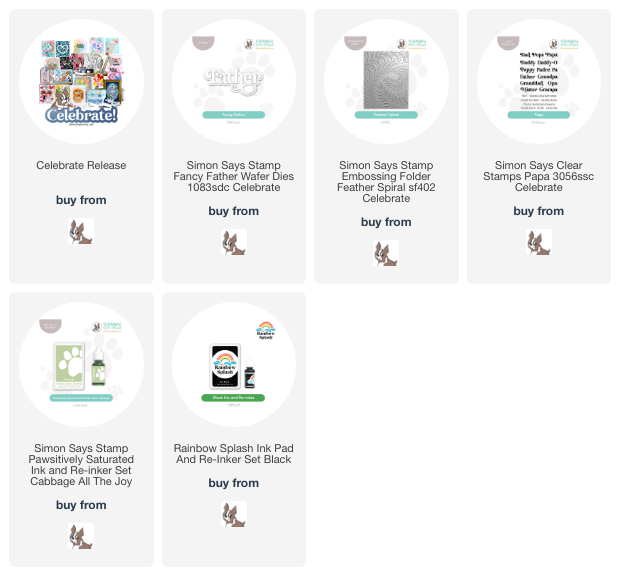
I have made a card with a lovely Simon Says Stamp embossing folder and sentiment die, from the Celebrate release, honoring a father for Father's Day...
I used a technique I have seen other card makers use...I lightly sprayed the cardstock with water before embossing.  This gives a deeper texture to the designs when the paper is embossed, and it keeps the paper from fraying, as it can sometimes do when intricately embossed.  I allowed it to dry after embossing, then ran a stamp pad over the raised image to color.  Doing it this way, left a small amount of white on the card.  I added a die cut and layered sentiment, the black is glossy.   I added  a stamped sentiment above the die cut sentiment and popped up the panel on the card.  Here's a close up...
Loving these embossing folders!!  Such great fun!!
Thanks for visiting me today!! Hugs!! Lisa

Sunday, May 19, 2024

Simple Flowers

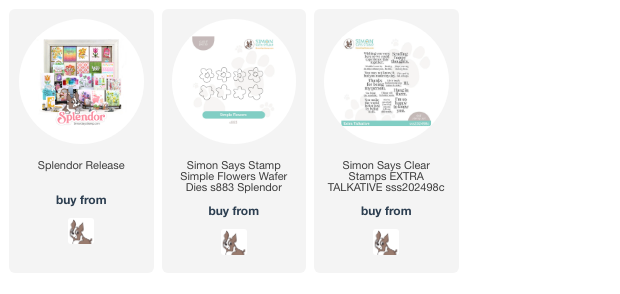
I have made a card using some cute flower dies from Simon Says 
Stamp, from an older release, Splendor!...  
I die cut the flowers from white cardstock, colored with markers and then layered.  I left the centers white, and adhered them to a panel that is half white and half black polka dotted(oh how I LOVE black and white polka dotted paper!!).  I added a stamped sentiment from the Extra Talkative stamp set.  Here's a close up...
Super simple, and super fun...it DID give me happy thoughts!  Hope you are having a great weekend!!
Thanks for visiting me today!! Hugs!! Lisa

Saturday, May 18, 2024

Floating Flowers

It's been a few weeks since my last post...so sorry for the silence.  As a woman, to other women who may be reading...please...take care of yourselves!  I now realize that there are many things I should have been doing, and not doing, to take better care of myself, and I am trying to do that now.  Women are so busy taking care of everyone and everything, that we neglect ourselves...please care for yourself!  Okay...spoke my piece.   I have been back in my craftroom the last week, and have made a bunch of cards, that I will end the month of May with!  
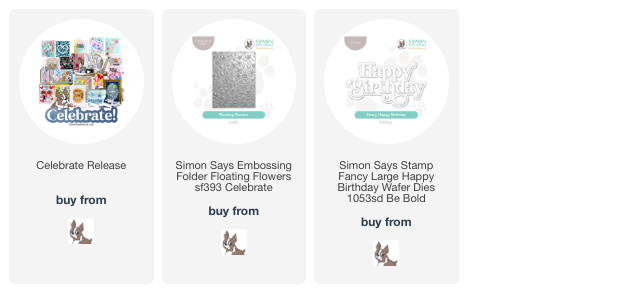
This card was made with a pretty new Simon Says Stamp embossing folder, Floating Flowers, from the Celebrate release!...
I have seen a few beautiful cards on Instagram, done with a cool technique that I thought I would try.  I'm not sure what it's called, but it coloring the debossed side of the embossed paper, then taking a black stamp pad and rubbing it over the images you have just colored.  Sounded a little daring and crazy, the black ink part, but it also made perfect sense!!  I embossed the paper,  colored the debossed flowers with markers, then ran a black stamp pad over all the flowers. The only place the black shows up is everywhere there is a flat space, everywhere there is not a flower.  It's also cool that you don't have to color in the lines, as the black ink covers ALL the mistakes you might make!!  I added a much loved Simon sentiment , die cut and layered!   Here's a close up...
Hope you are having a great start to your weekend...a cooler rainy day here in Virginia...so happy I got all my many new daisy plants planted yesterday!!  
Thanks for visiting me today!! Hugs!! Lisa

Thursday, April 25, 2024

Posies to Daisies

I have used one of the pretty and cool new Simon Says Stamp stencil sets from their new Celebrate release to make a couple daisy filled cards!...
I saw this Tiled Posy stencil set a bit differently than it's name.  I saw these flowers as daisies, my favorite flowers!  So...I opted to use some embossing paste on a light gray cardstock to show off the white flowers.  I stenciled the black lines first, then stenciled the flowers's centers.  I ended by stenciling the flowers with the paste.  I know that there was one other stencil in the set, that I opted not to use, and I had a reason for that.  After having used embossing paste for the first flowers, they were slightly raised on the cardstock.  I felt that attempting to stencil any other flowers in between those raised flowers would spell  disaster for the finished look.  They would probably have had a smeared look as the stencil would not have been able to sit flat on the paper.  So...the dotted in-betweens was it!  I finished it with a layered die cut sentiment.  Here's a close up...

The second one was the result of having cut down the first one too much, so I made a second to fit the sentiment I had chosen...
For ths one, I did it just like the first, but tried to fill in the space, a bit, by adding more black lines with the stencil.  This one was a bit more filled in than the first.  I also didn't cut much off, which is the main reason I made this second card...I was upset with myself for chopping so much off the first try(but was so happy to find a little sentiment that went PERFECTLY with that panel!), and was determined NOT to chop much off of this stenciled paper!!  I just LOVED the daisies, so this panel is about 5 1/2"x4 1/2" and the card is 6"x 4 3/4".  I added my die cut and layered happy birthday sentiment...I had picked out for the first one, but got to be on this one, instead!!  This meant a custom envelope, but no problem!!  I used my envelope maker and some double sided tape, and put a few more daisies in the front corner for fun!!  Here's a close up of the card...
I always think of the movie "You've Got Mail", when Tom Hanks brings the daisies to Meg Ryan(their characters), when she is sick. She says of daisies, that they're so friendly.  I DO think that daisies are friendliest flower, and they make me smile!  So...when I have an opportunity, I will make posies into daisies...all the time!!  Hope you have a wonderful day, wherever you are!!
Thanks for visiting me today!! Hugs!! Lisa
Saturday, April 20, 2024

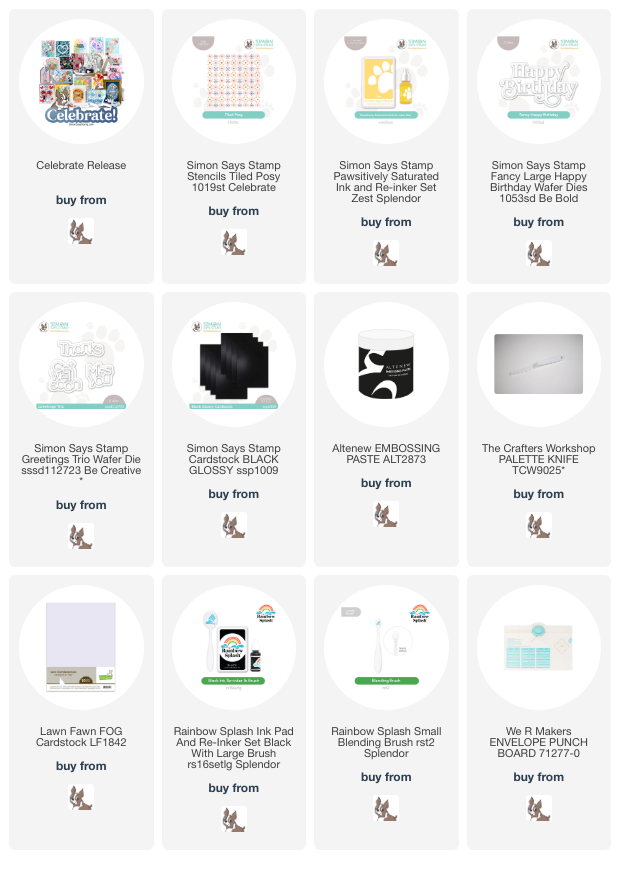
Celebrate Blog Hop Day 2!

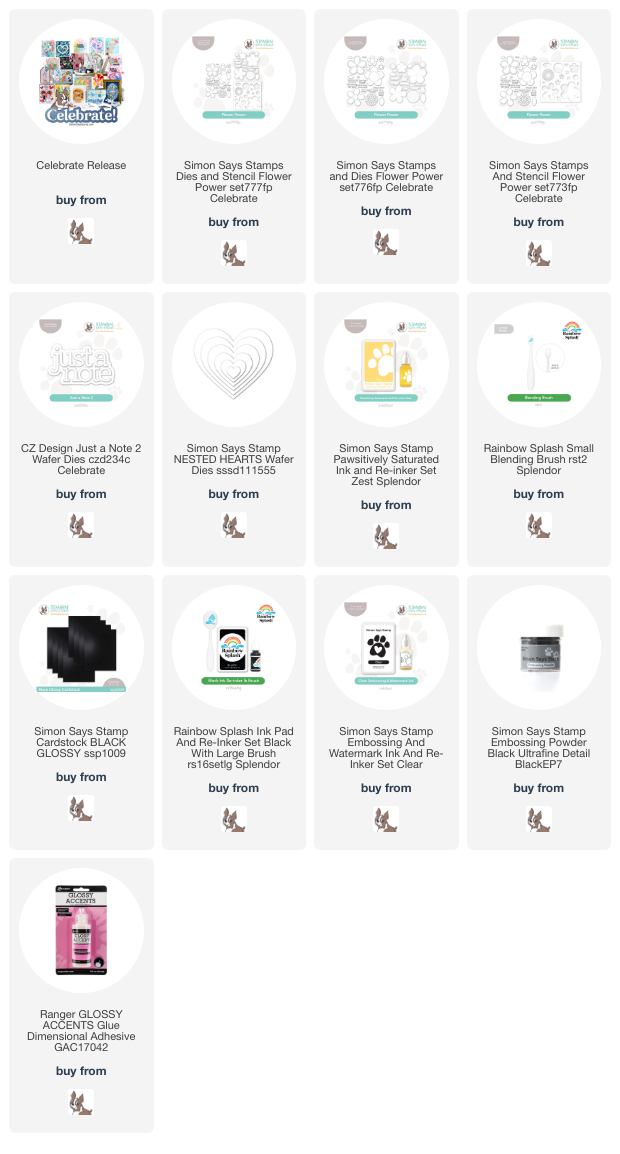
I am so thrilled to be a part of Simon Says Stamp's second day of blog hops, over at the Simon Blog, celebrating Simon's newest release, Celebrate!  I have made a couple cards using one of the pretty and fun new stamp/die/stencil sets from this release!...  
I LOVE daisies!  I have used one of the small stamps from the Flower Power stamp set, to fill my two cards with daisies.  For this first one, I stamped the flower all over the panel.  After I had them all stamped, I went back over each flower with the stencil, some yellow ink, and a blending brush, and filled in the centers of each flower.  I cut the panel down, and added a layered brand new sentiment die, from  CZ Design, die cut in black glossy cardstock.  I popped up the panel on the card with a double thickness of foam tape.  Here's a close up...

The second one, I used the same flower, this time die cutting it...
I stamped and colored the centers of the daisies like the first card.  I then die cut all the daisies.  I used a Simon heart die, and cut a heart out of the card panel. I then adhered all the daisies around the outside of the heart.  I had stamped a sentiment from the set onto the card, and then another of the sentiments on the heart/daisy panel.  I popped the panel up on the card, over the sentiment, then, as a final touch, I put glossy accents on the centers of all the daisies.  Here's a close up...
Okay...I had SO much fun making my daisy filled cards!!  My fun was above, your fun is below!!

Simon is generously giving a $25 coupon to every stop on the hop from our comment sections, so the more hop blogs you comment on, the more chances you will have to win!  Winners will be chosen and posted on the Simon Blog on Wednesday, April 24th, so make sure you check the Simon Blog on the 24th, to see if you are a winner!!  If you are a winner, you can email Simon to claim your prize!
The list of participants in today's hop are listed below...

Simon Says Stamp Blog  

Nina-Marie Trapani

Caly Person

Suzy Plantamura

Amy Rysavy

Debby Hughes

                                            Lisa Addesa<--------You are HERE!😊

Alberto Gava

Kulbir Kirkland

Barb Engler

Kath Stewart

Kim Hamilton

Allison Frazier

Natasha Vacca

Two things before I end my post!  There was a Day1 hop, yesterday, so I hope you will check it out at the Simon Blog!  There is a whole bunch more inspiration and more chances for you to comment and possibly win one of the $25 coupons! 

The second thing, please don't forget about the offer in the banner at the top of my post!  The offer is for the Groovy Happy Birthday die set, free with any purchase!  Follow the directions in the banner up top, and use the code GHBD at checkout!  The offer is good until the end of the day on April 21th, that's tomorrow, so don't wait!!
Thank you so much for stopping by, and please keep on hopping! 
Hugs!  Lisa

Friday, April 19, 2024

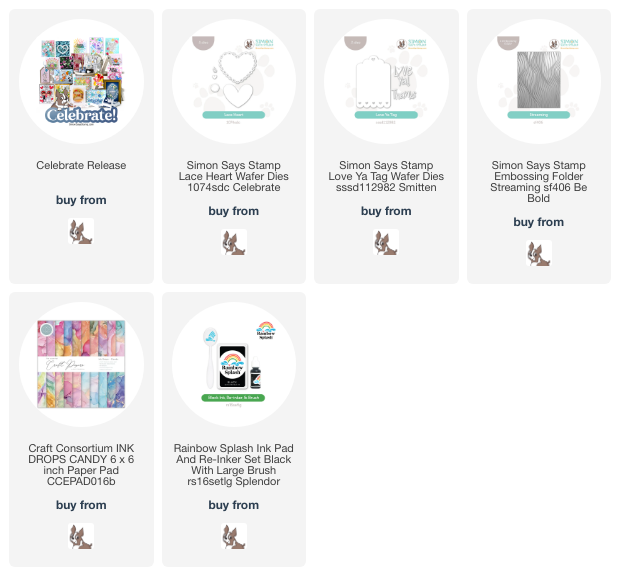
Lace Heart Love

I have used the pretty new Simon Says Stamp Lace Heart die set, from their new Celebrate release, to make a card filled with love...
I die cut the outside lacey part of the heart from white cardstock, and the inside from the Ink Drop patterned paper.  I added some layered letters, and popped it up on a card panel that I had embossed .  Here's a close up...
There was a blog hop today, at the Simon Blog, to celebrate this new release, and there will be another tomorrow...hope you will join me tomorrow, and hop along!!
Thanks for visiting me today!! Hugs!! Lisa

Thursday, April 18, 2024

Celebrate Release!

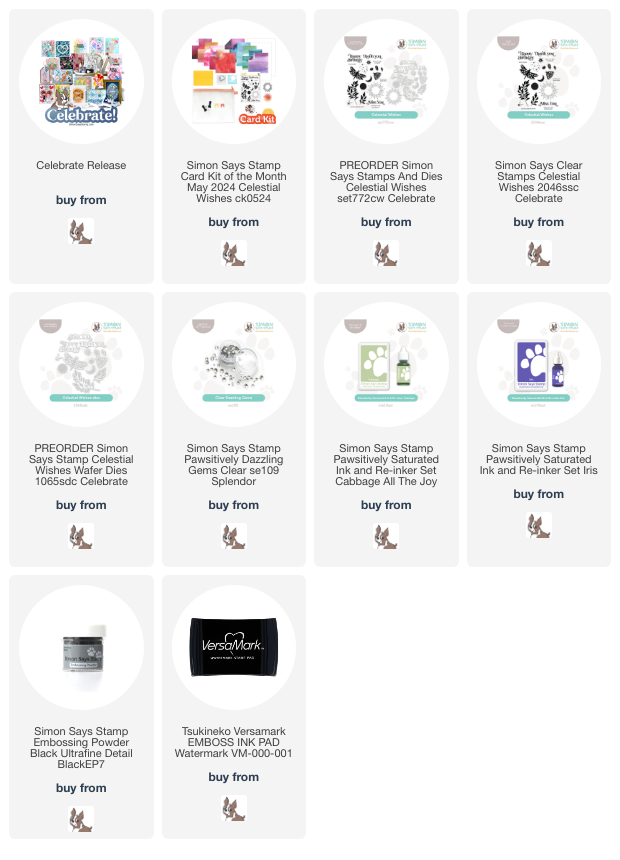
There is a brand new release out, over at Simon Says Stamp!  The release is called Celebrate, and I am starting off the "celebration", with a birthday card that I have made with the new Celestial Wishes stamp set!...
I used the burst stamp, and stamped it with eight different colored inks.  I placed the stamp in my MISTI, and taped the burst on either side of where I was stamping.  I then quickly removed the tape before stamping the inked image on the paper...
It took a little bit of time, but if you're careful, it's not hard.  I then stamped the "happy birthday over all the colors, with versamark and then black embossed.  I chose the clear gems and colored them with my markers, so the colors would match the color inks I stamped with.  Here's a close up...
I made a second card with this set, simply done...
I stamped the leaves, then chose a dark color for the flowers, and then stamped them .  I added the "thank you" with versamark and black embossing powder.  I love the shine that this gives to the sentiment!...
I hope you will check out the release over at Simon!  There are two blog hops at the Simon Blog, one tomorrow, April 19th, and on Saturday, April 20th...there will be TONS of inspiration!!  Hope you're having a beautiful day!!
Thanks for visiting me today!! Hugs!! Lisa

Wednesday, April 17, 2024

Botanic Collage

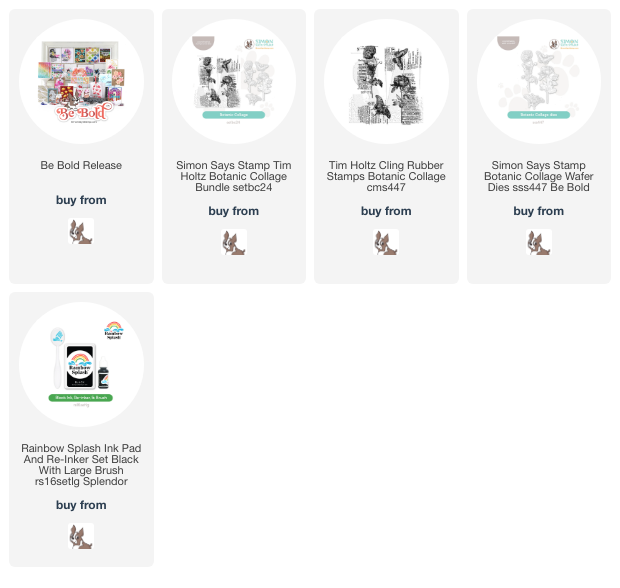
I have made  a card using the pretty Simon Says Stamp and Tim Holtz Botanic Colllage Bundle from Simon Says Stamp's Be Bold release...
This card was simply done by stamping the whole stamp on a card panel, then stamping it again on another piece of cardstock, die cutting, coloring and popping up on that flower part of the total image, onto the first panel.  I was going to add a sentiment, but loved it just as it was.  Here's a close up...
 I love that simplicity can make me so happy!  There's a new release at Simon tomorrow...hope you will check it out!!
Thanks for visiting me today!! Hugs!! Lisa
Tuesday, April 16, 2024

Ombre and Rainbow Hearts

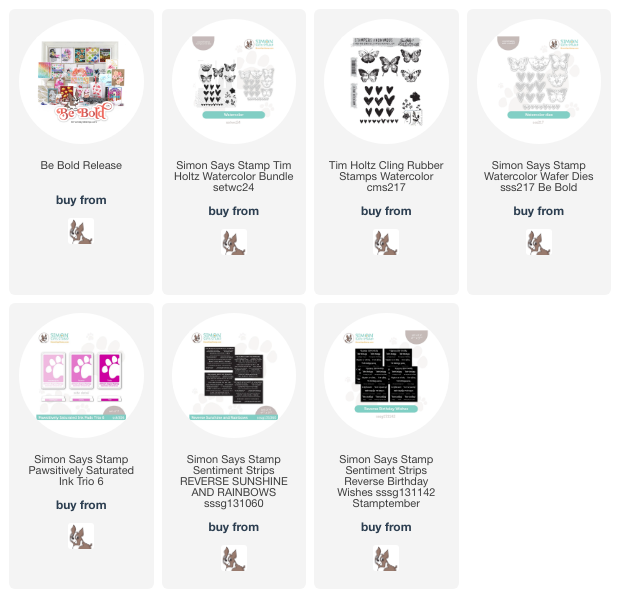
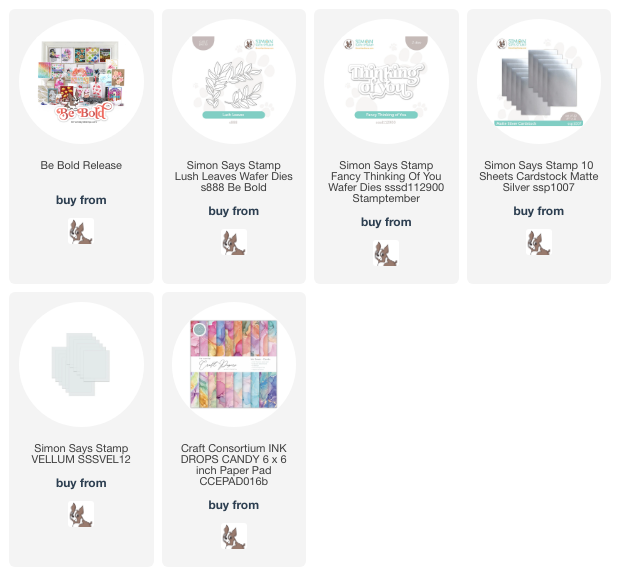
I used the hearts and dies from the new Simon Says Stamp Tim Holtz Watercolor Bundle, from the Be Bold release,  to make a couple cards to share with you!...
This first one, I put the cling stamp in my MISTI and stamped it three times, each with a different shade of pink.  I then die cut all three sets of hearts and popped them up on a piece of Bazzill paper.  I was looking through my white cardstock and rediscovered my stash of Bazzill paper!  I used to, and still do, love the texture of this cardstock!  I added a sentiment to the panel and popped it up on a Bazzill card.  Here's a close up...

The second card, I  chose to use the row of hearts stamp, and stamped it in 11 different colors on a piece of cardstock...
My disclaimer on this card...I did not know until I cut the card down to fit with a border around the panel, that the first row of hearts was "off" from all the others.  I only realized that it was "off when I clipped down that side of the panel, and by then, well...an imperfect row made for an imperfect card, but hey...a huge step for me to even consider letting it go.  What is super weird is that all I did to stamp all the rows, was to move the paper down in my MISTI, but the stamp stayed in the same place...weird.  But here we are!  I used two sentiment strip sentiments, cut down.  Here's a closeup...
I had so much fun with these cards...hope you are having a fun start to this new week!  
Thanks for visiting me today!! Hugs!! Lisa