Saturday, February 29, 2020

Remember the Brayer?

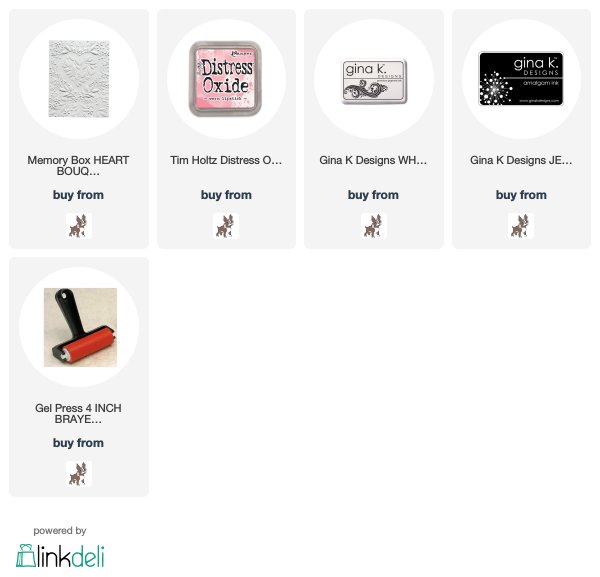
I just love the Memory Box Heart Bouquet 3D Embossing folder...it is so, so pretty!!  I have made three cards(no sentiments as of this writing) with this folder using paper, ink and my long forgotten... brayer!...
Do you remember this tool??  Well, maybe you do or don't, but I had forgotten about it until I made these cards! 
 I last used it maybe 10 YEARS ago...and only thought of it when I embossed a white piece of cardstock with this pretty folder, and thought...I'd love to see some varied color...hmmm...enter, MY OLD BRAYER!!  For those of you who may not know what this is, it's a tool you can use for a variety of techniques.  For embossing folders, I remembered that you can roll ink onto one side of the inside of the folder, with the brayer...rolling ink onto the flat side of the folder...the side with none of the raised pieces(never sure if it's the negative or positive).  You close the folder and run through your machine and the ink is left on the flat part of the folder's impressions.  
For the first card, I used a very light pink piece of cardstock.  I rolled Worn Lipstick distress oxide ink all over my brayer and the result is that it gave the embossed background a darker pink than the cardstock and the impression of the folder!  Here it is again...

The second one, I used a darker piece of pink cardstock, and some white ink on my brayer...

The third one, I got a little bold and used black on white cardstock...
By the third one, I actually had gotten over my sheer giddiness, and took a few pics...
I first embossed the white paper, by running it through my Big Shot.  I kept the paper on the folder where it had been embossed, while I brayered with the black ink on the other side.  THEN, you put the inked side ONTO the white embossed paper, and all is well...then run it through your machine.
After it came out of my Big Shot, this is what it looked like...hmmmm....definitely in need of more ink!  AGAIN, don't touch the paper, keep the embossed paper ON the folder while you ink up the other side.  THEN, bring the inked side TO the already embsossed side, and run it through your machine.  Here's the second time through...
Better, but I inked some parts of the folder a couple more times, where ink was lacking on the paper, and what you see above is what it became...pretty cool, right?!!  And...simply pretty!!!  I may put sentiments on them eventually, but I think they're pretty sweet, simply as they are!!
Such fun bringing new life to an old tool, and enhancing such a lovely folder!!  Thanks for visiting me today!! Hugs!! Lisa
Like You in Hearts

I made a card with the Simon Says Stamp Bursting Hearts stencil, and CZ Design Like You die  from the latest Simon release, Hey Bestie!                                                                                                                                                               
I tried this stencil with embossing paste on large paper...nah, then a rainbow with distress oxide inks, but it was too busy(you know me and rainbows...so when I say it didn't work...that's huge!).  I opted to simply use three colors, starting with the pink in the middle and working up and down with orange and yellow distress oxide inks.  I added a CZ Design sentiment die along with a sentiment from the Like You Words stamp set, that goes with the die.  No dots or glitter...just simply hearts and sentiment...liked it so very much just like that!  Here's a close up...
It's especially fun when a card comes together so quickly and easily, and then you like it..."so very much"!
Thanks for visiting me today!! Hugs!! Lisa

Friday, February 28, 2020

Triangular Heart Hello

I used the pretty new Simon Says Stamp Botanical Heart stamp set, from the new Hey Bestie release,  to make a card to say "hello"...
The stamps that caught my eye in this set were the circles and the heart made of triangles!  I decided to stamp the heart with a gray ink in my MISTI, then color the various triangles kind of randomly, then put the card stock back in the MISTI, and stamp with Versamark and gold emboss.  I then hand cut out the heart, layered, and adhered it to a framed panel made with the Simon A2 Thin Frames die, with a stamped sentiment from the set embossed in gold.  I then used the 3 circle stamps from the set, to make a background.  I randomly stamped the circles all over the card with versamark.  I then clear embossed, and adhered the framed heart panel to the card.  Here's a close up, you can see the circles a bit better here, although they show stronger IRL...
SUCH fun...loving gold and those A2 frames alot right now...and always hearts and rainbows...ahhh...happiness in MY heart!!
Thanks for visiting me today!! Hugs!! Lisa

Thursday, February 27, 2020

Admiration

I used the new Simon Says Stamp's Love Friendship stamp set from their latest release, Hey 
Bestie, to make a card for a friend...
This set of stamps has some pretty flowers!  I chose to use the stamp that had flowers, leaves and dots.  It also had "corner" written all over it, to me.  So, I stamped it in two of the four corners, embossed, and colored the flowers and leaves, and added tonic drops to the flowers' centers and dotted the dots with black tonic drops.  I added a cool sentiment (admire: respect, look up to, look at with joy and pleasure) from the set, right in the middle, and framed it all with the Simon A2 Thin Frame die cut, which I layered.  I am LOVING these frame dies...have been using them a lot...as you will see, with upcoming cards!!  I added a polka dotted strip behind the sentiment(It was the only piece of this particular polka dots paper I could find).  Here's a close up...
Having fun in my craft room!!  Hope you are having a great week!!
Thanks for visiting me today!! Hugs!! Lisa

Wednesday, February 26, 2020

Peonies Pose Possibilities

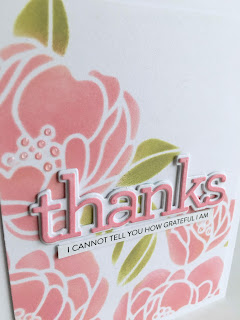
I've made a card with the pretty Simon Says Stamp Peony Bouquet stencil from the Hey Bestie release...
 Okay...I really love how the card, above, turned out.  Sometimes, though, it takes a
 failed attempt or two, to get to the card you love.  I thought I would show you the progression of this card, and those first two attempts! 
 I googled peonies to find out about them, and found that the majority of peonies are pink...so I KNEW my flowers would be pink.  I wanted a thank you card, so I KNEW the sentiment would be the CZ Design Thanks die (my favorite!).  Below, you see the first card I made, fully finished minus the sentiment strip(which I "stripped" from this card to use for the final version) ...
  I thought that it would be cool to use embossing paste, as I've loved to do, of late with stencils, and on kraft cardstock.  Thought that pink flowers on the kraft cardstock would go together!!  So, I spread white embossing paste on the cardstock, let it dry, and then, with the stencil back in place, sponged the color onto the dried paste. I added the layered sentiment and sentiment strip and some tonic jewel drops.   Hmmmm....well, I kind of liked it, but the more I looked at it, the less I liked it.  The kraft background just bothered me a bit.  I watched a youtube video about stencil techniques, and not learning much new, thought I would go back to basics...sponge ink onto cardstock through stencil!  The second one, below, used two pink distress oxide inks...picked raspberry and worn lipstick....
 Well...I liked it better than the first, but definitely didn't like what I did to the centers, and the more I looked at it, it was tooooooo dark and too intense a pink, I wanted a softer pink.  So....I simply used the Worn Lipstick on my final card, and LOVED the softer pink.  I didn't used any yellow in the middles, but used some Tonic jewel drops on each center dot, to give them some interest.  I didn't use the THANKS from the first card, as I had glued them down, but decided that a pink THANKS would be better, so I sponged one of the die cut" thanks" with the worn lipstick, then layered, and used a white layered shadow underneath. Until last night, my card looked like this...
I photographed it last night, but then didn't like it without a border...so on the chopping block it went!!  I reattached it to the card, and my final thought is that I like both the final two...whole and trimmed...maybe should have trimmed a tiny less...oh well, I always say, "can't go back, can only go forwards"....so it is with today's card.  Oh this card...questions from start to finish...and beyond!!  Below, are all three versions...
 Here's a close up of the final card...
Sometimes, you've just got to keep on trying different things until you do something, and see something,  that makes you happy...and you'll know it when you see it:)!!  Such fun, as always!!
Thanks for visiting me today!! Hugs!! Lisa

Thursday, February 20, 2020

4 Bar Die Cut Envelopes with Matching Cards

I have used the wonderful new Simon Says Stamp 4 Bar envelope dies (there are two: the V flap and Square flap), from the Hey Bestie release, and made envelopes and simple cards that match,  to go with these cool envelopes..
What is so incredibly cool and I love about these dies, is that you can not only create your own custom envelopes, but cards to match the envelopes!!  The 4 bar envelope is not for usual sized card, but rather these cards are 3 1/2" x 5"...a 1/2" shorter in length and width than an A2 card.  Just a little smaller in size, but just as much fun!!  
The first one I used a one sided piece of patterned paper for the envelope and for the trim on the card.  The first card has stamping and die cutting, the second, simply a couple die cuts.  I stamped, die cut, colored and layered the heart wreath.  I added Tonic drops to the hearts for some shine.  I used my very thin Scor Tape to securely adhere the insides of the envelopes' flaps to each other when putting together the envelope. Have had this tape FOREVER, but it seems to last forever, and is so perfect and kind of a must have for these envelopes(well, for real secure envelopes)!!
I stamped the background in Fog colored ink, and added the pretty sentiment from an older Simon stamp/die set.  Here's a close up of the hearts.
The second one, simply done with a double sided piece of patterned paper and a couple dies....
I die cut and layered the heart and sentiment, added tonic drops and adhered to a card using the same striped paper as the envelope and die cut heart.  Here's a view of the envelope...
The envelopes are the same size, but have a very different looks from each other...both are so cool!!
This was soooooo much fun, with such endless possiblitites...thinking how much fun it will be to send these matching duos...LOVED it!!
Thanks for visiting me today!! Hugs!! Lisa

Wednesday, February 19, 2020

Ombre Thanks

I used the cool Simon Says Stamp Large Outline Thanks die, from the Diecember release, paint chips, and some patterned paper to make a thank you card...
 It has been awhile since I've been into my paint chip box.  I pulled out a piece with four colors on one chip, and then a separate chip, all shades of green and thought green would be perfect for an ombre colored thank you card, and especiallly for this big thanks die!  I cut the paint chips into strips, adhered, die cut, and layered the die cut letters.  I used a Simon sentiment strip, and popped it all up on a piece of striped paper and card.  Here's a close up...
Such great fun...ombre is classic, so cool and so much fun!! 
Thanks for visiting me today!! Hugs!! Lisa

Saturday, February 15, 2020

Giraffe Love

Okay, I know it might seem that I'm a day late for love, but as I've said before, hearts and love are for everyday!  I have made a card with the the ADORABLE little Poppy Stamps Whittle Giraffe die and Memory Box's Mini Vintage Varsity Alphabet dies...
 This little guy is so stinkin cute!!  A little die with such great personality and charm!  My mom LOVED giraffes...she had a massive collection of them, a number of which I have inherited!  I always liked giraffes, but they have become a love of mine, now, too!!  I die cut, colored, and layered this little guy.  I die cut and layered the letters, too.  I LOVE this alphabet die...it die cuts FOUR of each letter of the alphabet, all in one run through on the die cutting machine...making it easier for layering!  I put the letters in a die cut heart from Simon Says Stamp's Shimmer Heart die...thought the stitching from the heart went with the stitched giraffe.  The little oval the giraffe is standing on is from the My Favorite Things Oval Shadows dies(I think they were retired...but maybe they'll come out of the vault sometime...they are wonderful for times like these!!), so the giraffe is grounded.  Here's a close up...
This little guy would be great for a baby, get well, birthday card...not sure about you, but he would make me happy no matter what  card I saw him on!!   Love and miss you, Mom!💕
Thanks for visiting me today!! Hugs!! Lisa

Friday, February 14, 2020

So Loved

Happy Valentine's Day!  I am hoping that wherever in life you may find yourself today, that you know you are so loved!   Today, a simple, but meaningful card to express that very truth...
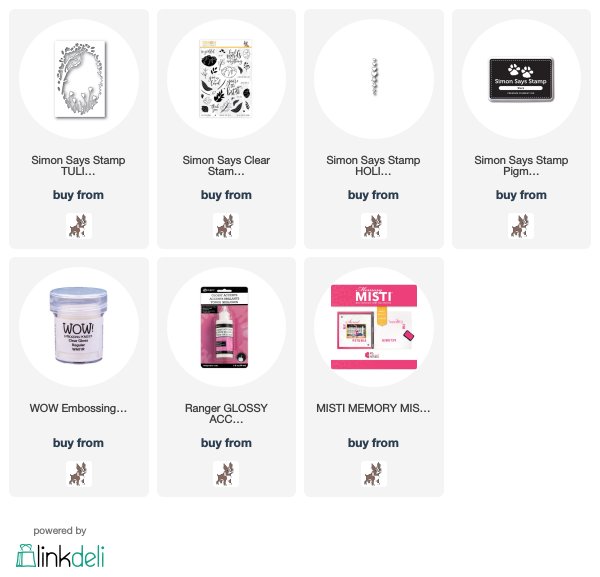
 I die cut the Simon Says Stamp Tulip Collage die onto the center of a card.   I colored just the tulips and stems, leaving everything else white.   I then centered the sentiment from the Simon So Loved stamp set onto the card, and with my MISTI, stamped the sentiment.  I clear embossed.  I loved not only the font of this sentiment, but it fit soooooo perfectly into the shape of this die cut!!  I added a tiny die cut heart that I layered, and dotted with glossy accents.  I thought it gave the sentiment a little balance.   Here's a picture of when the card is opened...  
 ...and another view of the card...
Happy Valentine's Day...hope you have some fun and some chocolate today!!
Thanks for visiting me today!! Hugs!! Lisa

Tuesday, February 11, 2020

Love with Gingham Hearts

I made a card today, from some leftovers... hearts from my Memory Box Banded Hearts die and a couple Birch Press Design sentiment dies(I was going to use these on another card, but changed my mind)...
I made some cards a few weeks ago, with the Banded Hearts die.  I had a bag full of leftover die cut hearts that I will "LOVE" using on lots of cards to come, but today's idea sounded perfect.
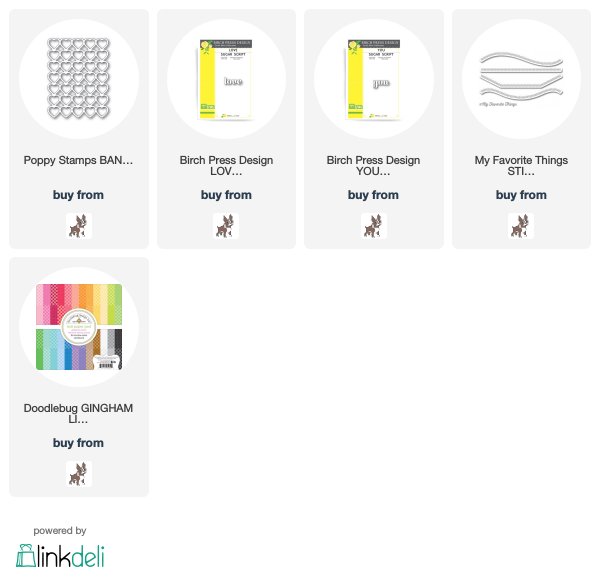
I used some of the hearts I had already layered, and after die cutting hearts from the Banded die with four different colors of gingham paper, adhered the gingham onto the layered hearts.  I used a stitched border die from MFT Stamps, and a couple die cut layered Birch Press Design sentiments, and put the card together, with the hearts and sentiments following the curves of the border die cut.  Here's a close up...
This card has a Valentine's Day flavor, but change the color of the hearts and sentiment, and it could be for any day...hearts are for everyday!!  Such fun!!
Thanks for visiting me today!! Hugs!! Lisa

Saturday, February 8, 2020

Daisy Birthday Wishes

I made a birthday card with the very pretty Memory Box Daisy Flower Frame die and a Poppy Stamps sentiment...
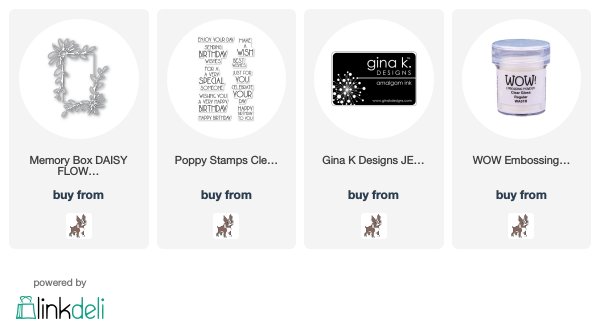
 I thought this die was soooo pretty and love daisies, so I knew I had to have it!  I die cut and layered the framed daisies, leaving one layer of white flower petals in the die cut, and filling in the leaves with green die cuts.  I used a sentiment from Poppy Stamps Birthday Blowout.  Here's a close up...
Daisies are "such a friendly flower"...from the movie You've Got Mail...but they really are!!  Simple, pretty, friendly, fun!!  
Thanks for visiting me today!! Hugs!! Lisa

Friday, February 7, 2020

LOTS of Love

I've made a card using the fun new Simon Says Stamp's Love and Valentines Word Mix 2, from their Love You More release, to make a rainbow colored card filled with love!!...
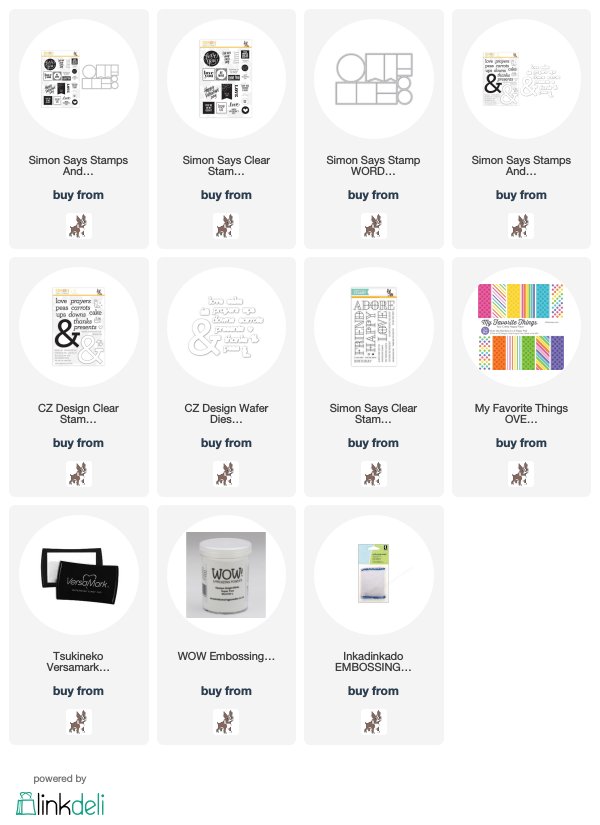
 I stamped and white embossed the sentiments on MFT Stamps patterned paper, then die cut.  Truth be told, I stamped ALL the stamps from the set on the colored papers and die cut, but "loved" this particular sentiment alot, so I opted to make a rainbow with this one sentiment die cut!  I added a stamped, die cut, and layered sentiment from the Ampersand Words stamp/die set.   The stamped sentiment is one taken from the Simon Stained Glass Love set(I actually cut the stamp apart to get the two lines you see above).  I hand cut a layer for each love banner piece to go underneath the stamped/die cut piece and hang on the string.  I adhered the tops and bottoms of each banner piece with a tiny glue dot, as well as underneath each black bow.  Here's a close up...
I NEVER get tired of rainbows...they make me happy...and are so much fun!!
Thanks for visiting me today!! Hugs!! Lisa