Saturday, October 31, 2020

Merry Everything

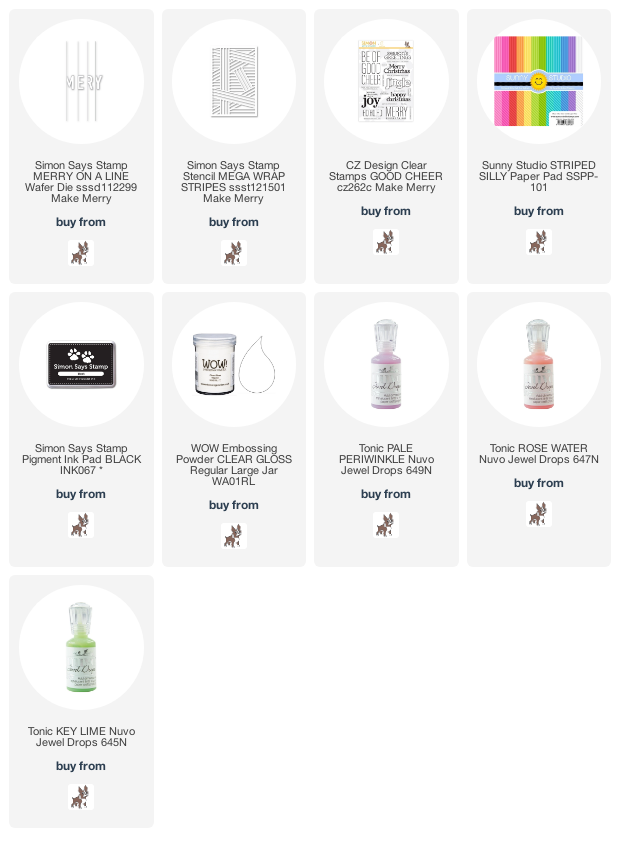
I made a rainbow flavored Merry card, using cool new products from the Simon Says Stamp Make Merry  release.  I used the Merry on a Line die set and the new Simon Mega Wrap Stripes stencil, for today's card...
I die cut the letters from the Sunny Studio Silly Stripes paper, turning the papers when die cutting, to make the stripes go different ways.  I layered them once, then arranged them between two panels that had been embossed the the new Mega Wrap Stripes stencil.  I liked this stencil for embossing fo the card panel, as I thought the every which way lines mimic the lines of the patterned paper on the die cut letters.  It was hard to photograph the embossed lines, thus why my card is laying down!  I used a piece of the CZ Design sentiment from the new Good Cheer stamp set.  I finished the card by adding some Tonic Jewel drops for bling.  Here's a close up...
Such fun!!  An extra hour of sleep tonight....YAY!!  Hope you are having a great weekend!!
Thanks so very much for visiting me today!! Hugs!! Lisa

Wednesday, October 28, 2020

Ho Ho Ho

I used the  cool new CZ Design Simple Ho die from Simon Says Stamp's newest Make Merry release, to make a Christmas card...
I die cut the sentiment from three different colors of Sunny Studio patterned paper.  I then die cut more of the senitments in white cardstock to layer.  I die cut and layered the background die for the sentiment, as well.  I wanted to keep the polka dot "thing" going, so I used one of the new Simon stencils, embossing the design into the card stock.  The image is subtle, but just enough for some added interest to the card.  I also used my Wink of Stella brush to give glitter to the "hos", as well as some clear Tonic drops on the letters of all three of the sentiments.  Here are a couple close ups...
I love the added look of the glitter...again, subtle, but another little added detail to the card...
Christmas makes me happy...hope you're finding some happy today! 
Thanks so much for taking time to visit me today!! Hugs!! Lisa

Saturday, October 24, 2020

Snowflake Ornament Card

I used the beautiful new Simon Says Stamp Sophie Snowflake die, from their new Make Merry release, to make an ornament and then use it on a card for Christmas!...
I am originally from the Buffalo NY area, so snow was a huge part of my life!  I LOVE snow, well at least, now, to look at out the window, and I think snowflakes are BEAUTIFUL!!  This Sofie snowflake is no exception.  I got the idea a few years ago, by the suggestion of a friend, that I use my die cut snowflakes to make Christmas tree ornaments!  So, this is my 2020 offering.  It was pretty simple to do.  I die cut 5 snowflakes(was going to be 4, but I made an extra, so I adhered it to one side of the snowflake...the more the merrier!).  I adhered two snowflakes together.  Then I adhered another two of them together.  I then adhered the backsides of those two adhered pairs together, so either side of the snowflake would look like the front.  I then added the fifth flake to one of the sides...didn't want to waste it.  I strung silver cording, tied and wrapped over the back of the card panel.  I used a piece of scotch tape to hold it in place, but easily enough to pull out of tape for hanging.  For the blue card panel, I used the new CZ Design Good Cheer stamp set for the sentiments.  Then, I used the dots from the new Simon Holiday Sparkle Greetings stamp set for my snow.  It took about 5 separate placements around the card, but I placed the stamps and moved them around the card and adhered them to my Misti each time.  I stamped them with versamark and white embossed.  I love how my snow turned out using these stamps!  Here's a close up...
So much fun putting this card together...hope you are staying safe and having some fun, wherever you may be!
Thanks so much for visiting me today!! Hugs!! Lisa

Sunday, October 18, 2020

Christmas Gnome

I made a Christmas card with the adorable new Simon Says Stamp Deco Hat Gnome die and one of the new CZ Design sentiment stamps from the new Simon Make Merry release...
I first embossed the gnome on a piece of cardstock.  This way, I had a base with all the indents of pieces.  This die comes with a background die, but I didn't really want a background for this guy. I hand cut the embossed image with my scissors,  then ran my adhesive all over the cut out paper. I die cut the gnome twice with white cardstock, then added all the die cut pieces onto the cut out gnome with adhesive, putting more adhesive between each layer.   I then die cut the gnome in two different colors of green and red paint chips.  I used all those pieces to the top layer of die cut adhered gnomes.  This top layer also had adhesive all over it, like the first and second layers.  I used my Tombow runner.  His outfit was made with strips of the four colors adhered together and then die cut.  I cut the"HO HO HO" sentiment with my scissors and using my MISTI, I arranged them below one another, stamped, and then embossed the words onto a piece of card stock.  I used glitter embossing paste and a stencil that came out in the Simon STAMPtember® release, last month, that had a die cut oval cut out in the middle (the die also die from STAMPtember® release).  I layered the glittered panel and adhered to a card.  Here's a close up... 
There are lots of little pieces to this die( use a pick up stick...I've listed it below...so easy!), but so stinkin' cute!!
Thanks for visiting me today!! Hugs!! Lisa

Friday, October 16, 2020

When You Can't Find the Words...

When you can't find the words... make your own!  I LOVE the new Simon Says Stamp Lil Critters Corgi die from their new Make Merry release, he is so stinkin cute!!  Our first family dog, when I was little, was a Welsh Corgi...Barney!  So when I saw this die, I was so excited to make a card with him!  Only thing is..what to use for a sentiment??  Well, I created my own...
I die cut the corgi, and layered.  I die cut the letters from a CZ Design alphabet die set, and layered.  I adhered to a piece of embossed cardstock I had purchased a long time ago, and added some Tonic drops at the end of "sweet".  Super simple...short, sweet, and simple!  Here's a close up...
So so much fun!!  
Thanks for visiting me today!! Hugs!! Lisa

Tuesday, October 13, 2020

Geometric Christmas Tree

I used the very cool and pretty new Simon Says Stamp Geometric Christmas Tree die from their new Make Merry release, to make a Christmas card...
I die cut the tree, then ran my tombow adhesive all over the tree(making sure that all the pieces were still in the die cut.  I then put one of the outlines of the tree over the adhesived tree, and filled in the pieces of the outline, with die cut pieces from paint chips, five different colors of green for the tree, and four different colors of red for the hearts.  I used a gold cardstock's pieces for the star.  I then adhered two more of the outlines together, then adhered those to the tree with all the color paint chipped outline.  I die cut and layered the rectangle, and used a sentiment from a Simon stamp set from last Christmas, as I was wanting a sentiment that had "heart"!  I stamped with versamark and gold embossed.  Here's a close up...
I LOVE this tree...you could use lots of color combos, and designs in this geometric wonder...such fun!!
Thanks for visiting me today!! Hugs!! Lisa

Sunday, October 11, 2020

Alleluia

I used the wonderful new CZ Design "Alleluia" die from Simon Says Stamp's new Make Merry 
release, and some not so traditional colored cardstock, to make a card...
I die cut and adhered three layers of white die cuts, and one colored top die cut.  I adhered all five to a white panel, and poped up over a paneled card with strips of each color of the sentiment coordinating behind the die cut sentiment.  Simply done...here's a close up...
Lots of die cuts for this card, but what fun!!  Thanks for visiting me today!! Hugs!! Lisa

Friday, October 9, 2020

Make Merry Blog Hop!

I'm thrilled to be joining a number of amazing cardmaking artists, to celebrate Simon Says Stamp's latest wonderfilled release, Make Merry on the Simon Blog today...day one of two!  There are some wonderful stamps, dies, and accessories, for making your Christmas cardmaking and gift giving merry!!  This release celebrates not only Christmas, but one of my favorite times of the year, Fall/Thanksgiving!  I have used the beautiful new stamps, Autumn Leaves stamps/die set,  and All Leaves background stamp, to make a couple cards to share with you today!

This first one, I used both the Autumn Leaves stamp/die set and the All Leaves background stamp...

I sponged distress inks on a piece of card stock, then stamped with versamark, gold embossed,  and die cut from select places on the card stock for my leaves.  I layered them and adhered them to a card panel that I had stamped the All Leaves stamp in light gray.  I used the CZ Design Clean Line Gratitude stamp/die set for this, as well as the second card's sentiments, stamped with versamark, gold embossed, die cut and layered, like the leaves.   Here's a close up...


For the second card, I simply colored the All Leaves background stamp...

I had so much fun coloring the leaves....nothing fancy...just coloring, but the gold embossing adds the fancy!  I used my MISTI, and stamped the image with fog ink.  I colored the leaves, then put the paper back into my misti and stamped with versamark and gold embossed.  I LOVE this technique...such magic when you emboss with the gold after coloring!!  I did color the background of the stamped images with a light gray, also.  I then used my stitched rectangle die, in keeping with the stitched leaves, and die cut the

 background stamp with the rectangle and layered. 

Here's a close up...


The fun for me was above, the fun for you is below!

Not only is there an offer of free glitter glue for a purchase during this hop, using the code in the banner at the top of this post, but Simon will be giving away a $25 coupon to one reader's comment for every stop on the hop!  The winners will be announced on Wednesday, October 14th, so make sure you check out the Simon Blog on the 14th,  to see if you are one of the winners!!  

Here's a list of all the participants of today's hop....


Simon Says Stamp Blog  

Jennifer McGuire

Nina-Marie Trapani

Caly Person

Nichol Spohr

Amy Rysavy

                                   Lisa Addesa<-----YOU ARE HERE

Heather Ruwe

Suzy Plantamura

Sidnie Des Jardins

Barb Engler

Cheiron Brandon

Lea Lawson

Remember to check back tomorrow for day two of the Make Merry Blog Hop, for more inspiration!!
Thanks for visiting me today!! Hugs!! Lisa

Thursday, October 8, 2020

Slimline Christmas!

Today, Simon Says Stamp had come out with their newest release, MAKE MERRY!  I think we could all use a little "merry" in our lives, and this release makes me happy for the months ahead!!  I have made a couple cards with one of the wonderful new dies from this release!...
This Slimline Christmas die is made for and is perfect for a slimline card, but I have used it for a standard A2 card, and used it, above for a 6"x 4 1/4" card, today.  I used some Doodlebug paper, layered the outline a few times, and popped up the panels on the top and bottom of the layered die cut.  I used three sentiment stamps from the CZ Design Chunky Christmas stamp set for the sentiment combo!  Here's a close up...
The second one, I used the leftovers from the die cuts from the first card...
I layered the leftovers from the die cut letters . What is so cool about the leftovers, the letters "fit into" 
one another, even without the outlines. I used the same paper for the borders and sentiments as for 
the first card.  I used my Wink of Stella marker brush for some glitter on the letters.
 Here's a close up...
I hope you will check out the NEW RELEASE over at Simon...so many wonderful stamps, dies, stencils, and stamping accessories, that will get you in the mood for Fall and Christmas, and give your Fall and Christmas card making a great head start!!
Thanks for visiting me today!! Hugs!! Lisa

Saturday, October 3, 2020

Wreaths of Joy

I used the wonderful new Reverse Confetti Wreath of Joy die to make a couple cards...
I LOVE this die!!  The dimension of the wreath, the sweet leaves and the die cut lines in each leaf, make it soooo cool and sooooo pretty!!  I used traditional colors for both my wreaths and cards, but pastels would be sweet, or maybe blues would be cool, too!  Simply done, striped patterned paper for the background, popped up.  The "J" and "Y" have snowflake patterned paper. I layered both the letters, leaves, and the background of the sentiment die.   I used a sentiment from the Simon Says Stamp Slimline Scene Builder Christmas stamp set for underneath the sentiment die, stamped with versamark and white embossed. I used Tonic Drops for the berries on the wreath.  I put drops on  piece of acetate, let them dry, and used my exacto knife to remove them.  I then adhered them to the wreath...
  Here's a close up...

The second one, the wreath and letters all in gold...

I used the same tonic drops for this wreath, as I did for the first wreath.  I also used the same striped 
paper as I did for the first card, this time I used it for the entire card.  I die cut a frame from two of the 
Simon  Says Stamp A7 Thin Frame dies to make a frame for the die cut sentiment.  
Here's a close up...
These were so so much fun!!  The possibilities are endless for the color combos you can use to make 
cards with this super pretty word die!!  Christmas, here we come!!
Thank you so much for taking the time to visit my blog today, it means alot!!