Showing posts with label Tim Holtz. Show all posts

Monday, December 1, 2025

Snowflake Rosette


I have used the beautiful new Tim Holtz Sizzix DieCember® 2025 exclusive die to make a Christmas ornament!...
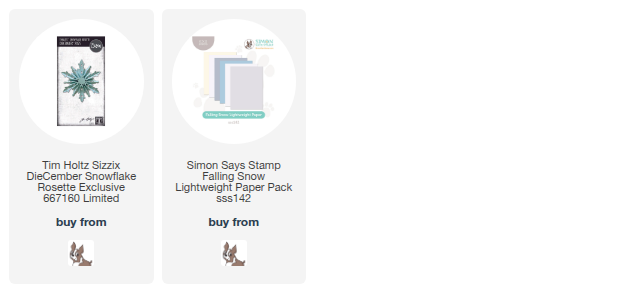
To make this beautiful 3D snowflake, you die cut the die from the set, three times.  Bend/fold it back and forth then glue the ends of each die cut to each other.  I used a smaller circle die than the one enclosed, to glue all the middle ends together, to the circle, on both sides.  I pushed all the pieces together, towards the center, as I put the glued circle on the ends...a few steps to the end, but so worth the effort!!  I put a container over the snowflake centers to allow them to dry, then adhered the fancy die cut center on each side of the snowflake, covering the circle.  I used the new Simon Says Stamp Lightweight cardstock to make my snowflake...this die requires lots of folding, and this lightweight cardstock is not only pretty, but folds effortlessly, and that is wonderful!  Then...there's what this beauty looks like on my tree...
Then with the lights on, and the Christmas lights shine through it...
I am in love!!!!  I am going to make more to put on presents, for my family's trees!! The banner at the beginning of my post says it all...purchase $30 of Tim Holtz products, and you will receive this beautiful die free!!   DieCember® will be coming out on Thursday..., with two blog hops to follow...more die cutting to come!!
Thank you for visiting me today!! Hugs!! Lisa

Thursday, August 8, 2024

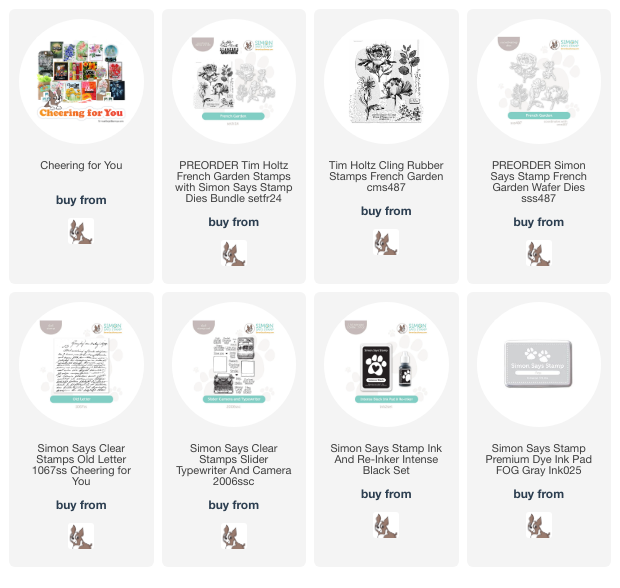
French Garden Black Eyed Susan

I have made a card with the beautiful new Tim Holtz French Garden Stamps with Simon Says Stamp Dies Bundle, from the Cheering for You release!...
I simply made this card, I love simplicity.  I stamped, die cut, and colored the flower.  I then layered it a few times.  I tore the center from a piece of card sized paper, and put that over the panel I wanted to stamp, so only a portion of the panel was stamped.  I used Simon Fog ink, a light colored gray for the background, then stamped a Simon sentiment that had a great message, as well as a great fit to the leaf of the flower!  I LOVE when things work out that way!  I popped the panel up on a card, and that was it!  No bling or dots on this one.  Here's a close up...
Hope you have been having a great week...if not, hang in there...it will be okay!!
Thanks for visiting me today!! Hugs!! Lisa
Thursday, August 1, 2024

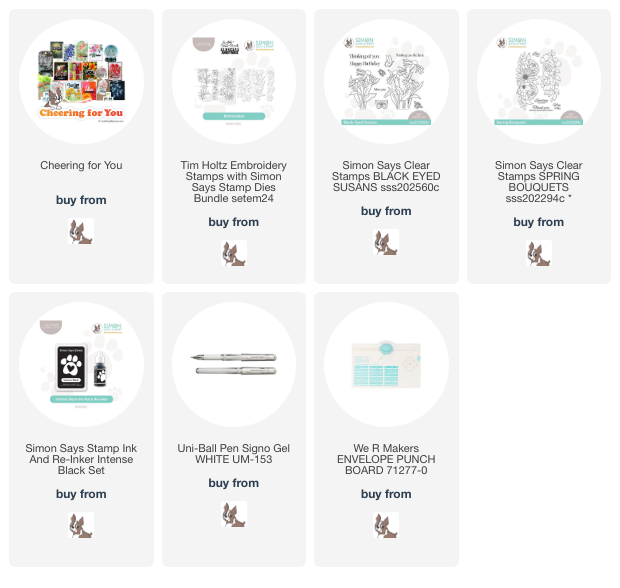
Embroidery Flowers


I have made two cards with the beautiful new Tim Holtz Embroidery Stamps with Simon Says Stamp Dies Bundle set, from the new Cheering for You release!...
These stamps are SO pretty, and make for some pretty flower filled cards! The dies are just as important to the beauty of this set, though! The dies have some amazing detail cuts and make for some beautifully cut out flowers/leaves!   I stamped and die cut two of the three stamps, and colored with markers.  I die cut two more of each, and layered.  I used sentiments from two different Simon stamp sets, and stamped them on textured Bazzill paper. 
The first one, not sure if it's a daisy, but I MADE it into a daisy.  Here's a close up...

And the second one, much like the first, except for the flowers and sentiment...
I used a white gel pen for this one, to not only fill in the flower's centers, but to give some dimension to the stamen on the flowers.  Not sure if you can see it really well, but here's a close up...
 I used my envelope maker to make envelopes for both cards, as they are 7"x4 1/4".
Happy August, hope your month is off to a great start!
Thanks for visiting me today!! Hugs!! Lisa

Thursday, July 18, 2024

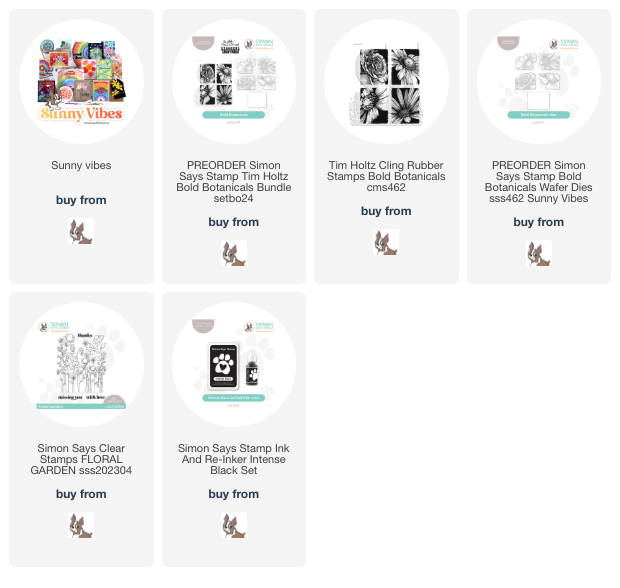
Bold Botanical Daisy

I have made a card with a beautiful new stamp/die set from Simon Says Stamp's  Sunny Vibes release...
The stamp/die set is a Simon Says Stamp collaboration with Tim Holtz!  I LOVED the daisy stamp, so I stamped with black ink, then colored the middle with a yellow marker, and highlighted the petals with light gray.  I used the rectangular die, and cut a window out of my card panel.  I used an older sentiment stamp from the Floral Garden stamp set, amd popped up the panel on the card.  Here's a close up...
Ohhhh....a simple daisy is just lovely to me!!  Hope you are having a great week...keep on keeping on!
Thanks for visiting me today!! Hugs!! Lisa

Wednesday, April 17, 2024

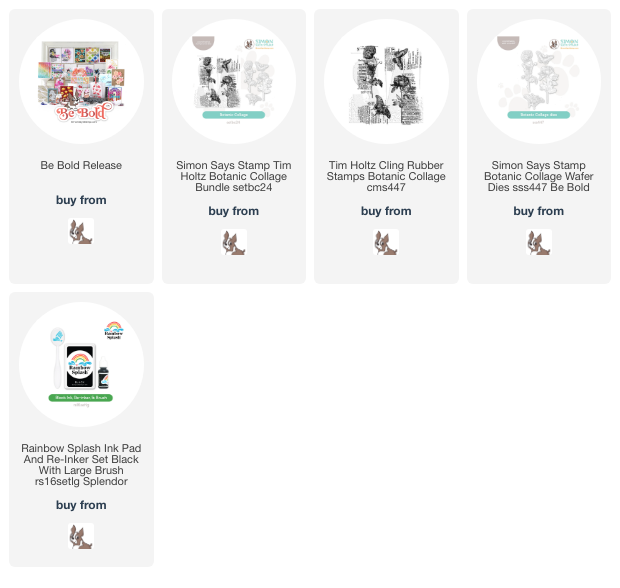
Botanic Collage

I have made  a card using the pretty Simon Says Stamp and Tim Holtz Botanic Colllage Bundle from Simon Says Stamp's Be Bold release...
This card was simply done by stamping the whole stamp on a card panel, then stamping it again on another piece of cardstock, die cutting, coloring and popping up on that flower part of the total image, onto the first panel.  I was going to add a sentiment, but loved it just as it was.  Here's a close up...
 I love that simplicity can make me so happy!  There's a new release at Simon tomorrow...hope you will check it out!!
Thanks for visiting me today!! Hugs!! Lisa

Tuesday, April 16, 2024

Ombre and Rainbow Hearts

I used the hearts and dies from the new Simon Says Stamp Tim Holtz Watercolor Bundle, from the Be Bold release,  to make a couple cards to share with you!...
This first one, I put the cling stamp in my MISTI and stamped it three times, each with a different shade of pink.  I then die cut all three sets of hearts and popped them up on a piece of Bazzill paper.  I was looking through my white cardstock and rediscovered my stash of Bazzill paper!  I used to, and still do, love the texture of this cardstock!  I added a sentiment to the panel and popped it up on a Bazzill card.  Here's a close up...

The second card, I  chose to use the row of hearts stamp, and stamped it in 11 different colors on a piece of cardstock...
My disclaimer on this card...I did not know until I cut the card down to fit with a border around the panel, that the first row of hearts was "off" from all the others.  I only realized that it was "off when I clipped down that side of the panel, and by then, well...an imperfect row made for an imperfect card, but hey...a huge step for me to even consider letting it go.  What is super weird is that all I did to stamp all the rows, was to move the paper down in my MISTI, but the stamp stayed in the same place...weird.  But here we are!  I used two sentiment strip sentiments, cut down.  Here's a closeup...
I had so much fun with these cards...hope you are having a fun start to this new week!  
Thanks for visiting me today!! Hugs!! Lisa

Sunday, February 11, 2024

Love Notes

I have used the new Simon Says Stamp/Tim Holtz Love Notes Bundle, the stamps from Tim Holtz and the dies from Simon Says Stamp...a wonderful collaboration, to make a card that simply says it all...
I stamped the one heart three times, die cut, and hand cut out the middles of all three hearts.  I die cut the heart shapes another three times, these times with red and pink cardstocks...no stamping.  I popped the stamped and die cut/cut out hearts over the colored die cuts, then adhered them to a card, popping up the middle one,  with one of the sentiments from the stamp set stamped below the hearts.  I added some Rainbow Splash Drops for added bling.  Here's a close up...
These hearts are so cool, and making this card was so much fun!!  How cool for these two companies to come together and create such a cool bundle of fun!! 
Thanks for visiting me today!! Hugs!! Lisa

Thursday, November 30, 2023

Walter the Penguin

I have made a clean and simple Christmas card with the adorable Tim Holtz Walter the Penguin die set! 
Just a note:  I edited my card early the next morning.  Did you ever have a card that you "like", but the more you think about it, maybe even a day later, you just think you should have done it just a little differently??  Well, even if you haven't, that is what happened with me and this card.  I just started feeling that all the white was just a bit too much, and needed to be broken up with some color...just a tiny bit of color.  And honestly, snow, unless a white out, doesn't look ALL white, so I felt a tiny bit of color in the background was what was needed.  I think it looks perfect, now....happiness!! Amazing what just a tiny bit of color can do!   To do it, I used Simon Fog gray ink and a brayer on the flat side of the embossing folder, and ran it through my Bigshot with a piece of cardstock in it.  I kept up the first card, so you could see the slight difference... 
I made my Walter with a Christmas hat and scarf, but the die set comes with a bow tie and glasses, too, so you can make your Walter have all different looks!!  I die cut and adhered all the pieces, the added the Simon Says Stamp sentiment, along with one of their embossing folders for snow!  I tore a piece of cardstock to make a snow mound and have  a place for the penguin to stand on.  Here's a close up of both...

There is an offer going on right now, over at Simon Says Stamp, for this adorable penguin die set...
It's for a limited time only...just saying😊!  Countdown to Christmas...tomorrow is December 1st!!  Keep breathing....just keep breathing....deep!  Hang in!!
Thanks for visiting me today!! Hugs!! Lisa
Saturday, September 30, 2023

Tim Holtz STAMPtember® Collaboration!

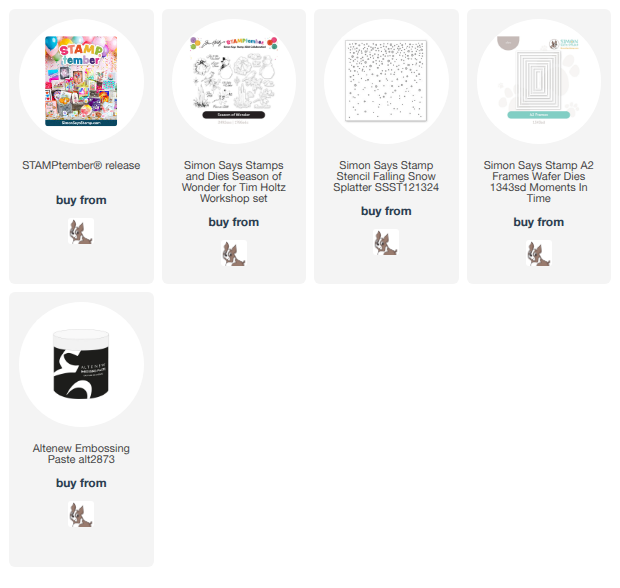
I am excited to be a part of the Simon Says Stamp and Tim Holtz STAMPtember® collaboration today!  I have made Christmas gift tags using the fun new products in this collaborative set!...
I loved the sweater image...it was the perfect size and shape for gift tags, so I used the same image for all five of my tags!  I used the Tim Holtz Distress Mica Sprays for the background colors...such wonderful glittery shine to these tags!  I also used the stencils that come with this collaboration to make snowflakes/stars on all but one of the tags.  I used the glitter paste that also came with the collaboration for the flakes and stars...and in two of the tags, I added just a tiny bit of white paint to make the stenciled images white.  I added a second die cut tag to the back side of  the tag, and ribbon with  silver thread to tie the tags to finish them!  Below is a close up of all the tags...


I tried to match one of the colors in the sweater to each background...made for some colorful fun...had such great fun...shiny, sparkly, colorful fun!  This will be the last collaboration of STAMPtember® for this year...so sorry to see it end, but what great fun it has been!!  Hope you have enjoyed the month long celebration of all things stamping!!  Thanks for stopping by today...hope your weekend is wonderful!!  Lisa

Sunday, August 6, 2023

Tim Holtz Halloween Distress Mica Stains

I have used three of the cool new Tim Holtz Ranger Distress Mica Stains, from the new Halloween Bundle, to make a "spooky" Halloween card...
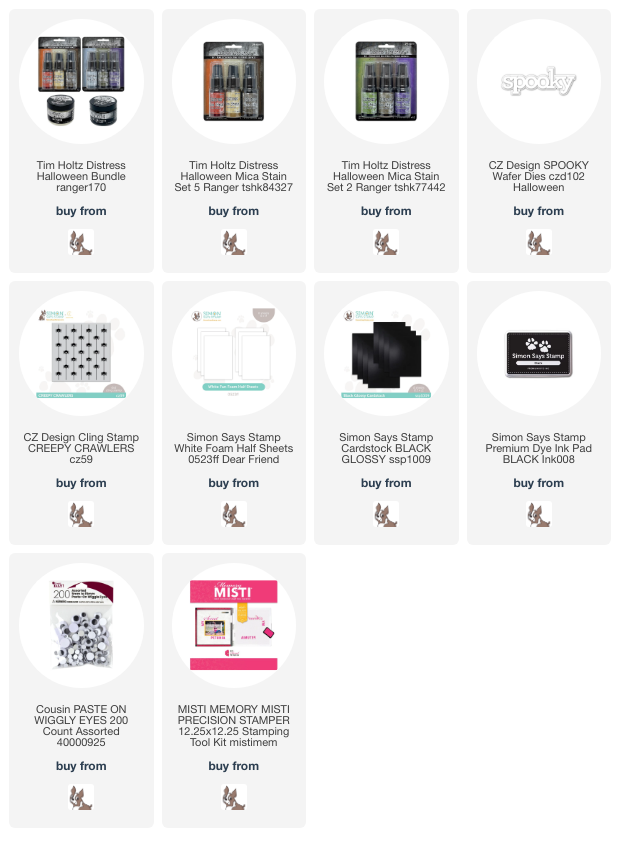
I sprayed the stain onto water sprayed pieces of cardstock.  I then dried each piece and die cut the sentiment from each of the three colors.  I layered with a piece of Simon foam and adhered two google eyes to the backs of each of the "o's" in each spooky sentiment.  I stamped the Creepy Crawlers cling stamp and cut down.  I positioned each of the spooky sentiments to allow the spiders' eyes to show...well 12 of them...unlucky #13 didn't make it...he's behind the "oo's" on the middle spooky!  I just thought they were so cute peeking out behind the letters, I had to give as many as possible the chance to look out!  Here's a close up...

I LOVE the shine of these stains...such wonderful fun!!  It's never too early to get ready for Halloween!!
Thank you so much for visiting me today!! Hugs!! Lisa

Sunday, July 16, 2023

Tim Holtz Distress Embossing Glazes!

Today, I have a card to share with you that I made using some of the wonderful new Tim Holtz Distress Glazes!  
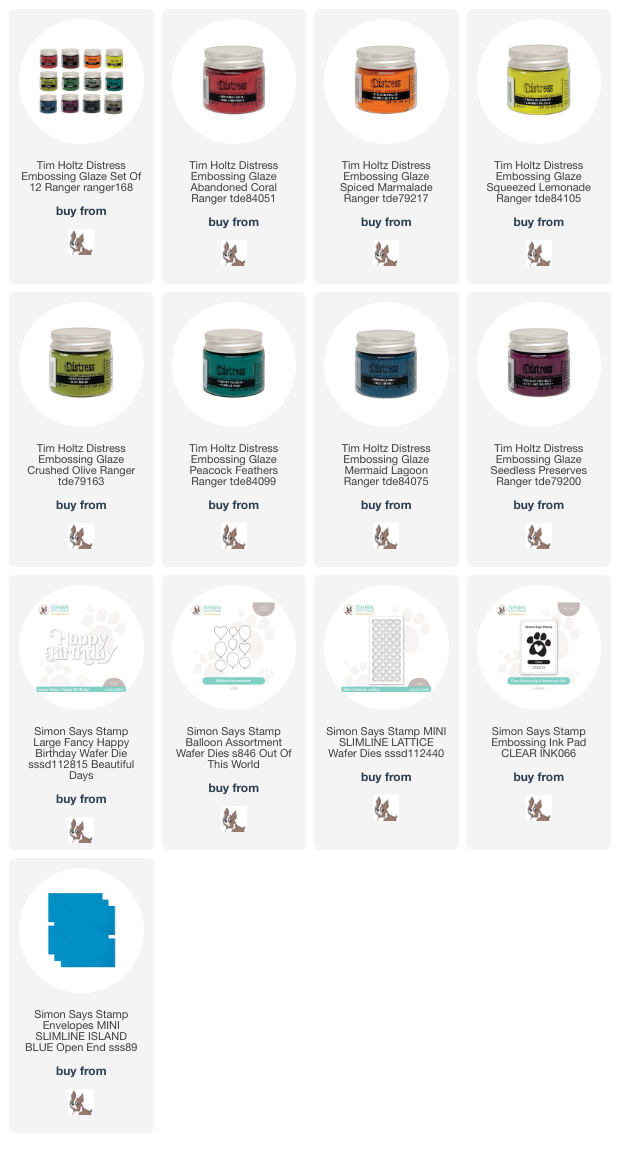
I die cut the Simon Says Stamp Fancy Happy Birthday die, and layered it a few times.  I then masked the die cut sentiment in sections, and used the Simon Embossing ink and a different colored glaze on each section.  I also used two Simon Says Stamp balloon dies from their newest Out of This World release, using two of the glazes for them, and white floss to keep them flying but grounded!  I adhered everything to the Simon Says Stamp Mini Slimline Lattice die.  Here's a close up of the cool shine of these glazes!...
Hope you are having a great weekend...more to come with these fun glazes!
  Thanks for visiting me today!! Hugs!! Lisa