Wednesday, July 31, 2019

Today Wil Be Awesome

One more post for today:)!  I used the fun new Simon Says Stamp Today Will Be Awesome die from their latest release, Believe in You, to make a card of encouragement...
I LOVED this sentiment die and the first thought I had was...you may have guessed it...rainbow!!  I used the wonderful Sunny Studio paper which has one of the brightest and most colorfilled papers to make my rainbow.  I cut strips less than a 1/4" thick and adhered them together.  I die cut the words from the rainbow paper.  I then...yes...a tiny bit crazy....layered each letter and word twice with black die cuts of the same...
I adhered them to a die cut panel that I had adhered to a solid panel.  I then added a layered (twice) gray piece behind the sentiment, and adhered to stamped gray cardstock with the new Stripe Jumble Background stamp.  Here's a close up...
I hope you have had a wonderful July...I am hopeful that August will give me a lot more time to create...a lot more time to have fun!!
Thanks for visiting me today!! Hugs!! Lisa

Thanks, Mom!

I used the pretty new Cosmos Bloom Background stamp from Simon Says Stamp's latest release, Believe in You, along with the cool new CZ Design Mom die from the same release, to make a card letting moms know how much we appreciate them...
 I stamped and clear embossed the cosmos.  I then used two yellow markers, a gray marker for accenting the flower petals, and green for the leaves.  I then used the same green and swiped it around the card edges to match the leaves.  I added the die cut and layered "mom" and used one of the sentiment strips from Simon, that I also swiped with the same green marker.  Here's a close up
Simply done fun!!  I think I will have one more card to show you today...Thanks for visiting me...I really appreciate you!! Hugs!! Lisa

Tuesday, July 30, 2019

Pink Carnation

 I made a card to share with you today, using the beautiful new Simon Says Stamp Carnation Frame die from Simon's latest release, Believe in you...
I decided to let the color of the carnation flower be the only color on the card, so I got out my favorite go to colored papers for these kind of flowers...Paint Chips!!  I die cut the flower part three times with three different shades of pink.. I then die cut the flower and frame three times, adhering two of the die cuts together after taking all the die cut pieces out.  The third die cut, I left the flower petal pieces in the die cut, and used my Tombow adhesive runner and put adhesive all over that die cut.  I adhered the two layers over that adhesive covered die cut, then put in the separate petals in the different shades into the layered die cuts.  I adhered an embossed piece of black card stock behind the flower, and added a sentiment from the pretty new set of sentiment stamps from CZ Design, Clean Line Everyday.  Here's a close up...
Having so much fun with this new release!!
Thanks for visiting me today!! Hugs!! Lisa

Saturday, July 27, 2019

Daisy Birthday

 I have a simply done card to show you today, using the pretty new Daisy Stem die from the latest release from Simon Says Stamp, Believe in You...
 I die cut, layered and colored the middle and stem of the daisy with markers.  I adhered the flower to a polka dotted panel that was slightly popped off the card panel.  I added a sentiment from the new Greetings Mix 1 stamp set and two stamped hearts that I also put glossy accents on... 
Such fun...aren't daisies such a happy flower??
Thanks for visiting me today!! Hugs!! Lisa

Friday, July 26, 2019

Simon Says Stamp Believe in You Blog Hop...Day 1!

 I am so thrilled to be a part of today's Simon Says Stamp Blog Hop, celebrating their newest release, Believe in You!  This release is filled with lots of pretty and fun stamps, dies, a new stencil, Suzy's watercolor cards, sentiment strips and sequins...all will provide lots of fun and help us to let others know we believe in them, while we believe in ourselves, right, fellow crafters??!!  I used the very popular and beautiful Sunflower Stem die to make several simple, but because of this die, beautiful sunflower cards!...
 My mom's favorite flowers were sunflowers, my daughter got married with sunflowers adorning her bouquet and the reception...so sunflowers are very special to me through my family.  I die cut and layered all the sunflowers I used for all three cards.  The first card, I chose to leave the leaves and middle of the flower white, to make the flower the main focus with the only color being in the flower.  I used three different colors of paint chips.  I die cut the paint chips and placed each into the die cut and layered die cut sunflower.  I adhered it to a polka dotted panel and added a sentiment from the new stamp set, Greetings Mix 1.  Here's a close up...

The second one, I used the die cut with a copper metallic sticky foil sheet...
 I die cut, adhered, and then layered the copper with white card stock die cut sunflowers.  I LOVED the look of the metallic, (an older piece of taped copper foil by Ranger)and opted to keep the flower petals empty, and simply stamp another of the sentiment stamps from the Greetings Mix 1 set.  Here's a close up...

The third one, I did much like the first, except instead of leaving the petals blank, or not coloring the center of the sunflower or it's leaves, I used markers to color all the parts of the flower and it's stem/leaves... 
 Sunflowers have "sun" in their name, so I thought an older "sunshine" sentiment die was perfect with this pretty yellow flower.  I also used a background stamp for this card, also from the new release, Stripe Jumble...sooo cool, right?!  Here's a close up... 
 My fun is above, yours is below!!
Simon Says Stamp will be generously giving a $25 coupon to one commenter from each and every blog on the hop, simply leave a comment for a chance to win!!  The winners will be chosen and be posted on the Simon Says Stamp Blog on Wednesday, July 31st, so
make sure you check the blog on the 31st, to see if you're a winner!
The next stop on the hop is amazing Heather Ruwe
   The list of participants of the hop are below.  If you get lost, you can head to the  Simon Says Stamp Blog...hope you will check out all the amazing artists' inspiration today!! 
         Cathy Zielske
        Nina-Marie Trapani
         Jessica Frost-Ballas
        Amy Rysavy
         Suzy Plantamura
                                            Lisa Addesa<-----You are HERE
         Heather Ruwe
         Gayatri Murali
        Barb Engler
        Marge Yoon
         Lea Lawson

A couple BIG things before I go....Simon is offering of a FREE Tim Holtz Mini Distress Resist Spray with any purchase until the July 31st(while supplies last)...how cool is that??!! See the details below!!   AND...there's another blog hop tomorrow, hope you'll check it out for more amazing inspiration!!
Thanks for visiting me today!! Hugs!! Lisa

Thursday, July 25, 2019

Lunchbox Full of Love!

Today is release day over at Simon Says Stamp!  Their newest release, 
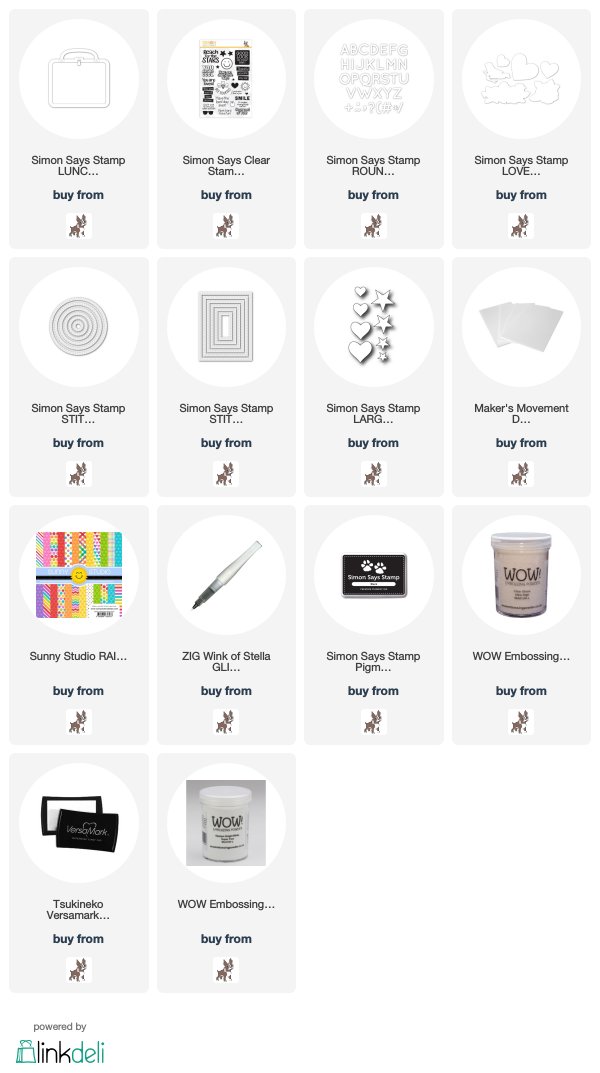
Believe in You, is one filled with beautiful and fun new products to encourage and celebrate those in your life!!  I chose the new and incredibly fun Lunchbox die and Lunchbox Notes 2 to showcase today!...
 Let me start by saying, I have NO school age children, and often times, when school is about to start and school stamps are out, it's easy for me to look beyond them.  I DO have grandchildren, now, though, coming up to school age...well...in a few years:)!!  This die and stamp set, though, were TOO STINKIN CUTE to let go by despite my "children" not being the right age.  Honestly...I beyond LOVED this lunchbox die, and the stamps...they are both toooooooo cute!!  I even thought, what about a lunchbox invitation to a friend for a lunch date...a birthday present with some money in it(not quite big enough for standard sized gift card)...make it into a suitcase with money for a trip??  LOTS of possibilities!!  OK...onto the lunchbox creation.
I MADE a 3D lunchbox out of the die, so that it could be sent IN a lunchbox with the notes inside it.  To do this, I die cut and layered the lunchbox for the back, die cut a double sided sticky foam piece for the middle to give depth in the box, and then a die cut top.  For the top, I die cut the box in white twice, cut off the flap that opens from one of them, and added the flap from another die cut piece from a piece of striped patterned paper underneath the cut off white.  I layered the opening clasp with all the white pieces from the die cuts, and adhered to the lunchbox with an old mini brad(yes, that stash of old brads DOES occasionally come in handy!!).  I added die cut and layered letters that spell my oldest grandbaby's name, Isla (pronounced eye-la)!  I added some wink of stella glitter to the letters for fun...
 Then...onto the notes to put IN the lunchbox...
 I stamped, then die cut or cut out the notes.  OMG...SUCH FUN!!!  The sentiments and fonts...I had SOOO much fun stamping, coloring, die cutting!!  Below are what I made...oh...and one of my daughters reminded me of snacks I used to give them, as well as party favors and such, and it will NOT fit in the die cut lunchbox, but could go in the real lunchbox!!  So... the snack with the Smiley Face on it, was Emma's idea!...
 Here's what the lunchbox looks like inside...
 ...and my wonderful son-in-law, Heinz, was my handsome hand model , to show you what taking a note out of the lunchbox looks like:)!!...
Hope you will check out the new products over at Simon,  and join me tomorrow and Saturday over at the Simon Blog for inspiration with a two day blog hop celebrating this new release!!
Thanks for visiting me today!! Hugs!! Lisa

Wednesday, July 24, 2019

Sparkles!

I used two of the pretty new Simon Says Stamp Filigree dies and some glitter paste, to make a couple  cards with sparkles!...
I used the Simon Filigree Wreath die for the first card.  Both cards, I hand cut out the dies from the cardstock after die cutting.  I die cut and layered the wreath, then adhered an embossed piece that I had colored, behind the layered die cuts.  I then used Tonic glitter paste and an embossing knife, and filled in the flowers and leaves with the paste.  I let it dry, then used one last die cut and cut out wreath, and adhered over the glitter pasted set of die cuts.  I adhered to stamped panel and added a die cut, layered sentiment that I had brushed the same glitter past on.  I found the perfect add on sentiment strip from the first pack of strips.  Here's a close up...

The second card, I did much like the first, except I covered the butterfly with a black cut out die cut...I LOVED the black on the turquoise glitter.  
Here's a close up...
Sparkles are fun!!
Thanks for visiting me today!! Hugs!! Lisa

Tuesday, July 23, 2019

Filigree Border Thanks

I have been gone for what seems like forever, from my blog!!  We had a new addition to our family, my daughter and son-in-law had my first grandson...and then family visiting...it was a wonderful, fun, chaotic, and kind of exhausting couple weeks.  I finally got back into my craft room after it became empty, and have been having lots of fun creating, again!!  Simon Says Stamp will be having a new release in a couple days...can't wait to share the new products with you!!  Until then, a card using the Simon Says Stamp Filigree Border die and the CZ Design Thanks die...
 I opted to use this beautiful border die on the top and bottom of the card, and adhered a die cut layered sentiment between them.  I DID adhere a second die cut border  UNDERNEATH each of the top and bottom die cuts on the panel for some layering.  Underneath each of those, I adhered a piece of tiny polka dotted gray and white paper.  Here's  a close up...
Simply done...ahhh....so so so happy to be back!!
Thanks for visiting me today!! Hugs!! Lisa

Monday, July 1, 2019

From Me to You

I used the beautiful Memory Box Antique Leaf Label die to make a pastel rainbow of leaves for a friend...
This die lends itself to all kinds of wonderful possibilities...I die cut, layered then filled the leaves with pastel colored die cut leaves. Using my MISTI for perfect positioning,  I stamped a sentiment from Poppy Stamps Butterfly Wings set of stamps.  I added the label with leaves, then used Tonic Jewel Drops in all six colors of the rainbow leaves.  Here's a close up...  
I want to try this in a metallic...hmmm...what a fun and super pretty die!!  
Thanks for visiting me today!! Hugs!! Lisa