Showing posts with label spellbinders. Show all posts

Wednesday, October 30, 2024

Buckeye Leaves Birthday

I've made a card with a new Simon Says Stamp embossing folder and sentiment die, from their 
I used a black ink pad, rubbed on an embossed piece of cardstock, along with glossy black cardstock, to make a more "guy" kind of birthday card.  I layered the die cut sentiment, and popped up the green panel on the card.  Here's a close up...
Leaves and plants are big...this was so much fun!!  Halloween tomorrow...then it's on to November...woo hoo!!  Hope you have a great rest of your day.  
Thanks for stopping by, today...I really appreciate your visit!! Hugs!! Lisa

Friday, September 1, 2023

Winter Bough

I have made a couple simply made Christmas cards, using the beautiful Spellbinders Winter Bough hot foil plate, fromt their Snow Garden Collection by Susan Tierney-Cockburn...
This foil plate is so big and so beautiful, that it is a perfect stand-alone for a card.  I think it looks beautiful simply heated with gold foil on black cardstock, which is what I did for this first card.  I simply added a layered gold die cut CZ Design sentiment, with two strips of gold on the top and bottom of the card.  Here's a close up...

The second one, I opted to color the gold foiled image, and gold foiled the sentiment...
I hot foiled the plate on a light gray cardstock.  I then colored all the images with markers, and used the hot foil plate of the sentiment used on the first card.  I die cut the foiled sentiment, and layered.  I added two strips of gold cardstock, this time on both sides of the card.  Here's a close up...
I love this plate, especially for Christmas cards!  The plate makes for a simply made, pretty card, perfect for making many in short order!  Hope you have a great Labor Day weekend!
Thanks for visiting me today!! Hugs!! Lisa

Sunday, July 16, 2023

Tim Holtz Distress Embossing Glazes!

Today, I have a card to share with you that I made using some of the wonderful new Tim Holtz Distress Glazes!  
I die cut the Simon Says Stamp Fancy Happy Birthday die, and layered it a few times.  I then masked the die cut sentiment in sections, and used the Simon Embossing ink and a different colored glaze on each section.  I also used two Simon Says Stamp balloon dies from their newest Out of This World release, using two of the glazes for them, and white floss to keep them flying but grounded!  I adhered everything to the Simon Says Stamp Mini Slimline Lattice die.  Here's a close up of the cool shine of these glazes!...
Hope you are having a great weekend...more to come with these fun glazes!
  Thanks for visiting me today!! Hugs!! Lisa

Thursday, September 15, 2022

Mini Blooms

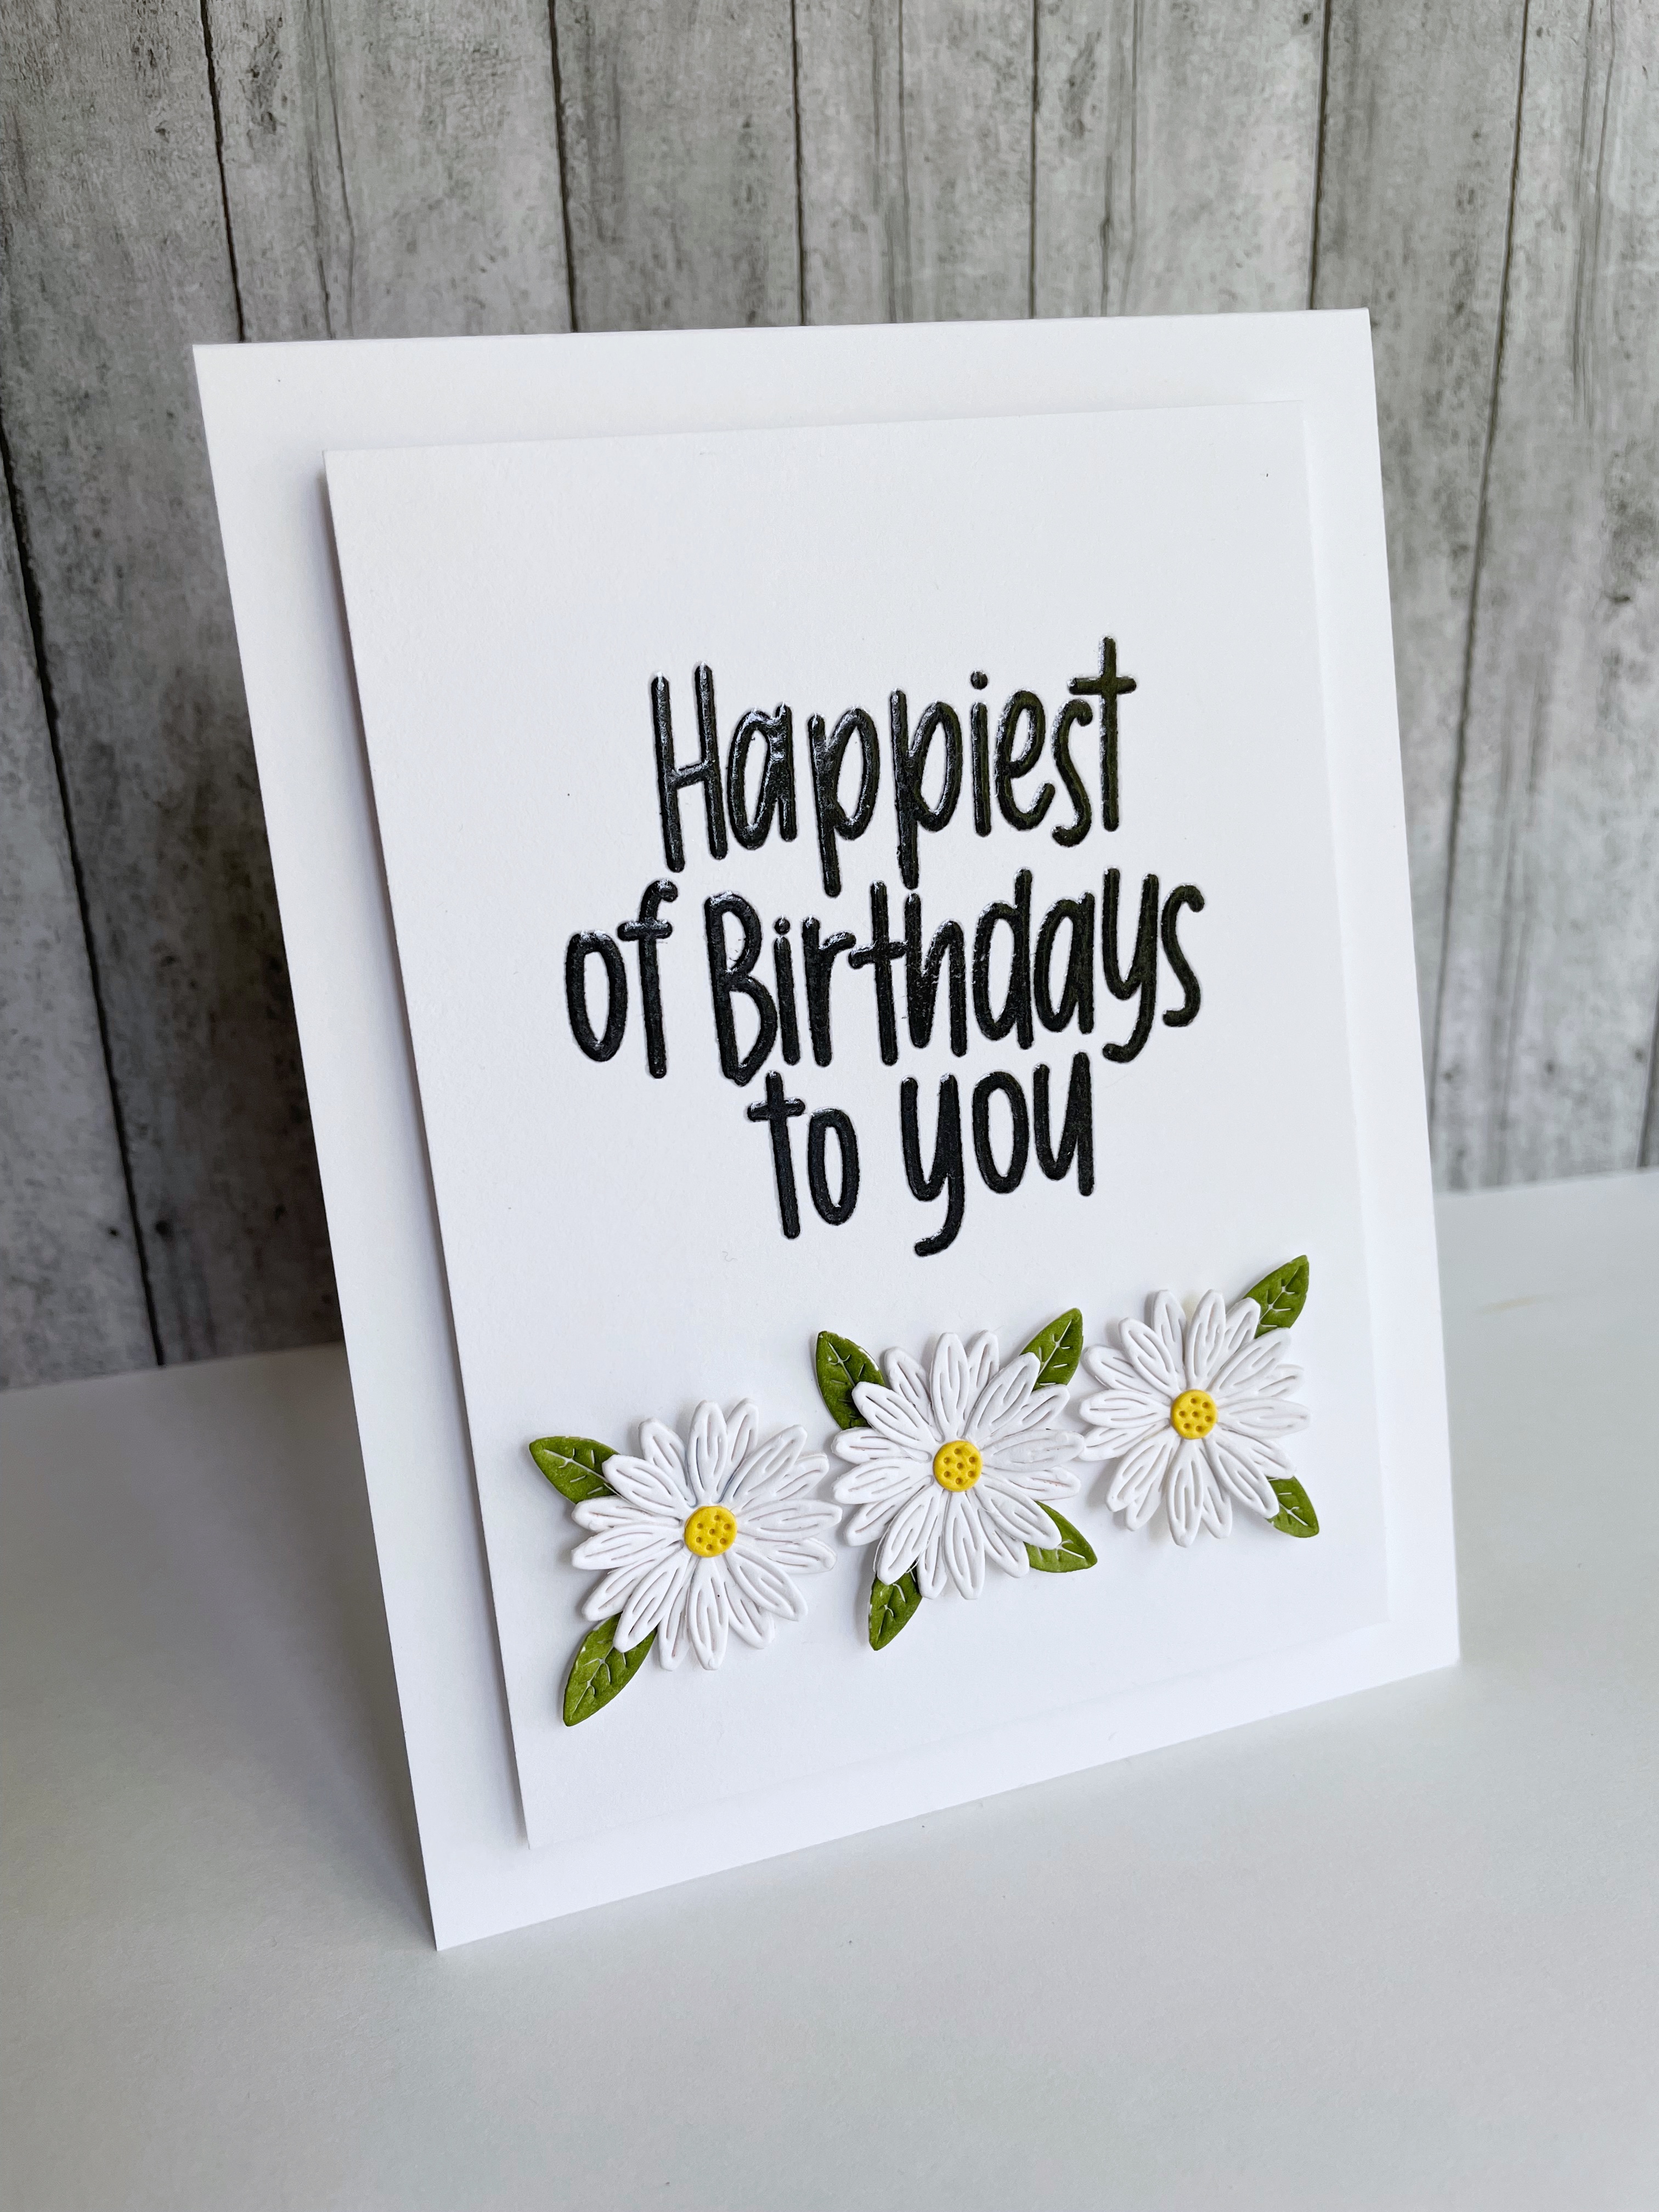
I have used the pretty and sweet Spellbinders Mini Blooms Etched die set, to make a couple daisy/black-eyed susan cards...
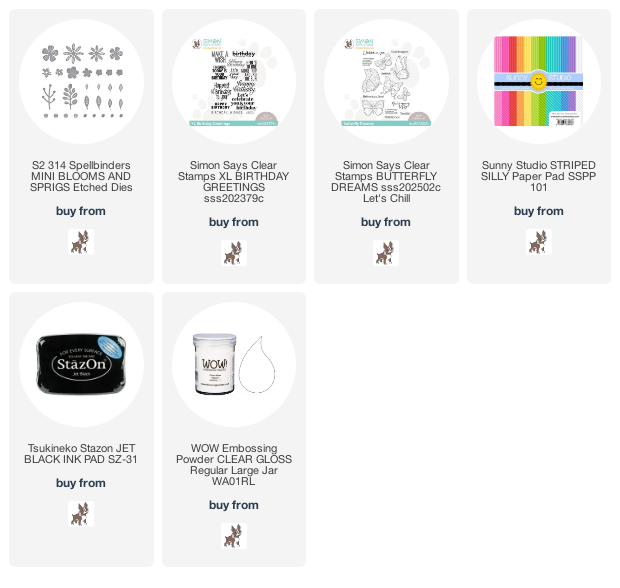
I die cut the daisies, doubled the bottom set of petals, and adhered to a panel, along with marker colored leaves, with a Simon Says Stamp sentiment!  I stamped the sentiment with black ink, and after stamping, stamped again with versamark and used clear embossing powder, to give the sentiment shine!  I popped up the panel on the card.  Here's a close up...
The second card, I turned the daisies into black-eyed susans, plus a couple daisies...
I made them the same way as the first, this time adhering to a striped piece of cardstock.  I added a stamped Simon Says Stamp sentiment, and popped up on a card, like the first.  Here's a close up...
There are so many pretty flower, sprig, and berry dies in this little set...oh if I only had more time, I could make cards for a while with all these sweet mini dies!  Such FUN!!
Thanks for stopping by today!! Hugs!! Lisa

Sunday, August 7, 2022

Blooming Tree Christmas

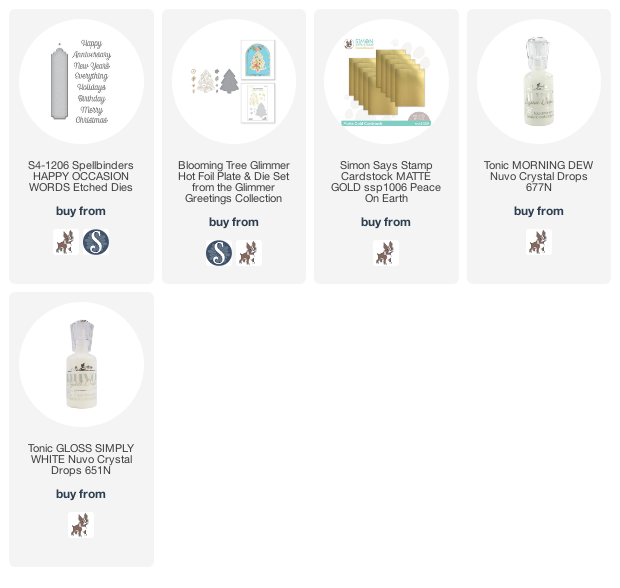
I have made a Christmas card with the pretty new Spellbinders Blooming Tree Hot Foil plate/die set, from their Glimmer Greetings Collection, and their Happy Occasion Word dies...
I am loving Hot foil dies, of late, and this one is wonderful.  I originally simply colored the flowers and leaves of this tree.  I decided simply coloring the flowers and leaves didn't give the tree enough life/color, it "needed" something more, so I colored the tree!  I addded the die cut and layered sentiment.  I adhered them to a panel that I had used my old but much loved Cuttlebug snow embossing folder, then adhered that to a marker colored (the same green as the tree), and gold stripped card.  I added some white enamel accents, and Tonic Morning Dew drops to the flowers and berries on the tree.  Here's a close up...
Hope you have a bright and shiny rest of your week!  
Thanks for visiting me today!! Hugs!! Lisa

Saturday, August 6, 2022

Parcel and Post Hearts

I have made a couple cards using the Spellbinders Parcel and Post Heart Decorations from the Parcel and Post Collection...
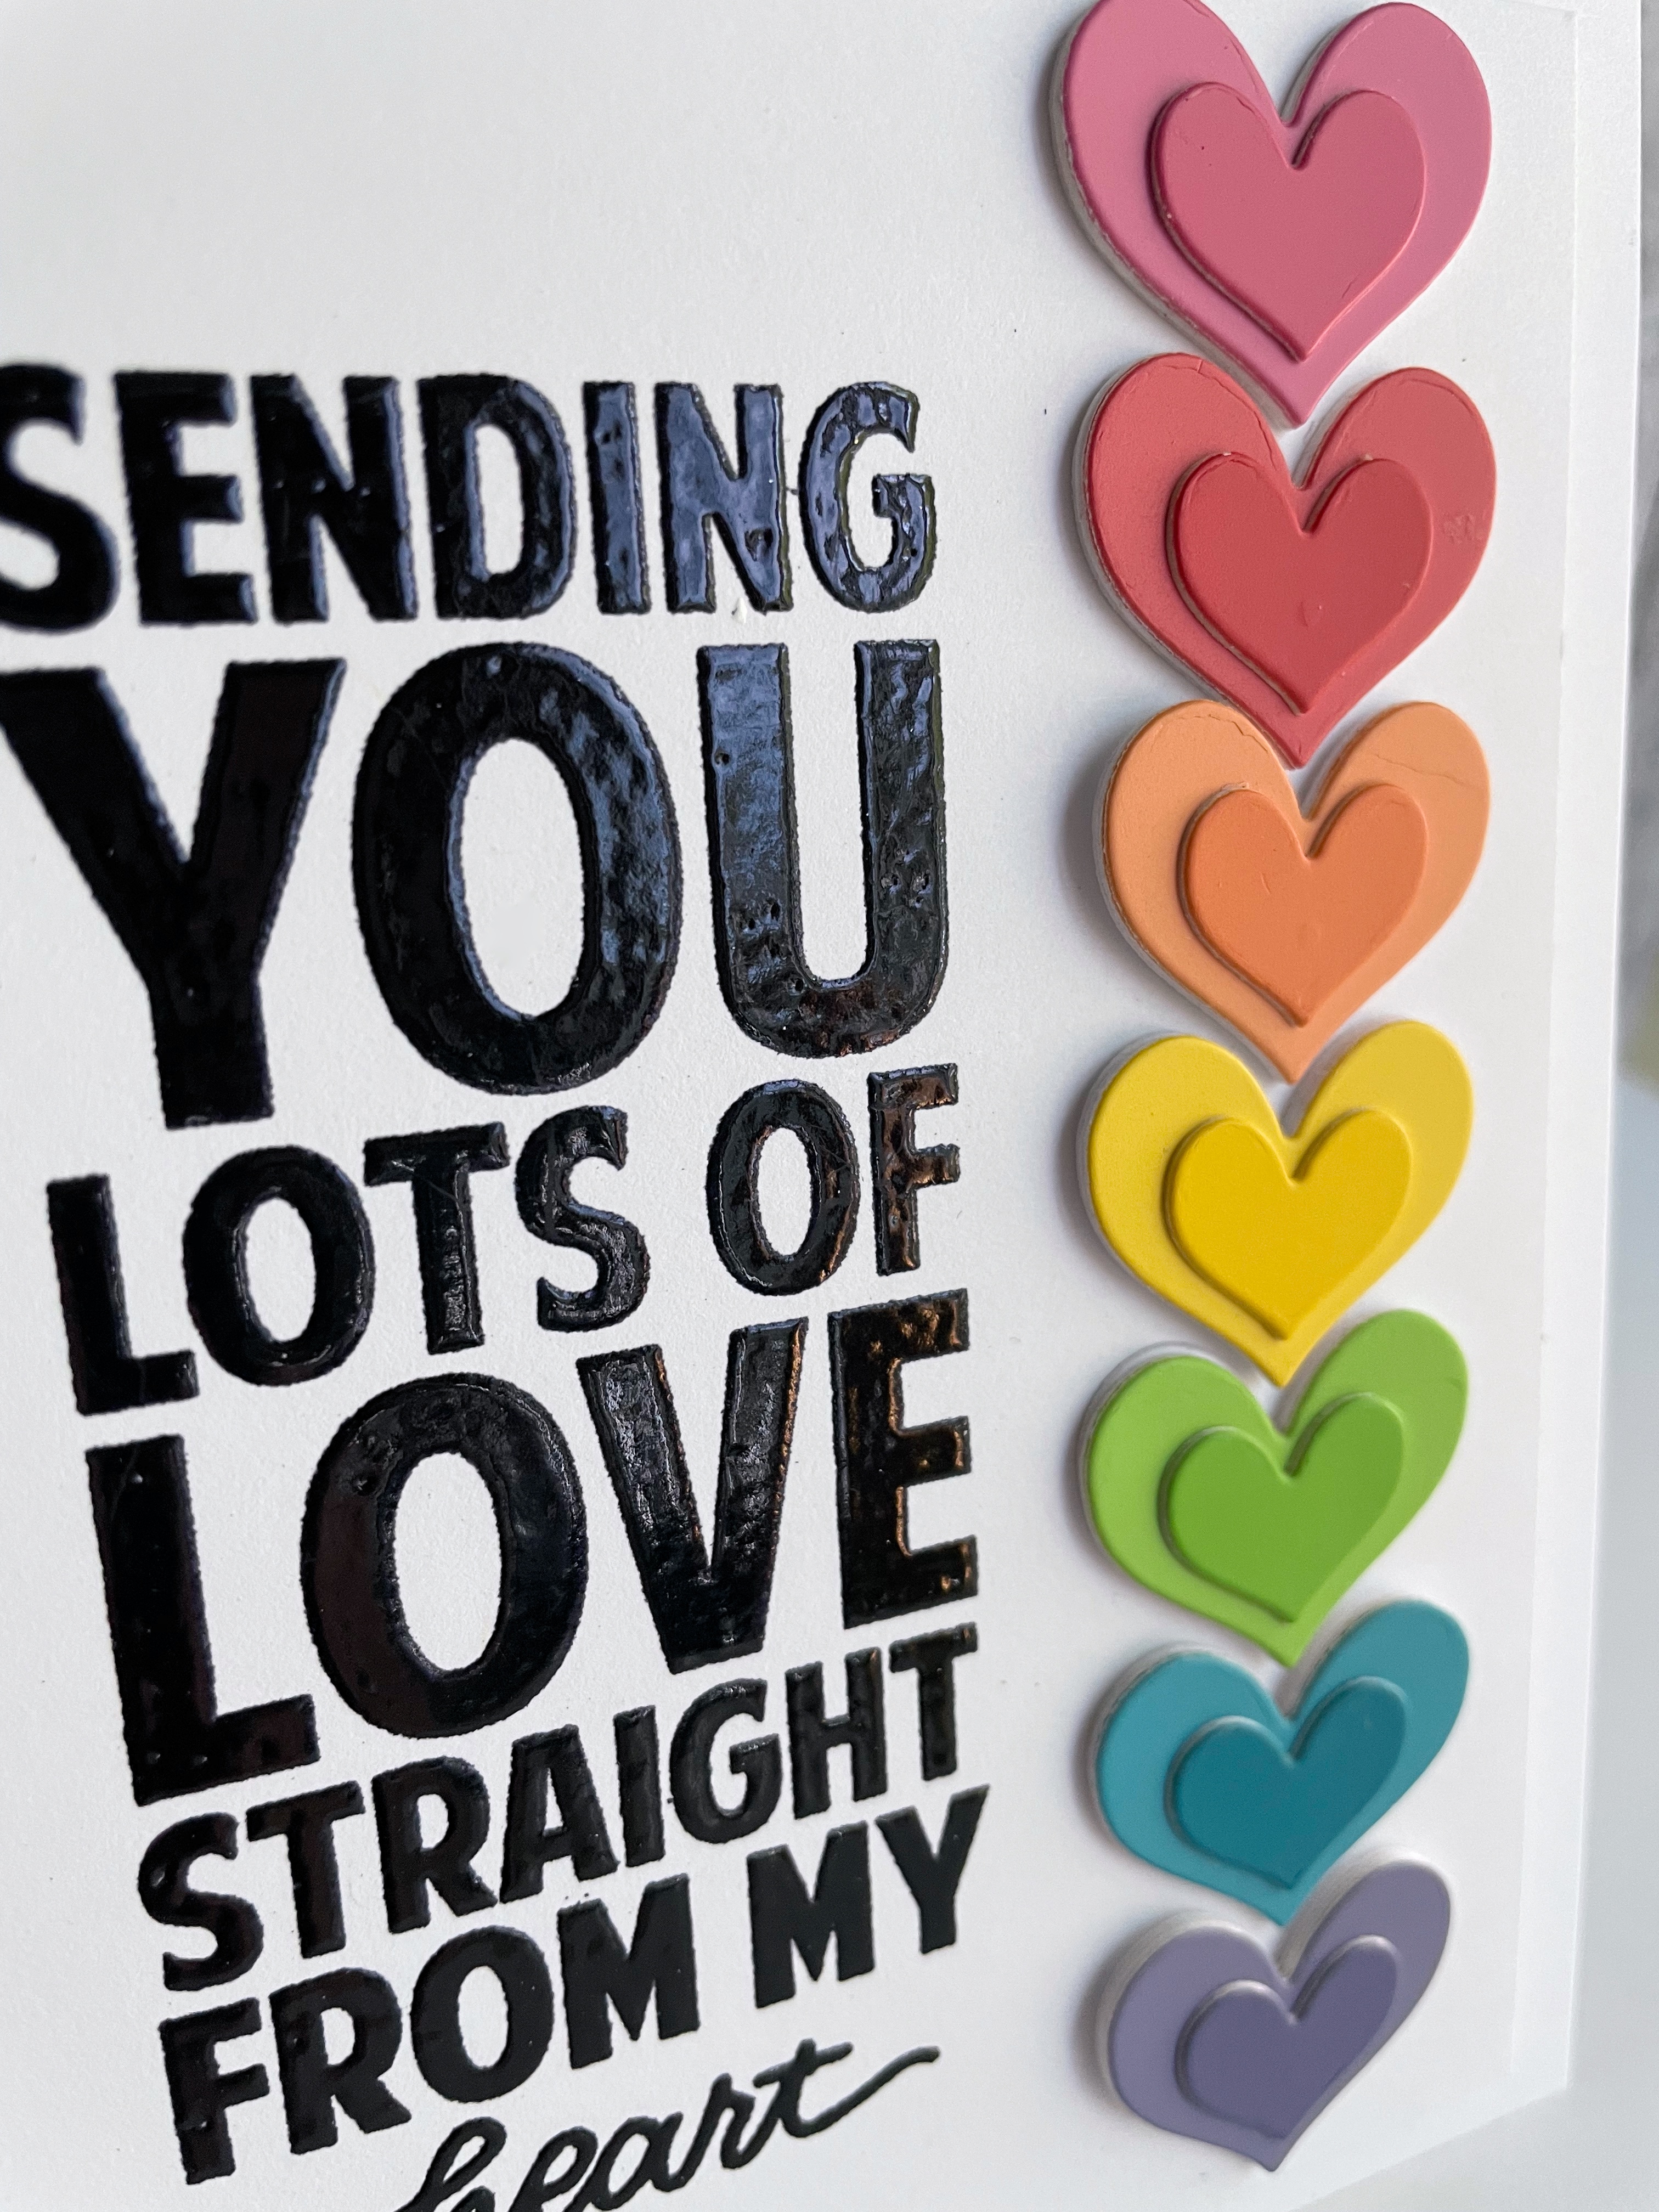
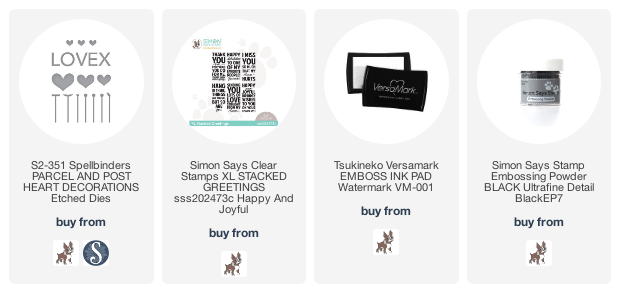
I used the trio of heart dies from this cute set of dies for both my cards, and the "LOVE" sentiment die set on this first one. My sister told me to make a rainbow with all the hearts, and I thought that sounded perfect, so that's what I did!   I used 7 paint chips that had three shades on them, and die cut the set of three hearts from each of the shades...21 cuts.  I used the lightest shades for the smallest hearts, and the the darkest shades for the largest hearts.  I layered each of the hearts twice and adhered them in a rainbow over the layered "LOVE".  I added some Tonic jewel drops on the heart and popped up over a black panel and then card.  Here's a close up...

The second one, I used the leftovers from the first...
I layered the hearts, then adhered the smaller, darker hearts over the larger.  I used a Simon Says Stamp sentiment stamp, stamped with versamark and black embossed.  I adhered the hearts to the panel and poppped up over the card.  Here's a closeup...
Hearts and rainbows...doesn't get much more fun or loved  than this, for me!  Hope you are having a super weekend!! Thanks so much for taing the time to stop by!  Hugs!  Lisa

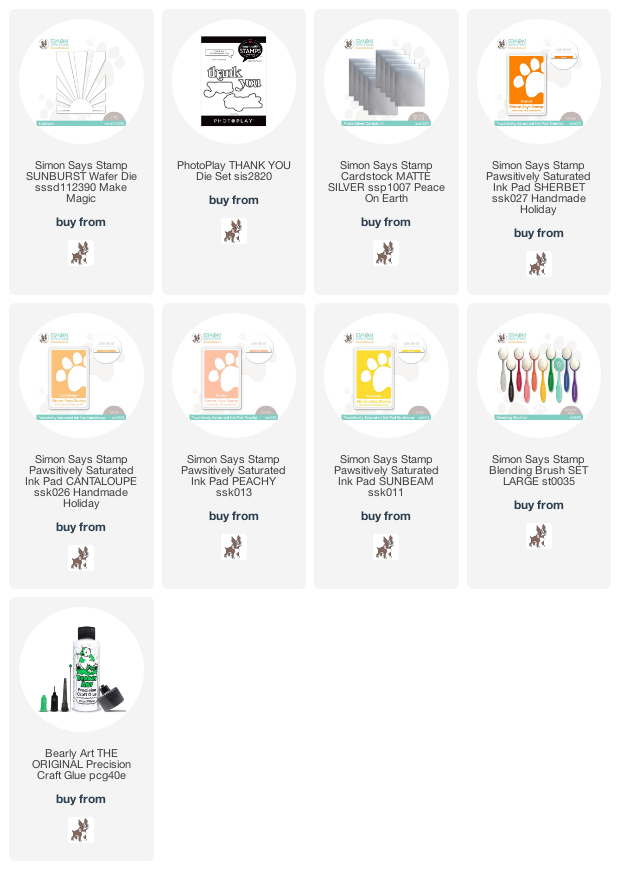
Sunburst Thank You

I've made a card with the Simon Says Stamp Sunburst and Photo Play Thank You dies, for a requested thank you card for my daughter to give to a friend...
She wanted a thank you card with a sun, and for it to be melon colored....the Simon Sunburst was my first thought to create the card she was thinking of.  I die cut, blended the inks, and layered the sunburst,  I cut it down before layering...kind of liked the border that it created.  I added a cool die cut and layered thank you, and done.  Simple and I have to say, I think it turned out kind of  cool!  Here's a close up...
Hope you have a sunny day...but not too hot, although I am recently having a hard time imagining the not too hot part...ha ha!!  
Thanks for taking a look today!! Hugs!! Lisa

Saturday, July 23, 2022

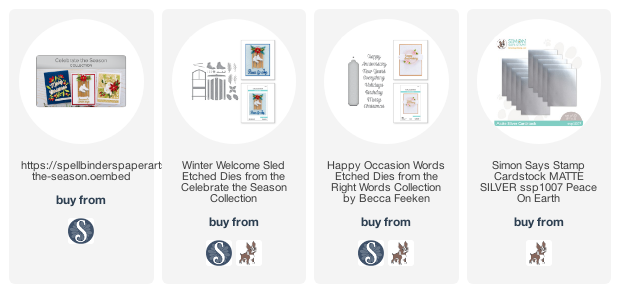
Winter Welcome Sled

 I know I'm on the tail end of Christmas in July, but I have made a Christmas card using the Spellbinders Paper Arts Winter Welcome Sled die set from the Celebrate the Season Collection...
This sled took me back to my childhood, and I love it!  Growing up in a suburb of Buffalo, NY, we never lacked for snow, and sleds were part of our winter makeup!  I die cut 2 of all the pieces, and layered them.  I adhered them together, and then die cut the "screws" from silver cardstock...to me it's all in the details! I added some thicker twine , and a layered die cut Spellbinders sentiment.  The embossed snow was made with a very old and very loved Cuttlebug embossing folder.  I framed the whole thing on a silver cardstocked card.  Here's a close up...
More to come before the month is over, for Christmas in July!  Have a great weekend!!
You are appreciated by me!! Hugs!! Lisa

Thursday, June 23, 2022

One Die, Two Different Flowers

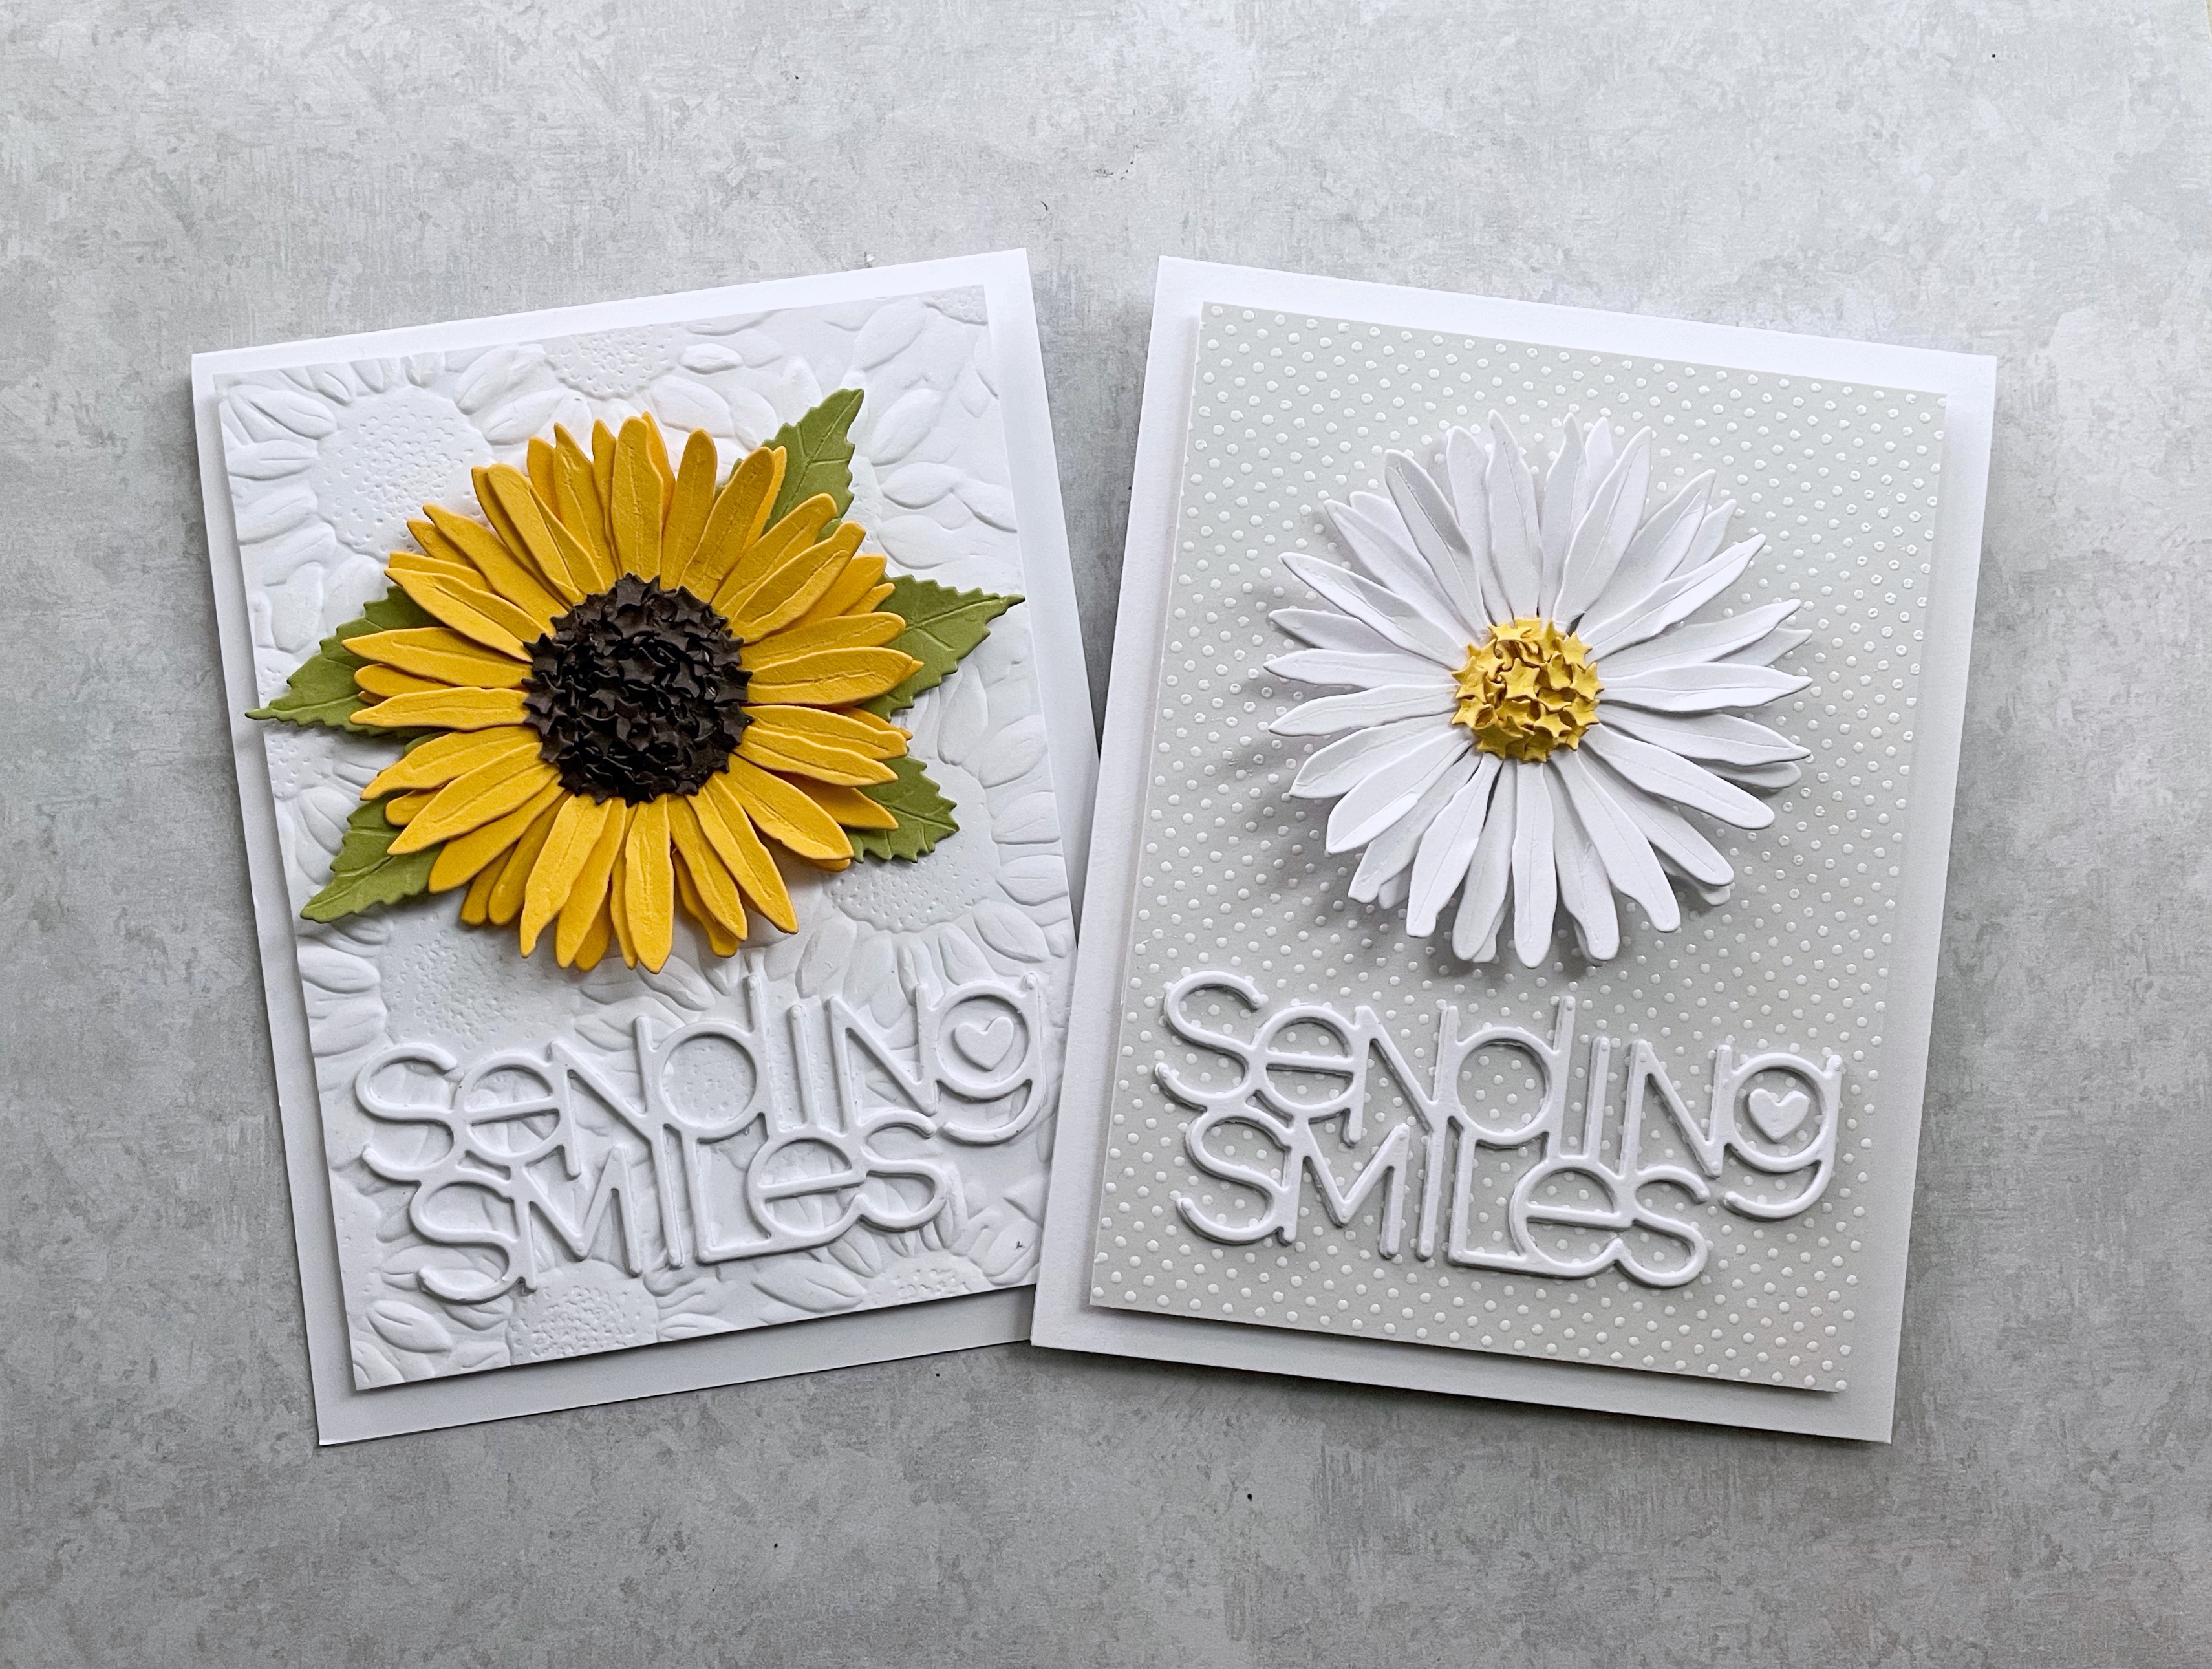
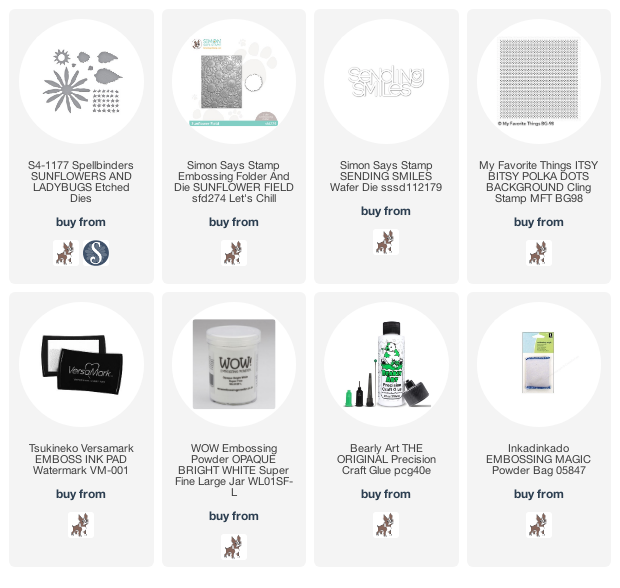
I used the beautiful Spellbinders Sunflowers and Ladybugs die set, to make a card with a sunflower...and then used it to make a card with a daisy!...
I have combined both cards with the same Simon Says Stamp sentiment die, but with different backgrounds.
I started out by using it as it was intended, as a sunflower.  I die cut three of the petals, and then used a scoring tool, to make lines in some of the petals and bend some of them, giving the flower some added interest and dimension.  I did the same with the leaves.  The center is made up of little star type die cuts that I used an old Stampin Up piercing pad to push each in the center with a rounded piercing tool, and make them slightly rounded.  I then adhered them to the center, first using some glue dots, and with the ones on the outer places, just plain glue.  I chose a pretty new Simon embossing folder, with sunflowers, for the background.  I added the layered sentiment and popped up the panel on the card.  Here's a close up...

Then, I thought...hmmm...if I just make the petals white and the center smaller and yellow, I could make a daisy...so I tried it...
I made it just like the first, except for the background. At the end, I decided I liked it with no leaves...I liked all the wonderful white with just the pop of yellow, so no leaves.  The background was done with a light gray paper, and the My Favorite Things Itsy Bitsy Polka Dots background stamp. I stamped with versamark and white embossed.  I used my Misti and made sure that I swiped the paper with my static bag before stamping and embossing.  Here's a close up...
Okay, not going to lie, these cards were fun to make and they make me happy!  Hope you are having a great middle-of-the-week day!  
Thanks for stopping by my blog today!! Hugs!! Lisa

Wednesday, June 15, 2022

Spellbinders June 2022 Collections Cards

I have made a couple cards to share with you today, from Spellbinders new The Right Words Collection,  and the Just Wanted to Say Collection...
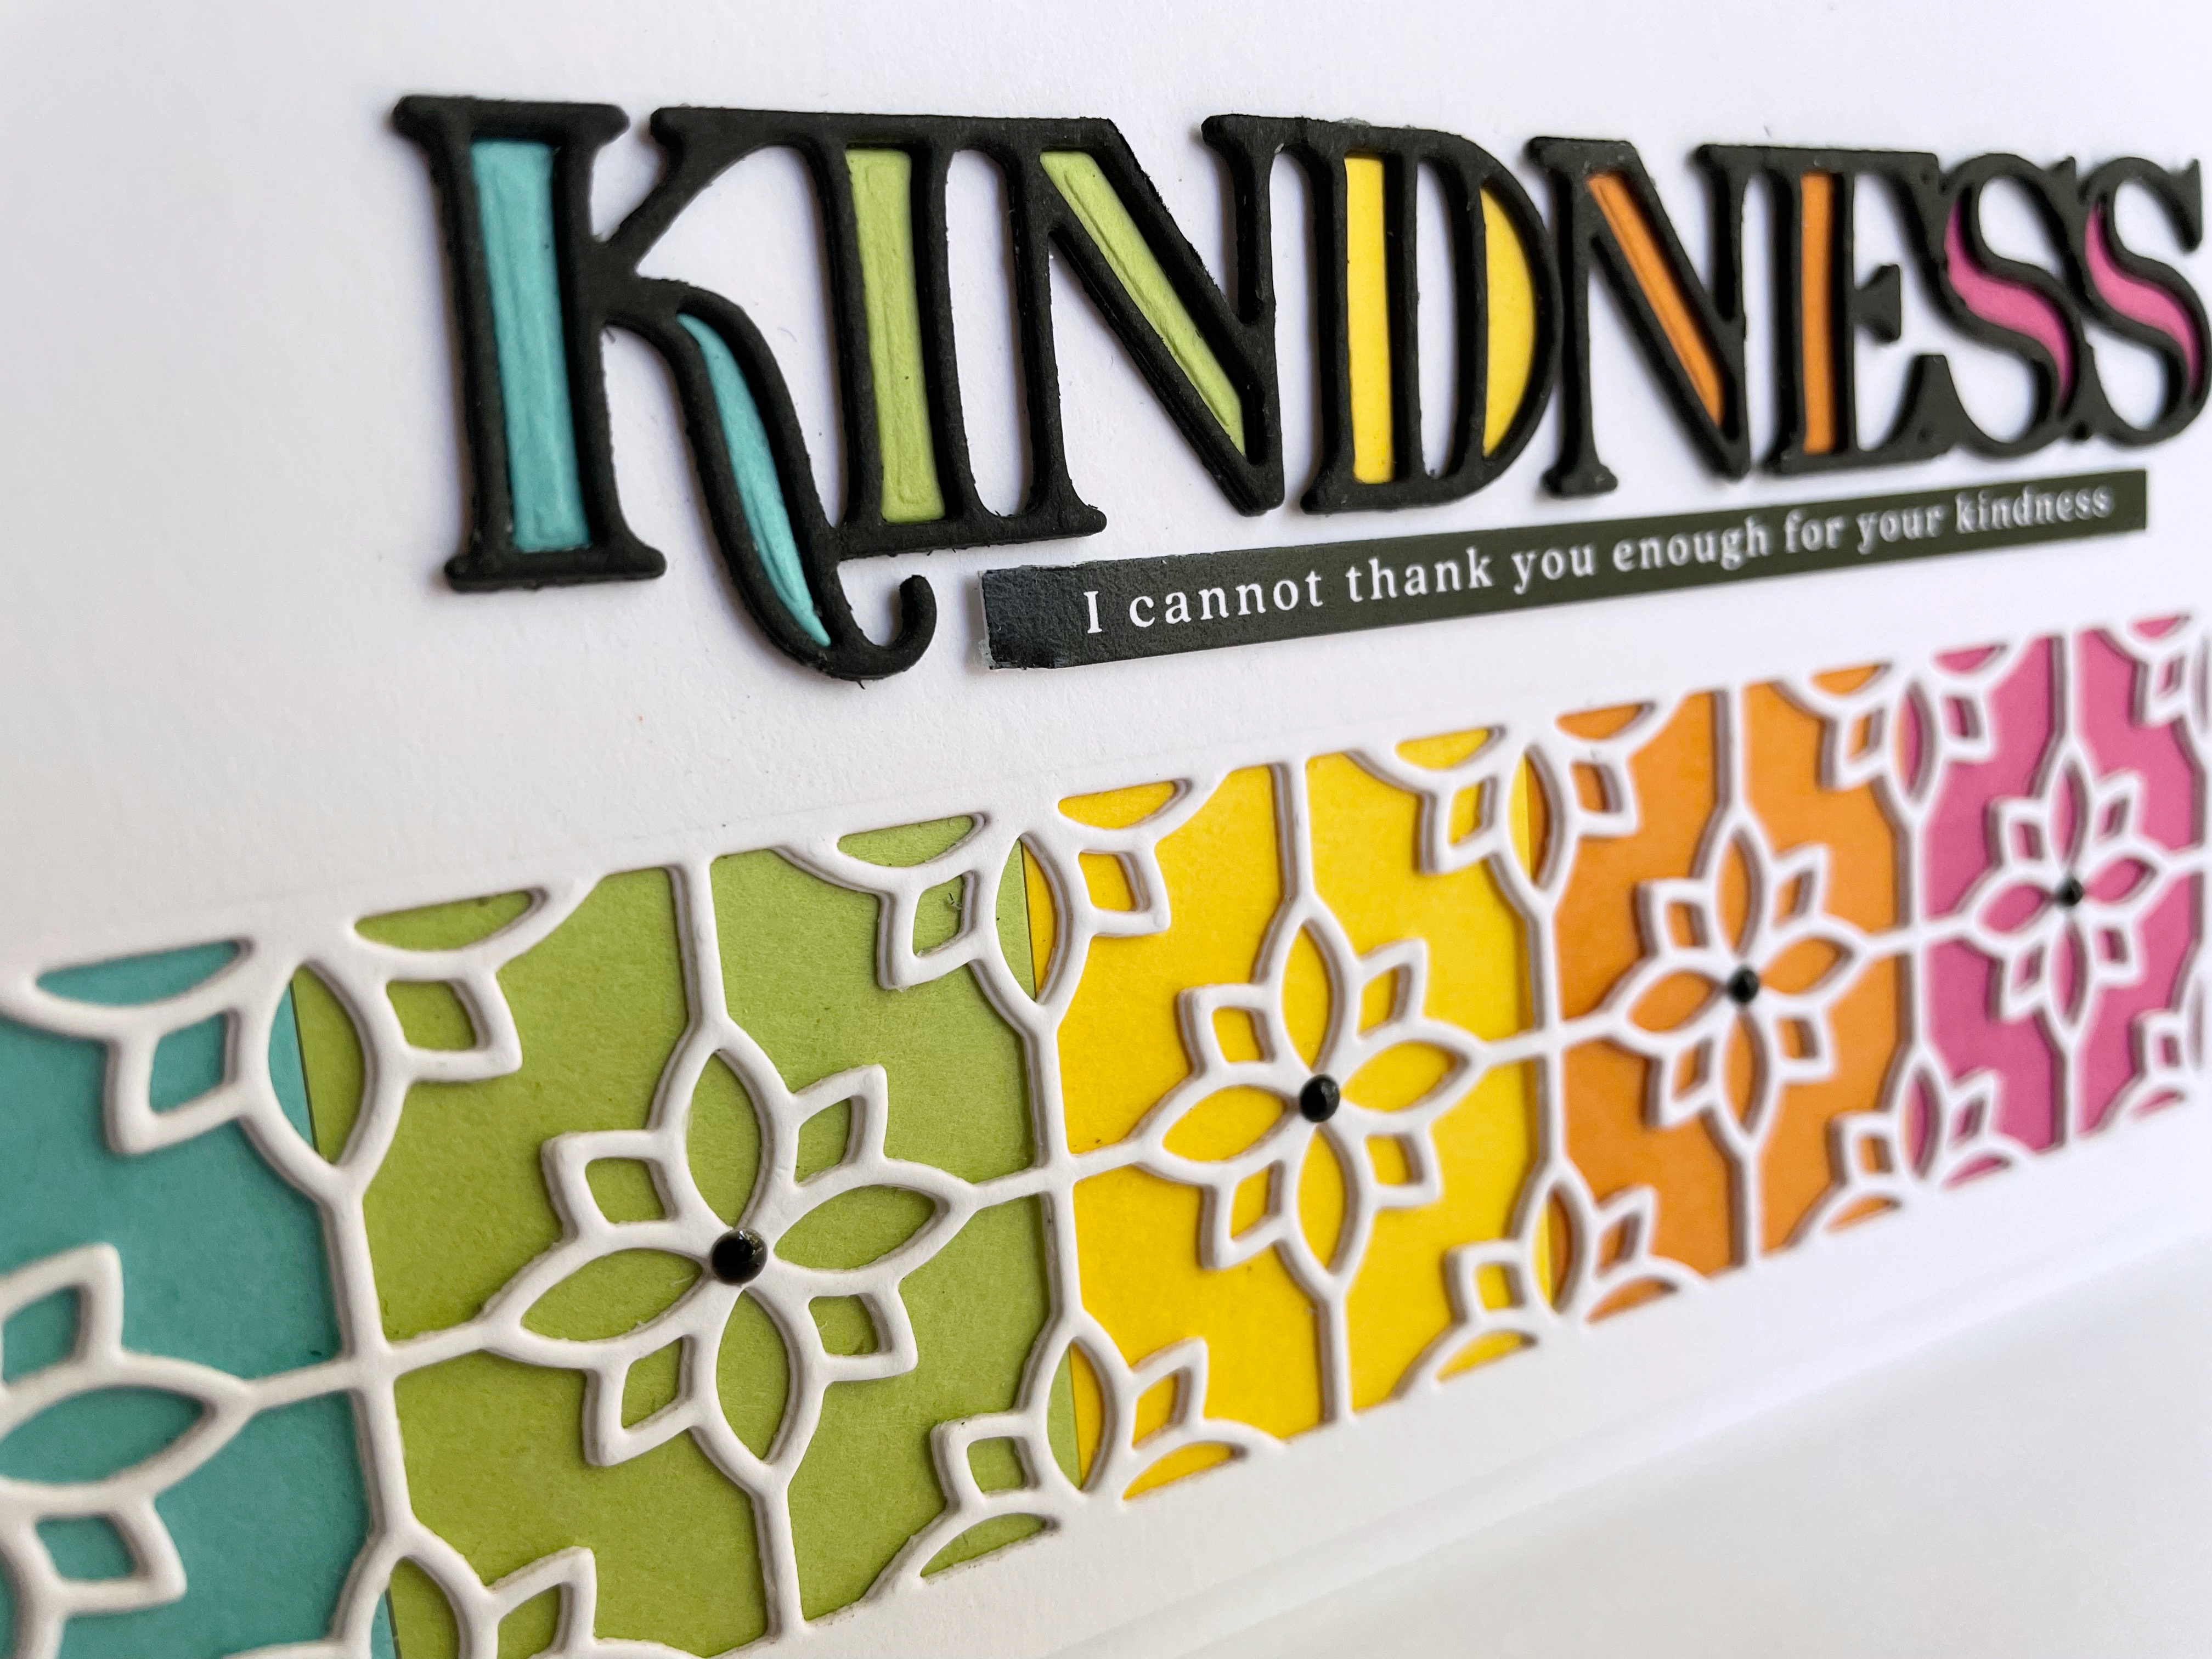
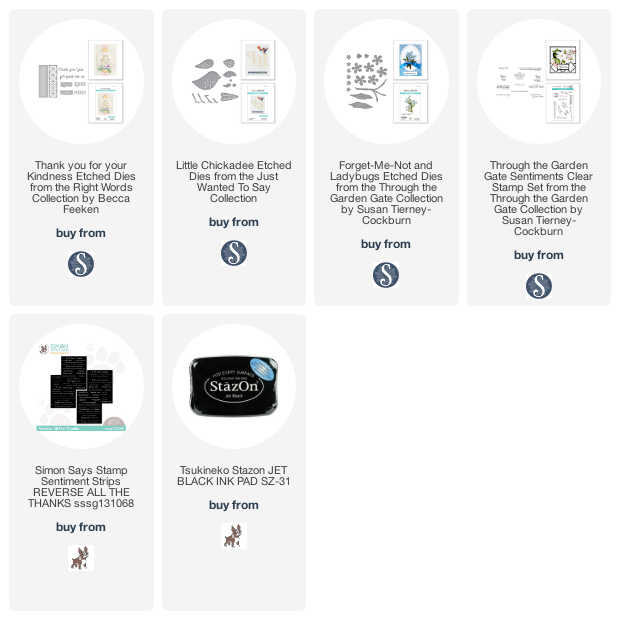
This first card is from a set of dies that is designed to have lots of possiblities for the sentiment, Thank You for Your Kindness set.  The "kind" and "ness" are separate and there are a number of other sentiment dies that come with the set, so a "kind" or "kindness" card are both possible!  I chose to do rainbow of course, for my color combo for not only the flower border, as well as the sentiment.  I layered and adhered both, and added a Simon Says Stamp sentiment strip to complete the "kindness".  Here's a close up... 

My second card, below is my little yellow finch amidst some flowers...
This cute little bird is made with a wonderful set of dies, Little Chickadee, with dies for everything from the beak to the tail plumes to the feet...a die for every part of him.  I die cut all the pieces and he went together very easily.  I paired him wthi a flower and branch die from an earlier collection(below), and a Spellbinders sentiment stamp(also below).  Here's a close up...
Hope you will check out the wonderful new collections over at Spellbinders. lots of fun!!  
Thanks for stopping by, today!! Hugs!! Lisa

Monday, May 30, 2022

Flower Filled Paint Brush

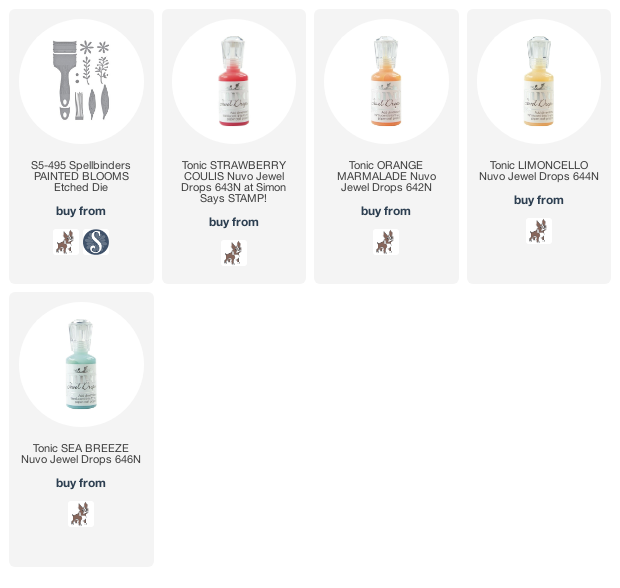
I have made a card with the wonderful Spellbinders Painted Blooms die set that I have had for a while, but finally made some time to play with...
I made this card with no particular recipient in mind, until my granddaughter saw it while facetiming one morning.  When she last visited, she was enamored with the paint brushes I had(I have been trying to get a bedroom finished for a while, now!).  She loved this flower filled paint brush when she saw it , so I finished it with her in mind.  I die cut all the various pieces, adhered them together, and finishing it, decided to put some bristles on the back side, as well as the brush parts, so my granddaughter can take it off the card and carry it around.  The pictures below show the front and back(the picture was taken on my puzzle mat that had alot of puzzle dust on it).  The back has three glue dots that I put on it, to keep it adhered to the card.  
I couldn't find a sentiment that fit what I wanted to say, so I made my own.  I used the Noteworthy font on my Microsoft draft, and printed it off with my cardstock. Isla DOES add such wonderful color to my world!   I added some Tonic Jewel drops, and popped up on card      
                           
I LOVE this Spellbinder set...such a wonderful, realistic and pretty-with-the-flowers paint brush!
Thanks for visiting me today!! Hugs!! Lisa
Saturday, May 14, 2022

Stitched Alphabet Thanks

I have used six of the cool new Spellbinders Stitched Alphabet dies from their new Stitched Alphabet collection, to make two thank you cards...
This first card I used white cardstock with black floss to stitch my letters.  I die cut four of each letter, and only added adhesive to the ends of the letters where there was no stitching.  I stitched all the letters while I was talking to my sister, yesterday morning!😊  I used the borders of the letters to cut out a panel-long border for the letters.  I popped up that panel on a piece of rainbow paper and then onto a card.  Here's a close up...
The second card, I put the letters side by side and did not stitch them...
Again, I die cut the letters four times each, the top layer the only one with color...I used paint chips for each letter.  I just wanted you to see how I cut the frame out for the letters...
I die cut each letter from printing paper, then lightly adhered them to the piece of cardstock that I want for my card, placing the letters just where I would like them to be on the card.  I then used three of the six borders, adhered them over the letters on the cardstock and die cut them.  I then used the other three dies, and die cut the remaining three letters, and a really cool border is created!  I then ran it back through my Big Shot with a piece of burlap over it and the panel had texture!  Then, I popped up the cut out panel, adhered all the letters in place, and added the sentiment below and done!  Here's a close up...
I had so much fun with these dies...stitched or not stitched...fun!!  Hope you have a great rest of your weekend!!  
Thanks for checking out my blog today!! Hugs!! Lisa