Showing posts with label Poppy/Memory Box Stamps. Show all posts

Friday, September 11, 2020

Baby Shark 1st Birthday

I wanted to share a card I made for my grandbaby's 1st birthday...
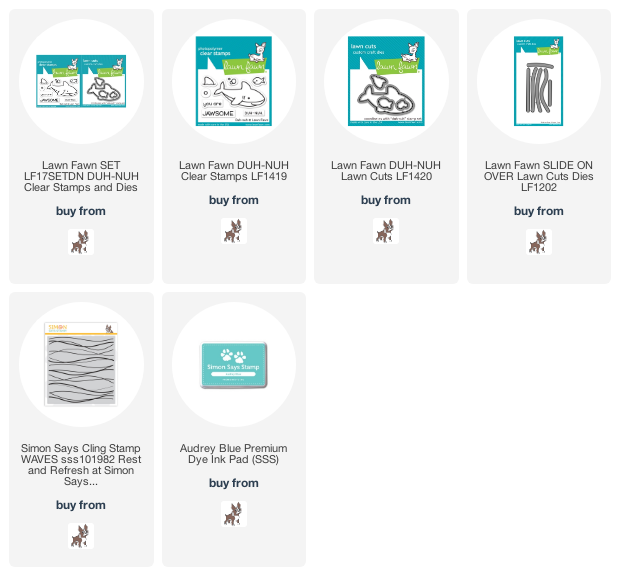
My pictures were taken in my son Noah's van!  I had forgotten to photograph the card until I was on the way to give this to my little man, so I used the dashboard of the van for my photo shoot(this was shot at a red light😄)!!  Gabriel LOVES the Baby Shark video, so I chose to make him a baby shark card.  The baby shark in the video is yellow, so the shark on the card had to be yellow.  I used the Lawn Fawn Duh-Nuh stamp/die set for the shark.  Duh-Nuh...it took me a bit to figure that one out.  Duh is a word I use at my stupidity...like not taking a picture of the card before on the way to give it away!  BUT, when you put the Duh together with the Nuh...it's...JAWS!!  DUH!!  
Anyhow...die cut, colored, layered  and adhered the shark to the penny behind the die cut slider, which was made with a die also from Lawn Fawn.  I decided after my last slider card, to buy a set of dies that are MADE to make slider cards, rather than make my own...life's too short!  The waves were done with a Simon Says Stamp Waves background stamp, the discontinued "happy birthday" is Jumbled Happy Birthday by Poppy Stamps, bent after layering to kind of follow the waves.  The "st" is Papertrey Ink and the "1" is Simon Simple Numbers(retired too, it would seem).  I just realized the "Happy 1st" should have been a tad more to the left...oh well...perfection is highly overrated?!  You get the idea, right?!  Here's my beautiful little guy at the beach with his shark trunks...he is such a sweet boy...he brings such joy to my life...
Here's a close up...
and here's a video showing the baby shark moving back and forth...
...a penny under the image you're trying to slide is perfect!!  
This card was fun...love to make cards that are meaningful, for my family!
Thanks so much for visiting me today!! Hugs!! Lisa
Wednesday, April 29, 2020

More Hugs

I made another card with hugs, today, using two Poppy Stamps dies and a Poppy Stamps sentiment stamp set...
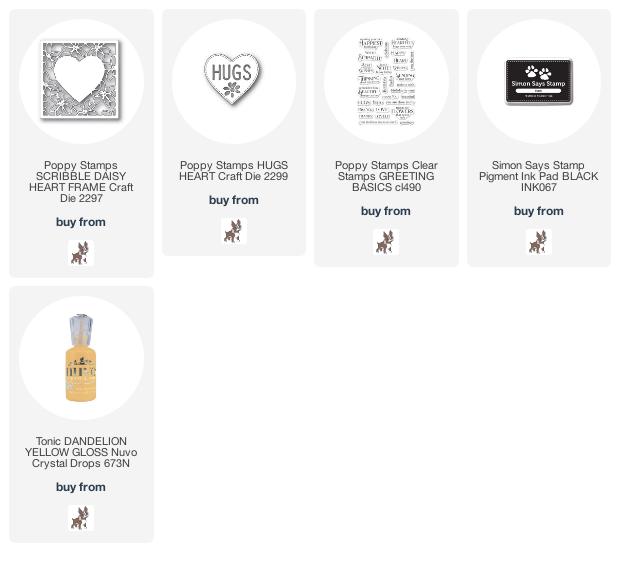
 I die cut the Scribble Daisy Heart Frame.  I used my tombow adhesive runner and adhered all parts of the frame and flowers.  I then die cut a second frame and placed it on top of the adhsesive filled die cut.  I then die cut the frame again, in purple, and placed all the pieces of the flowers into the waiting adhesive filled die cut.  I then added one more die cut frame over the two, using glossy accents. I added the die cut and layered the Hugs Heart die, and added some tonic drops to the flowers' centers.  I used one of the perfect sentiments from the Greeting Basics sentiment stamps set.  Here's a close up...
Such fun...Hugs to you all!
Thanks for visiting me today!  Lisa

Monday, March 16, 2020

Big Thanks

Today, I've made a thank you card using Poppy Stamps Thanks Outline, their Greeting Basics stamp set, and some patterned paper...
I adhered three shades of blue striped paper together and die cut from the adhered papers.  I layered the letters, and then adhered them to a layered outline.  I adhered the whole sentiment to a piece of patterned paper, that I had stamped the sentiment from the Greeting Basics set.  Here's a close up...
Clean and simple is the name of my game...another fun filled card...
Thanks for visiting me today!! Hugs!! Lisa

Saturday, February 29, 2020

Remember the Brayer?

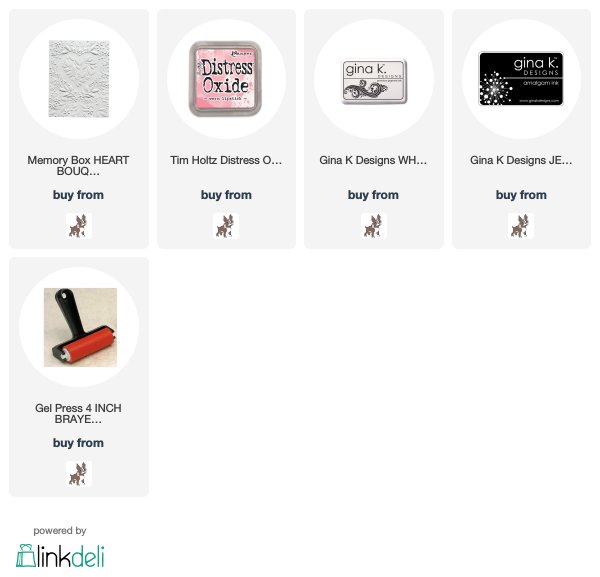
I just love the Memory Box Heart Bouquet 3D Embossing folder...it is so, so pretty!!  I have made three cards(no sentiments as of this writing) with this folder using paper, ink and my long forgotten... brayer!...
Do you remember this tool??  Well, maybe you do or don't, but I had forgotten about it until I made these cards! 
 I last used it maybe 10 YEARS ago...and only thought of it when I embossed a white piece of cardstock with this pretty folder, and thought...I'd love to see some varied color...hmmm...enter, MY OLD BRAYER!!  For those of you who may not know what this is, it's a tool you can use for a variety of techniques.  For embossing folders, I remembered that you can roll ink onto one side of the inside of the folder, with the brayer...rolling ink onto the flat side of the folder...the side with none of the raised pieces(never sure if it's the negative or positive).  You close the folder and run through your machine and the ink is left on the flat part of the folder's impressions.  
For the first card, I used a very light pink piece of cardstock.  I rolled Worn Lipstick distress oxide ink all over my brayer and the result is that it gave the embossed background a darker pink than the cardstock and the impression of the folder!  Here it is again...

The second one, I used a darker piece of pink cardstock, and some white ink on my brayer...

The third one, I got a little bold and used black on white cardstock...
By the third one, I actually had gotten over my sheer giddiness, and took a few pics...
I first embossed the white paper, by running it through my Big Shot.  I kept the paper on the folder where it had been embossed, while I brayered with the black ink on the other side.  THEN, you put the inked side ONTO the white embossed paper, and all is well...then run it through your machine.
After it came out of my Big Shot, this is what it looked like...hmmmm....definitely in need of more ink!  AGAIN, don't touch the paper, keep the embossed paper ON the folder while you ink up the other side.  THEN, bring the inked side TO the already embsossed side, and run it through your machine.  Here's the second time through...
Better, but I inked some parts of the folder a couple more times, where ink was lacking on the paper, and what you see above is what it became...pretty cool, right?!!  And...simply pretty!!!  I may put sentiments on them eventually, but I think they're pretty sweet, simply as they are!!
Such fun bringing new life to an old tool, and enhancing such a lovely folder!!  Thanks for visiting me today!! Hugs!! Lisa
Saturday, February 15, 2020

Giraffe Love

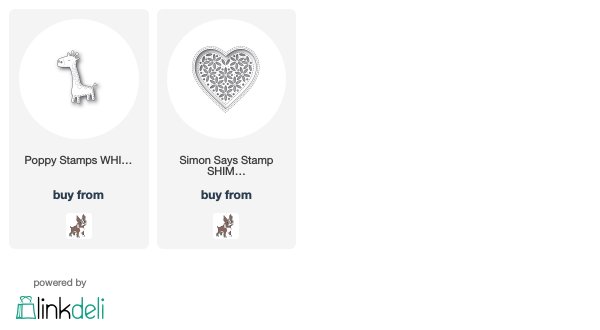
Okay, I know it might seem that I'm a day late for love, but as I've said before, hearts and love are for everyday!  I have made a card with the the ADORABLE little Poppy Stamps Whittle Giraffe die and Memory Box's Mini Vintage Varsity Alphabet dies...
 This little guy is so stinkin cute!!  A little die with such great personality and charm!  My mom LOVED giraffes...she had a massive collection of them, a number of which I have inherited!  I always liked giraffes, but they have become a love of mine, now, too!!  I die cut, colored, and layered this little guy.  I die cut and layered the letters, too.  I LOVE this alphabet die...it die cuts FOUR of each letter of the alphabet, all in one run through on the die cutting machine...making it easier for layering!  I put the letters in a die cut heart from Simon Says Stamp's Shimmer Heart die...thought the stitching from the heart went with the stitched giraffe.  The little oval the giraffe is standing on is from the My Favorite Things Oval Shadows dies(I think they were retired...but maybe they'll come out of the vault sometime...they are wonderful for times like these!!), so the giraffe is grounded.  Here's a close up...
This little guy would be great for a baby, get well, birthday card...not sure about you, but he would make me happy no matter what  card I saw him on!!   Love and miss you, Mom!💕
Thanks for visiting me today!! Hugs!! Lisa

Tuesday, February 11, 2020

Love with Gingham Hearts

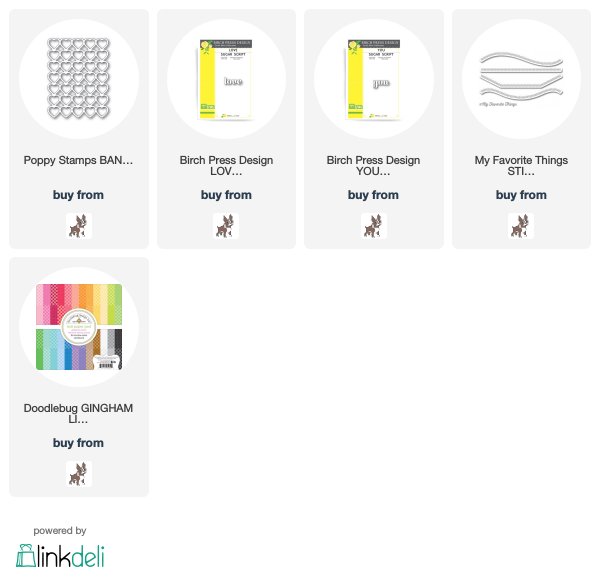
I made a card today, from some leftovers... hearts from my Memory Box Banded Hearts die and a couple Birch Press Design sentiment dies(I was going to use these on another card, but changed my mind)...
I made some cards a few weeks ago, with the Banded Hearts die.  I had a bag full of leftover die cut hearts that I will "LOVE" using on lots of cards to come, but today's idea sounded perfect.
I used some of the hearts I had already layered, and after die cutting hearts from the Banded die with four different colors of gingham paper, adhered the gingham onto the layered hearts.  I used a stitched border die from MFT Stamps, and a couple die cut layered Birch Press Design sentiments, and put the card together, with the hearts and sentiments following the curves of the border die cut.  Here's a close up...
This card has a Valentine's Day flavor, but change the color of the hearts and sentiment, and it could be for any day...hearts are for everyday!!  Such fun!!
Thanks for visiting me today!! Hugs!! Lisa

Saturday, February 8, 2020

Daisy Birthday Wishes

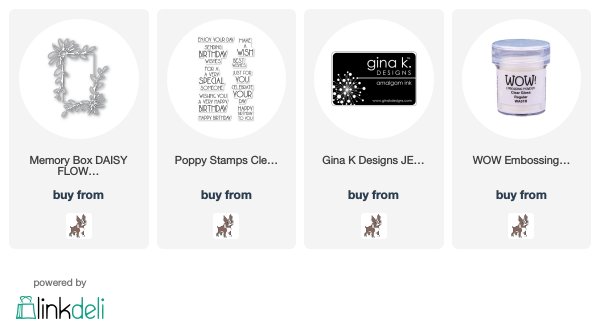
I made a birthday card with the very pretty Memory Box Daisy Flower Frame die and a Poppy Stamps sentiment...
 I thought this die was soooo pretty and love daisies, so I knew I had to have it!  I die cut and layered the framed daisies, leaving one layer of white flower petals in the die cut, and filling in the leaves with green die cuts.  I used a sentiment from Poppy Stamps Birthday Blowout.  Here's a close up...
Daisies are "such a friendly flower"...from the movie You've Got Mail...but they really are!!  Simple, pretty, friendly, fun!!  
Thanks for visiting me today!! Hugs!! Lisa
Friday, February 7, 2020

Happy Birthday Hearts

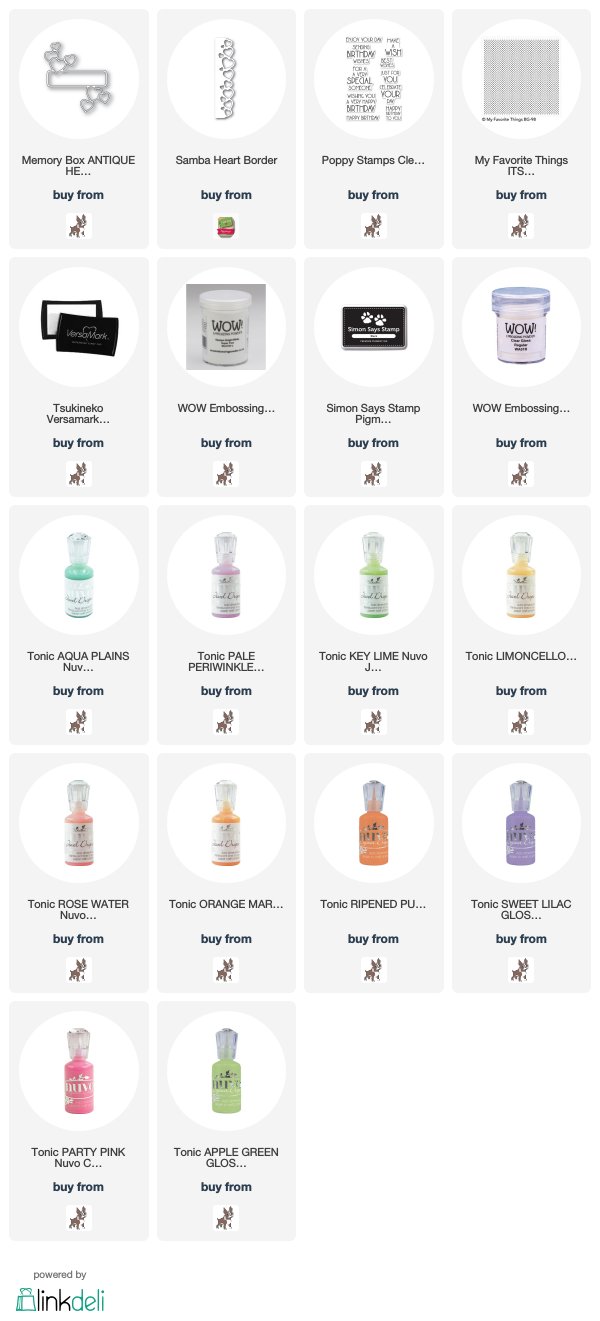
I've made a couple Birthday cards with the new Memory Box Antique Heart Label die, and one with the Poppy Stamps Samba Heart Border...all hearts...
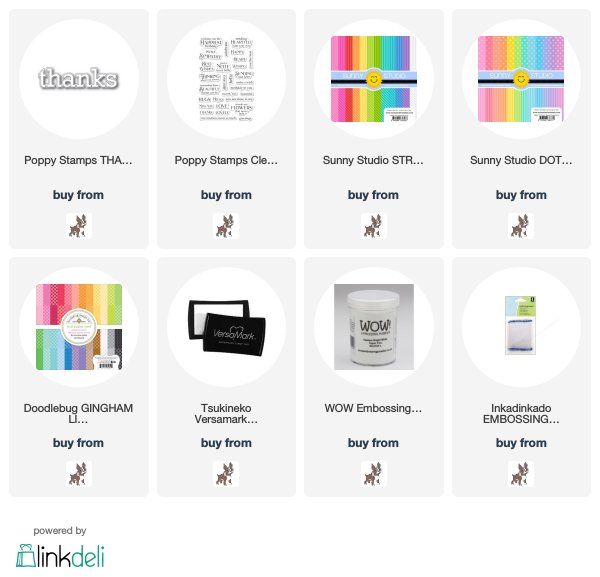
I die cut and layered the label die, filled with colored die cut hearts and dotted with Tonic drops.  The sentiment was from the Poppy Stamps Birthday Blowout(LOVE this sentiment set).  I stamped the background with a polka dotted background stamp.  Here's a close up...
The second, much like the first, but with a rainbow theme...
I used the same sentiment with some patterned embossed paper for the background.  Here's a close up...

The last one, I used the very cool Samba Heart Border die...
I used Sunny Studio patterned paper to fill in the hearts, and a scrap piece of striped paper for the border.  I used another sentiment from the Birthday Blowout stamp set...
I know I've said it before, but bears repeating...Hearts are for everyday!!  FUN!!  
Thanks for visiting me today!! Hugs!! Lisa

Saturday, January 25, 2020

Simple Birthday Wishes

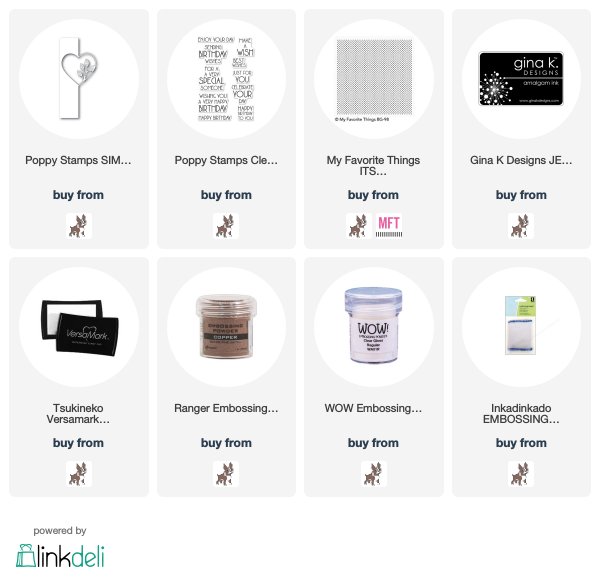
I used the beautiful new Poppy Stamps Simple Leaf Heart Split Border die to make a birthday card...
I die cut the die, then stamped the sentiment, from Poppy Stamps Birthday Blowout stamp set, love the bold statement this sentiment and it's font make with this design!  I die cut the die a couple more times and adhered under the first die cut.  I chose to stamp some black cardstock with a polka dotted background stamp from My Favorite Things with Versamark, then emboss with copper embossing powder.  I thought the leaf/heart combo would show better with a dark background, and the polka dots are small and many, I just liked it...I thought it brought a cool design to the leaf/heart die. I use this polka dot stamp a lot...and together with metallic embossing, also a love of mine... I think, so cool!!  Here's a close up...
Simple card made with a simple leaf die:)!!  Such sweet fun...sweet, simple fun!!
Thanks for visiting me today!! Hugs!! Lisa

Wednesday, January 22, 2020

Banded Hearts Fun!

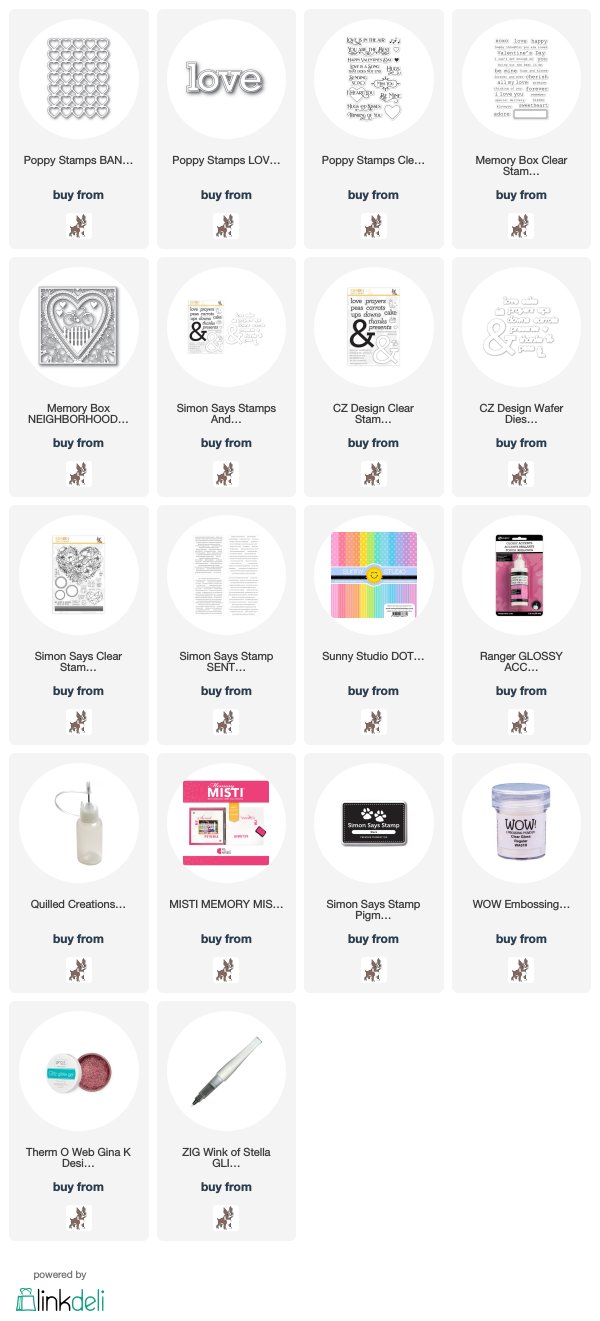
I have made five cards to share with you today, made with the wonderful Poppy Stamps Banded Hearts die!!  The first two were made with the whole outline of the die, the last three made with the die cut hearts from the outline😊!!
I die cut and layered the Banded Hearts outline, and filled the hearts with a rainbow of die cut hearts from Sunny Studio's patterned papers.  I used the Poppy Stamps Love Outline die for the sentiment.  I had some scrap paper in glossy white for the outline of the hearts, and had a piece of glossy black for the sentiment.  Here's a close up...
The second one, I wanted one sole heart to stand out...
I die cut and layered like the first, but embossed the bottom layer.  I then used a number of gray markers to color the hearts.  I then layered and then covered one heart with some glitter gel.   I let it dry, then added a stamped and die cut sentiment from Simon Says Stamp and a Simon Sentiment strip for the sentiment.  Here's a close up...
Okay...I had ALOT of hearts from all the Banded Hearts outlines I die cut and adhered together.  I had fun and spent some time watching tv, adhering three of them together and then put them in an envelope, not knowing what I would do with them, but got excited just thinking about all these hearts on cards!!  Here's the bag....
The first card, a sole red heart and layered borders to either side with a Poppy Stamps sentiment stamp...
Here's a close up...
The second one, I covered the hearts with the same striped paper used above, along with a Memory Box sentiment stamp...
Here's a close up...
The last one, I used a bunch of leftovers...
The white hearts were covered with die cut pink hearts and then brushed with Wink Of Stella glitter.  I used the leftover heart die cut from the Memory Box Neighborhood Heart Frame die...the heart that is die cut when the dies of the set are kept together and there is a die cut heart that happens between the frames.  The sentiment is from Simon Says Stamp, and the black paper, a scrap piece of paper.  Here's a close up...
This was SO MUCH FUN!!!  Love and Hearts...for EVERYDAY!!
Thanks for visiting me today!! Hugs!! Lisa