Sunday, January 31, 2021

Leftovers are Good!

I love having leftovers!  Food leftovers mean I don't have to prep or cook the next day, just reheat.  I love having card leftovers, too!  Card leftovers can make second cards with less prep, just reuse!  Today, I have chosen to reuse the leftovers from three cards I made this month,  to make three more cards...
 I used the strips from this card...
 found HERE, along with the pretty new Simon Says Stamp You are Simply the Best sentiment die, from their Love You, Too release, for the first card.  I layered the sentiment and added some Tonic Jewel drops for some added bling and done!  Here's a close up...

 I used the leftover strips from this card
found HERE, for my second card...
I don't know about you, but I am ALWAYS in need of Birthday cards, and with Valentine's Day coming up, I thought it a perfect time to make a birthday card expressing love!  I adhered the strips to a thin piece of cardstock, and die cut with the CZ Design Chunky Birthday die.  I used the inside of the letters of the die cut, and used the Simon Strip die to once again, emboss the card panel like I did with the earlier striped card.  I added a couple stamped sentiments put together in a strip, and some die cut and layered die cut hearts for some interest.  Here's a close up...

I chose to use the leftovers of this card...
 found HERE, for my third card...
I added a sentiment strip and embossed the card's panel with a Simon stencil.  I added some Tonic Jewel drops for some bling.  Here's a close up...
I love leftovers...food and cards!  Hope your weekend has been wonderful!
Thanks for making time to stop by today!! Hugs!! Lisa

Tuesday, January 26, 2021

Lots of Happy, Birthday!

I used the new CZ Design Chunky Birthday die from the latest Simon Says Stamp Love You, Too, release, to make a birthday card...
I die cut the sentiment and layered it with a die cut rainbow of striped papers, that I had adhered together and die cut with the Birthday die.  I then used the "HAPPY" stamp from the CZ Design Happy Days stamp set, and my MISTI, to stamp the sentiment down the middle of the card panel.  I centered a die cut  BIRTHDAY background  in the middle of an 8 1/2" length piece of cardstock, and lightly adhered it.  I then stamped the HAPPY above and below the adhereed outline.  I then cut the top and bottom off the card panel, leaving 3 "HAPPY's" above and 3 below where the "BIRTHDAY would be adhered.  I then adhered the BIRTHDAY and done.  Here's a close up...
I have been having sooo much fun creating ...until tomorrow!!
Thanks for hanging with me today!! Hugs!! Lisa

Monday, January 25, 2021

Plan B for the Butterfly

I LOVE butterflies.  Simon Says Stamp came out with a stamp set with some beautiful butterfly images in their Butterfly Kisses stamp/die set from the Love You release!  I especially love the Monarch image, so I made a simple card showcasing this beautiful butterfly... 
Truth be told, this polka dotted panel was a scrap piece of paper, just the right size for, and was supposed to showcase this butterfly in Box card, but it just didn't work..the butterfly was a bit too big to make a boxcard with the idea I had in mind.  So I went to Plan B and used the panel for a simply designed card card.  I used a kind of whimsical fonted sentiment stamp from the Simon Freestyle Flowers stamp set...just liked it, and it fit in the heart die cut perfectly. The polka dotted panel, again, was made for a box card, so it's size was disproportionate for an A2 card, but again, I just liked how it looked!!  I popped up the panel on the card, and done!  Here's a close up...
Just a little tip:  When I got done coloring the butterfly, the shiny embossing had turned dull.  I turned on my heat gun and went over the entire butterfly with the heat gun, and voila...shiny once more!  
So much fun...this card makes me happy!!
Thanks for stopping by, today!! Hugs!! Lisa

Sunday, January 24, 2021

With All My Heart

I used the pretty new Simon Says Stamp With All My Heart sentiment die from their Love You release, to make a card to show some love...
I just had to put this sentiment die cut in a heart.  That was the easy part.  How to fill that heart behind the sentiment was a challenge.  I tried a number of things until I thought of stripes!  I used the Simon Says Stamp Strips 1, to not only create the strips for the card, but embossed the heart panel with the die, as well. I love these strip dies...they make perfect strips...every time.  I don't know about you, but when I sometimes cut strips, they're not always perfectly straight...no, I am not a perfect cutter.  But these dies are...just sayin!  I cut the die cut the heart from the top panel.  I then cut 1/4" off each side of the panel.  Put the panel aside.   I then adhered the die cut strips onto a piece of thin cardstock...
I don't have a pic of what I did to emboss the panel with the Strips die, but hope I can explain it.  I wanted the lines to go in the direction of the line of the right side of the heart.  So, I centered the white panel on the die cut/adhered strips.  I then matched the lines of the strips with the metal die, adhered the die to the panel and embossed, then embossed the white panel all the way across the panel, moving the die, fitting it into the grooves of the lines already embossed.  
I then took both the strips and white embossed panel, and lined it up with the card.  While holding it in place, I adhered the strips to the card to keep the position for cutting to size.  Funny thing...although the darkest red does not show through the heart, and I originally didn't have it in my first take, I had to add it to have balance on the bottom part of the card.  With the embossed stripes, it becomes even more apparent  of the need for the balance of color....
I then popped the white panel over the strips and added the layered sentiment with pieces of pop up dots behind some of the letters for support, and some added tonic drops.  Here's a close up...
I had so much fun making this card....thank you so much for stopping by to take a look! Hope you have a great day and that you are staying safe!  Hugs!!  Lisa

Friday, January 22, 2021

Cosmo Flower Petals...Happiness and Love

I have used the pretty new Simon Says Stamp Cosmo Flower Petals die set from their Love You release, to make a couple simply designed cards ...    `
I had tried putting this flower together all kinds of ways, but found the way I liked best was simply as a single layer outline, using eight petals.  The first one, I used a rainbow of colors, adhering the petals to a circle base, die cut from the circle in the set.  I added a center made from a black circle with the spotted outline piece in white.  The sentiment is from the Simon Freestyle Flowers stamp set (I LOVE this sentiment...great for all the time, but especially the times we are living in). 
 Here's a close up...

The second one, simply done, like the first...
This one, I made the card with all red petals, and a red/black center.  I used a sweet sentiment die from the new Simon Heart Animals die set.  This die is such a sweet surprise in this set!  The card is 6"x4 1/4", and I cut the panel that the flower sits one shorter ont the top and bottom than the sides for a different look.  I know this card is really CAS, but even as I thought of of adding bling, I just liked it as it was.  You could add a background or color, and although I tried black(which WAS cool), or a textured background(whichI tried as well), I kept going back to simply white.  Here's a close up...
I LOVE ths pretty flower...simple and pretty!!  
Thanks for stopping by today!! Hugs!! Lisa


Tuesday, January 19, 2021

Florals Embossed in Gold and Silver

I have used the beautiful new Simon Says Stamp Best Friend Ever stamp/die set, from their newest
  Love you, Too release, to make two metallic embossed cards...
The first one, I used my MISTI to stamp, color, stamp, emboss.  I stamped the floral image in my MISTI with a darker gray ink.  I removed the cardstock and colored with markers.  I then put the paper back into the MISTI, brushed with my magic embossing bag, stamped with versamark, and then gold embossed. I layered and adhered to a rectangular die cut panel, using one of the pieces of brand new Kraft Woodgrain cardstock from Simon!  I have always love Simon's white woodgrain cardstock, but love the brown when you want the woodgrain wood colored.  It goes perfectly with this image and sentiment...the sentiment is also from the set.  Here's a close up....

The second one, I chose to use vellum and silver embossing powder...
For this one, I stamped the vellum with versamark, silver embossed, and colored the flowers and leaves from behind.  I then adhered the vellum to more die cuts of the flowers, die cut from white cardstock.  
Funny thing with this...then I adhered the vellum to the white cardstock, the background of the floral image on vellum, looked a bit off white.  So...I chose to used a piece of natural paper...one a bit more creamy colored with little specks in it.  I again, used the stitched rectangle die cut and another of the sentiments from the set, along with some tonic drops, to complete this simple design.  
Here's a close up...
What pretty flowers...and combined with gold and silver embossing powder, makes them fancy!  
Thanks so much for stopping by!! Hugs!! Lisa

Saturday, January 16, 2021

Love You Too Blog Hop!

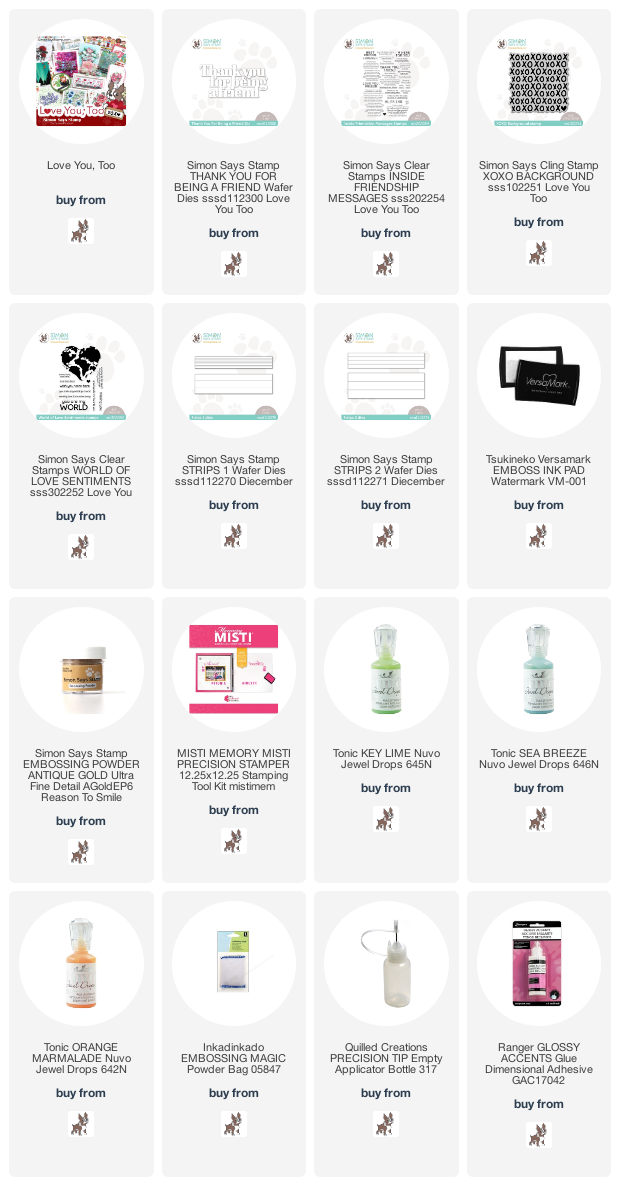
I am so happy to be joining a whole bunch of amazing artists, today on the Simon Says Stamp Blog, to celebrate the amazing new Simon Says Stamp release, Love You, Too!!  This release has something for almost every upcoming celebration with wonderful stamps/dies, stencils and accessories to send love and happiness to others. 
 There is a die in this release that I especially LOVED, the Thank You for Being a Friend die. Stay with me.  I am dating myself, perhaps, but I LOVE The Golden Girls!  Classic series...as it pertains to life with friends and getting old.  "Thank You for Being a Friend" was the theme song!   Betty White is the last remaining "Golden Girl" and will be celebrating her 99th birthday tomorrow!!  Well, I just could not resist making a few cards with this wonderful die to not only showcase this die, but to say Happy Birthday to Betty White!! She is an American Treasure...Happy Birthday, Betty!  This die is especially wonderful, as it's size doesn't warrant much else to make a card, so all three cards have simplicity at "heart"! 
The first one, I die cut the sentiment in, what else...GOLD!   I used the World of Love Sentiments stamp set from the Love You release for the background.  I sponged some ink onto the heart shaped world stamp and used a blending spray on the ink on the stamp, before putting the inked stamp onto the paper.  I must tell you, it was all an experiment, the blending spray was really old, and not sure what you could use as a substitute, but I liked how it turned out  I then used a sentiment stamp from the new Inside Friendship Messages stamp set (on the outside), stamped with versamark and gold embossed.  Here's a close up...

The second one, I used strips of paper behind the sentiment for the background...
I used the Simon Says Stamp Strips 1&2 for super easy made strips of multi colors.  These dies are amazing for making strips quickly and easily!!  I layered them at a diagonal and then popped them up very slightly on the card.  I added some tonic drops for bling.  My daughter, without any idea of where I was going with my cards, said it looked kind of retro...cool, man!  Here's a close up...

The third one, I used a background stamp for the background for the sentiment die...
I stamped the XOXO Background stamp with versamark and gold embossed.  I know this card is super simple in design, but it did take a while to cut it perfectly to get all the x's and o's to show without cutting then off!  I then popped it off the card just a tiny bit and adhered my layered sentiment on the card.  Here's a closeup...
My fun is above, your fun, just below!  Simon will geneously be giving away a $25 coupon to every stop on the hop from our blog comment section!   They willl choose our winners and post on our Simon Says Stamp blog on Wednesday, the 20th of January, so check back on the Simon Blog on the 20th to see if you're a winner!  
The participants of the hop are below, if you should need to find out where you are in the hop, or miss someone😊:
Before I go, I want to remind you of the offer on the banner at the top of my post!  If you make a purchase of $100 or more before the end of the day on January 18th, you will receive the Faraway Hugs stamp set for FREE!  The stamp set looks amazing!!  AND, please check back on the Simon Says Stamp Blog tomorrow for another hop and lots more inspiration!!
Thanks so much for hopping and stopping by!! Hugs!! Lisa


Friday, January 15, 2021

Love You Too Release Day!

There's a new release out, today, over at Simon Says Stamp, Love You Too!!  I have chosen the adorable and sweet stamp set, Heart Garden, to make a card to celebrate this new release, and to share with you, today!... 
This cling stamp is so stinking pretty, cute, lovely...I just "love it too" (get what I did, there?)!  I stamped and then clear embossed the heart flowers, colored and then glossed the hearts with Tonic drops.  I stamped one of the sentiments and white embossed.  Super simple...simply adorable!!  Here's a close up...
I have put a link to the release below...hope you will check it out, and hope, too, you will join me and a whole bunch of incredible artist tomorrow and Sunday for two days of blog hops celebrating this release with some wonderful inspiration!  
Thanks for visiting me today!! Hugs!! Lisa

Thursday, January 14, 2021

Freestyle Flowers

I have been away from my blog since before Christmas...holy cow...I do so hope your holidays were lovely!  I am so ready to get back to creating after taking some time off! I made a number of cards this last week that I haven't yet put on my blog... but will post them soon.  I recently got the Simon Says Stamp Freestyle Flowers stamp and die set!  I had loved this set for awhile, but one or the other kept going out of stock...not at all surprised...this stamp/die set is so pretty, so when both the stamp and die sets were back in stock, I jumped on ordering them!  I have made a couple cards, made for birthdays, to share with you...
The first one, I stamped, embossed, die cut and colored the wreath, layered, and dotted the middles of the purple and the yellow flowers with Tonic drops.  The paper is Sunny Studio.  Here's a close up...

The second one, I used the stemmed flowers, positioning them in a die cut heart...
I did the same as I did for the first card, but used a heart die and some polka dotted paper, positioning the flowers in the popped up heart.  Here's a close up...
Hope you are all doing well, wherever this message finds you...please stay safe!  
Thank you so much for visiting me today!! Hugs!! Lisa