Saturday, May 30, 2026

Always There Blog Hop~Day 2!


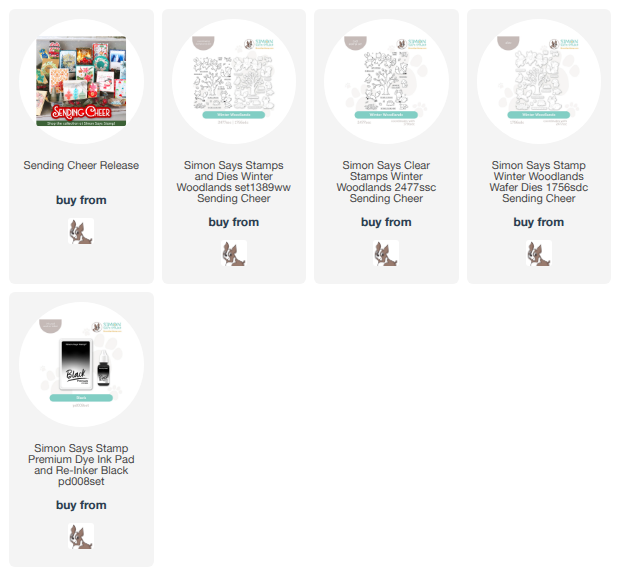
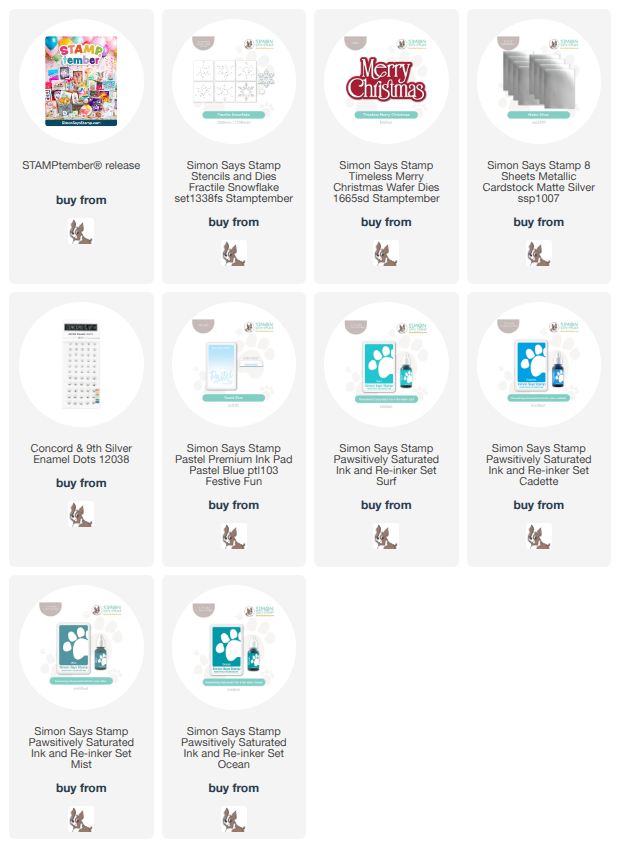
I am so happy to be a part of today's Simon Says Stamp Blog Hop~Day 2 at the Simon Blog, celebrating their newest release,  Always There!  I have used one sentiment die three different ways, with stripes being the common thread to them all! I LOVE this sentiment die...the font, the size, it is truly as it's title says, Timeless!...
This first one was simply the sentiment die cut and layered from white cardstock, then adhered to a die cut and layered diagonally striped background.  I added a couple enamel dots, and adhered to a textured panel.  Here's a close up...
The second one, I chose more "manly" colors of stripes.  
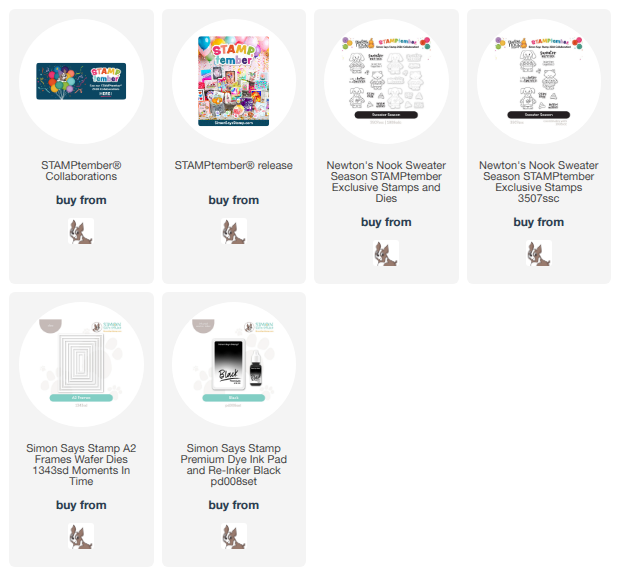
I took the top panel, and die cut the border of the "thanks" from it, then popped it up over the vertical stripes which had been adhered to the card.  I then adhered the white die cut and layered sentiment into the "window", over the stripes.  Here's a close up...

The third and last one, was made with a combination of the first and second....a striped border AND a window...
Truth be told...this thanks was actually on another card, but I wasn't happy with it, so I took it off, and decided to put it on a new card. This is what it looked like...
You'll have to wait for another post, to see what I wind up doing with the pretty hearts😌, but I had to do something different with all the stripes with that sentiment(too busy).  I wanted to keep the little heart in the sentiment, so I made it a thanks with love(the "with love" sentiment has an apostrophe, but when trimming the sentiment for the card, I cut it off, rather than mask it and not stamp it), card.  I popped up the sentiments over a heart window, with a pink background that went with the heart in the thanks.  I like the new version so much better...makes me happy...how 'bout you??  Here's a close up...
Okay...these cards were so much fun to make...love this "Thanks" die!!  The fact that it is so versatile is wonderful...the possiblities for it's use are endless!!
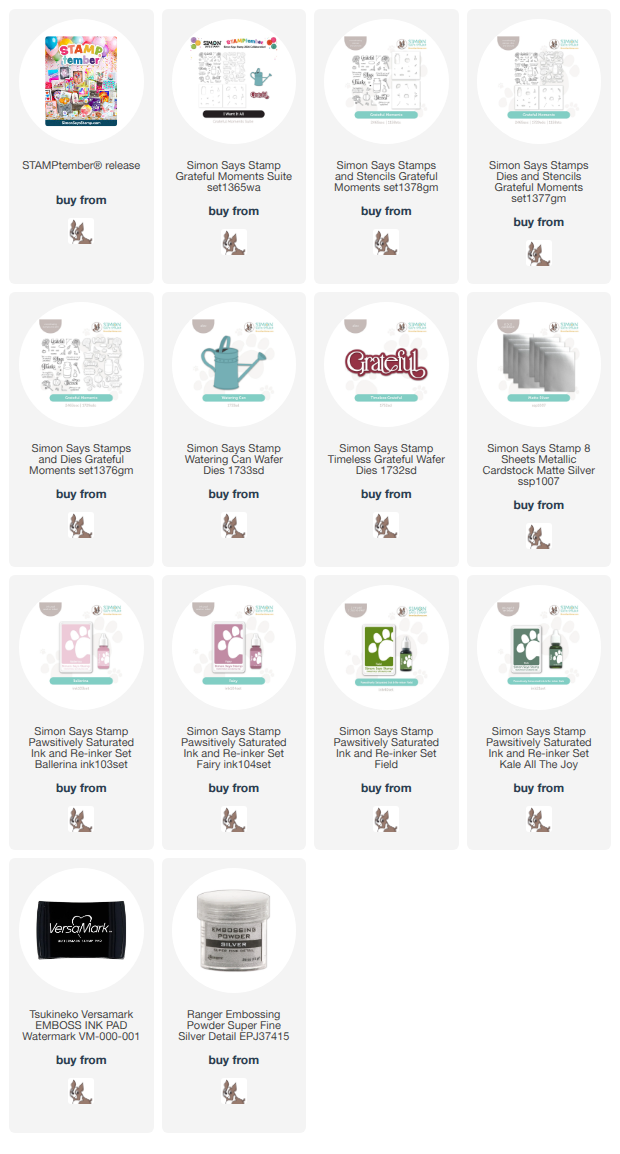
The list of participants in today's hop are listed below...
Just to let you know...as you read in the title of this post, this is day 2 of 2 blog hops, celebrating this release!  SO...there was another blog hop yesterday...and that gives you more projects with wonderful inspiration!  Hope you check out that hop at the Simon Blog,  and be inspired! ALSO...don't forget the offer in the banner at the top of the post!  You will automatically receive the *not yet released* Hot Mess stamp set, when you make any purchase from the Always There release!  The offer is only good until the end of the day on May 31st, while supplies last, so don't wait!  Thank you so much for stopping by and "keep hopping"...hugs!  

      Lisa

Friday, May 29, 2026

With Sympathy

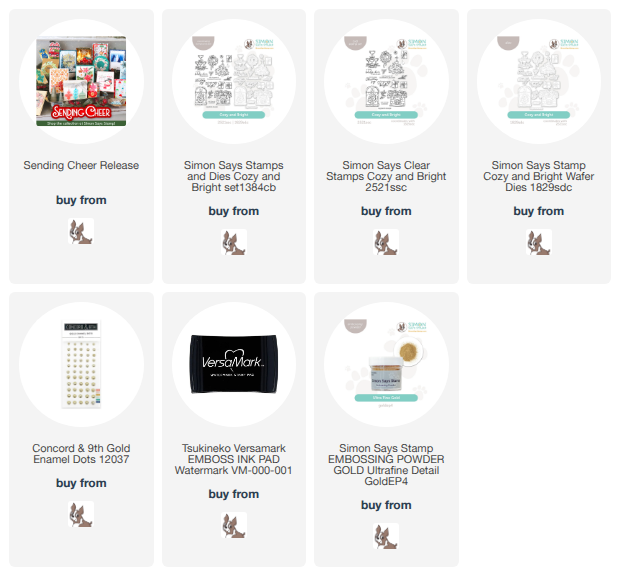
I have made a card with one of the very pretty new Simon Says Stamp stamp/die sets, from their newest release, Always There!...
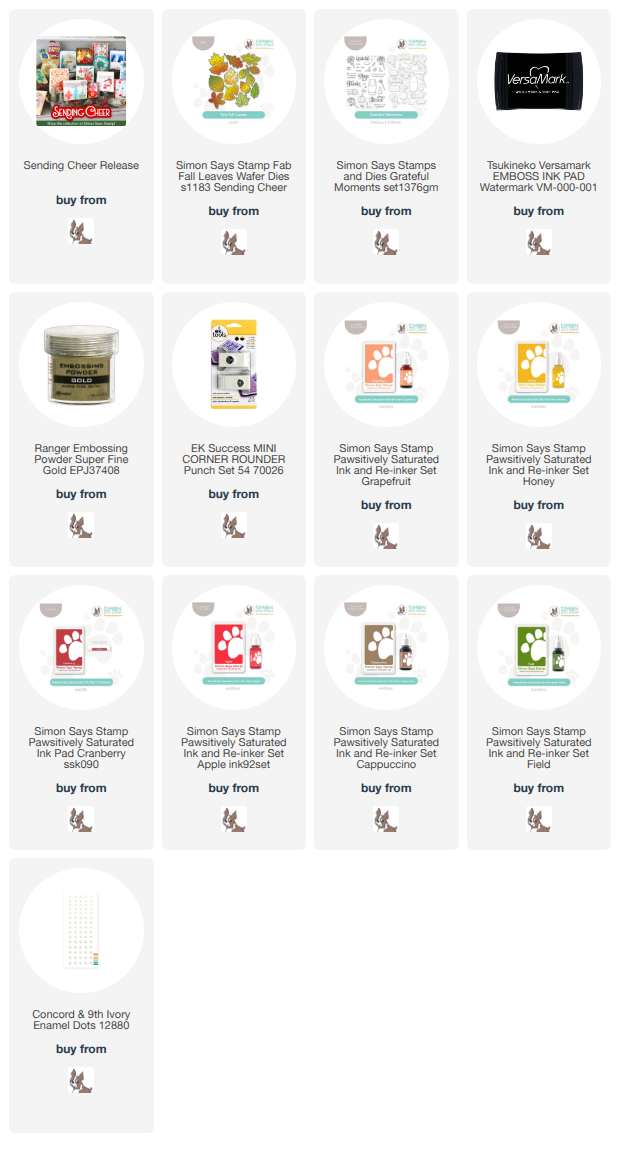
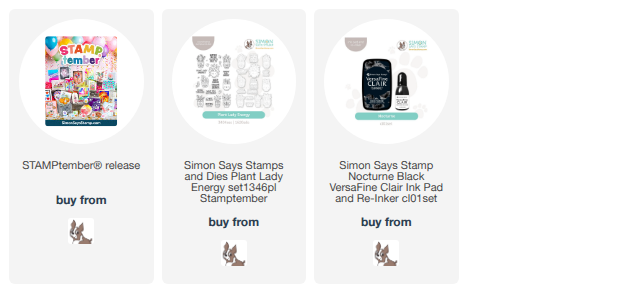
I thought this stamp of beautiful leaves was so pretty...as well as it's die.  The die is very intricate, which makes the die cut leaves even prettier than just simply stamped.  I layered the leaves, then adhered them to a textured panel, stamped with one of the sentiments from the set.  I added some enamel dots...which coincidentally were the exact same color as the ink....Simon ink and Concord and 9th dots...sweet!! Simply done, but that's the way, uh huh uh huh, I like it!!😄  Here's a close up...
Hoping you are having a great start to your weekend...hope you will check out the two blog hops celebrating this new release, over at the Simon Blog...one today, the other tomorrow(I'll be a part of tomorrow's hop!).  
Thanks for visiting me today!! Hugs!! Lisa

Thursday, May 28, 2026

Always There Release!

I am so thrilled to be sharing a card made with a stamp/stencil set from Simon Says Stamp's new release, Always There!
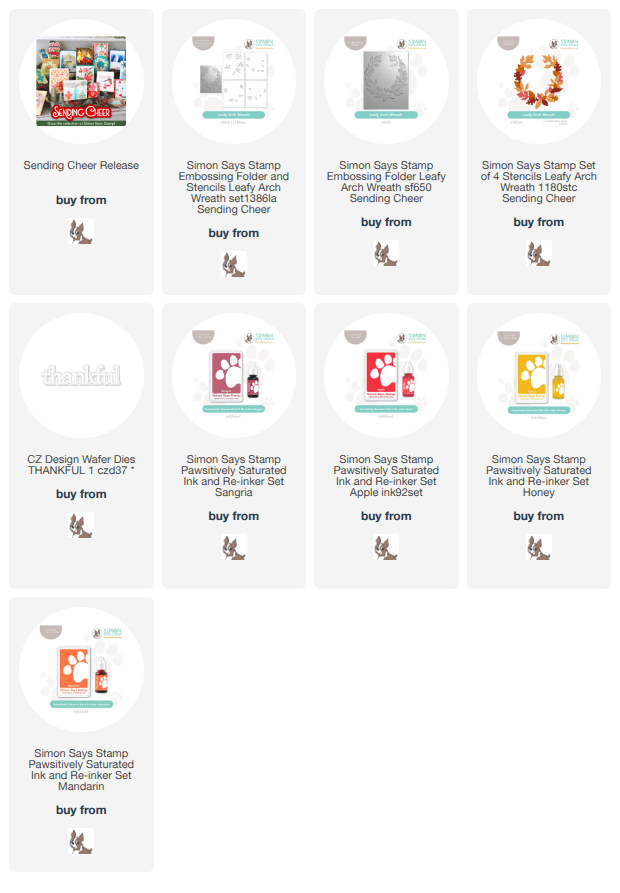
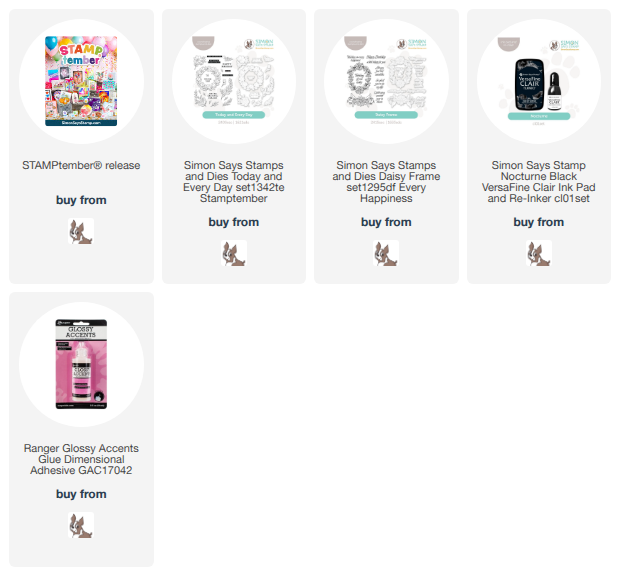
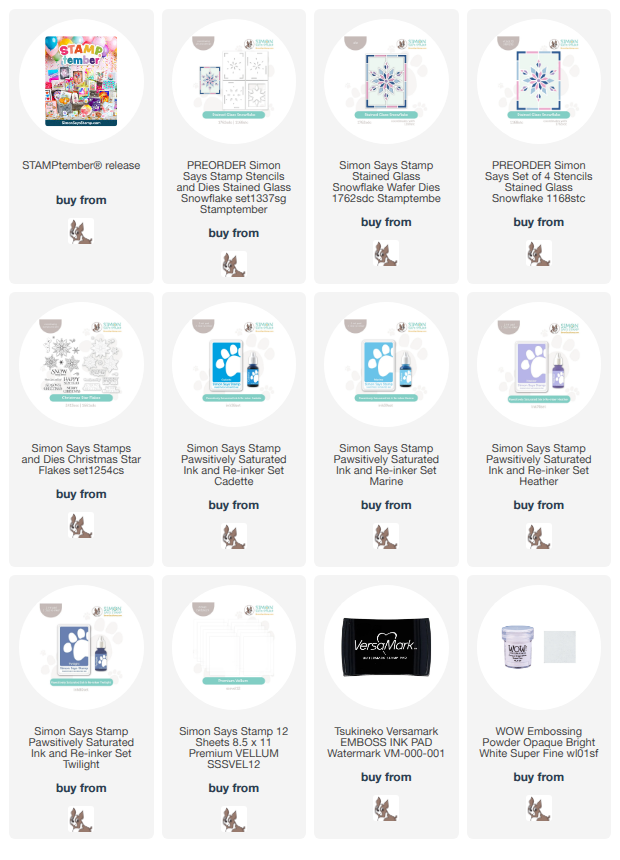
This stamp set is SOOOO pretty!!  And...if you know me at all...it has a coordinating stencil set, that makes coloring the flower so much fun!!  This card is simple, but I think it's simply pretty!  I stamped the flower and sentiment, then brushed on the color to the flowers.  I popped the panel on a card...here's a close up...
Happiness!!  Real Happiness!!  This release has so many wonderful products, and there will be two blog hops, one tomorrow, and a second one on Saturday, over at the Simon Blog, that will showcase all those wonderful products..hoping you will hop along!!  Hope you enjoy this release as much as I am!!  Please take care!  
Thanks for visiting me today!! Hugs!! Lisa

Wednesday, May 20, 2026

Poppy Field

I made a birthday card with a beautiful stamp/stencil set from Simon Says Stamp!  
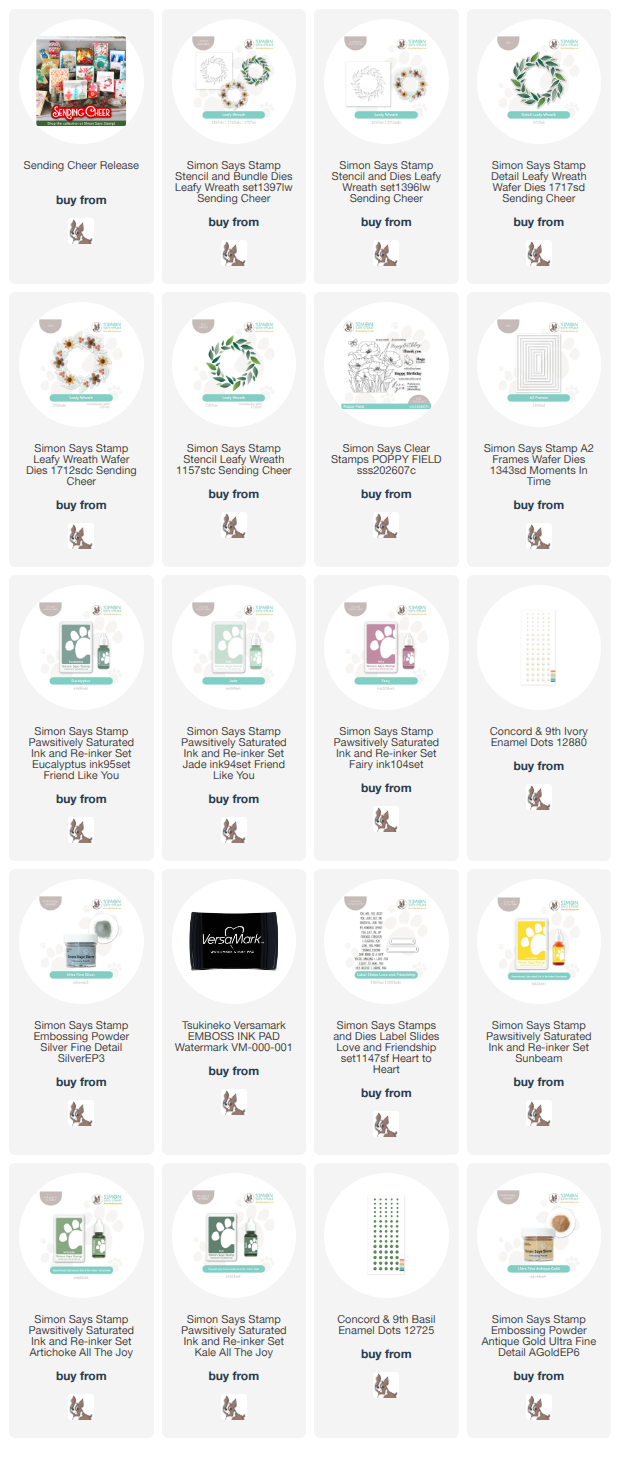
I thought these flowers were so pretty!  The only problem I had with this set, was figuring out where to make the cut of the finished flowers, to fit on the card.  I wanted to use ALL the flowers, but even with a 5x5 card, I would have STILL have to had cut some of a flower or two off...so this is how I settled on it.  I know I've said this before, but I LOVE stencils!  They are MY kind of coloring!  Anyhow...I brushed on color to the flowers and the stems/leaves, then added a stamp/die cut/layered sentiment.  Here's a close up...
This was SO much fun!!  Hope you have been having a great week...May has literally FLOWN BY!!  Please take care!  Thanks for visiting me today!! Hugs!! Lisa

Sunday, May 17, 2026

Artsy Butterflies

I have made a couple cards with the Simon Says Stamp Artsy Butterflies stamp/die/stencil set, along with a couple Simon sentiments!...
This set of butterfly stamps is SO pretty!!  Artsy is a perfect description of them, no two are alike...and they are not your typical butterflies in their design.  I LOVED having gotten the stencils for them...made coloring them so much fun and so easy!  This first one, simply done, I brushed ink onto two butterflies, then adhered them to an embossed panel with a stamped/die cut/ and layered.  I added some enamel dots that I had colored with a blue marker, then popped up the panel on the card.  Here's a close up...  
The second card,  used all six of the full flying butterflies, on a slimline card, and colored them in rainbow style...
I colored each of them, then scored them down each of their "middles", folded them a bit, then added some sticky foam and sticky dots under their wings and body, respectively, then added them to a slimline panel.  I'm so sorry, but I used SO many inks on these...two of each color, and changed some, added a third to one, so I have not put all the inks below.  Just know, that two shades of any similar Simon color (two of the three they come in), will be perfect!!  I colored some more enamel dots, framed the panel with black cardstock, then adhered to a card with a birthday sentiment stamped on it.  I found a purple envelope in my stash that went with the color of the butterflies, and done!  Here's a close up...
The possibilities of this set are HUGE!!  I love butterflies, but am drawn to the artsy nature of these guys, that would make me choose them first, should I need/want a butterfly for a card!  Hope you have had a great weekend!  I trimmed my front bushes this morning, and made banana muffins just a little bit ago...all in all, a great end to my weekend!  Please take care!
Thank you for visiting me today!! Hugs!! Lisa

Thursday, May 14, 2026

Long Stem Florals

I have made a couple cards using the beautiful stamp/die/stencil set from Simon Says Stamp!
These long stem florals are soooo pretty!  I used all four of the flowers...the first three on this first card.  I stamped, die cut, and colored the flowers, then layered.  I adhered them to the card panel, and added a stamped, die cut, and layered the sentiment.  I was almost going to make it a thank you card, but I liked the longer thinking of you sentiment, that went over the edges, rather than the shorter Thank You...but both are wonderful!   Here's a close up...

The second one, the last of the four flowers, solo...
I did the same as the first flowers, and opted to used the stencil as a background for the flower.  I brushed on ink, then adhered the flower to the panel.  I used white enamel dots for some bling, but colored them with the purple marker that I used for the flower.  I love to have dots that match whatever I have colored, and have found that coloring the dots is a wonderful way to get exact colors!  Here's a close up...
This set is so much fun to create with, beautiful and artsy flowers!!  Hope you have had a great week...the weekend is almost here!  Hope you have a fun one, please take care!
Thanks for visiting me today!! Hugs!! Lisa

Thursday, May 7, 2026

Silvery Birthday!

I have made a birthday card with a sweet Simon Says Stamp background stamp and sentiment die...
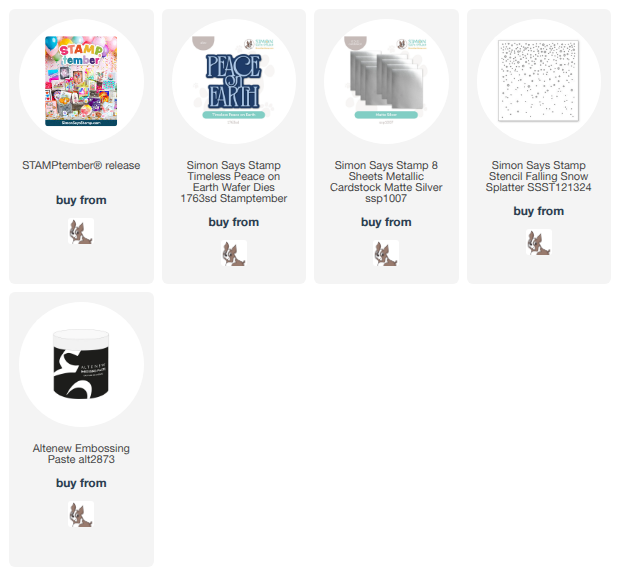
I knew that I wanted to use the birthday background with a large birthday sentiment.  The only thing I wasn't sure of, is what ink I wanted to stamp it with, and what paper I wanted to stamp it on.  I chose a piece of pretty patterned paper, and then had the idea, seeing as I had decided on a silver sentiment, to use silver ink to stamp the background words.  The words turned out light, but somewhat shiny(although hard to photograph their shine), and just light enough to see, but not overpower the sentiment.  I did use Rainbow Splash silver ink, but since making my card, discovered it's no longer available, so I have put links to two other silver inks, below!  I die cut and layered the sentiment, and added newly purchased(JUST came the day I made this!) silver enamel dots!  Here's a close up...  
Simple in design...but took alot of thought...had fun, and like how it turned out, if I do say so myself!  Hope you are having  a great week!  Please take care!Thanks for visiting me today!! Hugs!! Lisa

Thursday, April 30, 2026

Everlasting Flowers Birthday

I have made a birthday card with a very pretty Simon Says Stamp embossing folder and sentiment die, the folder from their latest In My Heart release...
I used the debossed side of the embossed cardstock, to color the flowers(I made them tulips), with three colors of red and one of green, then brushed my black ink pad over the debossed flowers.  This is fun, because messy doesn't matter...you can color outside the lines with no worries.  I WILL suggest, highly advise, though...AFTER you have colored the flowers, before you brush it with black ink, emboss it once more.  I did it without reembossing, and the black was on the flowers a bit.  My thinking is, that once you color it, the ink wets the cardstock, and kind of takes away from the embossing.  I did notice a much crisper look to the flowers after reembossing, and NO black ink on the flowers like the first one...just sayin'!  I added a die cut and layered sentiment, and adhered to the card.  Here's a close up...
These kind of cards are so much fun!!      The last day of April...onward to May...moving through this year so fast!! I hope you are doing well...please take care!Thanks for visiting me today!! Hugs!! Lisa

Monday, April 27, 2026

Impressionistic Flower

I have used a beautiful Simon Says Stamp stencil/die/sentiment set, from their In My Heart release, to make a card filled with love,
This is an impressionistic flower stencil, the design is so unique, and beautiful!  I used three shades of purple to brush ink onto the cardstock. I die cut and layered the flower, then die cut and layered the sentiment.  I popped the flower and panel onto a 5x5 card, that I had brushed the darkest shade of purple onto and then embossed(I used a Spellbinders embossing folderE3D-039...sadly, it appears to be discontinued).  Here's a close up...
This was so much fun!  Hope your week will be wonderful!  Please take care!
Thanks for visiting me today!! Hugs!! Lisa

Sunday, April 26, 2026

Leafy Thank You

I have made a thank you card with a stencil set and CZ Design sentiment die from Simon Says Stamp and their In My Heart release!...
I chose to make the leaves from this stencil three shades of green, going from light green to darker then dark, across the card.  I added the brown middles and then a brown die cut and layered thank you.  Very simple, but great for a quickly needed thank you!  Here's a close up...
I hope you are having a great weekend!  I have my daughter and granddaughter visiting, and love the wonderful chaos that ensues when my other daughter and her two come over, as well.  They will be leaving on Tuesday, so trying to savor every moment with them!  Please take care!  
Thanks for visiting me today!! Hugs!! Lisa

Monday, April 20, 2026

Stay True to You

I have used a cool stamp/die set by Simon Says Stamp, and their In My Heart release, to make a card of encouragement!...
I had a thought to make the rainbow colored backgrounds for the words, but with white embossing powder.  At the last minute, I changed the words to black, and never looked back or doubted my decision.  I then die cut and layered each word, and chose to put them on an 8x3 card.  I made a panel for them all to sit on, but wasn't happy with all the white in the background...I know, not my normal thought, but this card needed some color.  SO...I cut strips of each color from the words, and put a very small strip of black between each.  I spaced the words to fit their color strip.  I adhered the strips of colored paper, which were adhered to cardstock, onto the card, then popped up the panel of words on the card.  
Here's a close up...
This card took some thought, and a couple changes along the way, but was so much fun to make!  I hope you're having a great start to your week...please take care!Thanks for visiting me today!! Hugs!! Lisa

Saturday, April 18, 2026

Gerbera Daisies

I have used a beautiful Simon Says Stamp fromt their In My Heart release, to make a couple cards...a birthday and a thank you...
This Gerbera Daisy background stamp is SO pretty!!  When I saw it, I KNEW I had to color all my gerberas red...like red tulips, I LOVE red gerberas!  Here's one in my garden from a past year...but I purchase them every year for those that don't come back(gerberas here in VA are tender perennials, and if all the conditions are right, will come back)...
I stamped the images and colored with markers.  I used three shades of red for the flowers, and two for the leaves.  I added a die cut and layered birthday sentiment.  Here's a close up...
When I colored the flowers, I colored each and every one of the flowers.  I then cut it so that I could make it into two cards.  The remaining piece is below...
I used a straight sentiment, stamping it vertically right onto the card.  I then popped up the flower panel on the card.  I LOVED how I actually got two cards out of the one background stamp!!  Here's a close up of the second card...
Okay, I got to color, and LOVED it(yes, I know I'm saying LOVE alot!)!!  AND, I LOVE that I got two cards from the one stamped image(there goes that LOVE, again!)!  Such wonderful fun!  Hope you are having a great weekend...please take care!  Thanks for visiting me today!! Hugs!! Lisa

Wednesday, April 15, 2026

Friendly Blossoms

I have used a beautiful stencil set from Simon Says Stamp and from their latest release, In My Heart, to make a thank you card, and a birthday card... 
I opted for a trio of colors for my flowers that ALWAYS go together... yellow, orange, and pink.  I did spray one of the stencils with Pixie Spray to keep the stencil adhered to the cardstock a bit better, so the details of the flower would be brushed on accurately.  I brushed on the colors and added the green leaves with the darker accents.  I cut it down a bit, and added a die cut and layered silver sentiment.  Unlike what I do 99.9% of the time and pop up my panels on the card, I chose to adhere the panel right onto the card.  
Here's a close up... 

The second one, I used the yellow flowers that I had done before the one above, but had errors with not having the stencils fastened down or didn't like my coloring on the other two flowers, so I recycled the yellow flowers, using the dies for these stencils and die cut two of the yellow flowers...
My two daughters decided on the flowers having the middles of the flowers on the ends of the panel, rather than together in the middle.  I liked it both ways, but opted for their decision.  I added a sentiment that I thought was really cute, between both flower halves, and colored in the hearts with a yellow marker.  I layered the flowers and the sentiment and adhered them to a panel that I had embossed flowers on, to give a little interest and connect with the sentiment.  I popped up the panel on the card, also framing the bottom and top with a black edge.  Here's a close up...
These cards were so much fun...I really do love creating cards with stencils...they make me feel like I can  color!  Hope you are having a great week!  Please take care!  Thanks for visiting me today!! Hugs!! Lisa