Wednesday, July 22, 2026

Quirky Daisies

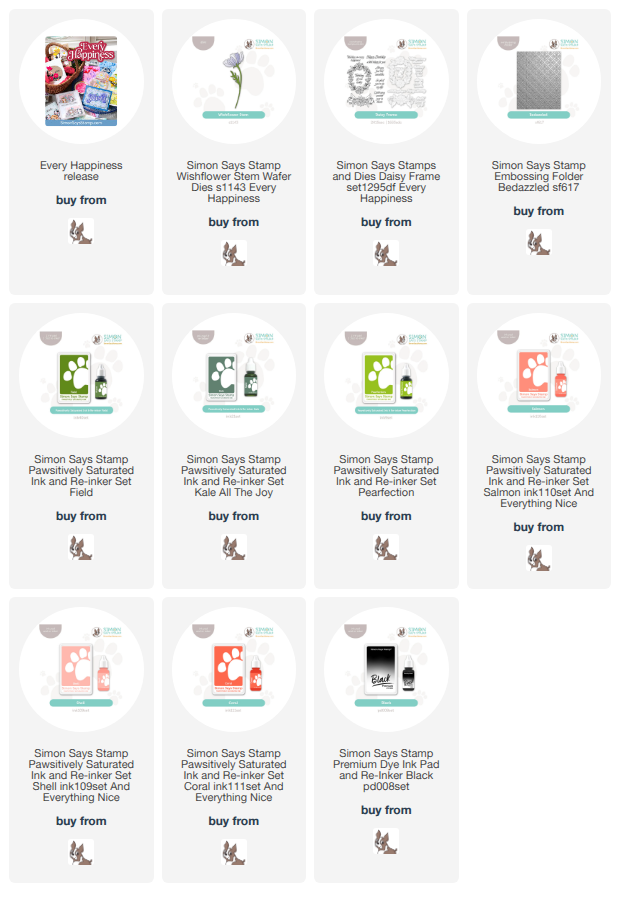
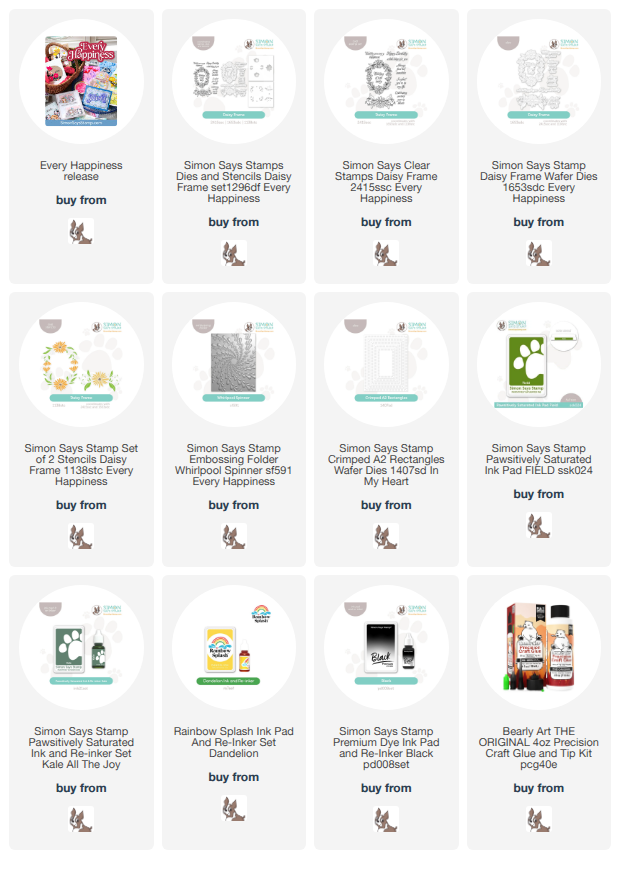
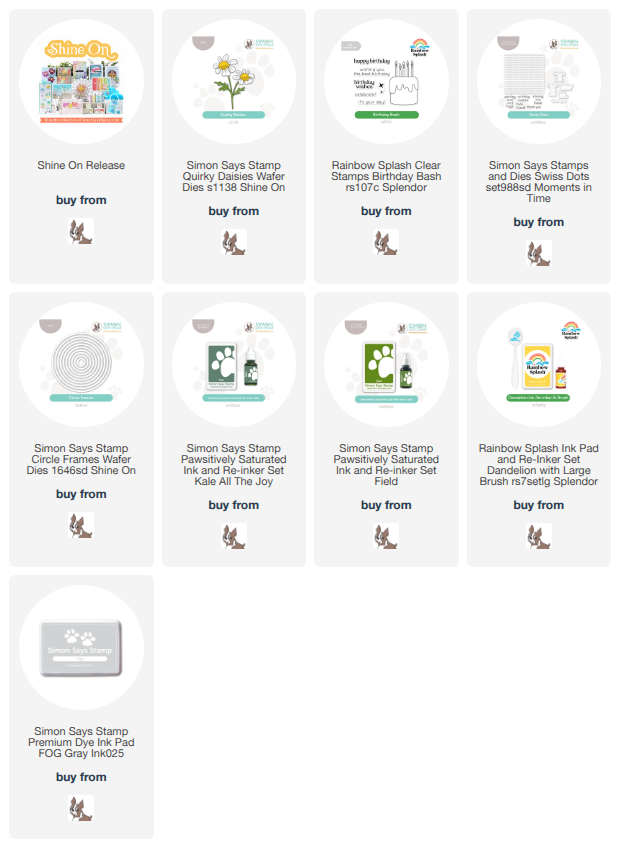
I made a birthday card with a sweet daisy die from Simon Says Stamp, and their Shine On release!
I die cut and colored the stems and middles of the flowers.  I then adhered the daisies inside a die cut circle frame of a polka dotted panel with a stamped on sentiment.  I popped up the panel on the card.  I also added some enamel dots.  Here's a close up...
Daisies are my favorite...these were no exception, sweet and fun!  There's going to be a new release tomorrow, at Simon Says Stamp...I hope know you will check it out😉!
Thanks for visiting me today!! Hugs!! Lisa

Monday, July 13, 2026

Darling Duckies

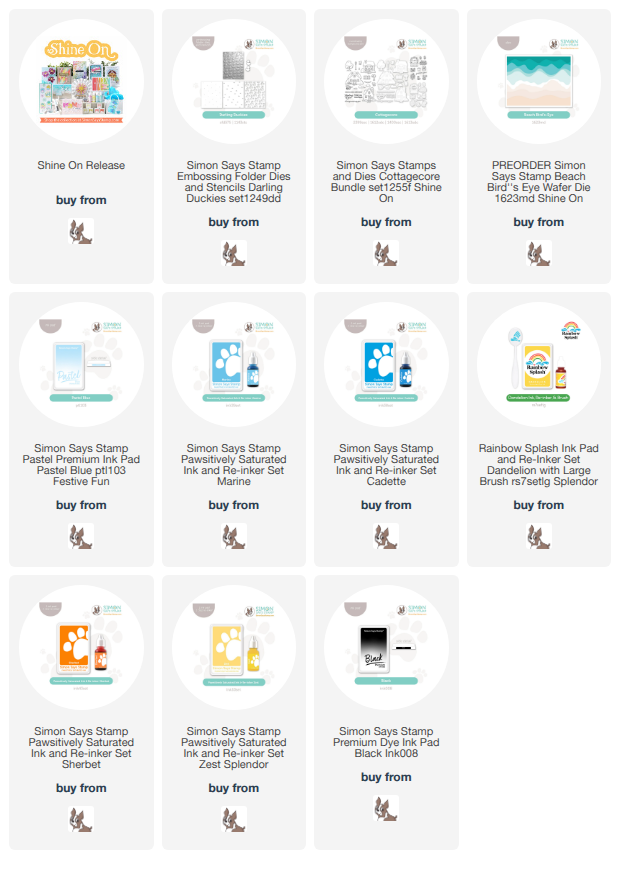
I have made a card with an adorable embossing folder/die/stencil set from Simon Says Stamp's latest Shine On release!...
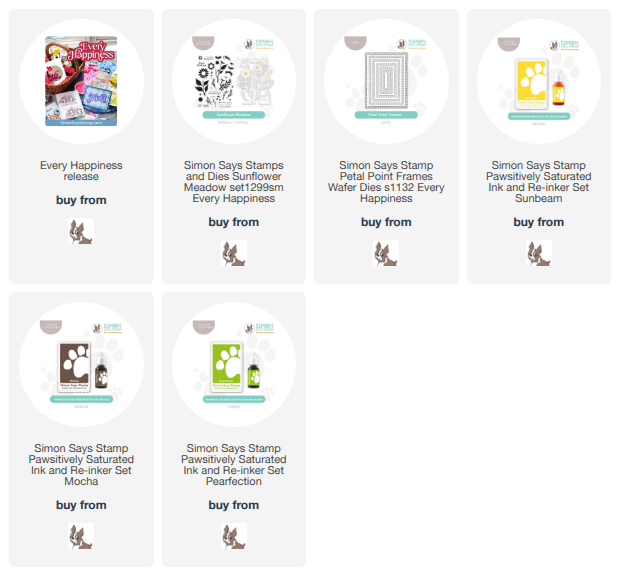
These little duckies are so stinkin' cute, and there are so many of them.  I got the idea to make this a missing you card, only when I spotted the sentiment that is on the card...fro, a stamp set also from the release...then everything fell into place.  I also used a part of a cover die, also from the same release, for the water.  I may have colored my ducks in a challenging way, though.  I die cut and embossed the ducks, then taped them to each stencil to color...a bit challenging, but the outcome was plentiful.  I have enough ducks to do another project, but for now, this card!  I stamped the sentiment after brushing on blue ink to make the sky for the background.  I liked how there were ducks that faced both ways, to face the sentiment!  I layered the duckies, and then adhered them behind the waves.  The panel is popped up on the card.  Here's a close up...
These duckies were so stinkin' cute and so much fun to create with!!  Hope you are having a great start to your week!  Please take care!Thanks for visiting me today!! Hugs!! Lisa

Tuesday, July 7, 2026

Dancing Meadows

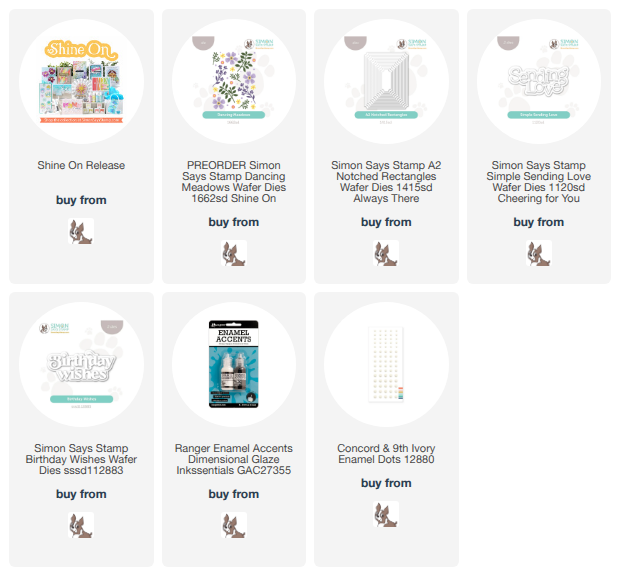
I used a pretty new cover plate die from Simon Says Stamp, and their newest release, Shine On, to make a couple cards with it's pretty flowers and leaves...
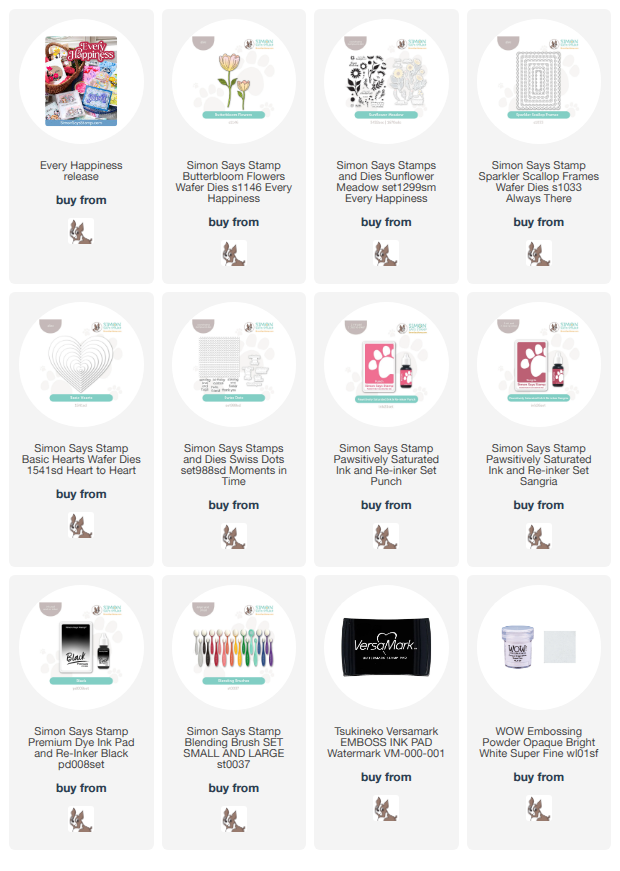
This first one, the flowers are single flowers, and four leaf clusters.  I die cut all of them from white cardstock, and colored with a purple and a green marker.  I dotted each of the flowers with white enamel accents dots.  I also added a die cut and layered sentiment, along with some enamel dots.  I popped up the panel onto a card.  Here's a close up...

The second one, done much like the first...
This one has flowers on stems, and stand alone leaves, along with a larger flower.  Again, I colored the flowers and leaves, but chose to leave the flower white, except for it's center.  I again, gave each center of each flower a dot of enamel accent, as well as a die cut and layered sentiment.  I forgot to say, I colored the cardstock for the sentiment with the same ink as the flowers on both cards, then die cut the sentiment from the colored cardstock.  I colored white enamel dots, on this card, with the purple marker to make them purple, and then they match with the flowers and sentiment, perfectly, too!   I framed it all with a die cut and layered frame.   Here's a close up...
I hope you had a great 4th of July...I enjoyed time with my children and their families!  A bit cooler temperatures would be nice, it is SO hot, but having my daughter visiting...indoors or out, is of little matter...the time together is everything!  Oh, and SO thankful for AC!!  Please take care!
Thanks for visiting me today!! Hugs!! Lisa

Wednesday, July 1, 2026

Artful Palette Christmas

I have made a couple cards with a cool and fun new set of stencils from Simon Says Stamp, and their new Shine On release!...
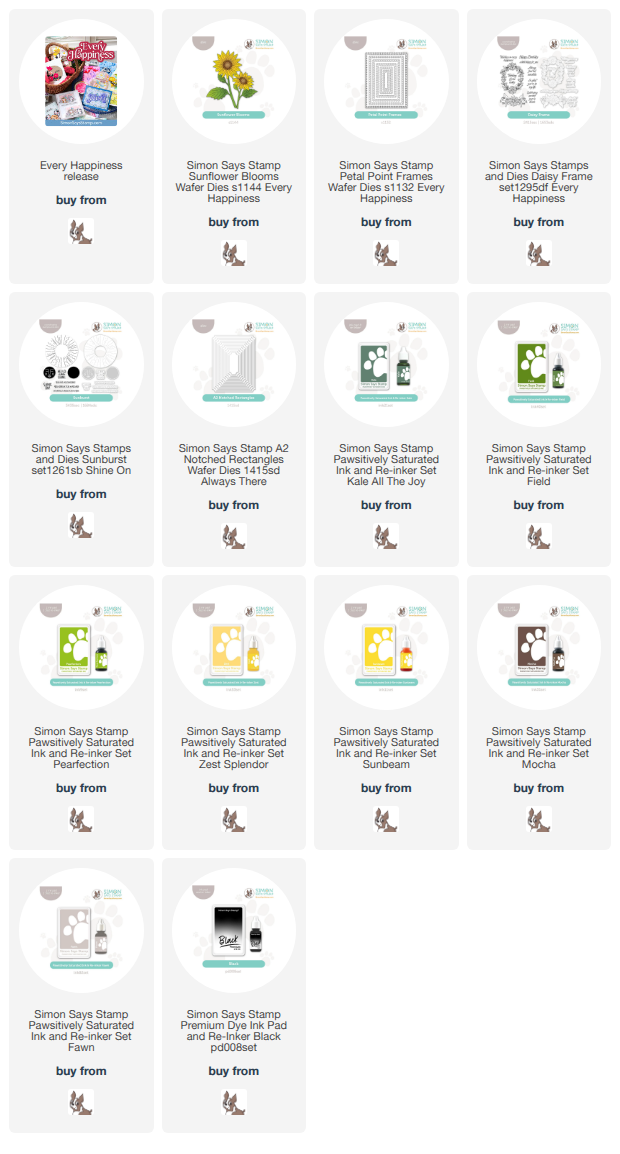
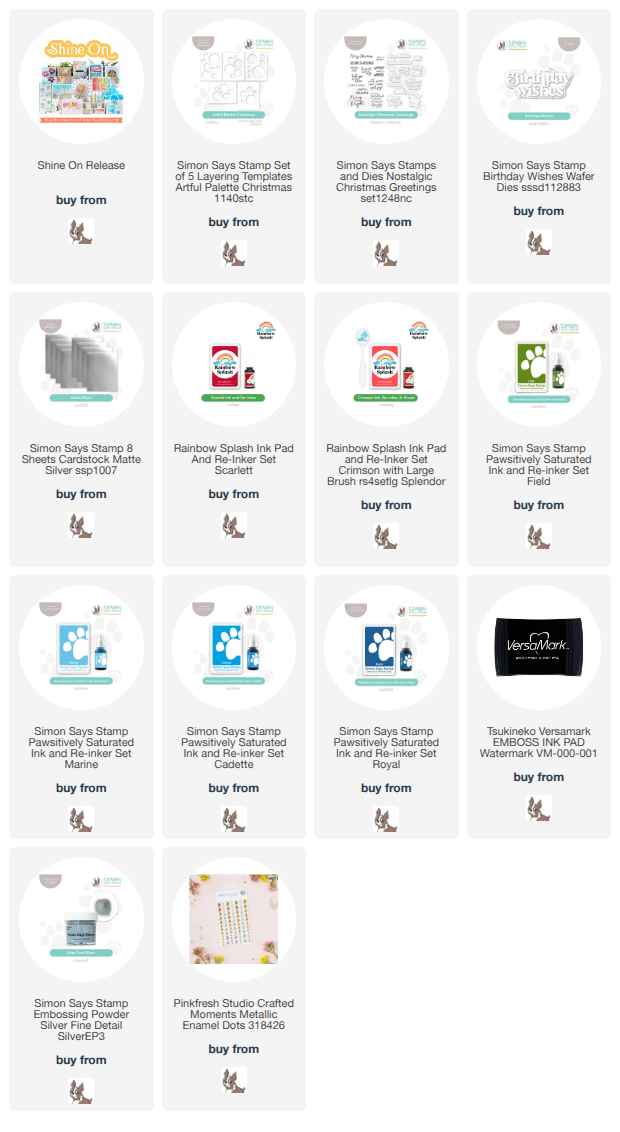
This stencil set, Artful Palette Christmas, has Christmas in it's name, and being that it's July 1st...Christmas in July...I thought it perfect to use this stencil for a July Christmas card.  I used two shades of red and one green, and used a couple of the stencils as they were designed, then added some extra circles in random, and needed spots, to fill in the emptier spaces.  I added a stamped, silver embossed, and layered sentiment, and some silver enamel dots.  I then finished by popping up the panel on a card.  
Here's a close up...

Then I used the circles for a birthday card...
This was made with three shades of blue, and then a silver embossed and layered sentiment.  I used the same enamel dots for this one as for the first.  I was going for a "guy" card, as this will be for my daughter's fiance.  Here's a close up...
Such great fun!  These cards were so much fun to make!  Christmas in July, I'm watching lots of Hallmark movies...I have so many Christmas favorites!  Hope you have a great rest of your week.  
Thanks for visiting me today!! Hugs!! Lisa