Thursday, January 31, 2019

Love You with Lots of Hearts

I used the My Favorite Things Lots of Hearts and their Outline dies to make a couple cards...
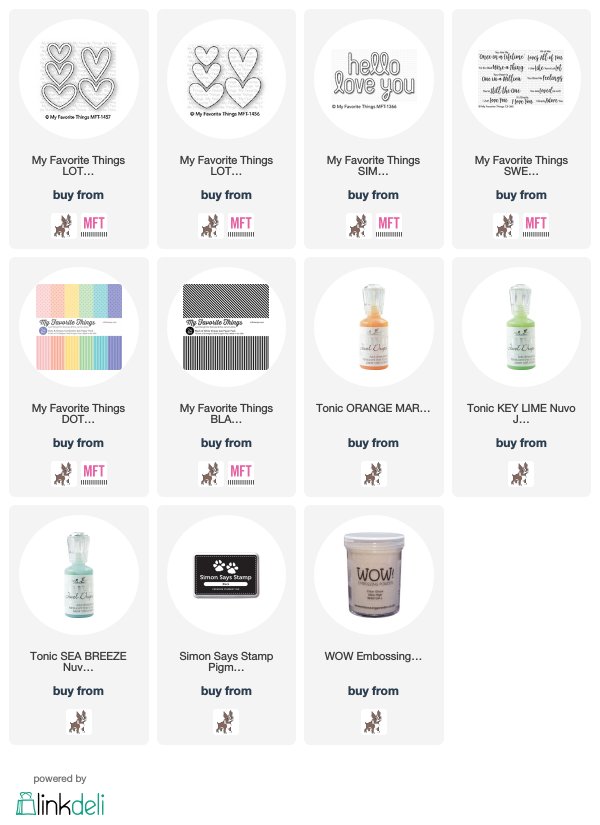
I die cut the outlines and layered three times.  I thought the soft colors of the My Favorite Things Dots and Stripes Confection paper pack was sweet (confection...sweet...😊😊), so I die cut another heart from the outlines with the striped paper.  I will use the outline in the second card, but for this card, I used the inside of the die cut.  I used the "love you", from the MFT Stamps Simply Hello and Love You dies...layering, like the hearts.  I used a Darice embossing folder for the background... I loved how the lines of the folder were so like the lines in the patterned paper!   Not sure they make this folder any more.  I have never really used this folder, because it cracks the paper when it embosses the paper...the embossing lines are too deep.  After much trial and error, I learned that putting an extra piece of thin cardstock in the folder when die cutting the piece of paper I want for my card, will significantly help to lessen that problem.  I think you'll be seeing more of this folder in the future!! I finished the card by dotting the hearts with Tonic Jewel drops.  Here's a close up...
The second one, I used the outline of the first card, and then die cut a polka dotted background for the striped outline...
I used a sentiment from the MFT Stamps Sweet Nothings set, and some striped paper on either side of the panel.  I dotted three of the hearts with enamel dots.  Here's a close up...
These cards make me happy, and I had lots of fun making them!!
Thanks for visiting me today!! Hugs!! Lisa
Wednesday, January 30, 2019

Folk Dance Dies in Frames

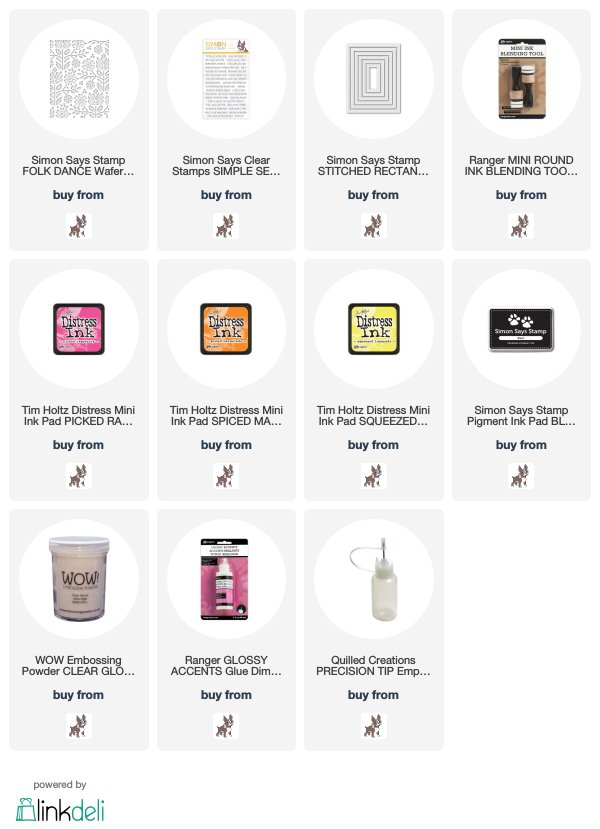
I used the Simon Says Stamp Folk Dance die, to make a couple cards using the full card die in a different way...
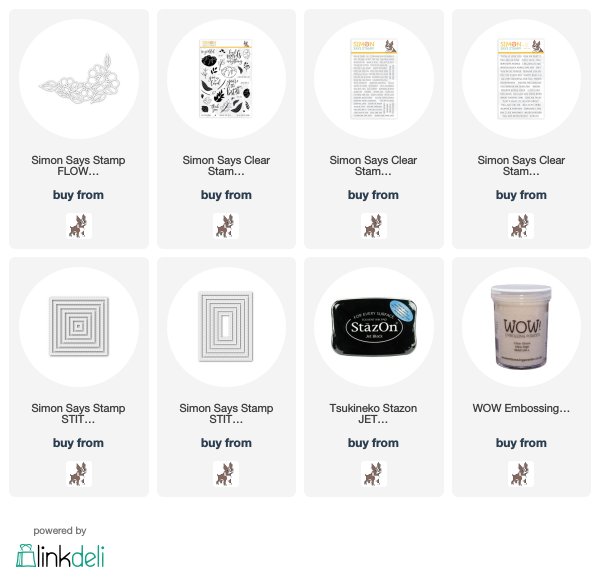
I have to admit, I had a bunch of white and black Folk Dance frames die cut from when the release first came out.  They had been sitting on my desk, over to the side, and I decided it was time to make cards with them...wasn't sure WHAT that meant, but here's what I did.  I layered the three white die cut frames together and adhered them behind a white die cut frame.  I made the outside frames by using two of the Simon Stitched rectangle dies that I had taped together with washi tape...I know, my dies are VERY worn loved...
The reason for this...so that when you die cut a number of these frames for layering, they are all die cut the exact same way, and layering will be spot on.  I stamped the sentiment onto the frame and clear embossed.  I sponged ink onto a piece of watercolor paper for the color behind the layered frames.  Here's a close up...

The second one, I used the whole Folk Dance die cut behind the frame...
I layered the black frames, then adhered a piece of colored cardstock behind them.  The black frame fit PERFECTLY behind the white frame, so I did not cut it down like the first card(for some reason, not at all sure why, a tiny part of the design of the white Folk Dance frames DID show through beyond the outside edges of the white stitched frame, thus I cut them off)...
I did layer the white frame as well as the black.  Here's a closeup...
I LOVE to use leftovers...they always have possibilities...this was super fun!!
Thanks for visiting me today!! Hugs!! Lisa

Tuesday, January 29, 2019

Banner Filled Thinking of You

I used the pretty Simon Says Stamp Thinking of You die, along with the Nested Banners dies to make a totally die cut card...
I loved that the banner dies came from Simon attached to one another.  I thought it would be fun to die cut the rectangles without taking them apart.  I used two colors of cardstock, and die cut one three times, the other color twice, so there were three rectangles with each die cut.  I used my tombow runner on a separate piece of cardstock and covered it with tape.  I adhered all the rectangle die cuts to the cardstock and then added some layers of chipboard behind for some lift.  I die cut and layered the Thinking of You die cuts and adhered to the rectangular panel.  Here's a close up...
This was so much fun...simple, die cut, fun!!
Thanks for visiting me today!! Hugs!! Lisa

Monday, January 28, 2019

You're the Coolest

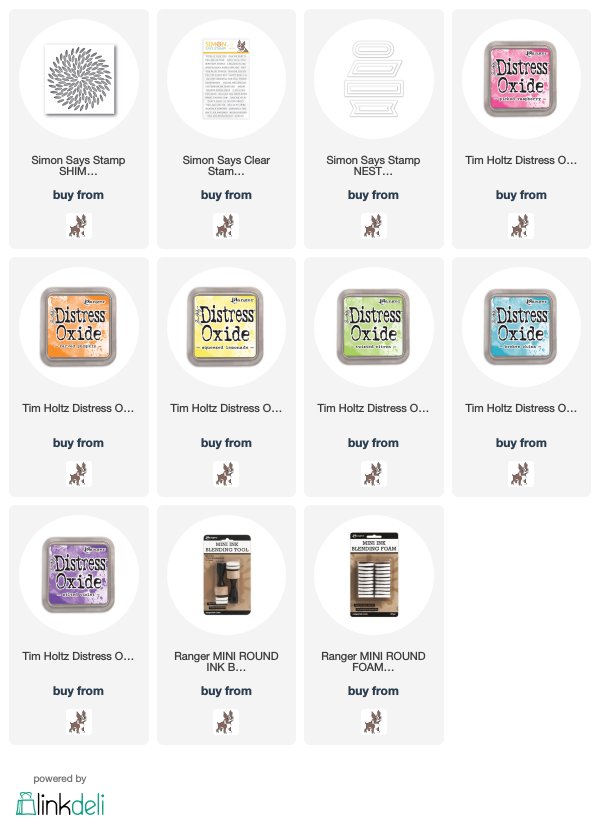
I used the new Simon Says Stamp Shimmer Burst die to make a fun card...
I die cut the Burst three times from a card panel.  I then used Distress Oxide Inks and sponged them onto a piece of watercolor paper in a rainbow sweep that would move with the positioning of the bursts.  Here's what my sponged inks looked like...
 I then die cut the burst three more times, cut them with scissors, and adhered them underneath the die cut card panel, to give the panel some depth (you know I LOVE depth:)!!).  Here's a pic of my cut and glued die cuts...
I then swiped a piece of cardstock with the Twisted Citron ink, let it dry, then stamped the "cool" sentiment and embossed.  I die cut the sentiment with one of the dies from the Nested Banners die set.  I LOVE that you can position the sentiment in the middle "window" of the die, and get a perfectly positioned and cut sentiment.  I used to have to slice them with my cutting board, and they were often crooked...so lots of do overs...NO MORE:)!!  Here's a close up of the bursts and sentiment...
Ok...just have to say...this card makes me HAPPY...such fun!!
Thanks for visiting me today!! Hugs!! Lisa

Sunday, January 27, 2019

Outline Floral Frame...Paint Chips and Markers

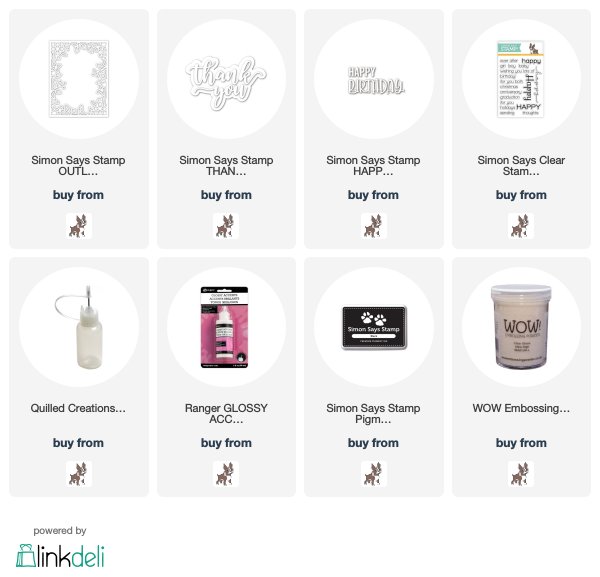
I have used the pretty new Simon Says Stamp Outline Floral Frame die to make two cards...the first using paint chips and the new Simon Thank You Script sentiment die...
I die cut and layered the floral die four times...the paint chips are 1/2 way down the layers.  The last two layers, I kept all the flower pieces IN the die cut to be able to layer the flowers without them falling through to the bottom layer.  I used my tombow runner on one of the die cuts with all the pieces, adhered a whole die cut to it, and then adhered the paint chip die cut pieces into the die cut...here's a pic...
I wanted depth, but the color to be close to the top.  I used 3 shades of yellow and green, two shades of blue.  The sentiment is die cut from cardstock and layered several times.  Here's a close up...

The second one, I embossed a white card panel with the flower frame.  I then colored the embossed panel with markers, and adhered layered outline dies that had already been adhered together, on top of the colored panel...
I colored the flowers and leaves with my Prismacolor markers.  I also colored a piece of cardstock with the violet mist marker and die cut the "Birthday" sentiment from the colored piece.  I layered it and adhered it under a stamped "happy" sentiment.  Here's a close up...
I think this flower frame die is so pretty, and filling the flowers and leaves with markers, cardstock or paint chips, make the possibilities endless!! 
Thanks for visiting me today!! Hugs!! Lisa

Tuesday, January 22, 2019

Watercolored Birthday

I used stamps and dies from a number of companies, to make a flowery, watercolored, birthday card...
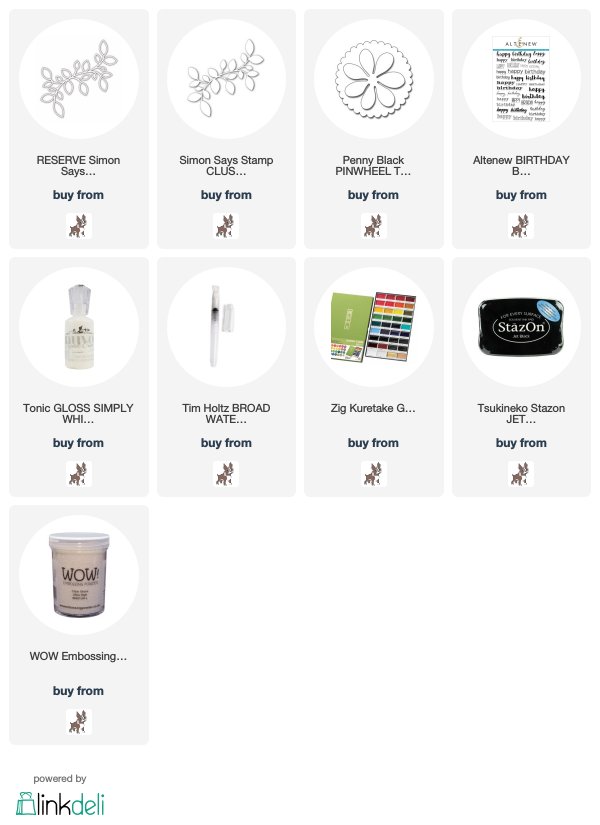
The Simon Says Stamp Clustered Leaves dies are BEAUTIFUL!!  I combined the new outlined die with the solid leaves, and chose to use the ENTIRE die on my card.  This die is long and beautiful, the size of the card was 6 3/4" x 4", to accomodate the entire die.  I embossed the solid die onto watercolor paper, and using my watercolor brush, dabbled paint onto the embossed image.  I then die cut the die from the watercolored paper.  I die cut the Outline Cluster in white cardstock several times, and layered all three.  I then adhered the watercolored solid with the outlined, layered die cuts.  I die cut the flower from Penny Black (one of my forever favorite flower dies!!)  from watercolor paper, and  brushed the petals with watered paint.  I layered and adhered then adhered to leaves. I added a middle to the flower, also watercolored, made from a retired MFT Stamps set, Upsy Daisy.   I added a sentiment from my go-to birthday sentiment stamp set from Altenew, and added Tonic drops to finish.  Here's a close up...
Been hunkered down in the house with such gold weather here in Virginia today (28 degrees, but with wind feels like 16 degrees!!)...but, I am having fun in my craft room:)!!  For those of you facing this winter cold snap, hope you are staying warm wherever you are!!  
Thanks for visiting me today!! Hugs!! Lisa

Monday, January 21, 2019

Flower Cluster Birthday Cards

I used the Simon Says Stamp Flower Cluster die and some new sentiment stamps to make a couple birthday cards...
The first one, I die cut and layered the flowers.  I then used a cardstock panel, and embossed the die onto the panel...
I colored the embossed image with markers, and stamped the two sentiments onto the panel.  I then adhered the layered die cuts onto the panel and adhered the whole thing to a card.  Here's a close up...

The second one, I used two sets of layered, die cut clusters...
I moved the two clusters together underneath a panel that had a stitched die cut square removed from it, as well as being die cut with a stitched rectangular die.  The blue card stock that I used underneath the die cuts was then exposed not only underneath the flowers, but served as a border.  I popped up the white panel over the blue.  The sentiment is from Simon Says Stamp/CZ Design's Simple Sentiments 2.  Here's a close up...

Thanks for visiting me today!! Hugs!! Lisa

Wednesday, January 16, 2019

You are Resplendent!

I used the pretty Simon Says Stamp Deco Heart die and cool CZ Design/Simon Says Stamp sentiment to make a card that I thought combined them sweetly:)!...
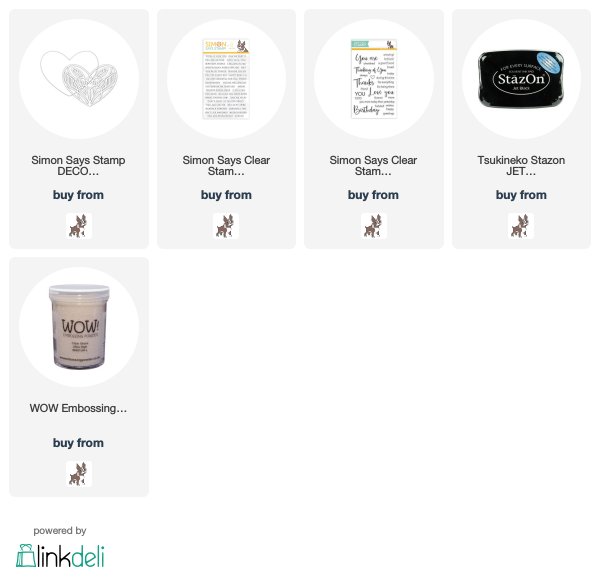
 Cathy Zielske...AKA CZ Design, has a line of stamps and dies over at Simon Says Stamp!  She is funny and fun, and though I've never met her, I like her...and I like her style!  She makes cool stamps and dies, and the partial sentiment stamp that I used on today's card is just one such example.  I DID use a "You are" from another stamp set, as I felt my card needed a bigger sentiment and the heart needed a little bit of curvy font, so I simply used the last part of her sentiment, the word resplendent!  Ok...few I have asked know what that word means, but I had heard it on a Disney show(yes, I DO learn from Disney...watching A LOT of it with Noah:):)!!).  Resplendent means: attractive and impressive through being richly colorful, having a very bright or beautiful appearance, has great beauty, and is a pleasure to behold, lovely...to give you a few.  I thought the one brightly colored heart amongst the black and white went with resplendent...impressive through being richly colorful...and that the one who receives this card will be someone loved and like that pretty pink heart!!  I layered the black die cut heart three times, and a couple white below the black with the heart attached to the layered black hearts.  I layered with the two white layers to give the heart die cut real depth for when I put the card together.  Here's a close up...
I really love this card...thanks Cathy for the cool vibe you bring to the crafting industry...love your style, lady:)!! This was great fun...be resplendent you!!
Thanks for visiting me today!! Hugs!! Lisa

Monday, January 14, 2019

Heart Tree

 I have used the pretty new My Favorite Things Heart Tree die to make a couple cards to share with you today...
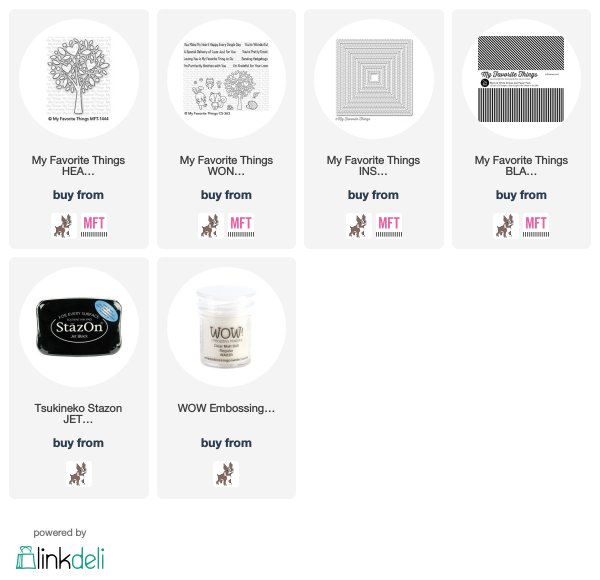
This first one, I die cut the tree and the stitched square at the same time, then die cut a couple more trees to layer from underneath.  Below the three layers, I used a piece of watercolor paper, embossing it with the tree die, and then coloring with markers.  I adhered all of the layers together, and then adhered to a card with a piece of striped MFT Stamps striped paper on the top and bottom of the card.  I stamped a sentiment from the Woodland Friends stamp set, and then cut to a banner.  Here's a close up...

The second one I did much like the first, minus the square cut and coloring...
I die cut the tree and layered twice underneath the main, top panel.  I adhered them all together, with a black panel on the bottom, with a bright pink heart adhered between the black panel and the bottom white layers.  I used another of the sentiments from the Woodland Friends stamps set, and some of the diagonal paper on the right and left sides of the card.  Here's a close up...
I had SO MUCH FUN...but... I still feel a rainbow coming on with this die:)!!  
Thanks for visiting me today!! Hugs!! Lisa

Saturday, January 12, 2019

Totally Love You

I used the smallest heart from the new Simon Says Stamp Ornate Love stamp/die set to make a rainbow of hearts to say "love you"...
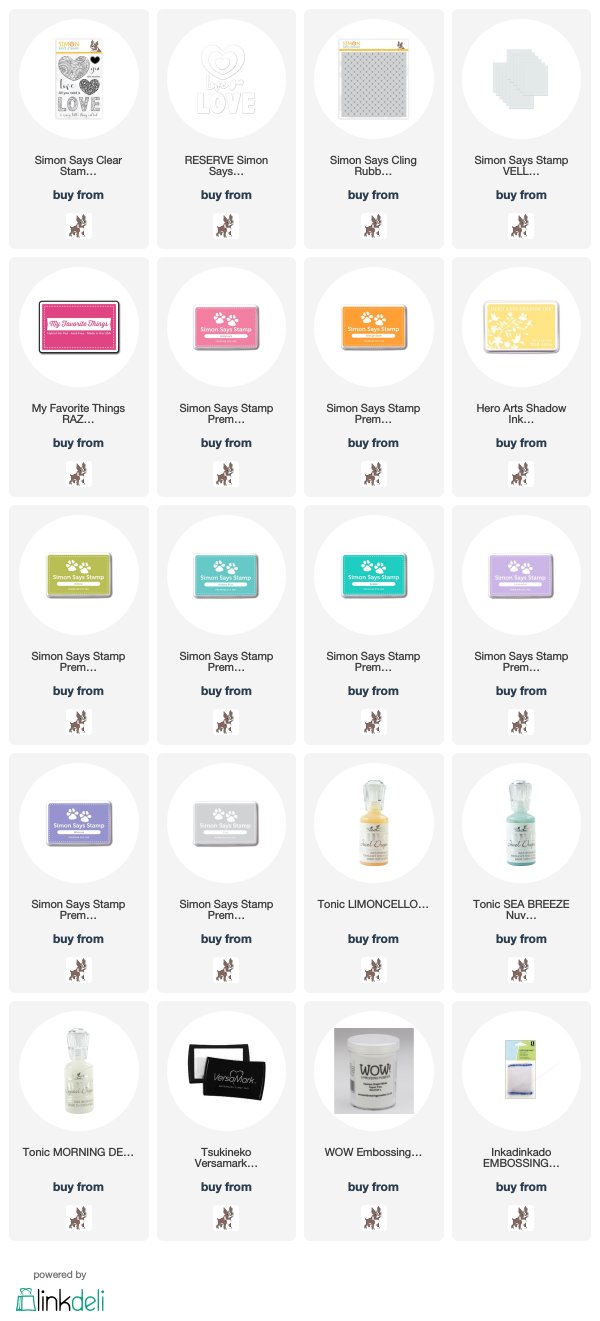
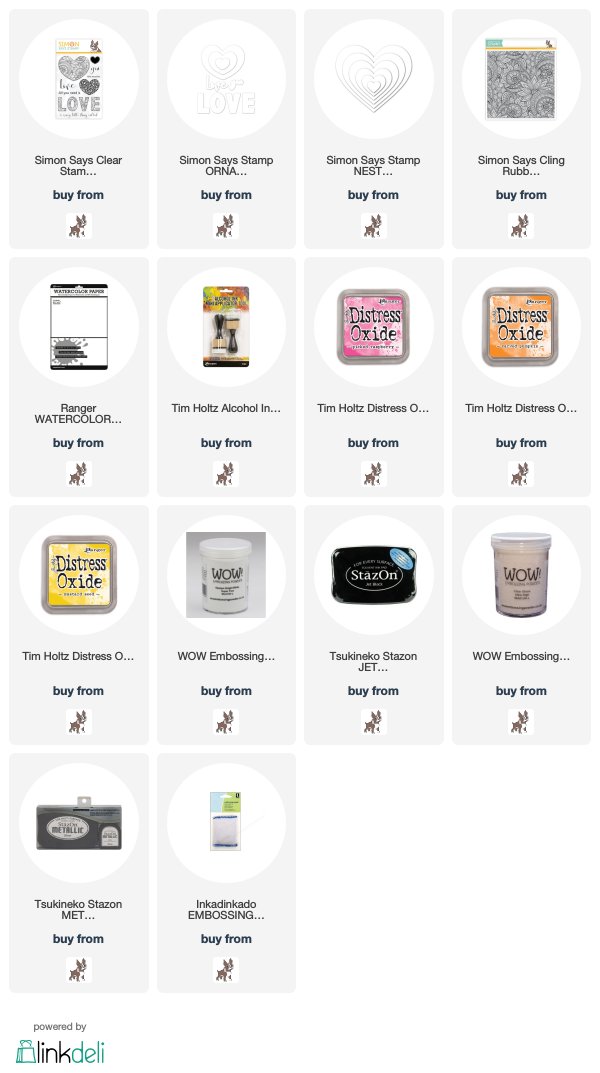
As you will see from the product list below, the biggest thing to this card is INK!!  Choosing 9 different colored inks is no small or easy task.  I finally settled on what you see here, stamping each color heart, die cut and layering each a couple extra times.  I adhered them to a card panel that had the new Simon Quilted Hearts Background stamp stamped with Simon Fog ink.  I added a sentiment stamped and embossed on vellum and wrapped around the panel and adhered on the back.  I dotted three of the hearts with Tonic drops and adhered the whole panel to a card.  Here's a close up...
Rainbows and hearts...it doens't get much better than this:):)!!  Thanks for visiting me today!! Hugs!! Lisa

Thursday, January 10, 2019

Simon Says Stamp You Are Loved Blog Hop!

Valentine's Day is a day to tell others, "you are loved!"....and Simon Says Stamp's latest release, You Are Loved, is not only perfectly named but filled with perfect stamps, dies and stencils to celebrate the upcoming day of LOVE! I am thrilled to be a part of today's Simon Blog Hop that celebrates the release that celebrates "the day" (but hey, LOVE is really for EVERYDAY, right?!)!
If you're following the hop, you should have reached here from the talented Amy Rysavy!

Love is most often shown on cards with hearts and words of love, and I have used the new Simon Says Stamp Ornate Love stamp/die set, combining both, to create a couple cards to share with you...
I stamped, embossed, die cut and colored the letters with markers.  I used two shades of pink, coloring all of one type of flowers.  I used my Prismacolor cool gray markers (4 shades), to color all the rest of the letter's flowers, leaves and designs.  I wanted the pink flowers to be the only color on the card.  I layered each of the letters three times.  I cut a heart out of a textured piece of cardstock and layered it from underneath.  I used one of the sentiments from the set(oh yeah...the Beatles!!) and stamped it with versamark and white embossed.  Here's a close up...

 I used the other Ornate stamp from the set, to make my second card...
I sponged three distress oxide inks on watercolor paper, allowed them to dry, then brushed my embossing bag over the paper, to avoid static, and stamped with versa mark and white embossed the ornate heart stamp.  I hand cut the heart out, and layered with die cut, black hearts from the set.  I stamped the Ornate background stamp onto a piece of black cardstock with silver ink.  I wanted something that would show, but didn't want embossed color or shine of embossing...the silver gave design without taking from the heart.  I added a stamped, die cut and layered sentiment.  Here's a close up...
Well, that's it for MY fun, now onto yours!!  
Simon Says Stamp will be generously giving a $25 coupon to one commenter from each and every blog on the hop, simply leave a comment for a chance to win!!  The winners will be chosen and be posted on the Simon Says Stamp Blog on Wednesday, January 16th, so make sure you check the blog on the 16th, to see if you're a winner!
The next stop on the hop is creative Heather Hoffman
   The list of participants of the hop are below.  If you get lost, you can head to the  Simon Says Stamp Blog...hope you will check out all the amazing artists' inspiration today!! 
Please don't forget, as you read in the heading, you will be given a FREE Tim Holtz Festive Berries Distress Oxide Ink Pad (while supplies last), with ANY purchase!!  The CODE IS LVE584, and will expire on January 13th at 11:59pm EST, so don't forget when you place your order!!
AND...debuting today over at Simon, is a BRAND NEW set of watercolor prints from Suzy Plantamura...Push on the pic to see them at the store...
 Simon Says Stamp Suzy's SENDING LOVE Watercolor Prints szval19
ONE LAST THING(but not least)...there's a Day 2 of the You Are Loved Hop TOMORROW...so please make sure you check back to Simon's blog tomorrow for MORE inspiration...ok...keep hopping!!
Thanks for visiting me today!! Hugs!! Lisa