Saturday, July 31, 2021

Teacher Thank You

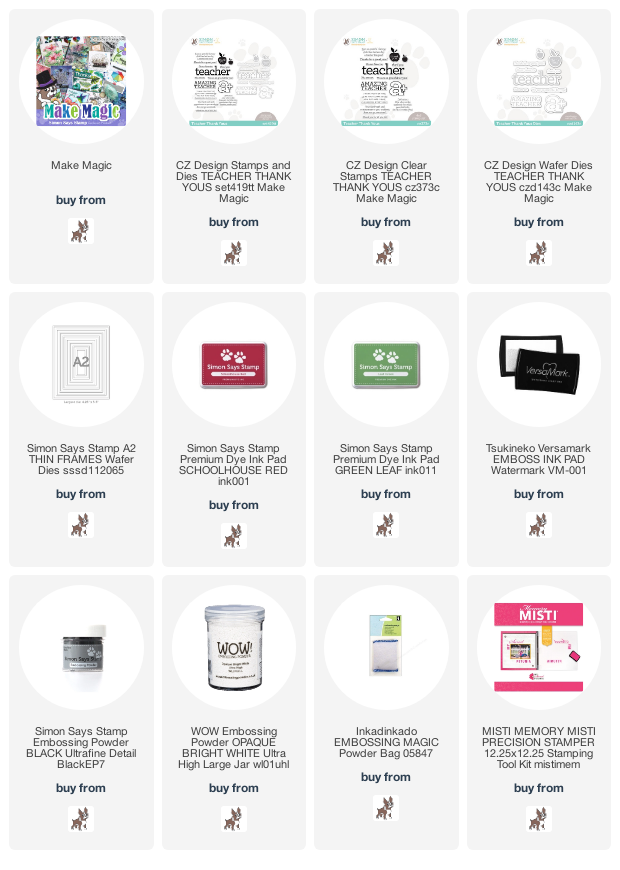
I have made a card with the wonderful new CZ Design Teacher Thank Yous stamp/die set from Simon Says Stamp's new Make Magic release!...
Teachers are amazing and deserve special thanks all the time, but they especially deserve extra thanks, living in the times we are!  This card is simple in design, but that's what I love about Cathy Zlelske's stamps/dies, they are wonderfully designed, and easily lend themselves perfectly, to simple card designs!  I decided to go old school basic, apple and chalkboard.  I had some chalkboard cardstock, and tried to write on it with my first attempt, but I liked  the deep black look...a clean chalkboard, for me, less is more!  I framed the chalkboard with a wooden frame, die cut with the Simon A2 Thin Frames.  I used two of the frame dies taped together, and used the die cut from the middle of the two taped dies.  I layered the frame twice in black, then the top layer in wood veneer. I stamped the "teacher" sentiment with versamark and black embossed...I love the depth of black and the wonderful shine of the embossing!    I stamped one of the sentiments from the set onto the chalkblackboard, and adhered the frame, the die cut layered sentiment, and die cut layered apple to the chalkboard.  Here's a close up...
Even with no school age children, this is a card I can send to any teacher, friend or relative, to encourage them, and thank them for all they do...how wonderful to simply thank teachers everywhere!!
Thanks for stopping by today...hugs!  Lisa
Wednesday, July 28, 2021

Xylophones

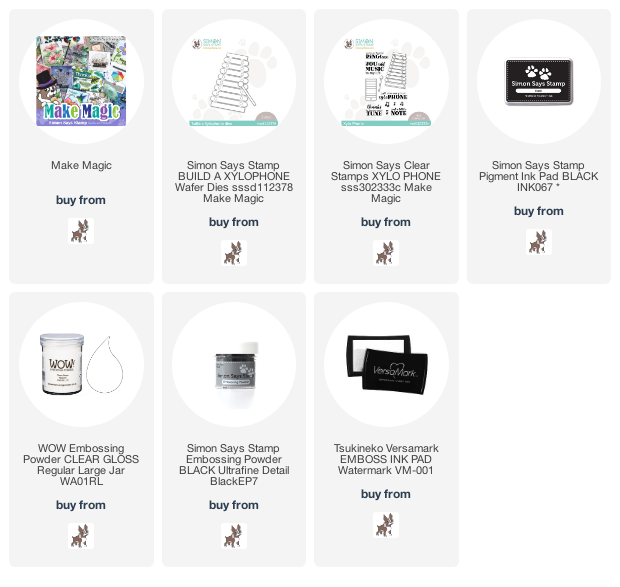
I love music...used to play piano and cello, but now, I love listening, singing to, and to my children's fright, dancing to music!  Music is life!  I have made a couple cards using the fun new Simon Says Stamp Build a Xylophone die and the coordinating Xylo Phone stamp set for the sentiments, from their new Make Magic release!...
I must admit, I googled xylophones to see different colors/ kinds of xylophones.  This first one was inspired by this one:
I colored all the keys with markers, but didn't realize until I got to the eighth one, that there were only seven in the one I googled, and not the eight that I needed for my die cuts.  Oops...so I just improvised with the last(the top) color.  I layered the keys with two layers underneath the color, and used wood veneer paper for the base of the xylophone, as well as the mallet.  I added one of the sentiments and popped the whole thing up on a white card.  Here's a close up...
The second one (actually the first one I made), had to be the classic...and my favorite thing...rainbow!...
The googled pic of this one...
I must admit, though, after the I colored the keys, I put the picture away, and, as I just noticed, I switched the natural wood and white wood around😁!  I originally had given this xylophone a black background on the card, and it really showed off the colors of the xylophone, but I didn't care for the way the sentiment embossed  in white looked, so I switched the black background out for a gray background with the sentiment stamped in black.  Here's a close up...  
 
Okay...gotta say...these were SO MUCH FUN to put together!!  I love music, so these were expecially fun for me...make some fun today, please!!  Thanks for stopping by and checking out my cards...Huge Hugs!!  Lisa
Monday, July 26, 2021

Throwing Shapes Three Ways

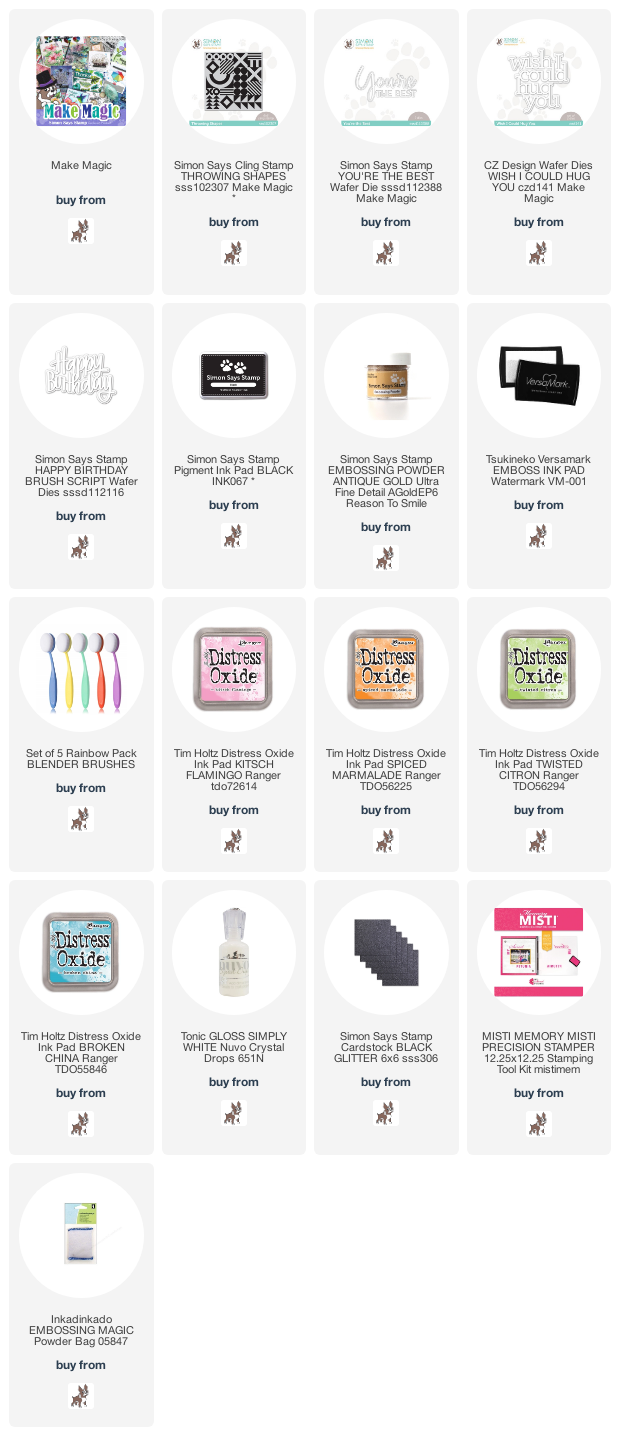
I have made three cards with the very cool new Simon Says Stamp Throwing Shapes background stamp, and a couple new sentiment dies, from their new Make Magic release!...
I was smitten with this background stamp when I saw it!  It is so cool, and I felt there were so many ways that you could use this stamp!  The first thing I thought, was stamping it on black cardstock and gold embossing the shapes.  I popped it up on a white card, with a border big enough to accent the lines of the cool new "You're the Best" sentiment die cut sentiment!  The inside could read, "thank you", "happy birthday", "hope you're doing well"..."You're the Best" lends itself to so many inside possibilities!  It is layered and adhered to the card.  
Here's a close up...
Then I thought, what if you just stamp in black on a white piece of cardstock?...
I put the stamp and paper in my MISTI, as I had a feeling I would be stamping the shapes more than once, and I was right, and I did!  I liked having the shapes dark, and my ink pads are not new and super juicy, so it took a few stamps.  I then popped up the stamped panel on a piece of black cardstock on a white card(love the black border!), and attached a die cut and layered an older Simon sentiment die in shiny gold...loved it against the black and white!  What can I say, black white and gold...love it!  
Here's a close up...
And last but definitely not least, I branched out and gave my third card some color...
I brushed some distress oxide inks on a piece of white cardstock.  I then put that colored piece in my MISTI, and stamped the black ink onto the colored piece a couple times.  I die cut and layered the wonderful new CZ Design sentiment die and adhered it to a black die cut background, then popped up the sentiment on the card panel.  I used a big drop of white Tonic drops after I lost my layered dot to my "i" (I later found it, but a big dot of tonic drops is perfect, too!).  Here's a close up...
I had such great fun making these cards...super simple in design, and pretty easy, this background stamp makes for some fun card making!
Thanks for visiting my blog today!!  Have a great day, hope you can make it a fun one! Hugs!! Lisa

Saturday, July 24, 2021

Flipped Thanks

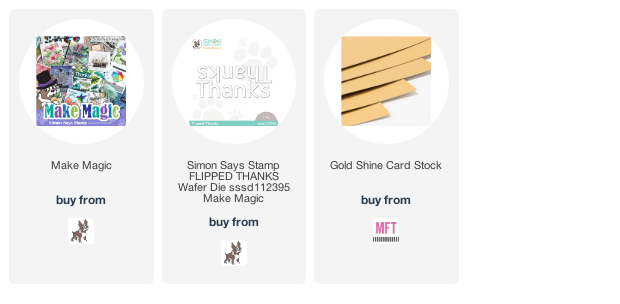
I've made a couple cards with the very cool new Simon Says Stamp Flipped Thanks die from their new Make Magic release!  The first is with the negatives of the die, the second, a card made with the die cut letters from, and the leftover background paper from the first!...
I die cut the sentiment die three times down the middle of a piece of cardstock, and took all the pieces out of the die cuts, putting all the die cut letters aside, and for this card,  the centers to all of the "a"s.  The background was inspired by some patterned paper I had, but thought I could make something myself like it.  I cut 1" pieces for the colored papers, and 1/8" pieces for the gold.  I adhered to a piece of cardstock and then to the card.  I layered the triple thanks with one layer underneath each die cut for some depth, cut the sides off a bit to allow some colored paper to show, and then adhered the panel to the card.  I adhered the layered "a" center pieces and done!  Here's a close up...
The second one, I happily used the leftovers of the first to make another thank you card...
I thought the leftover strips were so cool, and knew I HAD to use them on another card...so I made it a popped up panel card, using the leftover thanks letters, layered and then covered with a gold layer of letters.  I was going to put the sentiment across the card, but loved the letters randomly vertical! Love the shine of the gold and how it goes with the paper!   Here's a close up...
SUPER fun!!  LOVE when you get two cards for one... happiness!  Hope you're having a great weekend!  
 Thanks for visiting me today!! Hugs!! Lisa

Friday, July 23, 2021

Make Magic Blog Hop!

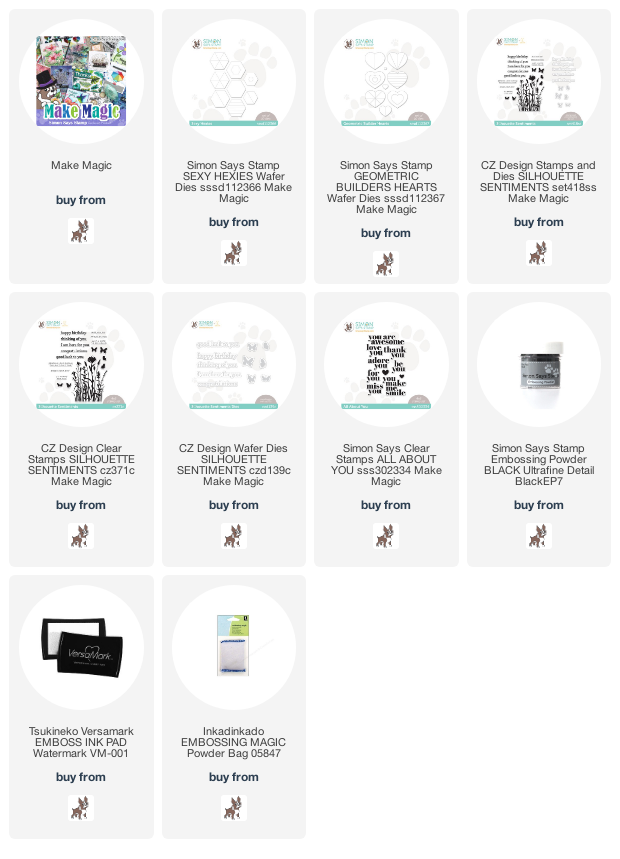
I am so very excited to be a part of today's Simon Says Stamp Blog Hop, celebrating Simon's new Make Magic release!  This release is truly magical...filled with so many wonderful stamps, dies, stencils, and accessories, all to help you and me create magic on paper!!  I am in love with so many of the new products, and I chose the hexagons and hearts die sets...Sexy Hexies, and Geometric Builders Hearts, to use to celebrate this release today!  These die sets are wonderful, and the possibilities of cards to make with them, endless...I will show you two!!
For both cards, I was going for a rainbow of colors, made of radiating shades of each of the six basic colors...so I opted to use paint chips...I DO love my paint chips...especially for shades!  There was lots of die cutting for these cards, but once the die cutting was done, they were a breeze to put together!  I layered the die cut hexagons with whole die cut hexagons for underneath each multi colored hexagon, and used a very cool stamped and die cut sentiment from the new CZ Design Silhouette Sentiments to complete my card!  Here's a close up...
The second one, much like the first, but a slimline card using the new Geometric Builders Hearts die set...
I die cut and layered the hearts, then randomly adhered to the card panel down the left side of the card.  I chose one of the sentiment stamps from the wonderful new Simon All About You stamp set...I love these sentiments!  I worked the hearts around , fitting the sentiment into the design of the hearts!  I used versamark and black embossed the sentiment...love the depth of black and the shine that comes from embossing with black embossing powder!  Here's a close up...
These were such great fun,  rainbows and amazing dies always make me so very happyl!!  
I've had fun making my cards, but the fun is just beginning for you! 
 Simon is generously giving a $25 coupon to every stop on the hop from our comments section, so the more blogs you  leave  comments on, the better your chance of winning!  The winners will be posted on the Simon Blog on Wednesday, July 28th, so make sure you check the blog on the 28th to see if you're a winner!  The list of participants for today's blog are below:

Simon Says Stamp Blog   

Nina-Marie Trapani

Caly Person

Nichol Spohr

Jennifer McGuire

Cathy Zielske

                                   Lisa Addesa<----YOU ARE HERE

Amy Rysavy

Sidnie Des Jardins

Amanda Korotkova

Heather Ruwe

Suzy Plantamura

Yana Smakula

Heather Hoffman

Lea Lawson

Two things before I go!  First, don't forget the offer in the banner above...use the code ARTMAGIC for a free Arts Supply die with a purchase of $40 or more !  The offer is good til the end of the day on July 25th or until supplies last, so don't wait too long!  Second, there will be a second blog hop  on the Simon Blog tomorrow, so I hope you'll follow along tomorrow for even more inspiration from this amazing new release!
Thanks for visiting me today, keep on hopping!! Hugs!! Lisa


Thursday, July 22, 2021

Make Magic Release!

There is a new release at Simon Says Stamp, today, and Make Magic is truly magical!!  I have used one of the adorable new dies to make a couple happy rainbow filled cards...
The die is called Rainy Days, and what's not to love about rainy days, especially when they are filled with this much fun?!  I used rainbow colored dotted paper for the umbrella,  putting a black dot in the middle.  I clear embossed the raincoat and rain boots three times each, for a real glossy shine, 'cause that's how my rain gear goes!  I added three Tonic drops on the umbrella for some rain effect and added one of the pretty sentiments from the new Hibiscus Blooms stamp set!  I stamped it with versamark and embossed with black embossing powder...love the intensity of the color and the amazing shine!  Make sure, if you try it this way, that you rub your powder bag over the spot first, to avoid static!  Here's a close up...
The second one, much like the first, but solid colored umbrella...
I triple embossed the rain gear, this time striped, and added one of the new sentiment strips from this release, that I cut around, and then swiped with my warm gray Prismacolor marker.  I wanted the eyes to be drawn to the umbrella, so the white sentiment strip now colored, was much more what I was going for!  Here's a close up...
These were SO much fun to make!!  And...don't throw away the leftovers!!...
I at least adhered them together so they are ready for more cards!!  Hope you will check out the new release over at Simon, and join the blog hops tomorrow and Saturday over at the Simon Blog as we celebrate this amazing and "magical" new release!
Thanks for visiting me today!! Hugs!! Lisa

Saturday, July 17, 2021

Happy Birthday Cards

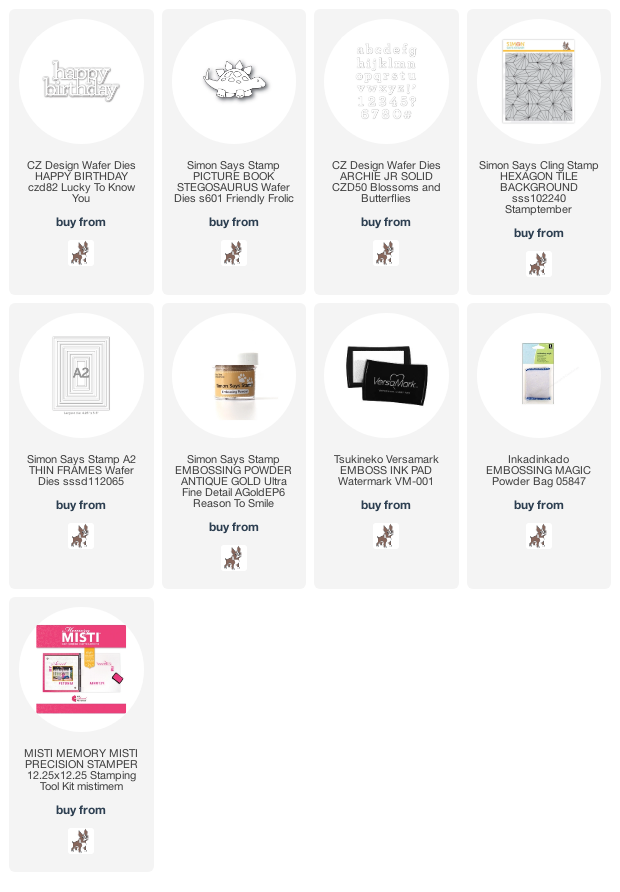
I've made a couple birthday cards using one of my favorite happy birthday sentiment dies, from CZ Design!  I've combined the sentiment with an older Simon dinosaur die for one, and a background stamp for the other... 
One of my grand babies turned two and loves dinosaurs.  I pulled out my Simon Picture Book Stegosauris die and got to work die cutting and putting together this cutie!  I gave him a couple layers.  I used a black pen to give his eyeball a little life.   I adhered him to a die cut and layered happy birthday and the number "2' on his tail...simply done, but that's how I love to roll!!  Here's a close up...
The second one was a card made for a friend who requested a birthday card using the Simon Hexagon Tile Background stamp like I did with this back in the first days of September last year...
So...this was what I made...
To make it, I stamped the design on the light blue cardstock  in my MISTI, with Simon Smoke ink, then coloring some of the hexagons' triangles with a light blue ink marker.   After drying  I  put the colored piece  back into the MISTI, swiped with my magic bag to avoid any static, stamped with versamark, and gold embossed.  I framed it in a layered die cut frame, made from the Simon A2 Thin Frames die set.  Again...simple...but love the shimmer of gold.  Here's a close up...
I had such fun making these cards...what's not to have fun when it comes to birthdays!  
Thanks for visiting me today!! Hugs!! Lisa

Friday, July 16, 2021

You Shine

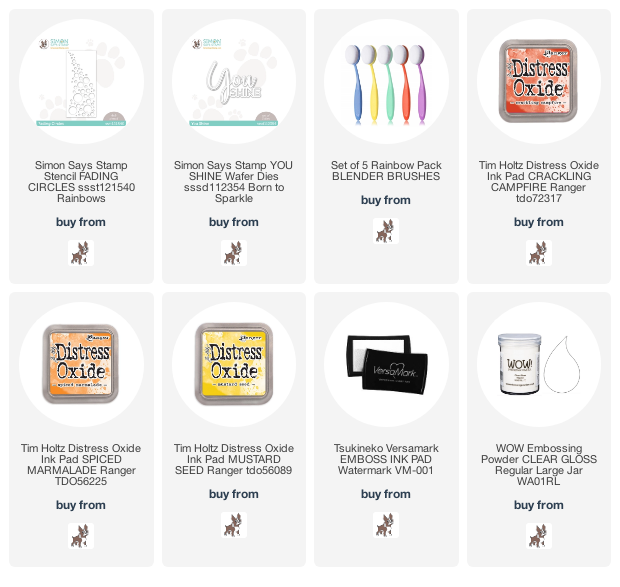
I've made a card using one of the cool new Simon Says Stamp stencils from the Rainbows release!...
I used three colors of distress oxide inks for the colors for all the circles of the Fading Circles stencil.  I then had an idea.  I liked the Simon "You Shine" sentiment from Simon's Born to Sparkle release, and thought if I could make these circles shine, this sentiment would really fit on this card.  So...I put the stencil back over the colored circles, and brushed Versamark over all the circles, then sprinkled and heated clear embossing powder on them...and did that twice.  I really should have done it one more time for REAL shine, but hopefully you get the idea from my pics of the shine...
This picture shows more of the shine...
I popped the panel on the card and added the die cut and layered sentiment on the top, fitting it kind of into the line of the circles(I like when this happens!).  Such great fun to experiment a bit and do something a little different!  
Thanks so much for visiting me today!! Hugs!! Lisa

Thursday, July 8, 2021

Tropical Silhouettes in Gold

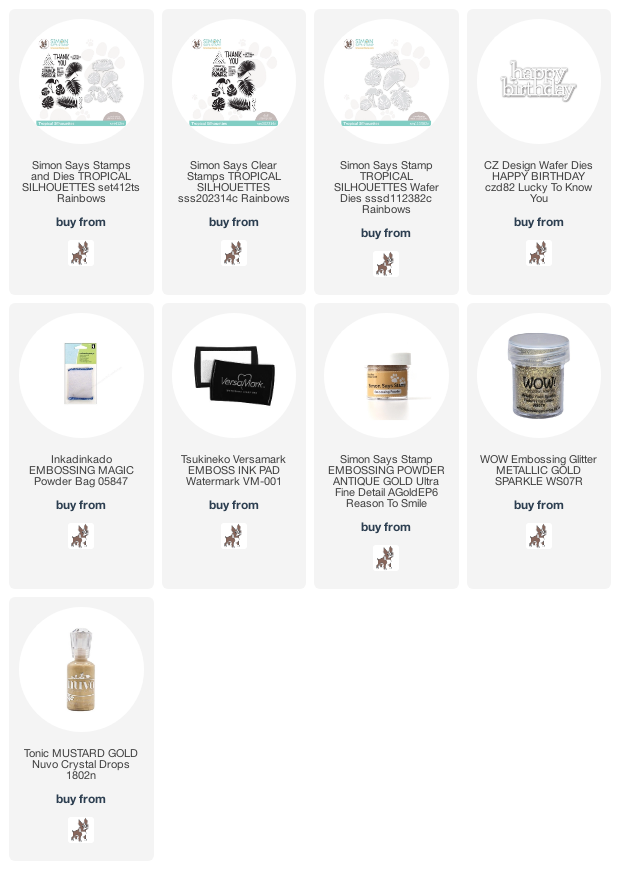
I used the beautiful new Simon Says Stamp Tropical Silhouettes stamp/die set from their Rainbows Release, to make a birthday card...
I googled these leaves, and found so many cool inspirational pieces with them!  The one that I was most drawn to, I think it was wallpaper, had a black background and gold toned leaves.  What you see is my take on that piece.  It was pretty impossible to photograph, but the stamped, embossed and die cut leaves on my card, were embossed with a sparkly gold embossing powder.  They have a pretty sparkle, and not only stand out from the gold embossed leaves on the black panel because of them being die cut, but because of their sparkle.  I also hand cut some of the slits in the die cut leaves, that were not die cut, to allow pieces of the leaves to stand out when I adhered them to the card.   I added some gold Tonic drops.  I couldn't decide which(if any) pictures showed the sparkle, so I will show you all three that I took...


SO MUCH FUN...these leaves make for wonderful card...I'm kinda happy with the results!  Hope you are doing well...hope you have some fun today!  Thanks for visiting me today!! Hugs!! Lisa