Showing posts with label Honey Bee. Show all posts

Saturday, November 6, 2021

Sunflower Love

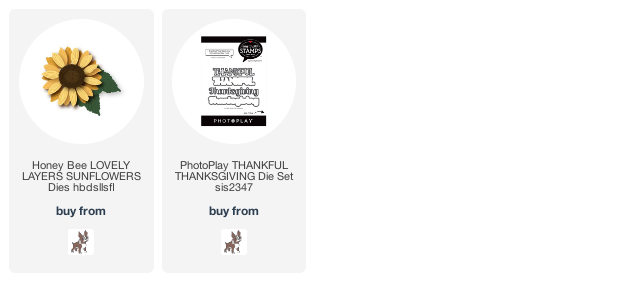
I used the Honey Bee Lovely Layers: Sunflowers dies and a die from Photoplay's Thankful Thanksgiving die set, to make a card for this season of thanks...
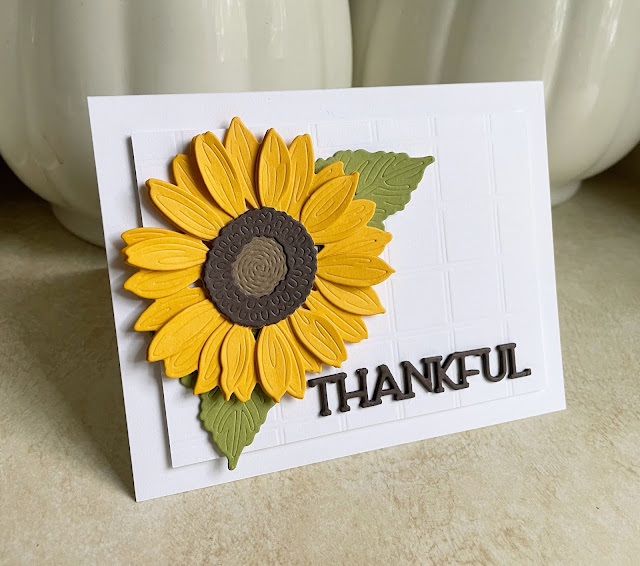
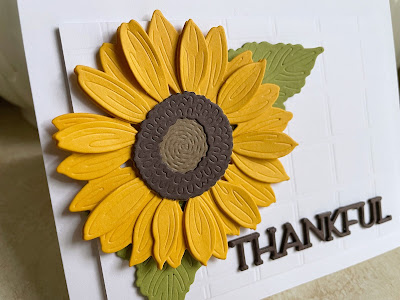
I have had both sets of dies for a while, but took them out to play last night and put together this card..super quick, easy, and fun!!  The embossed paper was a scrap, but embossed with an old Papertrey Ink Impression Plate(Guide Lines Grid).  I LOVE this sunflower!!  So pretty and once I figured out how to put it together, realized that it was more amazing than I had first thought.  There are three layers, and each one builds upon the one below.  There are unembossed petals on the bottom two levels, and are meant to line up with embossed petals on the layers above.  It's all about alignment with this die...so cool how they made it a no fail die...you can't go wrong as long as you line it up!  Way cool!!  I bent some of the leaves with my fingers for added dimension.  I added two die cut leaves, and a layered die cut sentiment(love the font, lines, and size of this die!), and popped up the flower, and then the panel on the card...done!  Here's a close up...
Hope you have a great weekend...just turned my heat on for the first time since Spring, a couple days ago...Fall is really here in VA!  
Thanks for visiting me today!! Hugs!! Lisa
Sunday, August 11, 2019

Gloss and Glitter

I made a couple more cards with the Gina K Designs, Petals and Wings...I am loving this set of stamps, dies and stencil!...
I had an idea for the stems with little berries on them for both cards.  For this first card, I learned, by trial and error, to stamp and die cut the stem first, by itself.  THEN, I stamped the berries onto the already die cut stems, with Gina K Wild Lilac dye.  I found it next to impossible to stamp both the stems and berries and get them to fit into the die when I die cut...just too much room for error. YOU may be more precise, but in case you are like me, remember that tip...will save you time and paper.  I layered the berries, then covered each of the berries with Glossy Accents.  Thought I would show you the difference between the original color of ink and what it looked like after the glossy accents....
...quite a change in color, right?!!  It just so happened I had ONE card size piece of card stock that matched that purple color precisely...so stinking cool, right?!  I used a stencil from Honey Bee,  Polka Dot background stencil, to add some polka dots to go with the berries. I stamped one of the sentiments from the set, and popped up the white off the polka dotted panel.  Here's a close up...
The second one was a complete afterthought...thought of last night after I realized the stencil had the BERRIES on it:)!!...
 I stamped the stem and die cut, then positioned the stem underneath the stencil and used some glitter paste to adorn the stems!  LOVE!!  As with the first one, I polka dotted the background and used the same sentiment stamp as the first card.  
OMG...SUCH FUN!!  I love when cards are fun, easy and you love them when you're done...card making at it's best...and that's these two:)!!
Thanks for visiting me today!! Hugs!! Lisa