I made some candy bags filled with different flavored Hershey Kisses, and was just going to tie them with a silver ribbon, but then had a different idea...

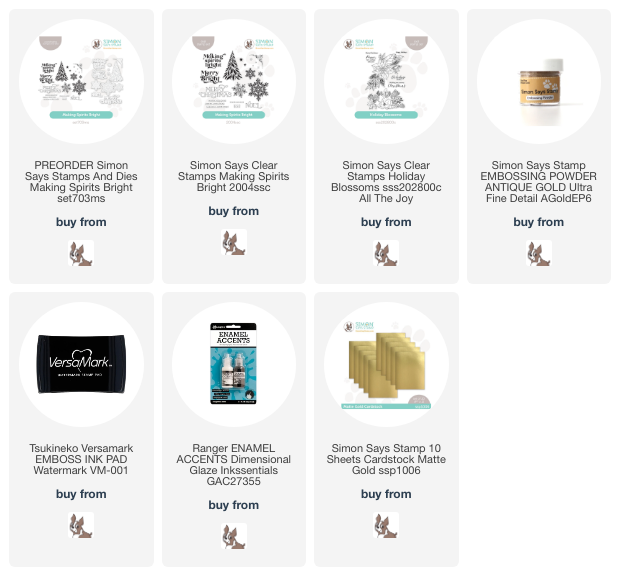
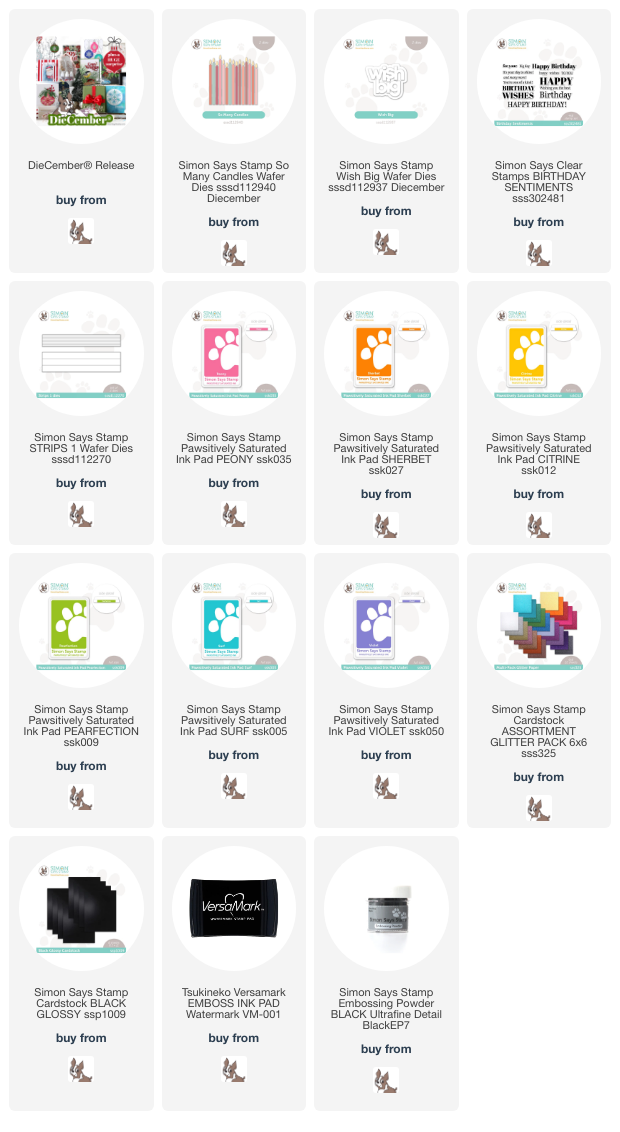
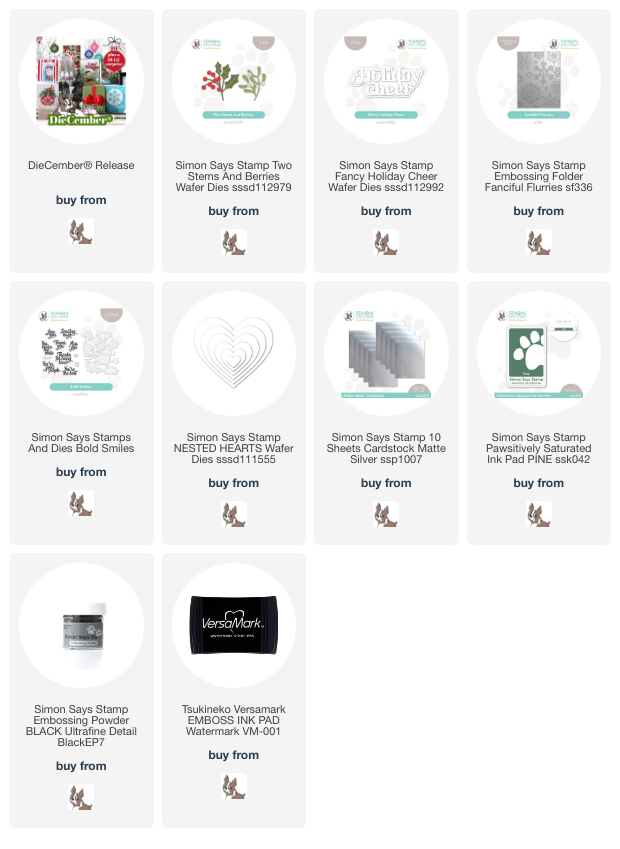
I used the Simon Says Stamp Fancy Holiday Cheer die to make headers for my candy bags! I partially die cut the backgrounds, so the tops were like a folded card. I then stapled the die cut in two places to keep it attached to the candy bag...

I die cut a single background in white cardstock and then adhered it to the stapled partial die cut. This way, the sentiment looks nice, with no staples showing. I used some old shimmery cardstock I had that I thought would go great with the sparkle of the kisses, diecutting the sentiment from it. It was very thin paper, so I adhered some white cardstock to it before die cutting, so it had a nice slight heft to it. I adhered it to the background panel and this was what a single bag looked like...

This will be my last post until after Christmas. My family, like Santa, is coming to town for Christmas, and will be staying with Noah and I for a few days, so I will be loving on family through Christmas! I hope you have a Christmas filled with holiday cheer and lots of love and laughter!
Thank you so much for visiting me today!! Hugs!! Lisa