Saturday, November 19, 2022

Holiday Stack

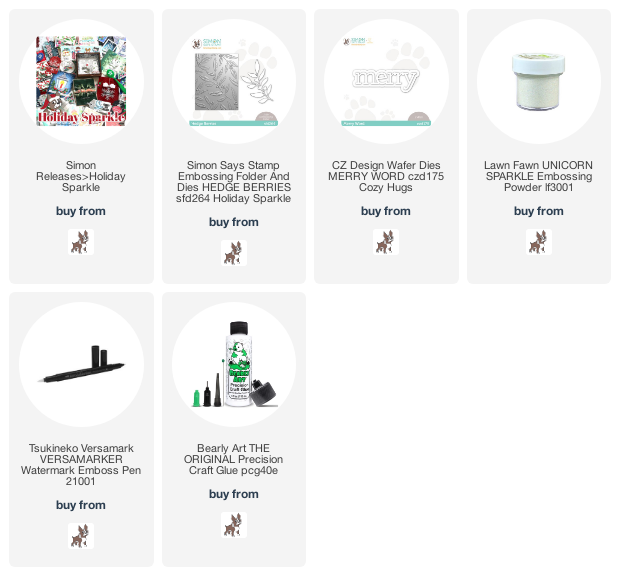
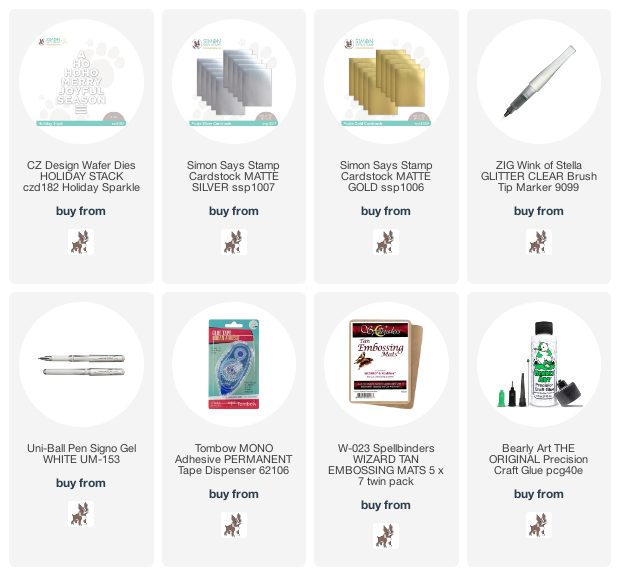
I have made a Christmas card using the fun new CZ Design Holiday Stack die, from Simon Says Stamp's Holiday Sparkle release...
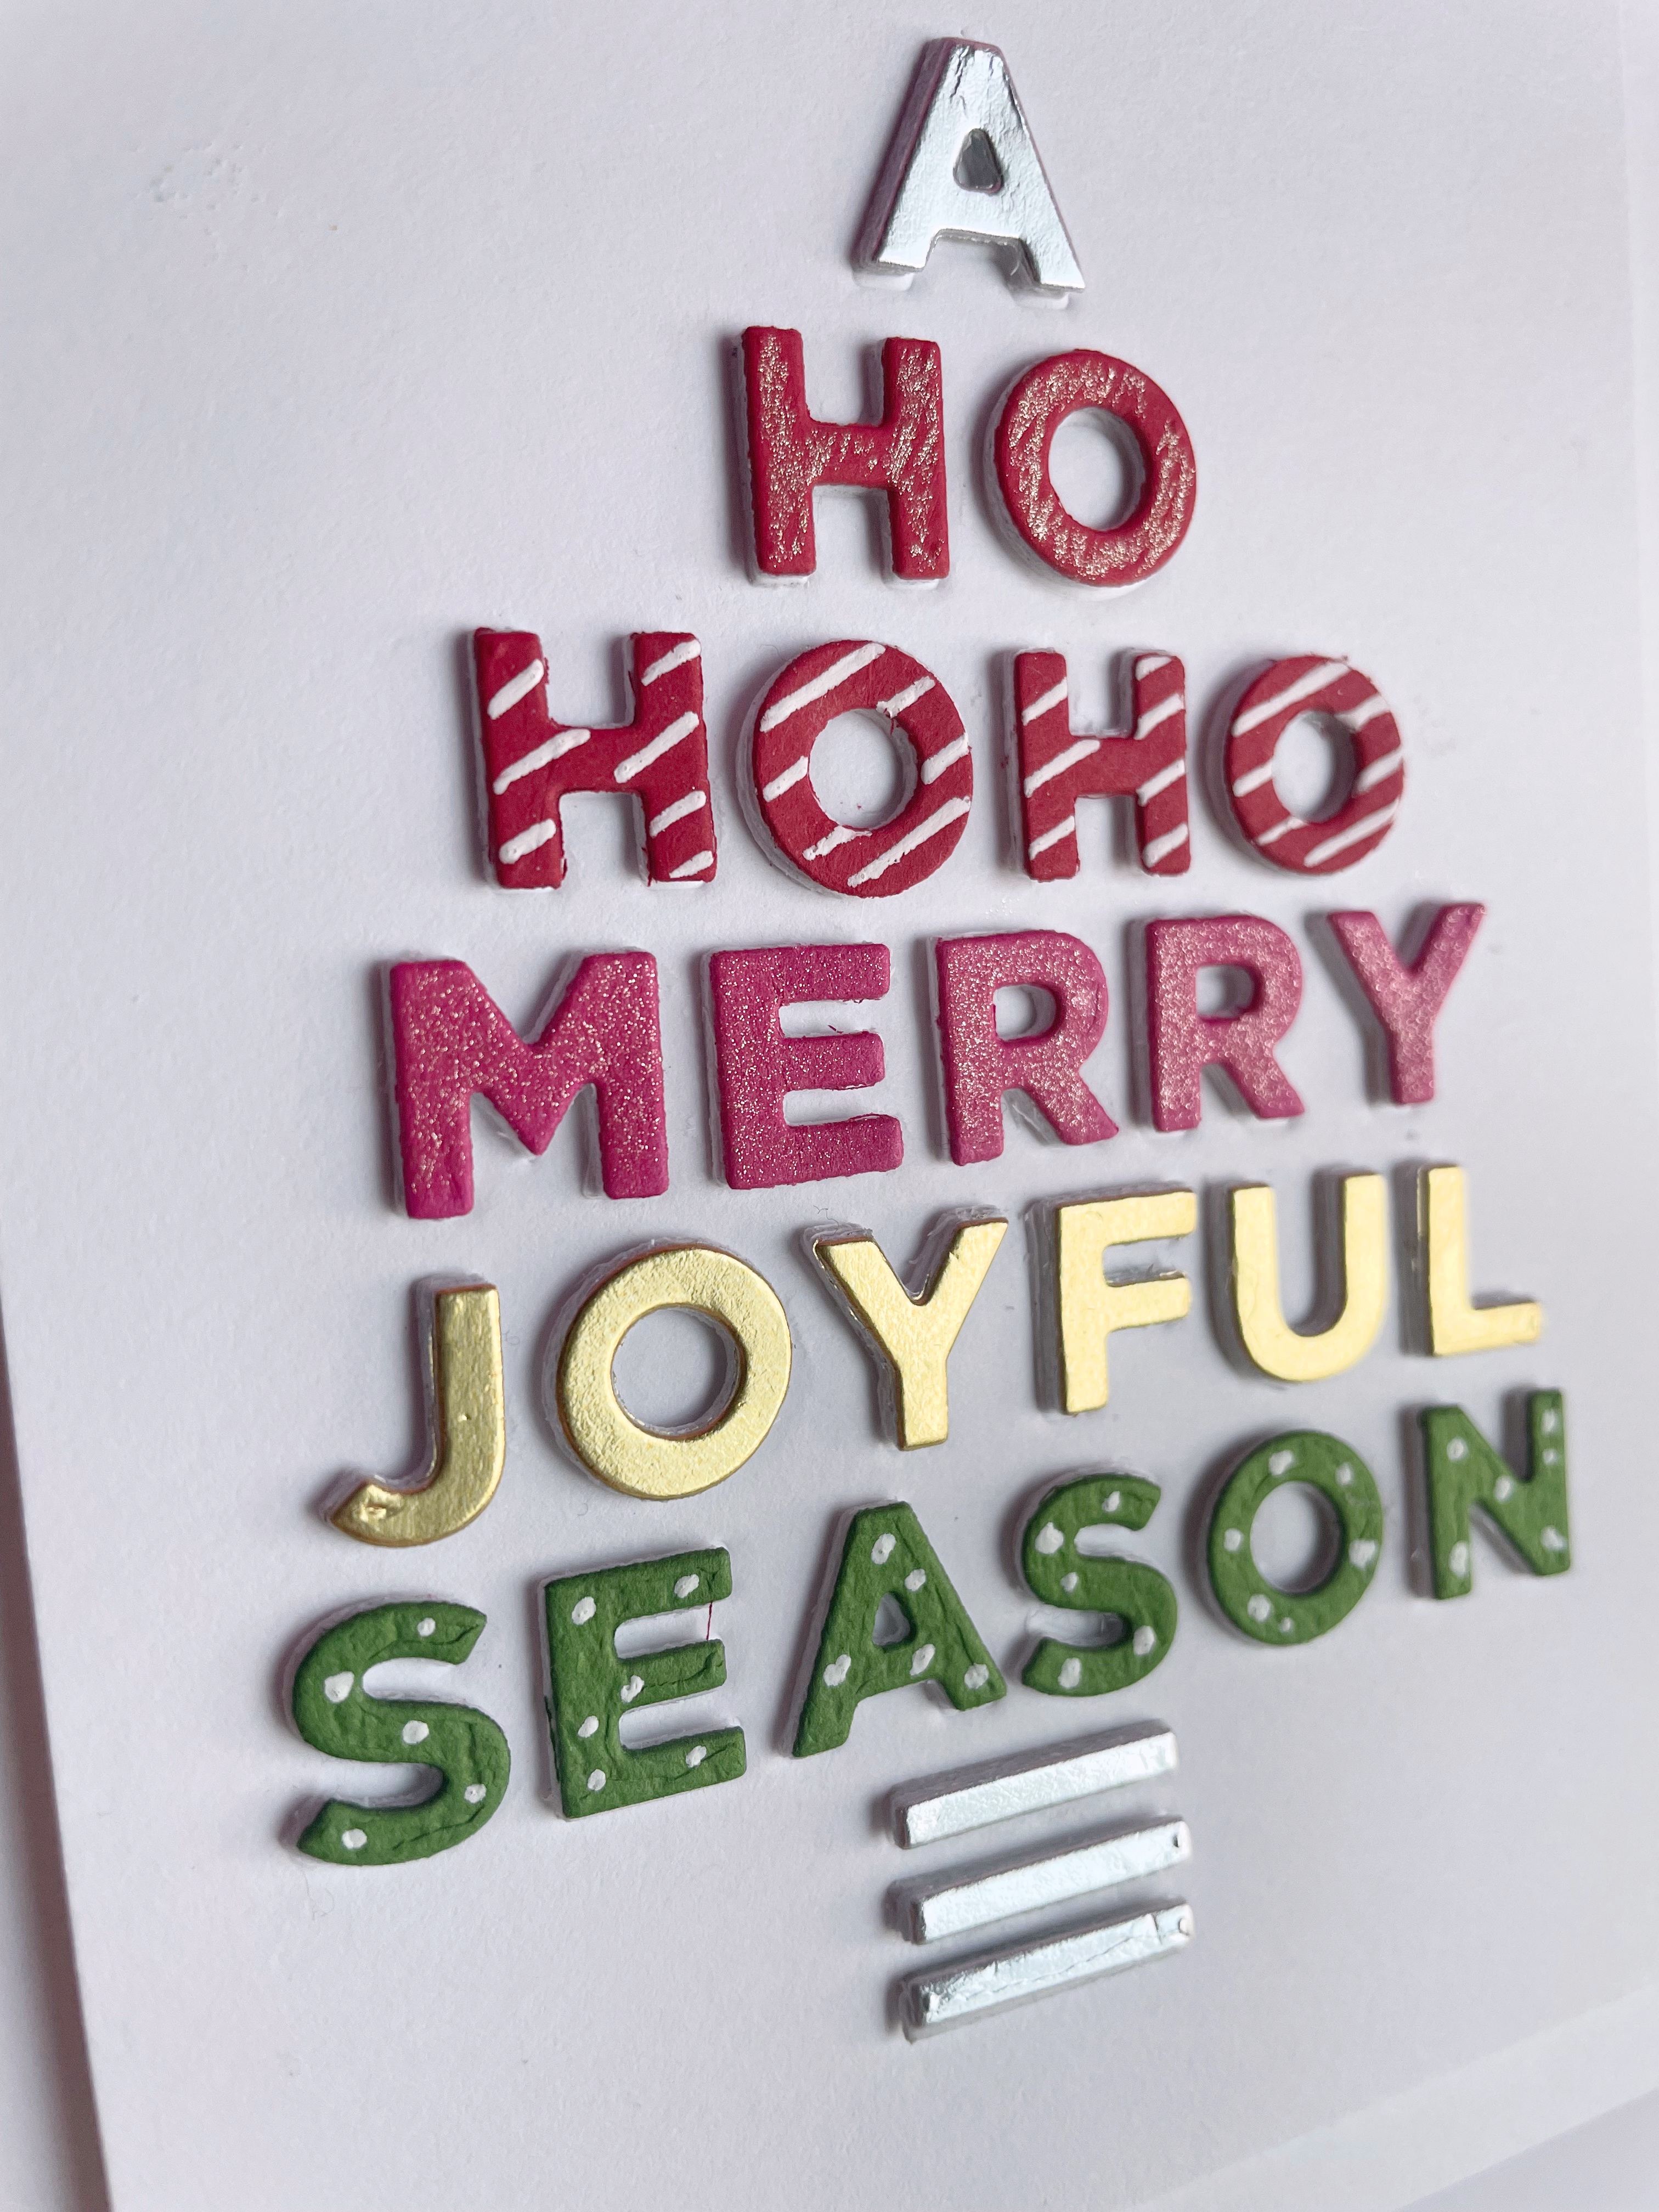
I used a different color card stock for each line of the tree.  I layered each letter three white layers and the colored layer.  To do this, I used my Tombow runner over the whole die cut and with an occasional letter missing from die cutting, placed each over the top of the other.  I placed each colored letter individually over the third tombowed layer, then popped each letter out.  I used glue to adhere each letter to a panel that I had embossed the sentimented-tree on, giving me the ability to perfectly place the letters.  I added my white gel pen to the second red layer with stripes, and the green layer with snow.  I added a silver gel pen to the first red line, and my clear wink of stella glitter brush over the pink layer.  I thought the letters needed some sparkle and interest.  Here's a close up...
What a fun die!!  Thanksgiving is less than a week away...just did my grocery shopping today...hoping you are having a great weekend!!  
I am so thankful for your visit today!! Hugs!! Lisa
Thursday, November 17, 2022

Hedge Berries

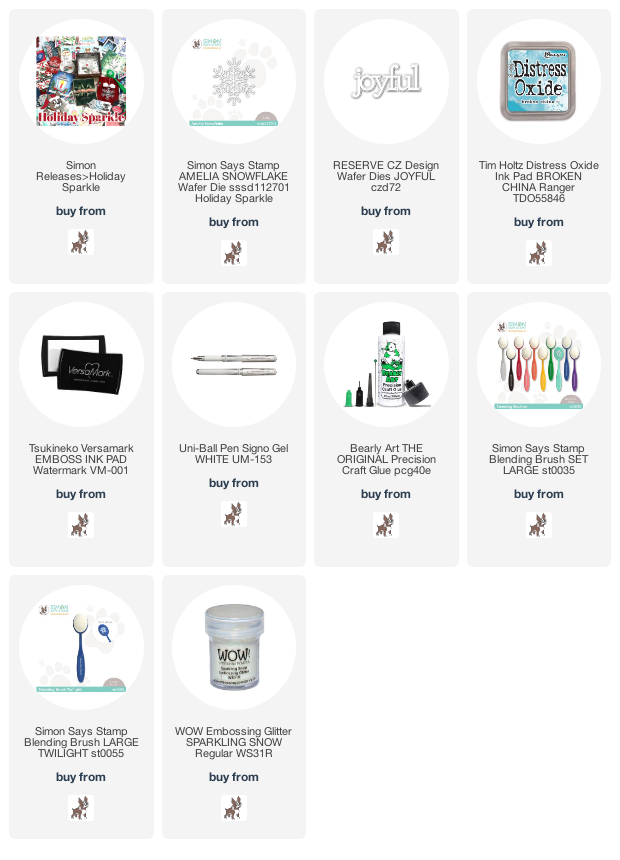
I used the beautiful new Simon Says Stamp Hedge Berries embossing folder/die set, from their Holiday Sparkle release, to make a Christmas card...
I die cut, then embossed, then colored, then embossed again, the leaves and berries.  I embossed the folder on a panel, cut it down, then took my versamark pen/brush, and brushed versamark on the leaves on the panel.  Then I used my embossing powder...love the soft sparkle of this powder when heated!  I adhered the colored branch on the panel, and adhered the layered CZ Design "merry" over the branch with thick glue dots on either end of the sentiment.  Here's a close up...

I love the sparkle on this card...it looks especially pretty IRL!  Holiday Sparkle on...
Thanks for stopping by today!! Stay warm(if you live anywhere like me!)!   Hugs!! Lisa

Sunday, November 13, 2022

Snowflake Card/Ornament

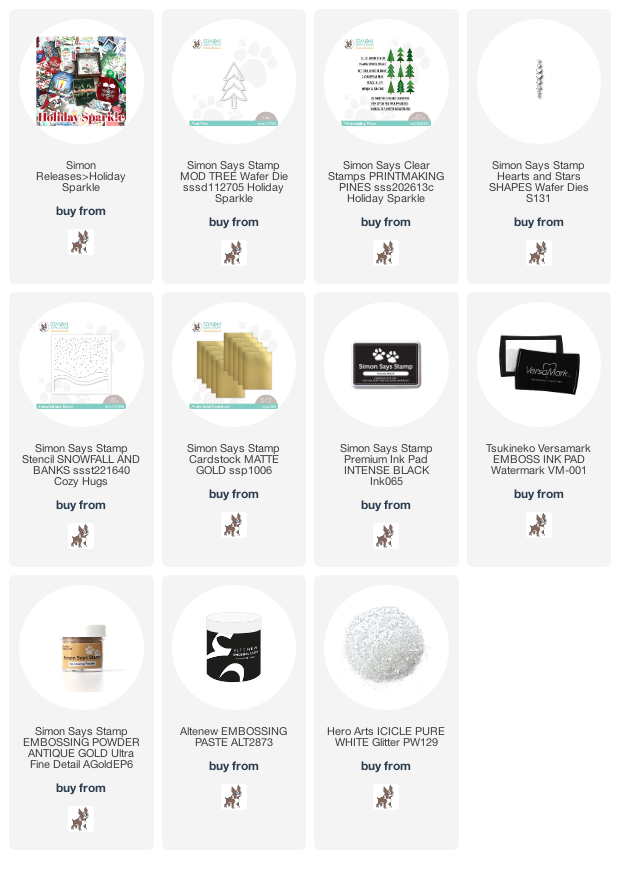
I have used the beautiful new Simon Says Stamp Amelia Snowflake die from the new Holiday Sparkle release, to make a Christmas card that has a" built on" ornament!...
I just love the thought of not just having someone receive a Christmas card, but how cool to have an ornament to keep...a keepsake!  I die cut the snowflake four times.  I adhered two for the front,  and two for the back side, then adhered both sides together.  I then pressed one side of the layered snowflake on my versamark pad, and then embossed with glitter embossing powder.  I repeated for the other side.  Now the snowflake will look good, no matter what side it hangs on.  I used some silver string and put a glue dot in the snowflake center to adhere to card.  I used a piece of scotch tape to adhere the string to the back of the card.  I used the CZ Design Joyful die for the card's sentiment.  I layered it, and versamarked and embossed just like the snowflake. I used one color distress ink, and made it lighter to heavier with my blending brush!   I gel penned all the snowflakes by hand, over the embossed snowflakes(made with the snowflake embossing folder I always use that is very old). The sparkle on this card is wonderful!  I just wish the sparkle showed up in the photos like it does IRL(in real life).  Here's a close up...
Here's a picture I took of it hanging on a Christmas tree...

and the reality...
Early this morning at Walmart...just being real...oh what we do for a picture, sometimes! 😄😄
Hope you are having a great weekend...happy crafting!!
Thanks for visiting me today!! Hugs!! Lisa
Friday, November 11, 2022

Holiday Sparkle Blog Hop!


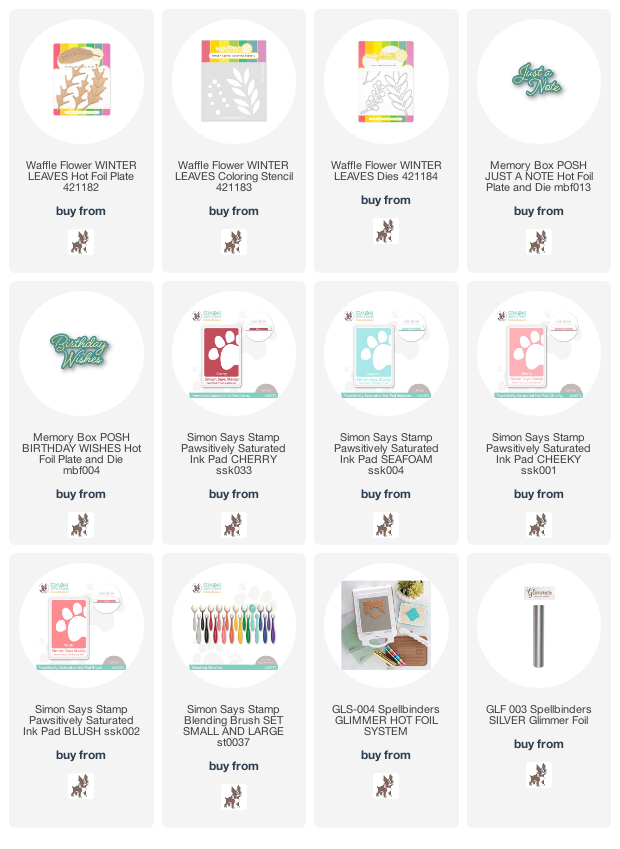
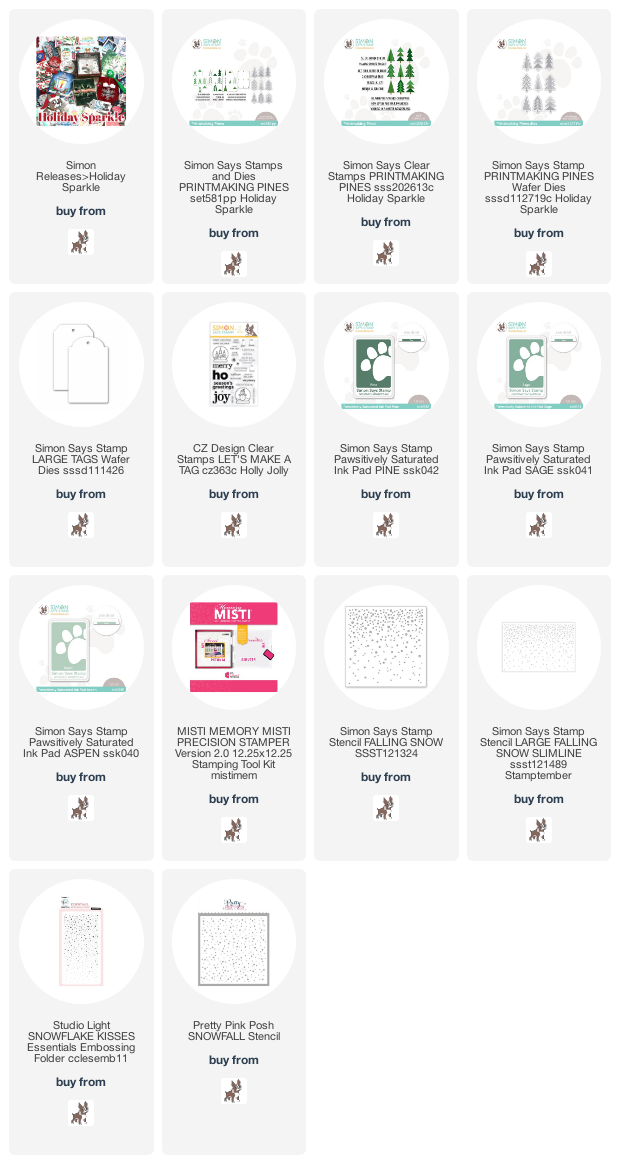
I am thrilled and honored to be be a part of today's Simon Says Stamp Blog Hop, celebrating Simon Says Stamp's newest release, Holiday Sparkle!  I have used one of the wonderful new stamp/die sets, to make a card, a couple tags, and a shadow box full of very cool Christmas trees...
I love how this set makes such pretty trees. There are four different stamps that stamp nine trees along with their bases. Each stamp stamps a different part of the tree, which gives you the ability to use different colors on each of the different parts of the tree...so very cool!   I used the trio of Simon Pawsitively Saturated Ink pads that were perfect for a pine tree, Pine, Sage, and Aspen, and went to stamping.  I used my MISTI, as it is the easiest and most perfect way to precisely stamp this combo of stamps.  After stamping, I die cut all the trees. 
 For the first card, I layered the die cut trees a couple times and adhered to a card panel that I had stamped one of the wonderful sentiments from this set, and embossed some snowflakes with a very old and very loved Cuttlebug rain/snow embossing folder.  I have included an embossing folder, in my supply list,  that is somewhat similiar, but sadly, since the Cuttlebug folder, I have not seen another with the light and varied snowflakes.   You can also use embossing paste and a stencil, I've also included a stencil that I think would be perfect for this.  Snow or no snow, these trees are beautiful!!  Here's a close up...

Then I made a couple tags...
I had been watching Hallmark Christmas movies, and this song was part of one of my favorite movies, A Crown for Christmas, so I used it for all my projects today!  I used some Simon tag dies, and then stamped a "to and from" from a CZ Design stamp set, on the back(there is an additional die cut tag adhered to the back side of the tag so both sides look "nice"(my Big Shot makes the back side of my die cutting a bit rough).  Here's the back of the tags...

The third thing I used the trees for was for filling an almost discarded wooden set of shadow boxes box that had contained some wooden trinkets...
I LOVE recycling...all kinds!  So, when it comes to the craftroom, I save anything with any potential for future use, so this wooden shadow box was a keeper.  I used foam, die cutting and layering three foam trees for each stamped and die cut tree.  I adhered them with my Tombow runner, wet glue did not work.  I adhered them together, then adhered into the box, and added the same sentiment stamped in the Pine ink and adhered to the box.  I thought this would be sweet on a desk, shelf or mantel!  Here's a close up...
Here, you can see the depth of the trees with the foam...
I had SO much fun making my projects...now it's your turn for some fun!  
Simon is generously giving a $25 coupon to every stop on the hop from our comment sections, so the more hop blogs you comment on, the more chances you have to win!  Winners will be chosen and posted on the Simon Blog on Wednesday, November 16th, so make sure you check the Simon Blog on the 16th, to see if you are a winner!!  If you are a winner, you can email Simon to claim your prize.
The list of participants in today's hop are listed below...

Simon Says Stamp Blog   

Nina-Marie Trapani

Caly Person

Nichol Spohr

Cathy Zielske

Jennifer McGuire

Amy Rysavy

Suzy Plantamura

Keisha Charles

Yana Smakula

Barbara Tarayao

Emma Williams

Heather Ruwe

Bibi Cameron

                               Lisa Addesa<-----You are HERE

Barb Engler


A couple things before I go...don't forget the offer in the banner at the top of my post!  Simon is offering a FREE Holiday Zipper Pouch with any $50 purchase!  Simply use the code CUTEBAG when checking out, to get this gift!  Just remember the offer is only good until the end of the day on November 13th, or until supplies last!  
Second...there is another blog hop tomorrow at the Simon Blog, so hope you will join the fun for more celebration and inspiration tomorrow!  
Thank you so much for stopping by, and keep on hopping!  
Hugs!  Lisa

Thursday, November 10, 2022

Holiday Sparkle Release!

There is a new release over at Simon Says Stamp today, Holiday Sparkle!  I have made three cards with one of the sweet new dies and the sentiments from one of the very cool new stamp sets...
In my most loved fashion, I saw this cute Mod Tree die as an opportunity to make some clean and simple Christmas cards.  This little die has SO many possibilities...It is a super sweet die!!  I also loved the sentiments from the Printmaking Pines stamp set...I thought they were perfect for this tree die!  
For this first one, I colored the three tiers with markers, and added a die cut pink heart.  I die cut the first layer with all the pieces white.  I put adhesive all over the outline and leaves, then added a die cut white outline and the colored leaves as the second layer.  Then, I die cut two more, and just used the outlines, adhering them together and then to the other two layers.  I did all three the same way.  I popped up the panels on a double thick sticky foam...the smaller panel just looks cool, to me, popped up a bit extra.  Here's a close up...

The second one, I used some embossing paste, and some glitter...
I thought some sparkle for snow was fun...and this release IS Holiday Sparkle, so I thought it especially fitting to bring out the glitter!  I used dark green cardstock for the tree, and some embossing paste and glitter on the tree and on the outline, as well.  I fit the sentiment to go with the snow hill, such fun!!  Here's a close up...
The third one, the simplest of the three...
I used three different colors of cardstock for the tree, and gold for the stem, as well as gold embossing for the sentiment.  Here's a close up...
Hope you will join me and a whole bunch of very talented artists tomorrow and Saturday, for a couple Blog Hops on the Simon Blog!  There is so much Holiday Sparkle to be had!  
Thanks for visiting me today!! Hugs!! Lisa

Thursday, November 3, 2022

Winter Leaves

 I have made two cards with the beautiful Waffle Flower Winter Leaves Hot Foil plates, stencil and dies sets!...
I had posted these two cards a couple days ago, but deleted the post, as the second card "changed" a little.  I will explain when I get there.  This first card, simply done, and such fun, was to hot foil the stem and then stencil the berries.  I used a Memory Box hot foil sentiment, popped up the panel on the card, and done!  Here's a close up...

This second one is the one I changed from the original...
I LOVE these leaves!  Only thing was, I just don't think I was the best in my layout.  The first card I posted, looked like this...
...but...I just couldn't get past the two branches vs. three branches...the ODD number.  SO, I added a piece of the third branch that I had originally made but hadn't used on the card.  Not sure I'm crazy about three branches, I think it's my layout.  Not sure that my feeble attempt to showcase these beautiful leaves was successful, to me, but favorite card, or not, these leaves are amazing!!  I added another Memory Box hot foil sentiment and the die that accompanied it, and some Tonic drops.  Here's a close up...
Almost the weekend...hope it's a great one for you!  
Thanks for visiting me today!! Hugs!! Lisa

Monday, October 31, 2022

Painted Wreath

I used the new Simon Says Stamp Painted Christmas Wreath Cling stamp from 
their Cozy Hugs release, to make a Christmas card...
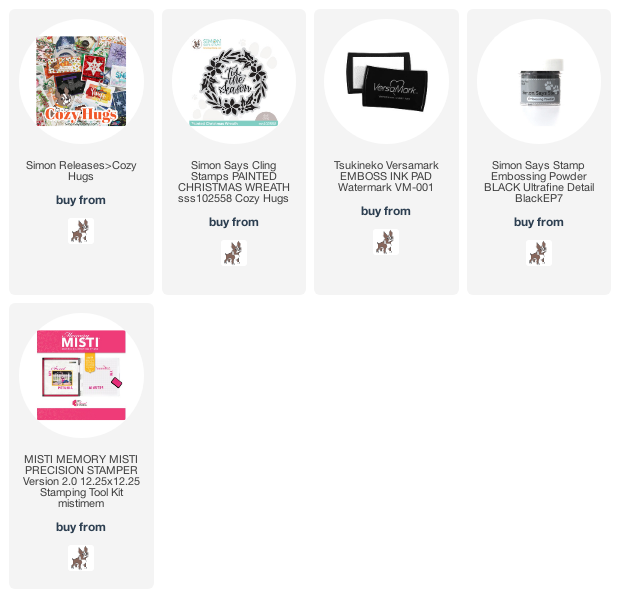
I knew this wreath stamp was too large to fit on a card, but that about 1/2 would fit.  I was inspired by Shari Carroll's beautiful card using this stamp, Here!  Given the name of the stamp, I got out some old markers, and "painted" them on the stamp.  I knew they would dry out before I was able to put color on all the flowers and leaves, so I decided to go totally old school, and product, and pulled out my Ink Potion 9, which is an ink blending solution, and sprayed it on the colored stamp.  This solution wets the ink, and the result is a kind of painted look... I thought it looked cool!!...
I then versamarked the sentiment stamp portion of the cling stamp, and black embossed it.  Love the shine...I know I say that alot, but I do love black embossed shine!!...
I sprinkled some dark green ink from the marker I used to paint the leaves, with some water.  I don't usually do that, but kind of fun, and liked the reults!  And here's yet another close up...
Tomorrow is NOVEMBER...I know I say this alot, but I am really shocked at how fast this year is going by!!  Hope you have had a great start to your week!
Thanks for visiting me today!! Hugs!! Lisa

Wednesday, October 26, 2022

Merry in Dots

A quick post today, sharing a card I made with the new Simon Says Stamp Layered Dots stencil, CZ Design Merry Word die, and a sentiment strip from the Simon Reverse Christmas Wishes sentiment strips, all from the Cozy Hugs release...
There are four stencils in this cool set, and I chose to use Simon Cherry ink on one, Watermelon on another , and Pearfection for the green.  I used Versamark and a tiny blending brush for the hearts and embossed with gold embossing powder.    I cut down the panel and popped up on card.  I added a layered "merry" and a popped up sentiment strip below and done!  I thought...I could add more sparkle, glitter, stenciled circles...but I thought it was sweet, just as it was.  Super simple(as long as you can stencil well...something I am still trying to perfect), here's a close up...
Hope you are doing well....hope you are having a great week...I am always shocked by how the time is flying!!  Take care of yourself...happiness!  
Thanks for taking a quick look today!! Hugs!! Lisa

Thursday, October 20, 2022

Peace at Christmas

I have made a Christmas card with a new Simon Says Stamp die set and stencil, from their new  Cozy Hugs release, along with a CZ Design sentiment die set from a previous release...
 I had had the berry branch and leaves made for a while, but I just couldn't figure out how to use them on a card.  My heart is broken for, but though broken, so with the people of Ukraine...peace for them is all I can think of, so I chose peace as my sentiment, and the rest followed.  I die cut the branch and leaves from white cardstock and colored with markers.  I used red cardstock berries, and used tonic drops on each berry.  I slightly bent each of the leaves for dimension.  After a number of attempts to use the berries on a bunch of cards with a bunch of different layouts, I had the thought for what you see above.  I used white embossing paste on the Snowfall and Banks stencil, embossing the stencil twice to have enough snowed cardstock to go behind the sentiment panel as well as above and below it.  The stencil has the "banks" on one end of the stencil, so it is not a total 6" of snow stencil.  Hope that makes sense?!  I die cut the "peace" outline part of the die from a white panel, die cut a layered the actual sentiment, and popped up on the snow panels, having silver borders on the top and bottom.  I adhered the berries to the right of the sentiment.  Here is a close up...
I hope you are having a great week...I don't know about you, but I love the weekends, and only two more days til the weekend...can't wait!!
Thank you so much for visiting me today!! Hugs!! Lisa

Wednesday, October 12, 2022

Leaves and Hearts Around a Sentiment
I have made three cards to share with you today, that started with my love of the new Simon Says Stamp Picnic Floral Sentiments stamp set, from their new Cozy Hugs release! I fell in love with this set when it was a freebie last month on my blog for the STAMPtember® blog hop...never thinking it would be released with this new release,  I have so many thanks I now have it...which brings me to the first card... 
I used the pretty new Fiddly Leaf die to surround the first sentiment I used.  I have to admit, that this die didn't really impress me so much...until I die cut it!!!  I am used to details in the leaves, and this one didn't have any detail.  I die cut the first one, and truly fell in love...so pretty and delicate...I started die cutting in a whole bunch of Fall kind of colors...and when I positioned them in a partial wreath, well, that was IT...this die is so so pretty!  Stamped the sentiment with versamark and black embossed.  Here's a close up...

The first one I die cut colored cardstock...this second one, I painted die cut watercolor cardstock...
I used a leaf die set from the STAMPtember® release, I die cut, painted, and adhered the leaves, falling down the panel, and around the sentiment.  I added three jewel tonic drops down the panel and popped up on card.  Here's a close up...
The third one, I made a more Christmas themed card...this time made with glitter cardstock...
I LOVE cards with love, so I chose to use the "Sending love" sentiment from the set, and thought... it HAD to have hearts, and why not Christmas hearts?!  Simon has some really cool and fun glitter cardstock, so I used the red and green and an older Simon heart die to die cut the hearts.  I used two layers of white cardstock underneath each glitter heart, and after positioning and stamping the sentiment, adhered the hearts around the sentiment and across the card.  Here's a close up...
Such...wonderful...fun!!  I loved making each of these...they make me happy!  Hope you have a great weekend!  Windows open at my house, enjoying the wonderful Fall weather here in Virginia!
Thanks for making me a part of your day!! Hugs!! Lisa