Saturday, November 30, 2019

Ho Ho Ho Tag

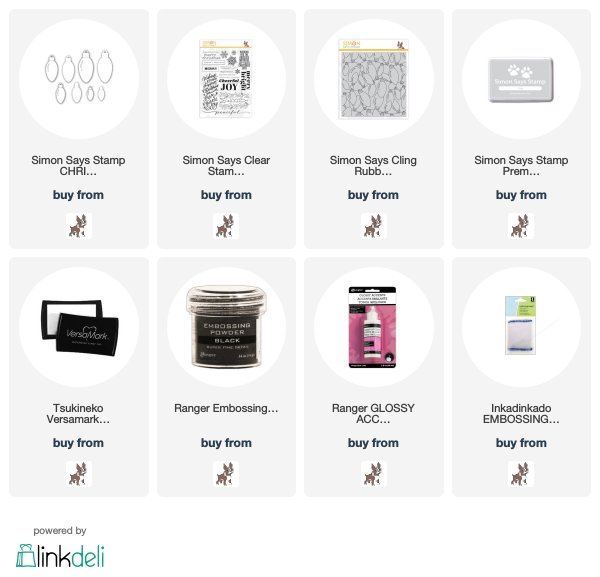
Watching Elf on TV, with family tonight!  I have a Christmas tag, made with the CZ Design's Ho Ho Ho Tag die, along with the Simon Says Stamp's Christmas Foliage dies from the Cheer and Joy release, to celebrate Santa!!...
 I die cut and layered the tag, and added a silver buckle (from an old package of different sized buckles I have had in my embellishment stash for...ev...er!!),  a thins strip of black cardstock for the belt, belt and some Christmas foliage. I added the foliage to the side of the belt and added some glossy accents on the berries.  Add a silver string, and done!  Here's a close up...
Christmas is right around the corner...can't wait!! 
Thanks for visiting me today!! Hugs!! Lisa

Friday, November 29, 2019

JOY

I used the pretty new Simon Says Stamp's Grace Snowflake, and Christmas Foliage dies from the Cheer and Joy release, to make a couple JOYfilled cards for Christmas!!... 
I die cut and layered the letters and snowflake with gold cardstock.  I added an older ceramic heart that I had from my massive stash of embellishments, and stamped a sentiment with versa mark and gold embossed.  Here's a closeup...

The second one, much like the first except I covered the "O" from the sentment with foliage from the Christmas Foliage die set...
I added tonic drops to the berries of the foliage.  I added a strip of stripes on the top and bottom of the card.  Here'a a close up...
Such fun with these cards!!  For those in the states...hoping your Thanksgiving was wonderful..now it's on to Christmas!! In two days, the Simon Says Stamp December release will be here...SO EXCITED to share the amazing dies of this new release with you!!
Thanks for visiting me today!! Hugs!! Lisa

Wednesday, November 27, 2019

HBD...HAVE the BEST DAY ever!


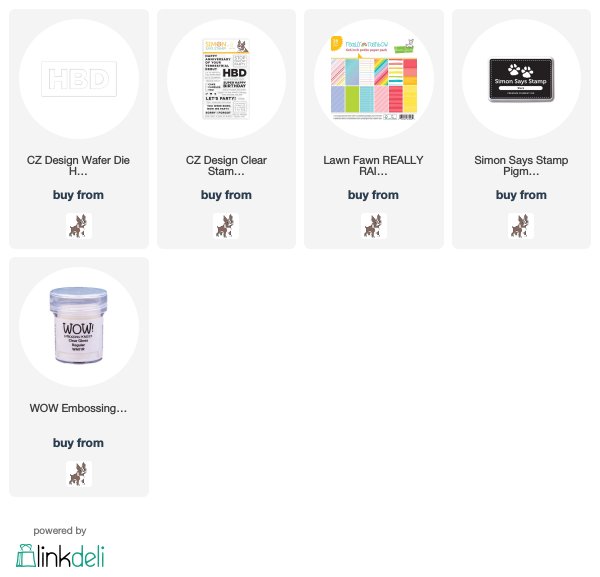
I used CZ Designs HBD die and the Stop Drop Party stamp set, both from the Simon Says Stamp Celebrate You release, to make a birthday card!...
I think HBD is fun for "Happy Birthday", but in this instance, with the sentiment I chose(and I really didn't get it until after I made the card), HBD could mean Have Best Day!!  Fun, right!!??  But Happy Birthday AND Have Best Day Ever truly seem a perfect combo for a birthday card!  I die cut the four HBD's with white cardstock, and then four times with white craft foam.  I adhered them to a card that had a rainbow strip of patterned paper adhered to the card, along with a stamped sentiment from the CZ Design Stop Drop Party stamp set.  Here's a close up...
Birthdays and rainbows...such great fun!!  
Thanks for visiting me today!! Hugs!! Lisa
Monday, November 25, 2019

On a Snowflake Roll

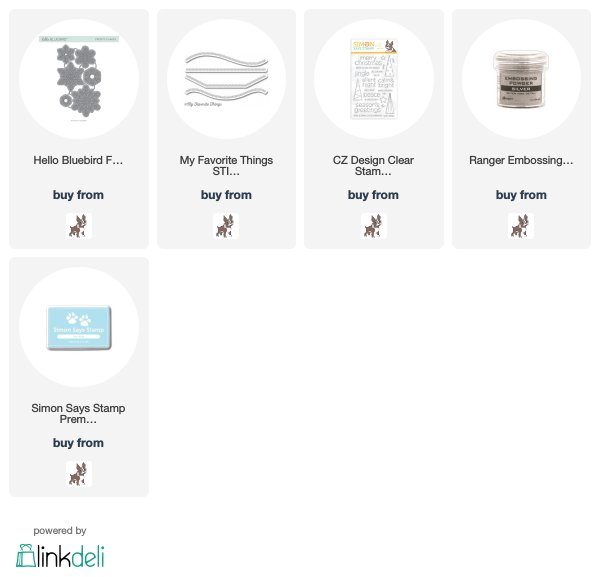
I LOVE snowflakes!!  Although I have LOTS of snowflake dies, I find it hard to pass up a pretty snowflake die each and every Christmas/Winter season!  I purchased the Hello Bluebird Frosty Flakes dies...I thought they were so pretty, and made a card for Christmas/Winter...
To be clear, the first four flakes on this card are the Hello Bluebird flakes.  The remaining dies in the set were just a bit too small to fit what I was going for, so I used a flake die from Impression Obsession from years past, Small Snowflakes.  I die cut and layered the flakes a couple times.  I sponged the card panel with ink and used an old embossing folder for the background flakes.  I used a couple sentiments from the CZ Design Clean Line stamp set, stamped with versamark and silver embossed.  I used a My Favorite Things stitched border die to give the flakes some movement.  Here's a close up...
Such great fun!!
Thanks for visiting me today!! Hugs!! Lisa

Sunday, November 24, 2019

Snowflake Die Made Ornament

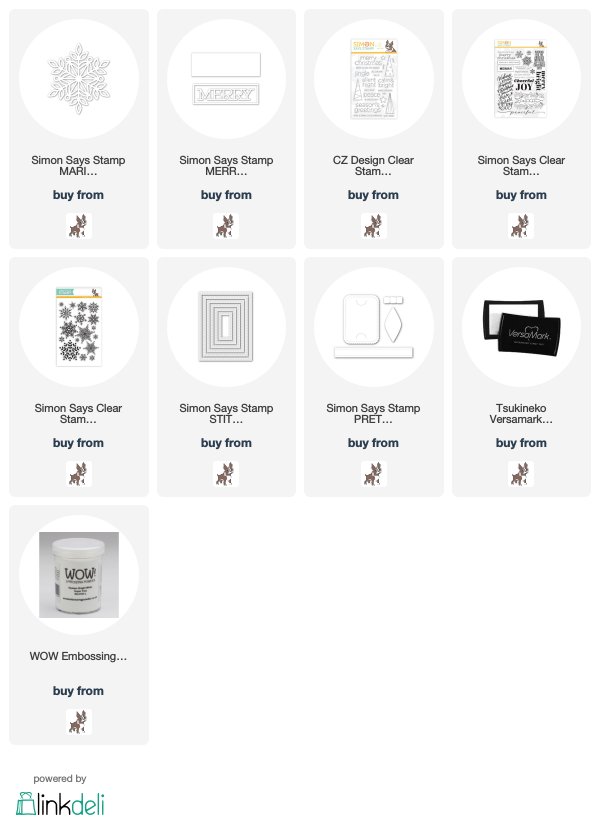
I made a couple cards using the new Simon Says Stamp Marie Snowflake die from the Cheer and Joy release...
 I LOVE making snowflake die cuts into ornaments!!  I made a Christmas card for a friend several years ago, with a snowflake on it, and the recipient took the snowflake off the card and hung it on her tree!  So, since then, I make at least some of my Christmas cards with snowflakes on them having strings, that can be used as tree ornaments!!  I layered the first card with 4 layers of flakes, two on one side, two for the other side.  I adhered the two layers together and sprayed glue on(very old and didn't spray well, so no name given), and then covered with Wow white, very fine glitter.  I adhered to a panel stamped with a bunch of snowflakes and die cut with a stitched rectangle die.   I added the Simon Merry sentiment die cut, layered, and covered with the same glitter.  Here's a close up of the flake and it's glitter...
...and another 
 I took the flake off the card (held on with a glue dot), and hung it on a tree I found in a store, to show you what it looks like 😊!...
 The second card, not made as an ornament, but using the same die...
 I die cut and layered the flake, added a puffy stick on heart.  I used a CZ Design sentiment combo from her Clean Line stamp set.  I used a stitched strip from an older Simon gift card die set and an old embossing folder for the snow( I SO wish they still made this folder, I have made some much loved cards with it!!).  Here's a close up...
Ok...more tomorrow😊😊!!  Hope you're having a fun day!!
Thanks for visiting me today!! Hugs!! Lisa

Saturday, November 23, 2019

Merry Christmas Trees

I don't know about you, but life has been CRAZY around my house this month!!  I have cards I have made, ready to share with you, but getting them in a post and on the blog seems to be quite a challenge! I am happy to have had some quiet moments to finally sit and write!  
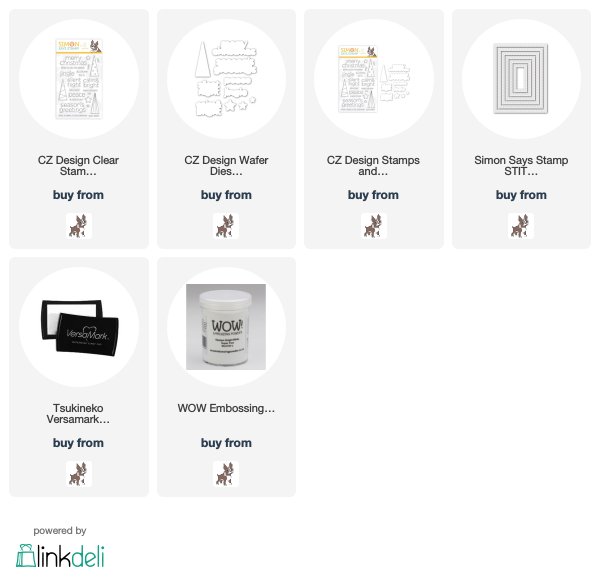
  I used the CZ Design / Simon Says Stamp Clean Line Christmas stamps/dies set from the Cheer and Joy release, to make a Christmas card...
 I stamped with versa mark and white embossed the cardstock, then die cut and layered.  I stamped silver cardstock with versa mark, white embossed, and die cut a single star for the middle tree.  I positioned the sentiment right under that tree, the sentiment is silver embossed.  Here's a close up...
More cards tomorrow!! Hope your week before Thanksgiving is going well!!
Thanks for visiting me today!! Hugs!! Lisa

Saturday, November 9, 2019

Rudolph Love

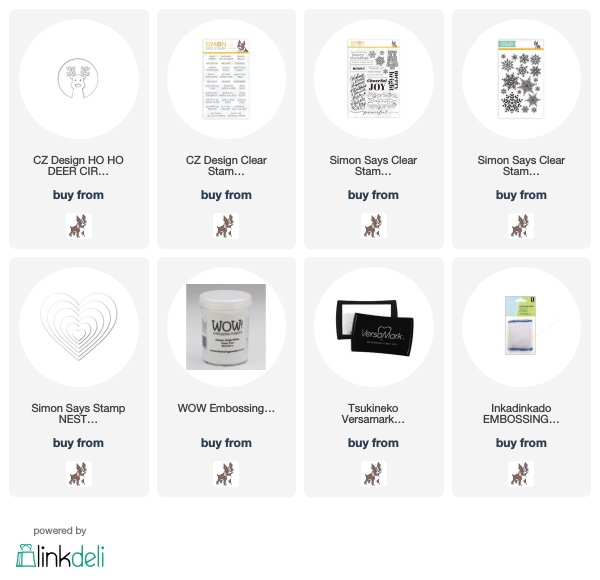
I used the super adorable CZ Design Ho Ho Deer Circle to make a Christmas/winter card!...
 I die cut this little guy from kraft colored paper, then colored his antlers with a brown marker, as well as his eyes.  I die cut his nose from red card stock and glossy accented it after I had layered the little guy.  I centered him in a die cut heart with a stamped snowflake background. The snowflakes were stamped with versa mark and white embossed.   The sentiment is soo adorable, too, and perfect for a Rudolph in a heart:)!!  Here's a close up...
I think the inside of the card will say, ..."and so do I, Merry Christmas"!!  SUCH GREAT FUN!!  
Thanks for visiting me today!! Hugs!! Lisa

Friday, November 8, 2019

Christmas Lights, Merry and Bright!

I made a Christmas card with the really fun, cool, new Simon Says Stamp Christmas Bulbs dies, from the Cheer and Joy release...
 I LOVE a number of things about these bulbs!  They have cut out "shadows", separate pieces for the "tops", and a hole in the top for stringing!  What this means for someone like me, who is not the best colorer, is that these bulbs look amazing no matter who you are!!  I die cut and layered the bulbs.  I used a white layer right underneath the colored layer for the shadow.  Then, I had the idea to make the bulbs shiny...like they're real bulbs.  So, I coated JUST the top colored die cut with Glossy Accents.  I let them dry, then adhered them to the white layer.  I HAD tried glossy accenting the entire bulb, but the glossy turned the white shadows just a little "off", so I ditched all of them, and simply glossied JUST the colored bulb.  I used silver for the tops.  I strung them together with silver thread, and adhered to a panel that I had stamped the new Simon Outline Christmas Bulbs and Simon Merry and Bright sentiment on.  I stamped the sentiment with versa mark and BLACK embossed...was going for a shiny that would compliment the shiny of the bulbs.  Here's a close up...
Oh my goodness...what wonderful fun!!  
Thanks for visiting me today!! Hugs!! Lisa

Monday, November 4, 2019

Tidings Wreath

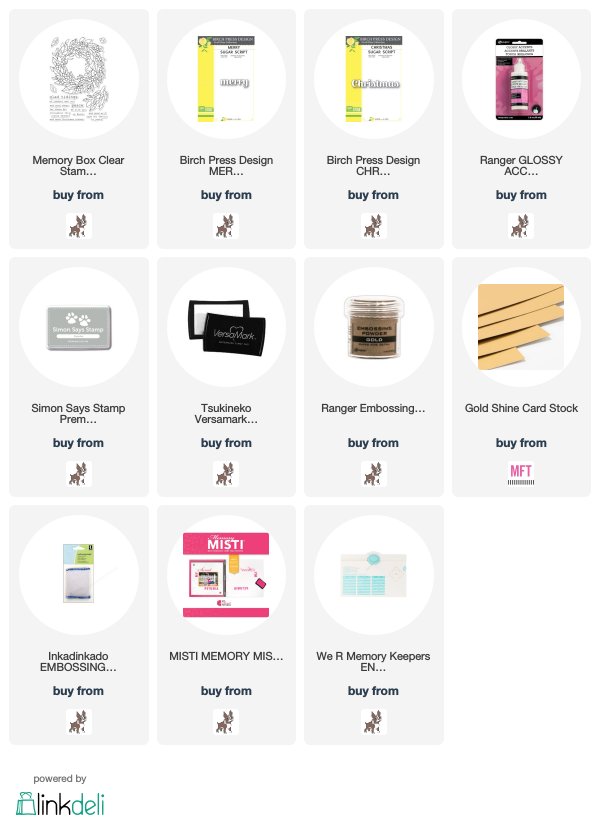
 I used the beautiful Memory Box Tidings Wreath and Birch Press Design sentiment dies, to make a Christmas card...
I think this wreath stamp is so beautiful!!  It IS larger than a standard A2 card, but because I love the wreath so much, I could not leave out one leaf or berry from it, so my card is 5 1/2" square. I stamped in a gray ink, colored with markers, then put the colored cardstock back in my MISTI, brushed with my static bag, stamped with versa mark and gold embossed!  I dotted each berry with glossy accents for added interest and dimension.  I added layered shiny gold sentiment die cuts.  Here's a close up...
I then had an idea.  I don't have a stash of square envelopes, so I had to make an envelope (very thankful to have some extra wide and long cardstock I found while cleaning out my mom's house as I needed a 9x9 piece of paper using my envelope maker). So, I used one of the other stamps from the set, and stamped and gold embossed the leaves for the outside of the envelope.  You COULD color them, but I was just going for a "touch" of pretty on the outside...
Christmas is so much fun!!
Thanks for visiting me today!! Hugs!! Lisa
Sunday, November 3, 2019

Pinecone Background, Front and Center

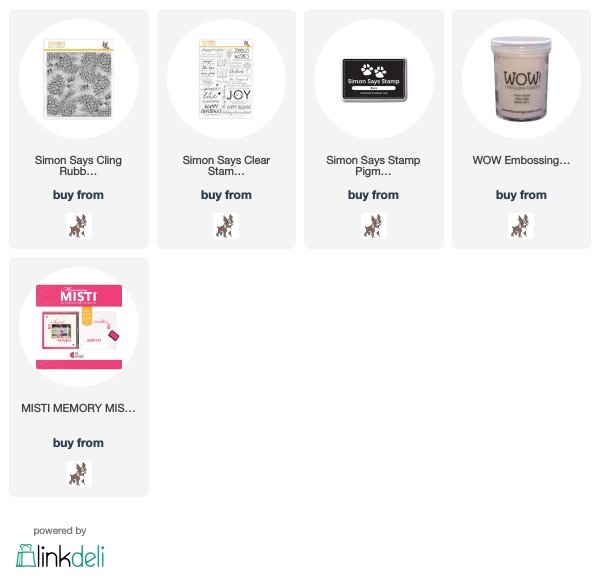
I made a Christmas card with the beautiful new Simon Says Stamp Pinecone Background stamp, from their latest Cheer and Joy release...
 This stamp is sooo pretty!!  The images and details of these pinecones and needles make this stamp one that can effortlessly go from a backgound stamp to one that stands on it's own, front and center!  I stamped, embossed and colored the cones and needles with my Prismacolor markers.  I then dotted the panel with white watercolor paint that I gently splattered on the panel with a water blender brush.  I stamped a sentiment from the Simon Inside Christmas Greetings stamp set.  I popped up the stamped and colored panel with 1/8" squares for some real height from the card, to really stand out.  Here's a close up...
This is so clean and simple...I LOVE the simplicity...it just makes me feel happy.  
Thanks for visiting me today!! Hugs!! Lisa

Wednesday, October 30, 2019

Maple Leaf Thanks

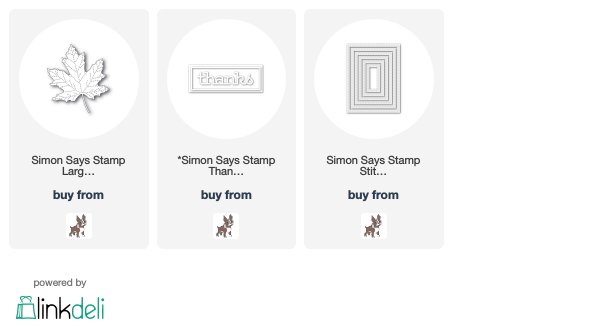
I used the pretty new Simon Says Stamp Large Stitched Maple die from their latest Cheer and Joy release to make a thank you card with Fall in mind...
I used my Ranger Vintaj Arte copper foil, die cut it, pulled off the adhesive paper and layered it with white cardstock.  I then lit it with a lighter and burned it a bit to change the color of the copper to shades of orange (SO much fun)!!  I used a lighter that is like a torch...when I originally saw this technique done, it was done with a small torch, so a lighter is much more doable, but a torch-type lighter.  I added a layered Simon Thanks die cut, and used a couple Simon Stitched rectangle dies to complement the leaf.  I used a piece of kraft/copper patterned paper for the background that I had gotten in the $1 section of Target a couple/few years ago.  Here's a close up... 
Maple leaves are my love...love the copper foil too, so a win win...great fun:)!!

Thanks for visiting me today!! Hugs!! Lisa

Saturday, October 26, 2019

White and Gold Christmas

I used the beautiful new Simon Says Stamp's Ornamental Wreath die from their new release, Cheer and Joy, to make a white Christmas card with just a touch of gold...
 I die cut the wreath twice, once for the main panel, and one as an underneath layer.  I pushed all the leaves up(they are designed as partial die cuts), so they would stand out from the card, and then die cut the berries of the die in a muted gold.  I didn't want super shiny, but wanted the gold of the berries to match the gold of the sentiment, which is from the new Simon Holiday Greetings Mix 1 stamp set...stamped with versamark and gold embossed.  Here's a close up...
Ahhhhh....the simplicity, in color and design...Merry Christmas, indeed!!
Thanks for visiting me today!! Hugs!! Lisa
Thursday, October 24, 2019

Wreath Cards That Almost Weren't!

I used the beautiful new Simon Says Stamp Holly and Pine Frame die from the Cheer and Joy release, to make a couple cards!...
 The title of this post is the truth of this beautiful die.  I had die cut with this die a number of times, but just couldn't seem to get the die to cut properly.  I tried thin cardstock, thick cardstock, a metal adapting plate...nothing seemed to totally cut through this die.  I expressed my concern to an amazing fellow crafter, and friend, Susan Opel, who told me how she successfully die cut with this die(note that she has a totally different die cutting machine than mine)!  THANK YOU, SUSAN...you saved not only my sanity, but this die for me!!  Like Susan, I sent the die through my Big Shot 3-4 times (not just one time, like I ususually would), then...the best advice she gave me...I turned it 90 degrees and sent it through a couple more times.  This die is VERY beautiful , but not only is it's design beautiful, a large part of it's beauty is that it is VERY intricate.  Intricate dies require a special touch for achieving the perfect cut.  Now, your machine may not require so many times through, and you may be thinking that that many times through your machine might seem like a lot, but it is super fast, and for the results of a great cut, and having this beautiful wreath adorn your Christmas cards...WELL WORTH IT!!! I just wanted to make sure I let you know that you may need to work a little differently with this die, so that not only will you be fully aware, but that you will be fully successful and as fully in love with it as I am!!  
 Make certain your die cut looks like this from the back...
and NOT this...
...or you will never be able to remove all the die cut pieces!

Ok...for the first one, I used eight Distress oxide colors of inks, sponged them on cardstock and die cut and layered.  I added silver embossed striped cardstock strips on top and bottom and a silver die cut, and layered new Simon Merry die with an added sentiment stamp made strip, embossed in silver.  Here's a close up...

The second one, I went a bit more traditional...
 I die cut and removed all the pieces except for the bottom layer, where I kept the holly leaf and berries in the die cut wreath.  I colored them with a green and red marker, then started layering.  I put a second layer in, then used my Glossy Accents and filled in the leaves and berries with gloss.  I then added the third layer over the two, added a layered Joy, from the new Joyful Frame die, with a striped piece of cardstock behind.  Here's a close up...
This was wonderful fun...I LOVE this beautiful die!!
Thanks for visiting me today!! Hugs!! Lisa