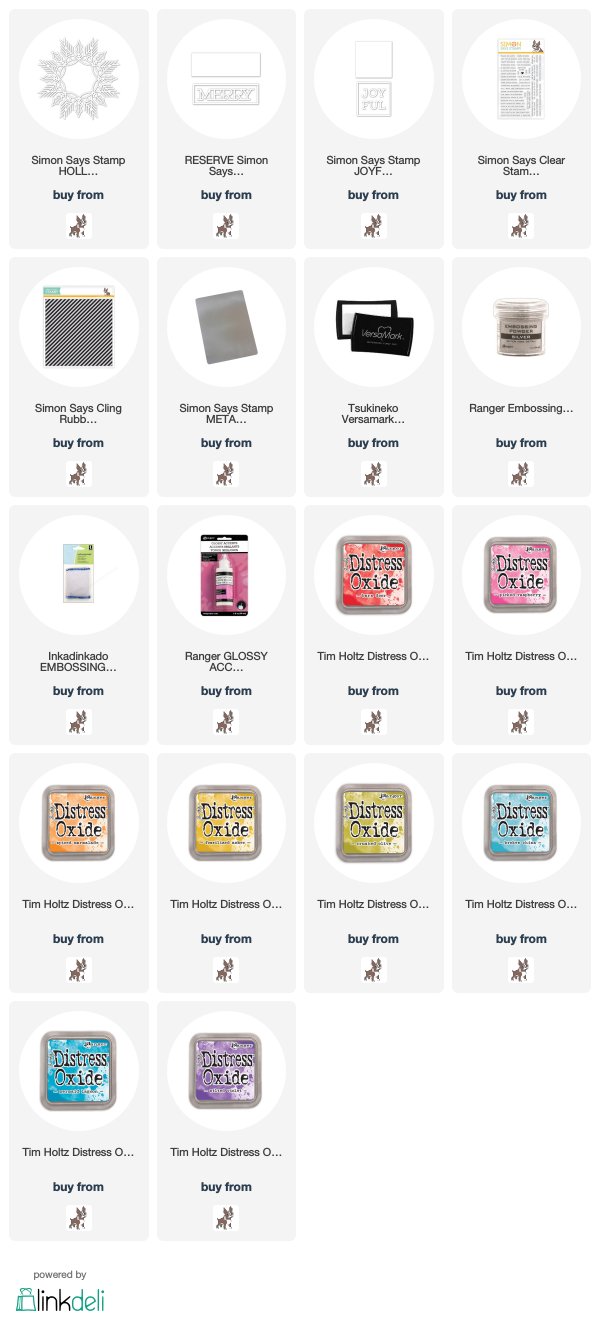
I used the beautiful new Simon Says Stamp Holly and Pine Frame die from the Cheer and Joy release, to make a couple cards!...
The title of this post is the truth of this beautiful die. I had die cut with this die a number of times, but just couldn't seem to get the die to cut properly. I tried thin cardstock, thick cardstock, a metal adapting plate...nothing seemed to totally cut through this die. I expressed my concern to an amazing fellow crafter, and friend, Susan Opel, who told me how she successfully die cut with this die(note that she has a totally different die cutting machine than mine)! THANK YOU, SUSAN...you saved not only my sanity, but this die for me!! Like Susan, I sent the die through my Big Shot 3-4 times (not just one time, like I ususually would), then...the best advice she gave me...I turned it 90 degrees and sent it through a couple more times. This die is VERY beautiful , but not only is it's design beautiful, a large part of it's beauty is that it is VERY intricate. Intricate dies require a special touch for achieving the perfect cut. Now, your machine may not require so many times through, and you may be thinking that that many times through your machine might seem like a lot, but it is super fast, and for the results of a great cut, and having this beautiful wreath adorn your Christmas cards...WELL WORTH IT!!! I just wanted to make sure I let you know that you may need to work a little differently with this die, so that not only will you be fully aware, but that you will be fully successful and as fully in love with it as I am!!
Make certain your die cut looks like this from the back...
and NOT this...
...or you will never be able to remove all the die cut pieces!
Ok...for the first one, I used eight Distress oxide colors of inks, sponged them on cardstock and die cut and layered. I added silver embossed striped cardstock strips on top and bottom and a silver die cut, and layered new Simon Merry die with an added sentiment stamp made strip, embossed in silver. Here's a close up...
The second one, I went a bit more traditional...
I die cut and removed all the pieces except for the bottom layer, where I kept the holly leaf and berries in the die cut wreath. I colored them with a green and red marker, then started layering. I put a second layer in, then used my Glossy Accents and filled in the leaves and berries with gloss. I then added the third layer over the two, added a layered Joy, from the new Joyful Frame die, with a striped piece of cardstock behind. Here's a close up...
This was wonderful fun...I LOVE this beautiful die!!
Thanks for visiting me today!!
Hugs!! Lisa


Thanks for the shout out, Lisa! I'm so glad you persisted because, golly, these cards are GORGEOUS!!!
ReplyDeleteVery gorgeous indeed!
ReplyDeleteAbsolutely worth the effort Lisa! Your cards are beautiful!
ReplyDeleteBeautiful cards. Sometimes cutting intricate dies with the blades "up" helps get a clean edge. Love what you do.
ReplyDeleteReally lovely cards. Thanks so much for the tips.
ReplyDeleteBeautiful cards, Lisa. I didn't appreciate how beautiful the die is until I saw your cards. Now it's on my wish list.
ReplyDeleteI love, love, love the non-traditional color wreath card! I am usually a Christmas colors kind of person, but this card is simply, beautifully elegant. Thanks Lisa!
ReplyDeleteJust exquisitely crisp and serene, thank you.
ReplyDeleteIf the budget allows, Gemini Junior should cut this die like butter. Even two layering dies that couldn’t be cut by four manual machines - two of mine and two the owner of an LSS tried - were no problem.
I tottally understand your frustration!! This was going to be the die for all my (36) Christmas cards but my arm was wearing out trying to run it through with the metal adapter so I was going to give up and do something different. I certainly will try your ideas. Thank you so much for the tips and encouragement!
ReplyDelete