Friday, September 27, 2019

Thanks, Thankful and Joyful Leaves

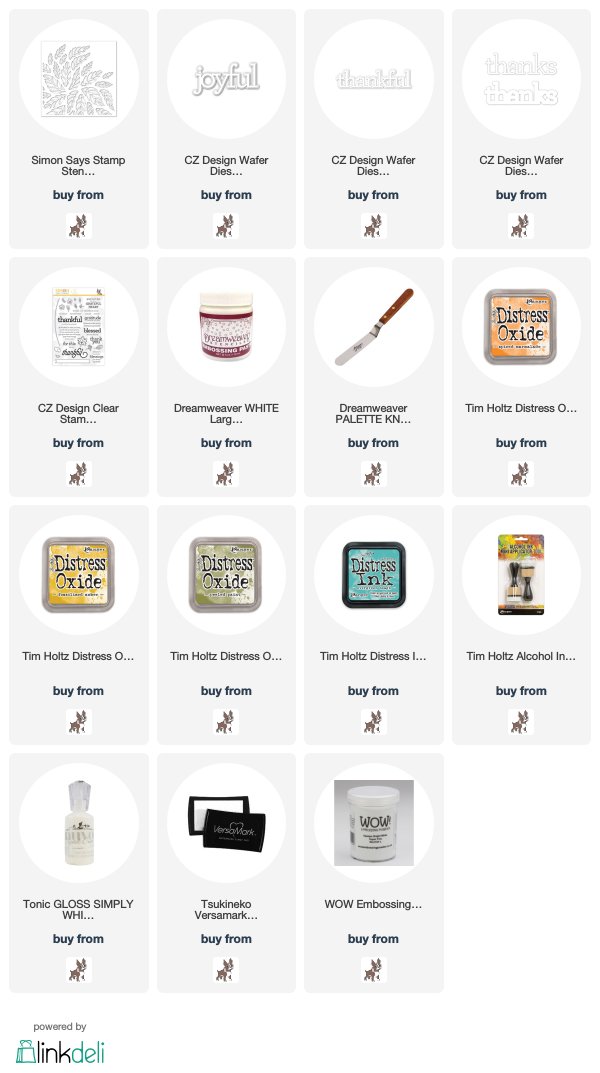
I used the new Simon Says Stamp Tumbling Leaves Stencil, from the STAMPtember® release, embossing paste, and distress inks to make three cards to share with you today!  I made two cards with a "Fall" feel, turning the leaves on the cards and changing the sentiments, then had an idea for making one with a "Christmas" feel...
I used white embossing paste, spread it over the stencil and let dry.  I used an orange and yellow distress ink over the leaves when dry, and added a die cut, layered sentiment.  Here's a pic of what an emboss pasted card panel looks like(but not the same positioned leaves as above)!  I made a lot of them, as it is easy fun to spread the paste over the stencil, and then you have extas on hand.
Here's a close up of the card...
Then, I turned the stencil and colored an embossed panel like the blank one above...
I changed the sentiment die and stamped sentiment.  Here's a close up...
Then, I had an idea to use the paste on a black panel, with an idea for a Christmas card...
I colored the dry paste with two shades of green and dotted with white Tonic drops (I was going for a mistletoe kind of look).  I added a wonderful sentiment die from CZ Designs and the Stamptember® release, die cut with red metallic cardstock(the shine of it is so much more brilliant IRL).  I LOVE the way the leaves pop against the black cardstock.  Below is what the panel would have looked like before sponging with ink(this is a second one I did, and haven't covered with ink yet)...  
Here's a close up...
This was SOOOOO much fun, and SOOOOO easy....wow...on to more fun!!
Thanks for visiting me today!! Hugs!! Lisa
Saturday, September 21, 2019

Eucalyptus Leaf Hugs

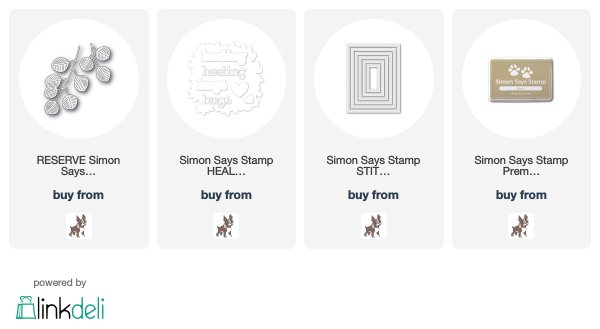
I used the super pretty Eucalyptus Leaves dies from Simon Says Stamp's latest STAMPtember® release to make a get well card for a friend...
I did a little research on eucalyptus leaves, and found they can be used for all kinds of medicinal things. The oil should NOT be consumed as small amounts are toxic, but the oil inhaled and used topically, it can possibly relieve pain, improve colds/bronchial conditions, and the leaves made into tea are rich in antioxidants.  I thought this information made these leaves perfect for a get well card!  
I didn't have paper the color of eucalyptus leaves, so I went into my paint chips!!  I die cut the leaves from two shades of blue green chips.  I did not layer them, but gathered them together and tied them with a piece of burlap string.  I then embossed the two dies all over a card stock panel, and adhered the leaves to a die cut stitched rectangle.  I adhered it to the upper corner of the card, and added a layered "hug" sentiment from a new Simon set of dies, Healing Hugs, and a sentiment from the coordinating stamp set.  Here's a close up...
I hope you are all doing well in your parts of the world...on to more fun!!
Thanks for visiting me today!! Hugs!! Lisa

Wednesday, September 18, 2019

Maple Leaf Strips

I used the beautiful new Poppy Stamps Maple Leaf Side Strips Die and Stencil to make a couple cards! 
I LOVE maple leaves!!  Having grown up in the Buffalo, NY area, there were LOTS of Maple trees....and in Fall...the range of colors...some trees all yellow/orange, other red...they are a sight to behold...beautiful!!
The first card, I die cut the leaves and used the stencil to sponge on ink and not get the ink anywhere but on the leaves.  I layered the leaves from underneath a couple times, and adhered them together.  I added a stamped sentiment, and Simon Says Stamp woodgrain cardstock, that I had used Distress inks to color the color of wood.  Here's a close up...
The second one, I used watercolor paper, and swiped color onto my watercolor paper, then die cut from the colored cardstock...
I thought it would be cool to put the magnificent maples on a diagonal on the card panel for  something different, and to flow somewhat like the leaves might in nature.  I DID have to hand cut the top panel.  I attached the leaves to the card, then attached larger pieces of white cardstock over the leaf die cut ends.  I used my scissors, and hand cut the edges that hung past the card.  I added a layered Birch Press sentiment die, and sentiment from a Birch Press senitment stamp set.  I DID emboss the card panel with a discontinued Papertrey Ink Impression Plate(Simple Stripes).  Here's a close up...
Such wonderful fun...more Maple leaves coming:)!!
Thanks for visiting me today!! Hugs!! Lisa

Saturday, September 14, 2019

Sunflower for a Friend

I made a card with the beautiful new Simon Says Stamp Sunflower Stem and Friend dies from the new STAMPtember® release, to make a card for a friend...
 I die cut once, put tombow adhesive all over the die cut sunflower, then adhered a second layer with the die cut, but the second layer, simply the outline.  I then die cut the flower with three shades of paint chips, and two for the leaves, and placed all the piece in the two layer, adhesive filled die cut.  I then die cut two more flowers, took all the pieces out of them, adhered them together, and adhered them to the paint chip filled flower.  I then usd the card stock pieces that I cut the flowers from for the "frame" for the flower, layering and adhering them together.  The top layer, though, before adhering to the others,  I used my Embossing paste, and the new Quilted stencil, and gave the flower a background design.  I must admit, I LOVE this combo, as sunflowers were always my mom's favorite flower, and loved quilts...it seemed like the perfect fit together!!    I added the layered Friend die, die cut from the same brown paint chip as the flower's center.  I added a sentiment strip, as well.  Here are a few close ups to not only show you the flower, but the background...

This is one of those cards that makes me really happy...this Sunflower Stem die is soooooo pretty...I think the sunflower that is made with this die is just lovely!!  
Thanks for visiting me today!! Hugs!! Lisa

Friday, September 13, 2019

Joyful Pointsettias

I used the beautiful new Simon Says Stamp Winter Floral Mix Background stamp and CZ Design Joyful die, both from the new Simon STAMPtember® release, to make a Christmas card...
I used versamark on the stamp, stamped on vellum and gold embossed.  I LOVE to color vellum from behind, so I used my Sharpie/Mark It markers and went to coloring these pretty flowers and leaves.  I was originally thinking that I would simply use a strip of this stamped image, but couldn't decide on just one part I would use...I loved the whole stamped image, so I decided to make it a background and use the entire image!  I adhered it to the card with vellum adhesive.  The new CZ Design Joyful die is beautiful, and I thought would go perfectly with these pointsettias, so I die cut and layered it using shiny gold cardstock.  I dotted the flower's centers with a gold pen, and the berries with white Tonic drops!  Here's a close up...
Christmas card making has started...love the season, love the red, green and gold...such fun!! 
Thanks for visiting me today!! Hugs!! Lisa
Thursday, September 12, 2019

Leftovers Birthday Card

I just couldn't resist!  I used the leftovers from the card I posted four days ago, and made a simply designed birthday card...
I had used striped paper strips to make a background for my card four days ago.  There were a couple inches of stripes left, so I got out my much loved Simon Says Stamp Happy Birthday die and die cut the sentiment from the rainbow striped paper.  I layered it, then used the new Simon Says Stamp "Happy" die, from the newest STAMPtember® release, and die cut six "happys"... yes, you read right...only six die cuts...NO LAYERS on the "happys"!!   I had made a card with the same idea a little over a year ago, but used a "HAPPY" stamp stamped with versa mark and clear embossed.  This "happy" die is so cute, all the letters are attached, and it just "fit" this Birthday die cut!!  I lined them up, adhering from the top...DOWN three, then starting at the bottom, and adhering from the bottom, UP three...leaving just enough room in the middle for the "BIRTHDAY".  Here's a close up...
Never overlook leftovers...so much fun!!
Thanks for visiting me today!! Hugs!! Lisa

Sunday, September 8, 2019

Thank You Swirl!

I have made a card using the super pretty new Simon Says Stamp Thank You Swirl die from the wonderful STAMPtember® release...
This card is simply done, but the very cool and wonderful thing about this sentiment die, is that simply done is all you need!! The swirls of this die cut sentiment make it light and pretty, but the thinness of the die's font also doesn't give it much heft against a too busy background.  Anything but simple can take away from the delicate loveliness of it!   I layered the die cut sentiment three times, and then used 1/4" strips of my favorite go-to patterned paper to make a background... rainbow, of couse, but pastel, for a softer look:):)!!  I popped up the adhered strips, adhered the sentiment, and added some Tonic Jewel drops to give some bling and added interest.  Here's a close up...
I've got at least 4 projects on my desk right now...STAMPtember® is so...much...FUN!!!
Thanks for visiting me today!! Hugs!! Lisa

Saturday, September 7, 2019

Harvest Branch Used Four Ways

I used the beautiful new Memory Box Harvest Branch Corner Frame die to make a card.  What I discovered, while making that one card, is that this die isn't just beautiful, it's uses are diverse!!   Though this die is called "Harvest" branch, by simply changing the color of the leaves, berries, or just the paper (along with the sentiments), I made cards for throughout the year...
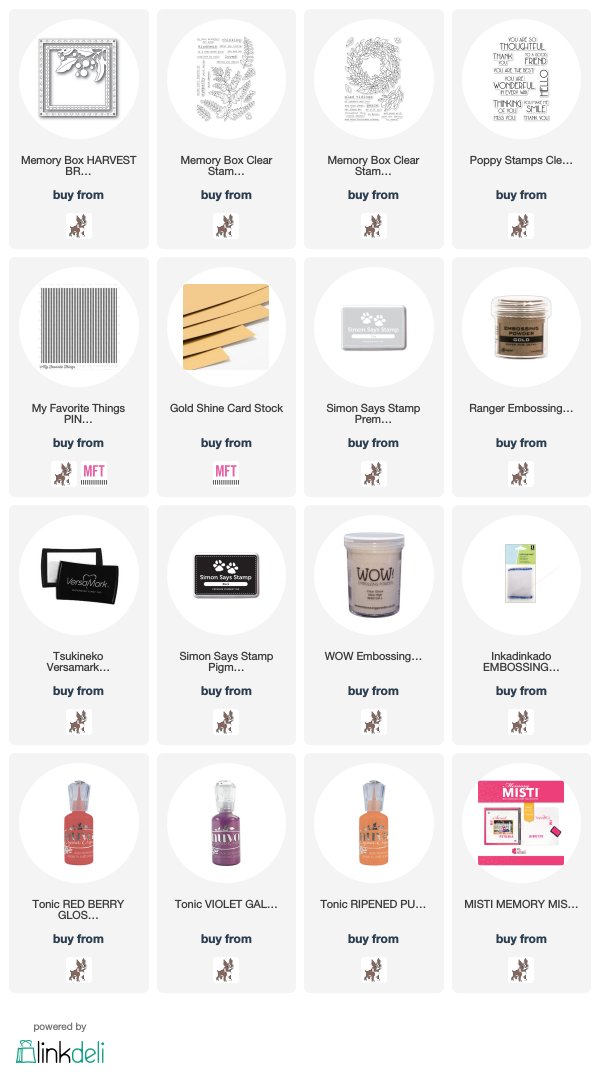
The first one, I die cut and layered the frame with white cardstock, then added a die cut and hand cut piece of green cardstock with just the leaves.  I then die cut another frame, and cut AWAY the leaves, adhering it OVER the green piece with leaves.  I added orange accents to the berries(I have orange Tonic drops listed below, as the enamel accents wasn't available in orange).  I adhered the frame to a card panel that I had stamped the beautiful Fern and Berries image stamp in Fog...so there was a faint background for the frame.  Here's a close up...
The second one, I made a Christmas card!  I used the outer frame that is part of this die, and made the card a square card...
I darkened the color cardstock that I used for the leaves and used Berry Tonic drops for the berries(appropriately named, right?!).  I also added a gold piece and stamped the sentiment, from the beautiful new stamp set, Tidings Wreath!  Here's a close up...
The next one, I made a thinking of you card, using purple for the berries, with yet another color green for the leaves...
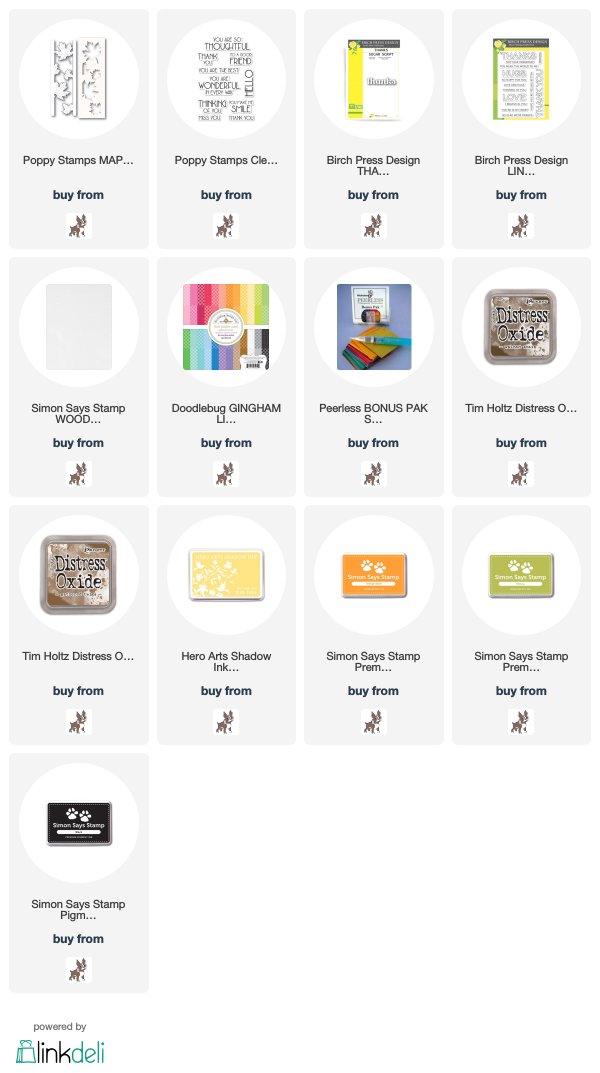
I adhered the frame to an embossed panel with a piece of twine tied to the bottom of the card.  I used a sentiment from the Poppy Stamps Art Deco You are Wonderful stamp set. Here's a close up...
The last one, I made an all gold card(I loved the remnant from the Christmas card, so I used it for this card)...
I decided to TURN the frame sideways(actually, you could have this frame any way and it would be wonderful!).  This card was simply made by layering the frame and then stamping the gold cardstock with versa mark inked pinstripes, and gold embossing.  I used a sentiment from the same You are Wonderful stamp set as the card before this one.  Here's a close up of the frame...
I LOVE when a die can be used for so many occasions...this was so much fun!!!
Thanks for visiting me today!! Hugs!! Lisa

Tuesday, September 3, 2019

Happy Birthday Critters

I have made a card with the ADORABLE new Simon Says Stamp's Critter Crowd Set stamp/die set, from the newest Simon release, STAMPtember®...
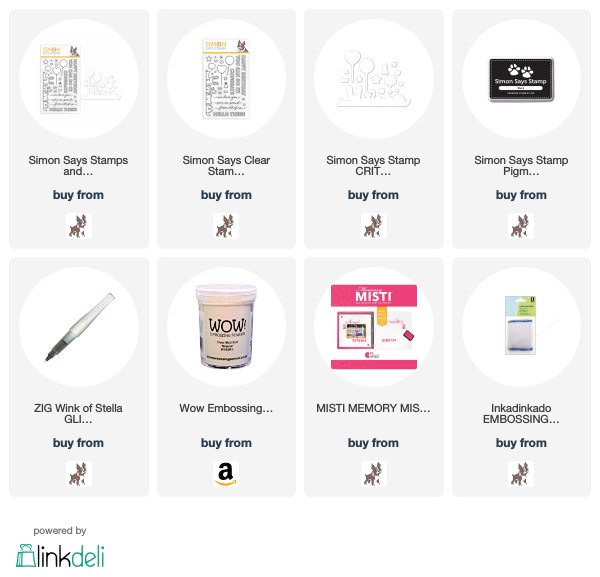
Ok...from the moment I first saw this set, I was IN LOVE!!!  The animals in this stamp set are so adorable, and the balloons and sentiments...well, it doesn't get sweeter than this set!!!  Up front, I am not much of a colorer.  I don't own a Copic marker, so THAT was the ONLY thing that gave me pause with this set.  BUT...I gave it my best shot with my Prismacolor markers, and I don't think I did the best, but not the worst.  My daughter, took drawing/art classes in college.  She told me about the different degrees of expertise of the students when it came to drawing, some were really good, others, not so much.  The ones that were good, got even better, the ones that were not so much, by trying got better, too!!   Hannah keeps encouraging me to try, and by trying, I will get better...well, that is my hope:):)!! 
I stamped, embossed, colored and layered the animals and balloon.  I stamped, embossed and colored the sentiment, then used my wink of stella marker, to give some glitter to the sentiment and balloon...after all...birthdays are a glitter worthy day!!  I used some striped paper and a strip of black on the top and bottom.  Here's a close up of the cuties...
...and the glitter on the balloon...
 Am having so so much fun in my craft room...loving this STAMPtember® release!!  
Thanks for visiting me today!! Hugs!! Lisa

Monday, September 2, 2019

STAMPtember® Party!!

There's a party going on today over at the Simon Says Stamp Blog and all over blogland today!  The party is the start of Simon Says Stamp's celebration of all things stamping throughout the month of September...STAMPtember®!!  
There is a HUGE STAMPtember® release over at the Simon Says Stamp website, and there will be month long events over at their BLOG, and small releases throughout the month...SUCH...GREAT...FUN!!!  The list of all those participating in today's party can be found over at the Simon Blog...there will be LOTS of inspiration from the new release, for sure!!!
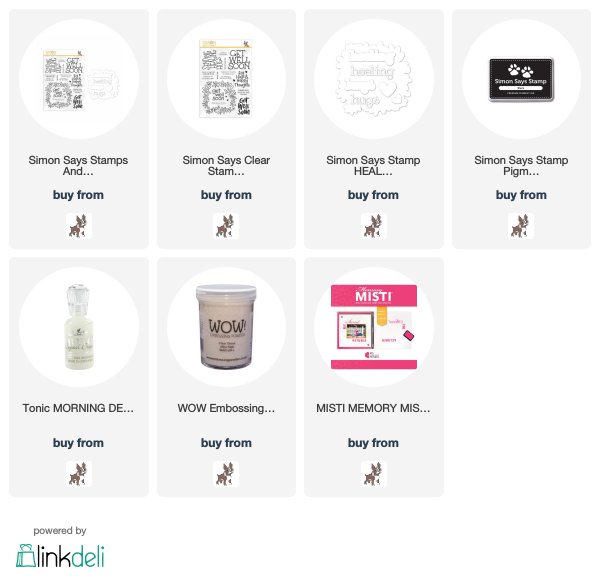
I have made a couple cards using the pretty and sweet stamp/die set, Healing Hugs...this set makes the most lovely and sweet get well cards ever!!...
I stamped and die cut the flowers.  I then added the stamped sentiment.  I colored with my Prismacolor markers, and used Tonic drops to give some shine to the flower centers.  I couldn't find paper to match the flowers, so I used my marker to color the cardstock.  It had a streaked look, and I LOVED it, a "washed" look,  so I kept it!!  I added some recycled striped paper at the ends.  Here's a close up...

The second, much like the first, except I turned the wreath of flowers, as well as the card...
 I also used two of the hearts from the die set, die cut and layered.  I swiped my marker again, to give it  "washed" look for the background.  Here's a close up...
I LOVE this set...these cards make me happy...I just LOVE the flowers, the wordings, and font of the sentiments...they come together sooooo sweetly and are so pretty!!
Thanks for visiting me today!! Hugs!! Lisa
That's my fun...now the scoop on the fun for you!!
The party today, has LOTS of participants!!  You can find the list over at the Simon Blog!  The cool thing about today's party is that there are all kinds of different offers in the headings of the participants!  The offer on my blog is a pair of Plus FitCut Twiggy Compact Scissors... very cool, right?!...USE CODE SCS254 at time of purchase at Simon Says Stamp!  To find out what offers are being given, you need to visit the blogs of those at the party...it's like a scavenger hunt...you just never know what you're going to find:)!!  The offers are valid until September 3rd...tomorrow...at 11:59pm...with any purchase... have fun!!! 
Thanks so much for being a part of today's party, and thanks for stopping by my blog...hope you day is a happy one!!  Hugs!!  Lisa 

Sunday, September 1, 2019

Happy STAMPtember®!!

Today is September 1st...and what makes this day so wonderfully special is that it marks the first day of a month long celebration over at Simon Says Stamp...STAMPtember®...yes, so special a month, that Simon Says Stamp had the name copyrighted!!  STAMPtember® has not only a new release, but a month long celebration of all things stamping...there is the HUGE Simon release, and special new releases throughout the month, special blog posts, give aways...SO MUCH FUN!!  This is the 10th year of celebrations, you can check out all the fun over at the Simon Blog!! 
I have made two cards with one of the beautiful new dies from the release, Shimmer Rounded Rectangle die, along with a new sentiment die and sentiment stamp...
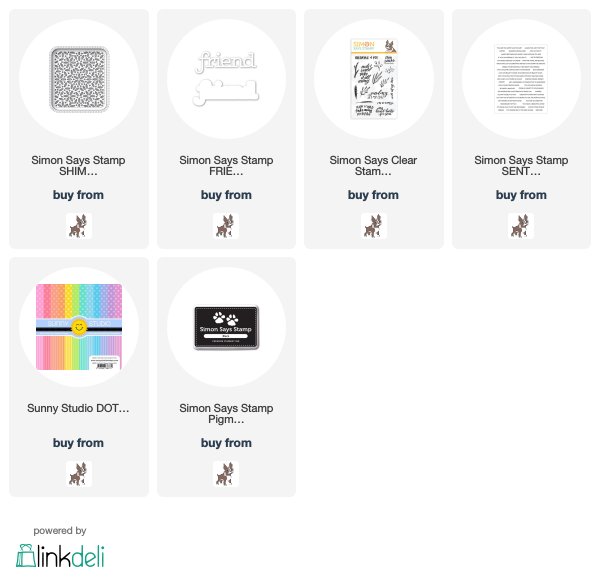
 For those of you who know me, you know I LOVE to adhere strips of patterned paper together, and use them to die cut.  Well, that's JUST what I thought to do with this lovely die...it was the perfect die and perfectly sized die to make two cards from one full length set of adhered strips...
I die cut the flowered Rectangle die from the strips, layered and then adhered a black embossed piece on the bottom.  I emboss the piece that shows through, to give it a bit of dimension...I feel it gives the paper a little more impact below all the layered die cuts.  I added a die cut and layered Friend die sentiment with a Simon Sentiment strip.  Here's a close up...

 The second one, I used the "other half" of the patterned paper strips..funny...same strips as the first, but having the color underneath gives it a "softer" look....
Can I just say, I LOVE the stitched border around this die.  You can cut the two dies apart, but I love die cutting with them together...such a pretty combo, and unlike many of those before this die, there was no way, short of handcutting the die cuts, to give them the "independent" look!   
I DID take a picture of this embossed piece that is adhered at the bottom of the layered dies.  I just like the embossing...I think it adds dimension to the die...
 I used a sentiment from the new set, Sending Sympathy.  I rounded the corners of the panel on this one, to mimic the rectangle die's rounded corners.  Here's a close up...   
I really hope you will check out the Simon Blog for all the STAMPtember® fun, and check back here tomorrow...there's a BIG BIG party going on...com'on and join the fun!!  
Thanks for visiting me today!! Hugs!! Lisa