Wednesday, January 31, 2024

Love Bulb

I used one of the cool new Simon Says Stamp dies from their Sweetheart release, along with my own sentiment made with my printer, to make a card that expresses love!...
I used the fun new Love Bulb die along with the older Burst die to make the lightbulb light up.  I used some red and silver metallic cardstock for the heart and bottom of the lightbulb.  I liked the sentiment I used, I thought it went really well with the lit bulb, so I put cardstock in my copying machine, and printed the sentiment.  I popped up the panel on the card.  Here's a close up of the card....
When I just couldn't find the right words, I went to my fall back of making one myself...a rarity, but fun.  Hope February will be starting great for you, tomorrow...please take care!!  
Thanks for visiting me today!! Hugs!! Lisa

Monday, January 29, 2024

Daisy Love

I have made a CAS card with a Simon Says Stamp die and sentiment stamp, from their Sweetheart release!  This made me happy...daisies do that to me!....
I die cut the stem/leaves, die cutting in white and using a dark green marker to color the leaves.  I colored the center of the daisy with a yellow marker, and then adhered the pieces together.  I added a sentiment stamped on a very light gray piece of cardstock.  Done!!  Here's a close up...
I know it's simple...just makes me so so happy this way!!  Hope you are having a great beginning to your week...please take care!!  
Thanks for visiting me today!! Hugs!! Lisa

Sunday, January 21, 2024

Hugs and Kisses

I have used one of the pretty new dies from Simon Says Stamp's new Sweetheart release, to make a card with lots of hugs and kisses...
Simply done, I die cut the sentiment die with glitter cardstock, then layered.  Being that the sentiment said "hugs and kisses", I opted to surround it with a line of hugs and kisses.  I also die cut them with glitter cardstock, then cut one of the o's off of one strip, and one of the x's off of the other.  I layered them, then adhered both the sentiment and x's and o's to the card.  Here's a close up...
Super simple design, but I felt it was effective in showing off, and enhancing the sentiment from this new release, to simply have a line of more hugs and kisses. 
Hope you are having a great weekend...it is freezing here in VA...today it was 19º with a wind chill that made it feel like 8º!  I know, others have it worse and colder, but very cold for here.  Take care, stay warm if you are somewhere like me!  Thank you so much for visiting me today!! Hugs!! Lisa

Friday, January 19, 2024

Fancy Love You

I have made a card with a new Simon Says Stamp die and stencil set, from their Smitten release...
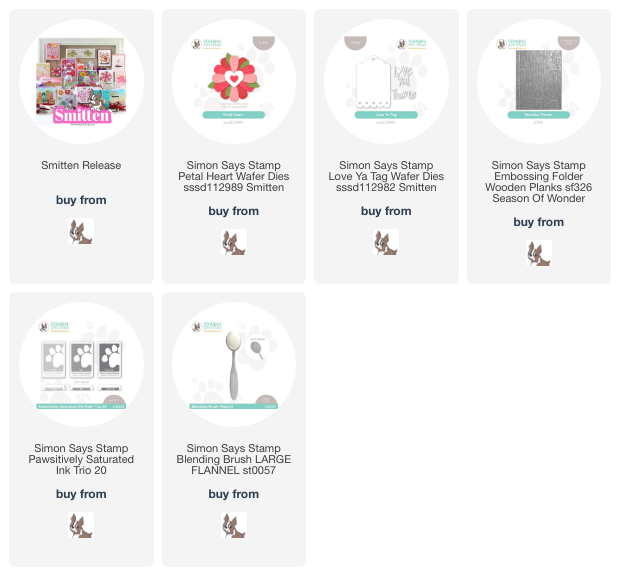
I used five different colors of ink to stencil the heart.  I then used the largest Round Heart die to cut it out.  I die cut and layered the sentiment.  I adhered them both to a red cardstock embossed with the Wooden Planks folder.  Here's a close up... 
I changed the colors of the heart a couple times before I was happy with the look, so that took a little time, but love how it turned out...simple look, but enough.  It has been really cold here in VA, although I know not as cold as some places, but the cold, and today rain, has put a real dent in my walking...this old Buffalo girl has become a bit of a wimp!  Hope you are staying warm and dry, wherever you are!!  
Thanks so much for visiting me today!! Hugs!! Lisa

Tuesday, January 16, 2024

Love Story Card Kit

I have made two cards with the new Simon Says Stamp February 2024 Card Kit of the Month,
Both cards were done very simply with the pretty papers, patterned and plain, the sentiment stamps from the stamp set, and the die cut pieced images, all from the card kit!  The first one, I used a piece of patterned paper, and a die cut butterfly.  I stamped and silver embossed the sentiment and layered the panels, popping up the top one.  Here's a close up... 

The second one, I used more of the same...
I put the sentiment stamp on one of my acrylic blocks, and bent it each time I stamped it, to make a curved pattern, so my hearts would "flow" along the card.  I popped each heart up off the card.  Here's a close up...
I had so much fun...so easy to make cards with this pretty set!!  Hope you are having a great start to your week!  Hugs to you, wherever you are!  Lisa

Saturday, January 13, 2024

Smitten and Sweetheart Blog Hop 2!

I am thrilled to be a part of today's second day of hops over at the Simon Says Stamp Blog, celebrating Simon Says Stamp's two newest releases, Smitten and Sweetheart!  These releases are full of some "love"ly stamps/dies/stencils/inks and other stamping goodies!  I have used a new stamp/die/stencil set from the Sweetheart release, to make three cards...all done just a little bit differently from each other!
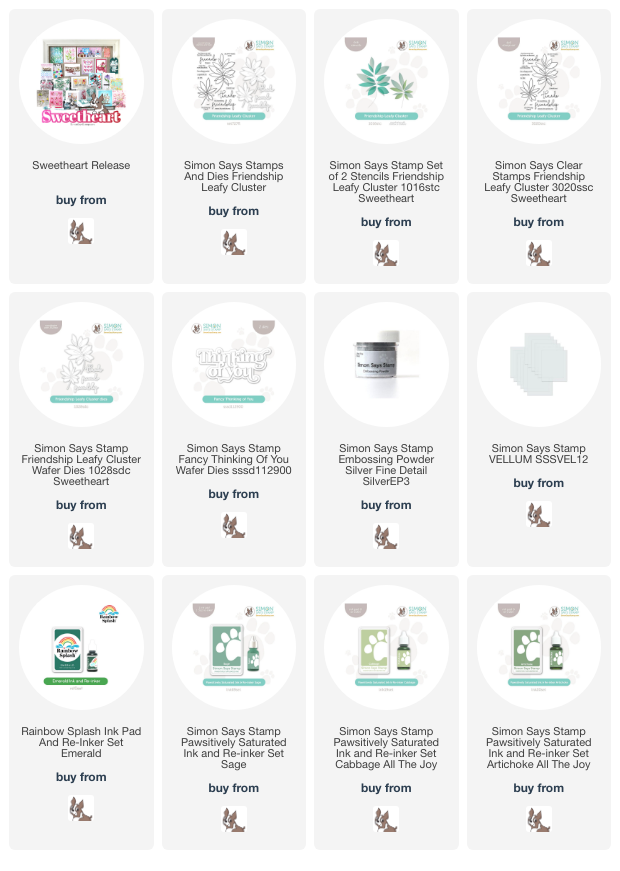
I used the new Friendship Leafy Cluster stamp/die/stencil set,  the stamp and die for this first card.  I stamped the image on watercolor paper, used watercolor paints for the leaves, layered the image, and added some of the new Rainbow Splash drops.  I stamped two of the sentiments from the set and...done!  Here's a close up...

The second one, I added the use of the stencil...
Okay...let me tell you...the stencil with this stamp is AMAZING, and AMAZING FUN!!!  I had such a blast using the stencil with this stamped image!!!  For the first one, I used Cabbage and Artichoke inks.  Can I say it again....so much fun??!!  I added a sentiment die, layered, and a Simon background stamp.  Here's a close up...

The third one, I used the stencil...backwards...
I stamped the image on Simon vellum with Versamark, and silver embossed.  I turned the stamped image to the backside, and, turning the stencil over, I stenciled the vellum leaves.  I used Sage, and Rainbow Splash's Emerald inks.  I used an older sentiment die, cut in silver matte and layered.  I stamped the same leaves on gray cardstock, and adhered the sentiment to a piece of vellum.  Here's a close up...
Okay...I had SO much fun making my cards!!  My fun was above, your fun is below!!

Simon is generously giving a $25 coupon to every stop on the hop from our comment sections, so the more hop blogs you comment on, the more chances you will have to win!  Winners will be chosen and posted on the Simon Blog on Wednesday, January 17th, so make sure you check the Simon Blog on the 17th, to see if you are a winner!!  If you are a winner, you can email Simon to claim your prize!
The list of participants in today's hop are listed below...
 

Simon Says Stamp Blog 

Nina-Marie Trapani

Caly Person

Jennifer McGuire

Suzy Plantamura

Amy Rysavy

Debby Hughes

Emily Midgett

                                       Lisa Addesa<-------You are here😊

Alberto Gava

Emma Williams

Heather Hoffman

Carly Minner

Tracy Ware

Jessica Vasher

 Two things before I end my post...There was another hop, yesterday, so I hope you will check it out at the Simon Blog HERE!  There is a whole bunch more inspiration and more chances for you to comment and possibly win one of the $25 coupons!  

The second thing, please don't forget about the offer in the banner at the top of my post!  The offer is for a free Simon exclusive Hearts and Stars Stencil!  There are directions on how to do that in the banner above...follow the three easy steps and the pretty stencil is yours for FREE, until the end of tomorrow,  January 14th, or until supplies last!!
Thank you so much for stopping by, and please keep on hopping! 
Hugs!  Lisa

Thursday, January 11, 2024

Sweetheart Release!

There's a new release over at Simon Says Stamp, today!  It's called Sweetheart, and it is filled with lots of "love"ly things!  I have used a new die and new background stamp, to make a card filled with love!...
Simply made, I die cut and layered the sentiment four times for depth.  I also die cut 2 hearts from a Simon heart die set, and then stamped the cling stamp with Simon Sweets ink on a bright pink piece of cardstock.  I added a sentiment strip, and done!  Here's a close up..;
I have a link to the release below...it is filled with wonderful stamps and dies, so perfect for sharing love with others!!  There will be a blog hop tomorrow, and a second one on Saturday, the 13th...combining this Sweetheart release, along with last month's Smitten release!  I hope you will hop along...two huge chances, with all the artists represented, to get inspired!!
Thank you so much for visiting me today!! Hugs!! Lisa

Wednesday, January 10, 2024

Love Ya!

Happy New Year everyone!!  I took some time away to spend the holidays with my family...it was wonderful...short, but wonderful!  I am back with a card made with a new die set, and a background stamp from Simon Says Stamp's Smitten release...
I used the adorable Love Ya Tag set, along with the Flower Burst cling stamp to make my card.  I die cut the letters of all three words three times, and glued together.  I adhered them to the die cut tag, that also had the die cut hearts filled with pink hearts of the same colors of pink as the sentiments.  I added a ribbon, then adhered the tag to a stamped Flower Burst, with no colors...simply black and white!  Thought it looked cool againt the black and white!  Here's a close up...
Hope your new year is off to a great start!!  Just so you know...there is a brand new release out at midnight tonight, over at Simon, along with two blog hops, one on Friday Jan 12th, one on Saturday Jan 13th, combining the Smitten release as well as the new release, Sweetheart...hope you will check them out!!  Please take care...hugs to you!!  Lisa

Wednesday, December 20, 2023

Holiday Cheer Candy Bags

I made some candy bags filled with different flavored Hershey Kisses, and was just going to tie them with a silver ribbon, but then had a different idea...
I used the Simon Says Stamp Fancy Holiday Cheer die to make headers for my candy bags!  I partially die cut the backgrounds, so the tops were like a folded card.  I then stapled the die cut in two places to keep it attached to the candy bag...  
I die cut a single background in white cardstock and then adhered it to the stapled partial die cut.  This way, the sentiment looks nice, with no staples showing. I used some old shimmery cardstock I had that I thought would go great with the sparkle of the kisses, diecutting the sentiment from it.  It was very thin paper, so I adhered some white cardstock to it before die cutting, so it had a nice slight heft to it.  I adhered it to the background panel and this was what a single bag looked like...
This will be my last post until after Christmas.  My family, like Santa, is coming to town for Christmas, and will be staying with Noah and I for a few days, so I will be loving on family through Christmas!  I hope you have a Christmas filled with holiday cheer and lots of love and laughter! 
Thank you so much for visiting me today!! Hugs!! Lisa

Monday, December 18, 2023

Daisy Love

I have used the pretty new Simon Says Stamp Petal Heart die set, from the new Smitten release, to make a card expressing love...
I know this new release is here with Valentine's Day vibes all over it, when I saw this die, although I knew it would be perfect for that special day, I couldn't help but think that it would be wonderful for any day...so I made it into a daisy!  I die cut the hearts from two different yellows of cardstock.  I die cut and layered the Love Ya tag die sentiments, keeping the heart of the sentiment yellow, too.  I adhered them all to a panel with gray inks blended on it, and embossed with the Simon Wooden planks folder.  Here's a close up...
I LOVE this flower die....so much fun and I love the finished flower!  So cool how you could make it all pink and red for Valentine's Day, or any color for any day...love is for EVERY day:)!!
Thank you for visiting me today!! Hugs!! Lisa

Friday, December 15, 2023

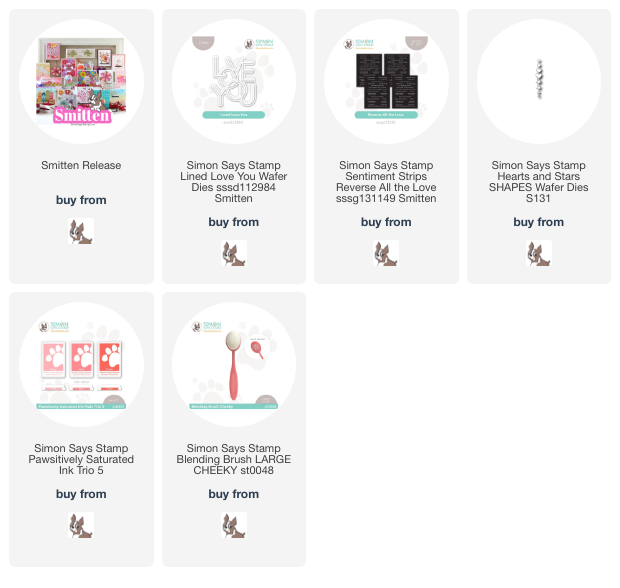
Smitten Release!

There is a new release today at Simon Says Stamp...Smitten!  I have used one of the very cool new dies from the release to make a card full of love...
I used the new Lined Love You die...I think this die is soooo cool!!  I die cut and layered the sentiment in white cardstock.  I then embossed the background piece in white.  I did that, so I could see where I would be blending the three colors of ink.  I blended all the inks in an ombre way, and then die cut the background and layered.  I popped up the sentiment on a panel that I had embossed with an old Sizzix folder...just liked all the hearts on this folder, with this die!  I added a die cut and layered heart and piece of a sentiment strip, then onto a panel and card that I had brushed more of the same ink onto the edges.  Here's a close up...
I have provided a link, below, to the new release...there are so many pretty and fun new products to get you crafting after the holidays!!  Hope you are not too frazzled with Christmas around the corner...hang in...take care!!  
Thanks for visiting me today!! Hugs!! Lisa

Thursday, December 14, 2023

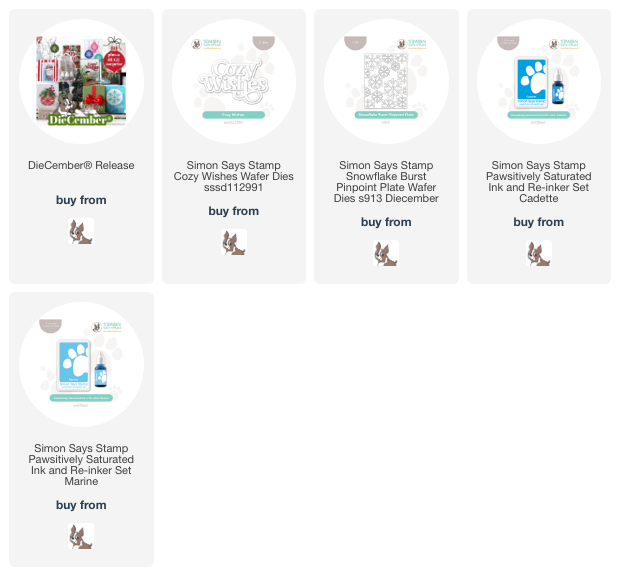
Cozy Wishes Snowflakes

I have used the pretty and cool new Simon Says Stamp Snowflake Burst Pinpoint Plate die as well as the Cozy Wishes die, from the DieCember® release, to make a winter card!...
When I looked at this snowflake plate, and then l ran it through my die cutting machine the first couple times, I thought of the very old punched tin panels in cupboards and such.  These were plates that look like the one below, where the tin has little punched holes in a pattern or design.  So...I chose to die cut the silver cardstock from the backside, on the non metallic side, then the prickly part of the design would stick out of the silver, like a punched panel below...
I added a layered sentiment that I had blended two different color blue inks.  Below is a close up...
Such a simple card...but perfect for letting someone know you're thinking about them this winter!
There is a new release in the morning over at Simon Says Stamp...hope you will check it out!!
Thanks for visiting me today!! Hugs!! Lisa


Wednesday, December 13, 2023

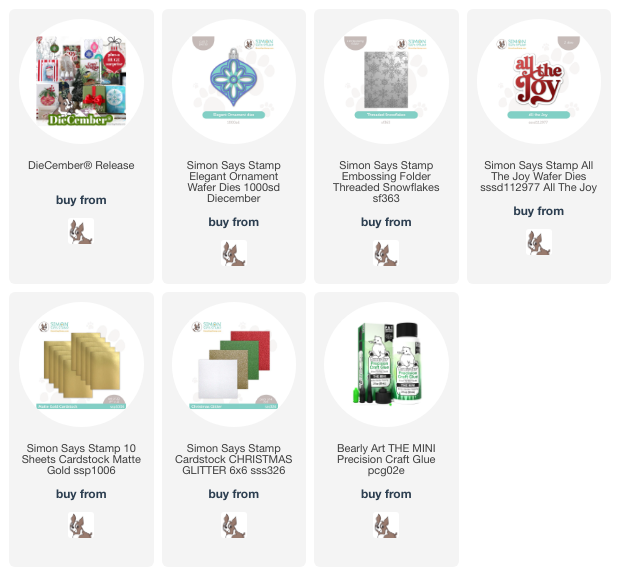
Elegant Ornament

A fun Christmas card, made with a pretty new die and embossing folder, from the Simon Says Stamp DieCember® release!...
I die cut, then adhered all the gold and red glitter die cut pieces together.  I also die cut the sentiment from the red glitter cardstock and layered.  I adhered the ornament and sentiment to the embossed panel and then the panel to the card,  Here's a close up...
I hope this post finds you well!  I also hope, if you are one that celebrates Christmas, that you are taking this month in stride and are having happy moments amidst the chaos!  Take care!!
Thanks for stopping by!! Hugs!! Lisa

Saturday, December 9, 2023

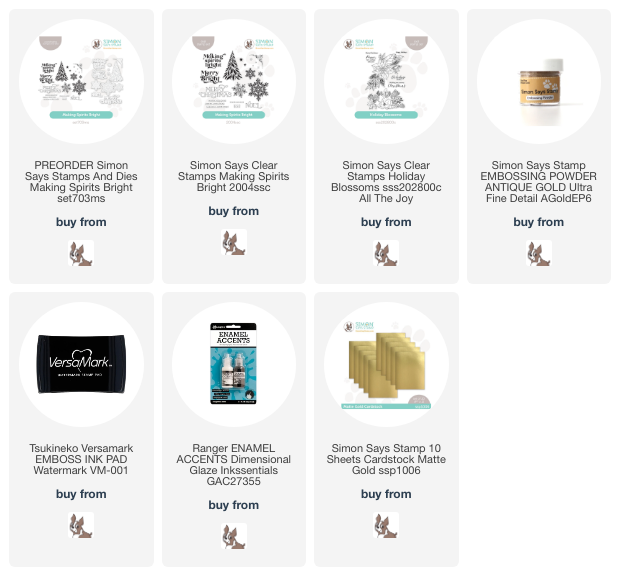
Gold Christmas Tree


A simple, easy Christmas card today!  I have made this with stamps from Simon Says Stamp...
I stamped the tree  with versamark on black cardstock, and gold embossed.  I added the sentiment underneath, also in gold, and added enamel accents very lightly on all the dots of the tree.  I actually had to dot them twice, as the gold was kind of showing through after the first round.  I adhered the panel to another panel that I had embossed diagonal stripes on(a VERY old PTI impression plate), and adhered them both to a card.  Here's a close up...
Christmas cards don't have to be complicated...fast and easy can be very Christmassy too!!  Thanks for visiting me today!! Hugs!! Lisa