I used the new Simon Says Stamp Tumbling Leaves Stencil, from the STAMPtember® release, embossing paste, and distress inks to make three cards to share with you today! I made two cards with a "Fall" feel, turning the leaves on the cards and changing the sentiments, then had an idea for making one with a "Christmas" feel...
I used white embossing paste, spread it over the stencil and let dry. I used an orange and yellow distress ink over the leaves when dry, and added a die cut, layered sentiment. Here's a pic of what an emboss pasted card panel looks like(but not the same positioned leaves as above)! I made a lot of them, as it is easy fun to spread the paste over the stencil, and then you have extas on hand.
Here's a close up of the card...
Here's a close up of the card...
Then, I turned the stencil and colored an embossed panel like the blank one above...
I changed the sentiment die and stamped sentiment. Here's a close up...
Then, I had an idea to use the paste on a black panel, with an idea for a Christmas card...
I colored the dry paste with two shades of green and dotted with white Tonic drops (I was going for a mistletoe kind of look). I added a wonderful sentiment die from CZ Designs and the Stamptember® release, die cut with red metallic cardstock(the shine of it is so much more brilliant IRL). I LOVE the way the leaves pop against the black cardstock. Below is what the panel would have looked like before sponging with ink(this is a second one I did, and haven't covered with ink yet)...
Here's a close up...
This was SOOOOO much fun, and SOOOOO easy....wow...on to more fun!!
Thanks for visiting me today!!
Hugs!! Lisa


Theses cards are outstanding in the fields! Well at least their leafs look that way. Very aesthetic and remarkable.
ReplyDeleteWow, these are beautiful and you got such a smooth application of the texture paste! Can I ask what kind of tool you used to spread the paste? I either haven't found the right spatula or palette knife, or I need more practice :-) Thanks!
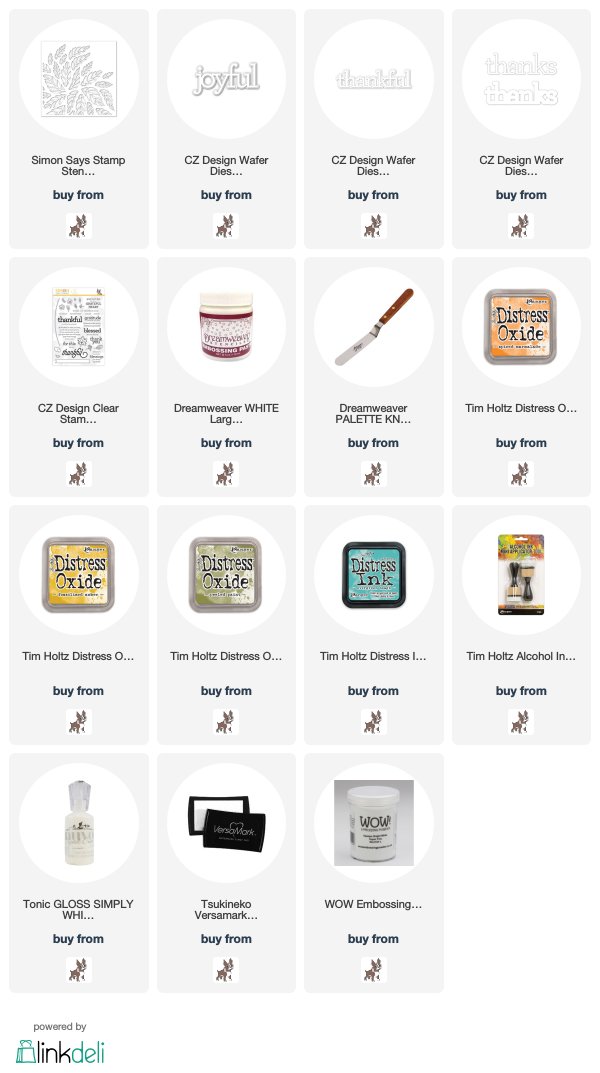
ReplyDeleteHey Karen...I've listed the knife I use above. You might need to find the right knife or tool(I have seen some I'd like to try, but am afraid to change, as I KNOW how to work with the one I have), but I don't always get it "right" with spreading the paste...those are the cards you don't see. I have found that if I'm not careful, there can be dryed pastey pieces in the paste, that make it hard to spread, too, so make sure you scoop some really fresh paste. Hope this helps you:)!
DeleteI'm a dork and didn't even see it in the supplies, and I swear I looked! Sorry!!! I only have the plastic palette knives and a wide tool like a spackle spreader. Thanks for the tips though, I will be more observant next time and look out for dried pieces. On a similar note, I saw a video yesterday of someone using the makeup brushes or Life Changing brushes to apply Nuvo Mousse and they got incredible results! It made me wonder how it would work with paste. Would have to clean the brush really well right away, but I may give it a go with one of the cheap ones that would be easy to replace. Thanks so much for responding!
DeleteHi Lisa, how do you color on the dry embossing paste without getting it on the background? Do you use the stencil as a mask or just be really careful? I can see myself messing up about 9/10 that way... :/
ReplyDeleteJust saw this question...yes, I place the stencil back over the dried paste, and then apply the ink for the color...a PERFECT mask and super easy!
ReplyDelete