Tuesday, September 6, 2022

Intricate Hot Foil Daisies

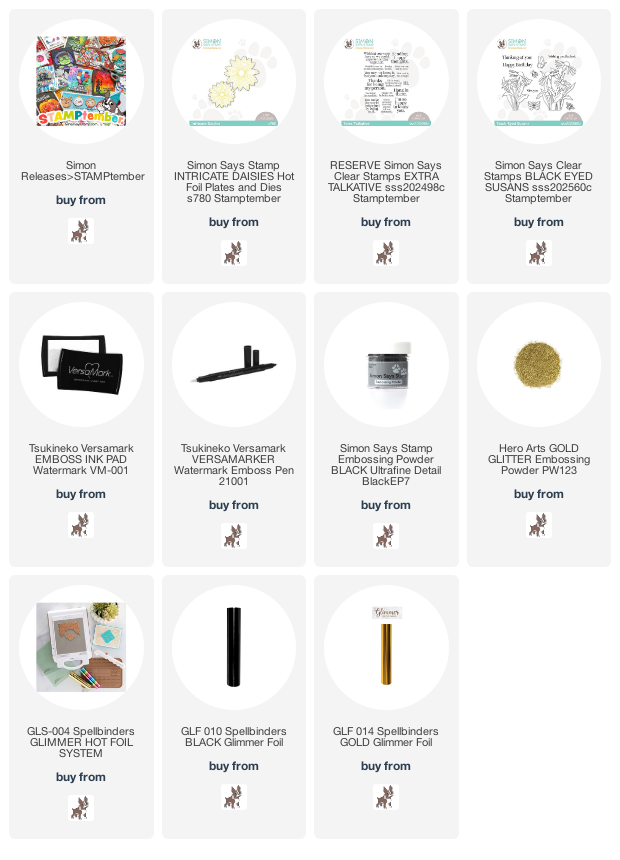
I have used the beautiful new Simon Says Stamp Intricate Daisies Hot Foil plate/die set from Simon's new STAMPtember® release, to make two cards with the largest daisy...
I hot foiled the first one with black foil.  I die cut it, and then colored it with 14 different markers.  I dotted the center with a black marker.  I layered the flower and adhered it to a panel that I had stamped a sentiment from the new Extra Talkative stamp/die set!  I LOVE sentiments...the right sentiment on a card MAKES the card...and I LOVE these sentiments!!  I stamped with versamark and black embossed.  Here's a close up...

The second one, I used the same flower, but used gold hot foil...
After I hot foiled the daisy, I colored with two pink markers.  I then used a versamark pen, used the brush end and "colored" the center of the flower with versamark.  I then glitter gold embossed the center.  I also glitter gold embossed the sentiment, from another of the beautiful new stamp sets, Black Eyed Susans.  I layered the flower, adhered to the panel, and popped up the panel on the card.  
Here's a close up..,
Having SO much fun with this amazing new release...hope you're having a great week!!  
Thanks for visiting me today!! Hugs!! Lisa
Saturday, September 3, 2022

Happy Birthday, Heidi!

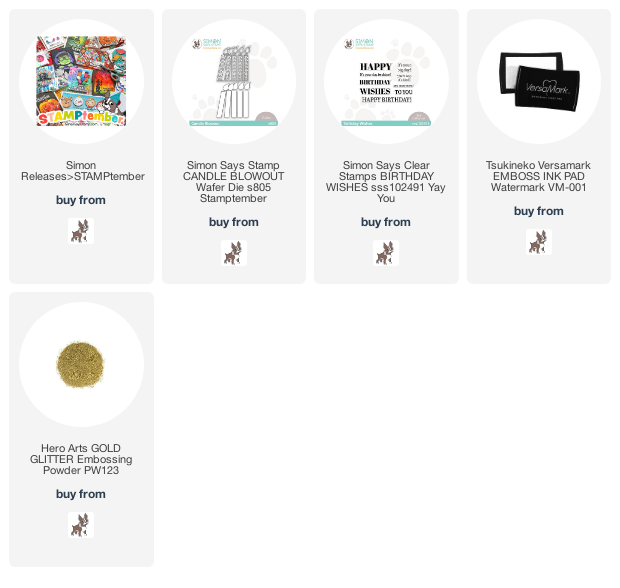
I have made a fun birthday card with a fun new Simon Says Stamp die from their STAMPtember® release!  It's a perfect day to create a birthday card, as I want to say Happy Birthday to the wonderful owner of Simon Says Stamp, Heidi Crowl!!
 Happy Birthday, Heidi!!...
I die cut the candles and colored the pieces of the candle, while still in the die, with my markers.  In the die cut spots of the flames, I removed the pieces, and die cut flames made with versamark and gold glitter embossing powder on cardstock.  I also stamped the sentiment with versamark and glitter gold embossed the sentiment. I thought the sentiment, from the Birthday Wishes sentiment stamp set, was perfect to pair with candles.  Here's a close up...
Since the release came out yesterday, there has been a blog party and new collaborative stamp sets...with LOTS more to come as the month goes on...hope you will check it out, if you haven't already!  
Thanks for visiting me today!! Hugs!! Lisa

Friday, September 2, 2022

STAMPtember® Blog Party!

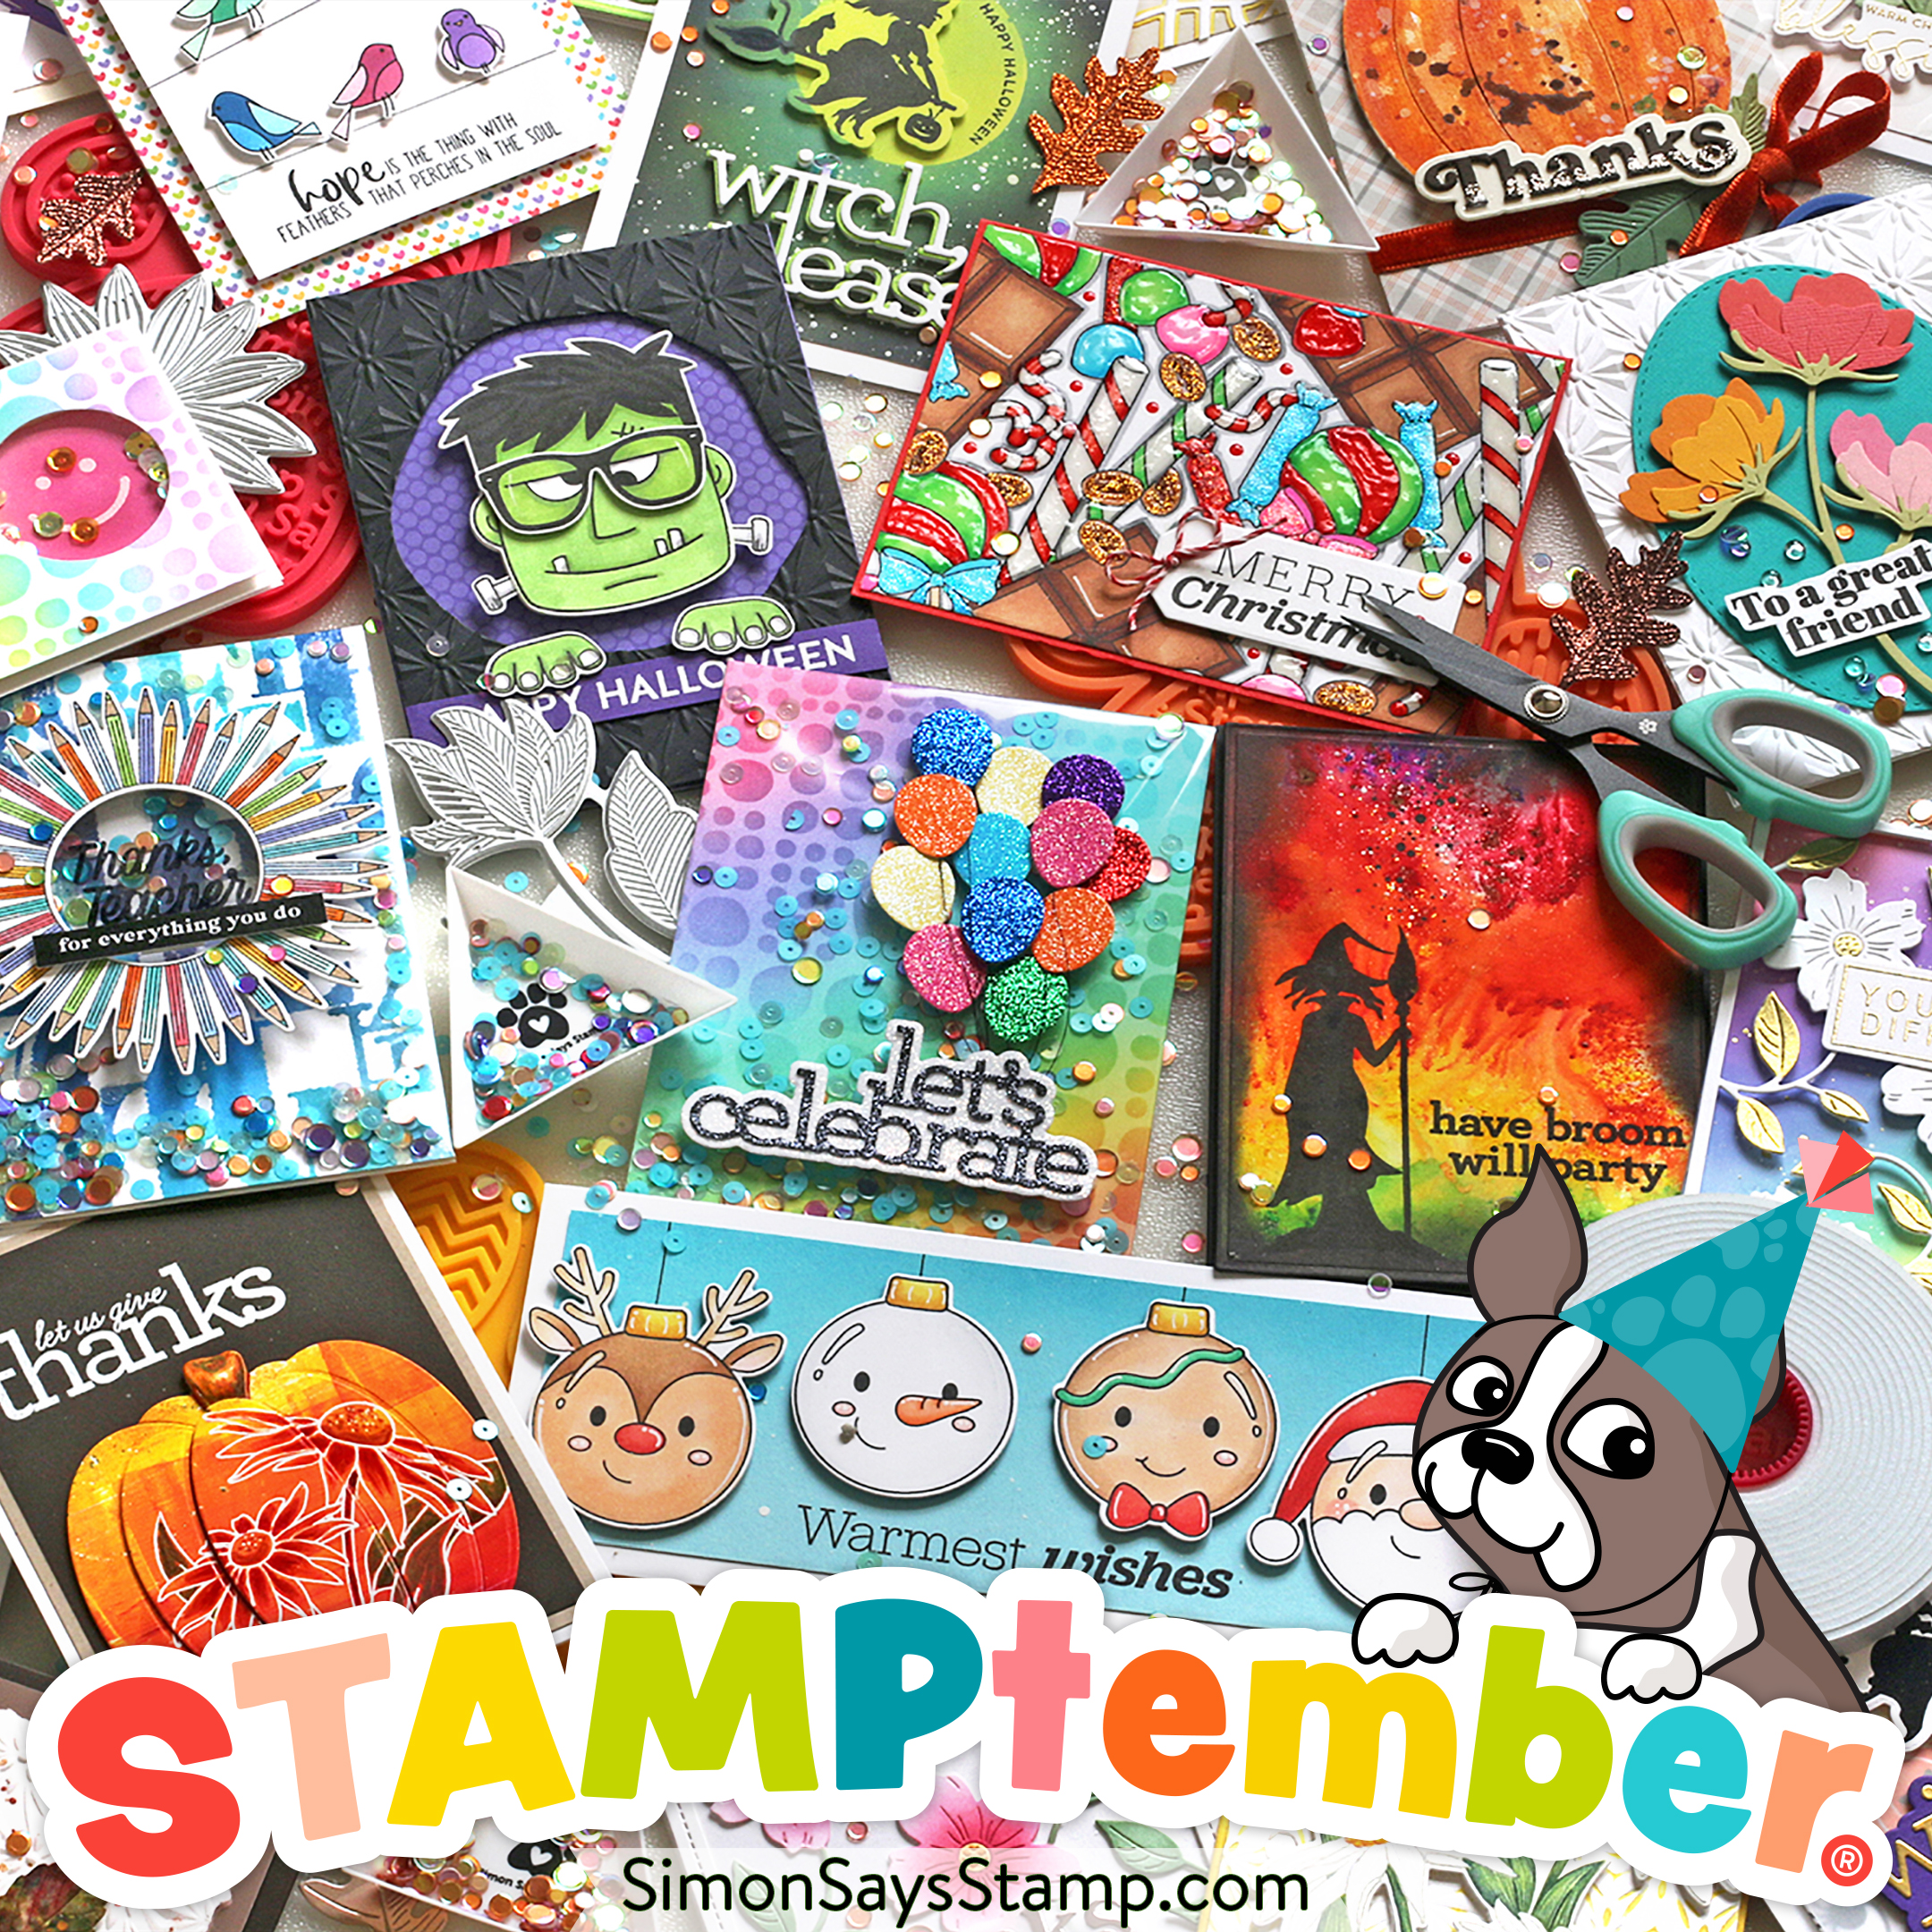
is a month long celebration of Simon celebrating all things stamping, and they picked the month of September to celebrate...thus STAMPtember®(they even registered the name!)!!  They are having a month long party to celebrate, starting today, with a BLOG PARTY! Happy STAMPtember®, Simon!!  There is an amazing collection of new stamps, dies, foil plates, stencils, and so much more in this release!!  I have made a card with two of the beautiful new dies to begin the celebration!!...  
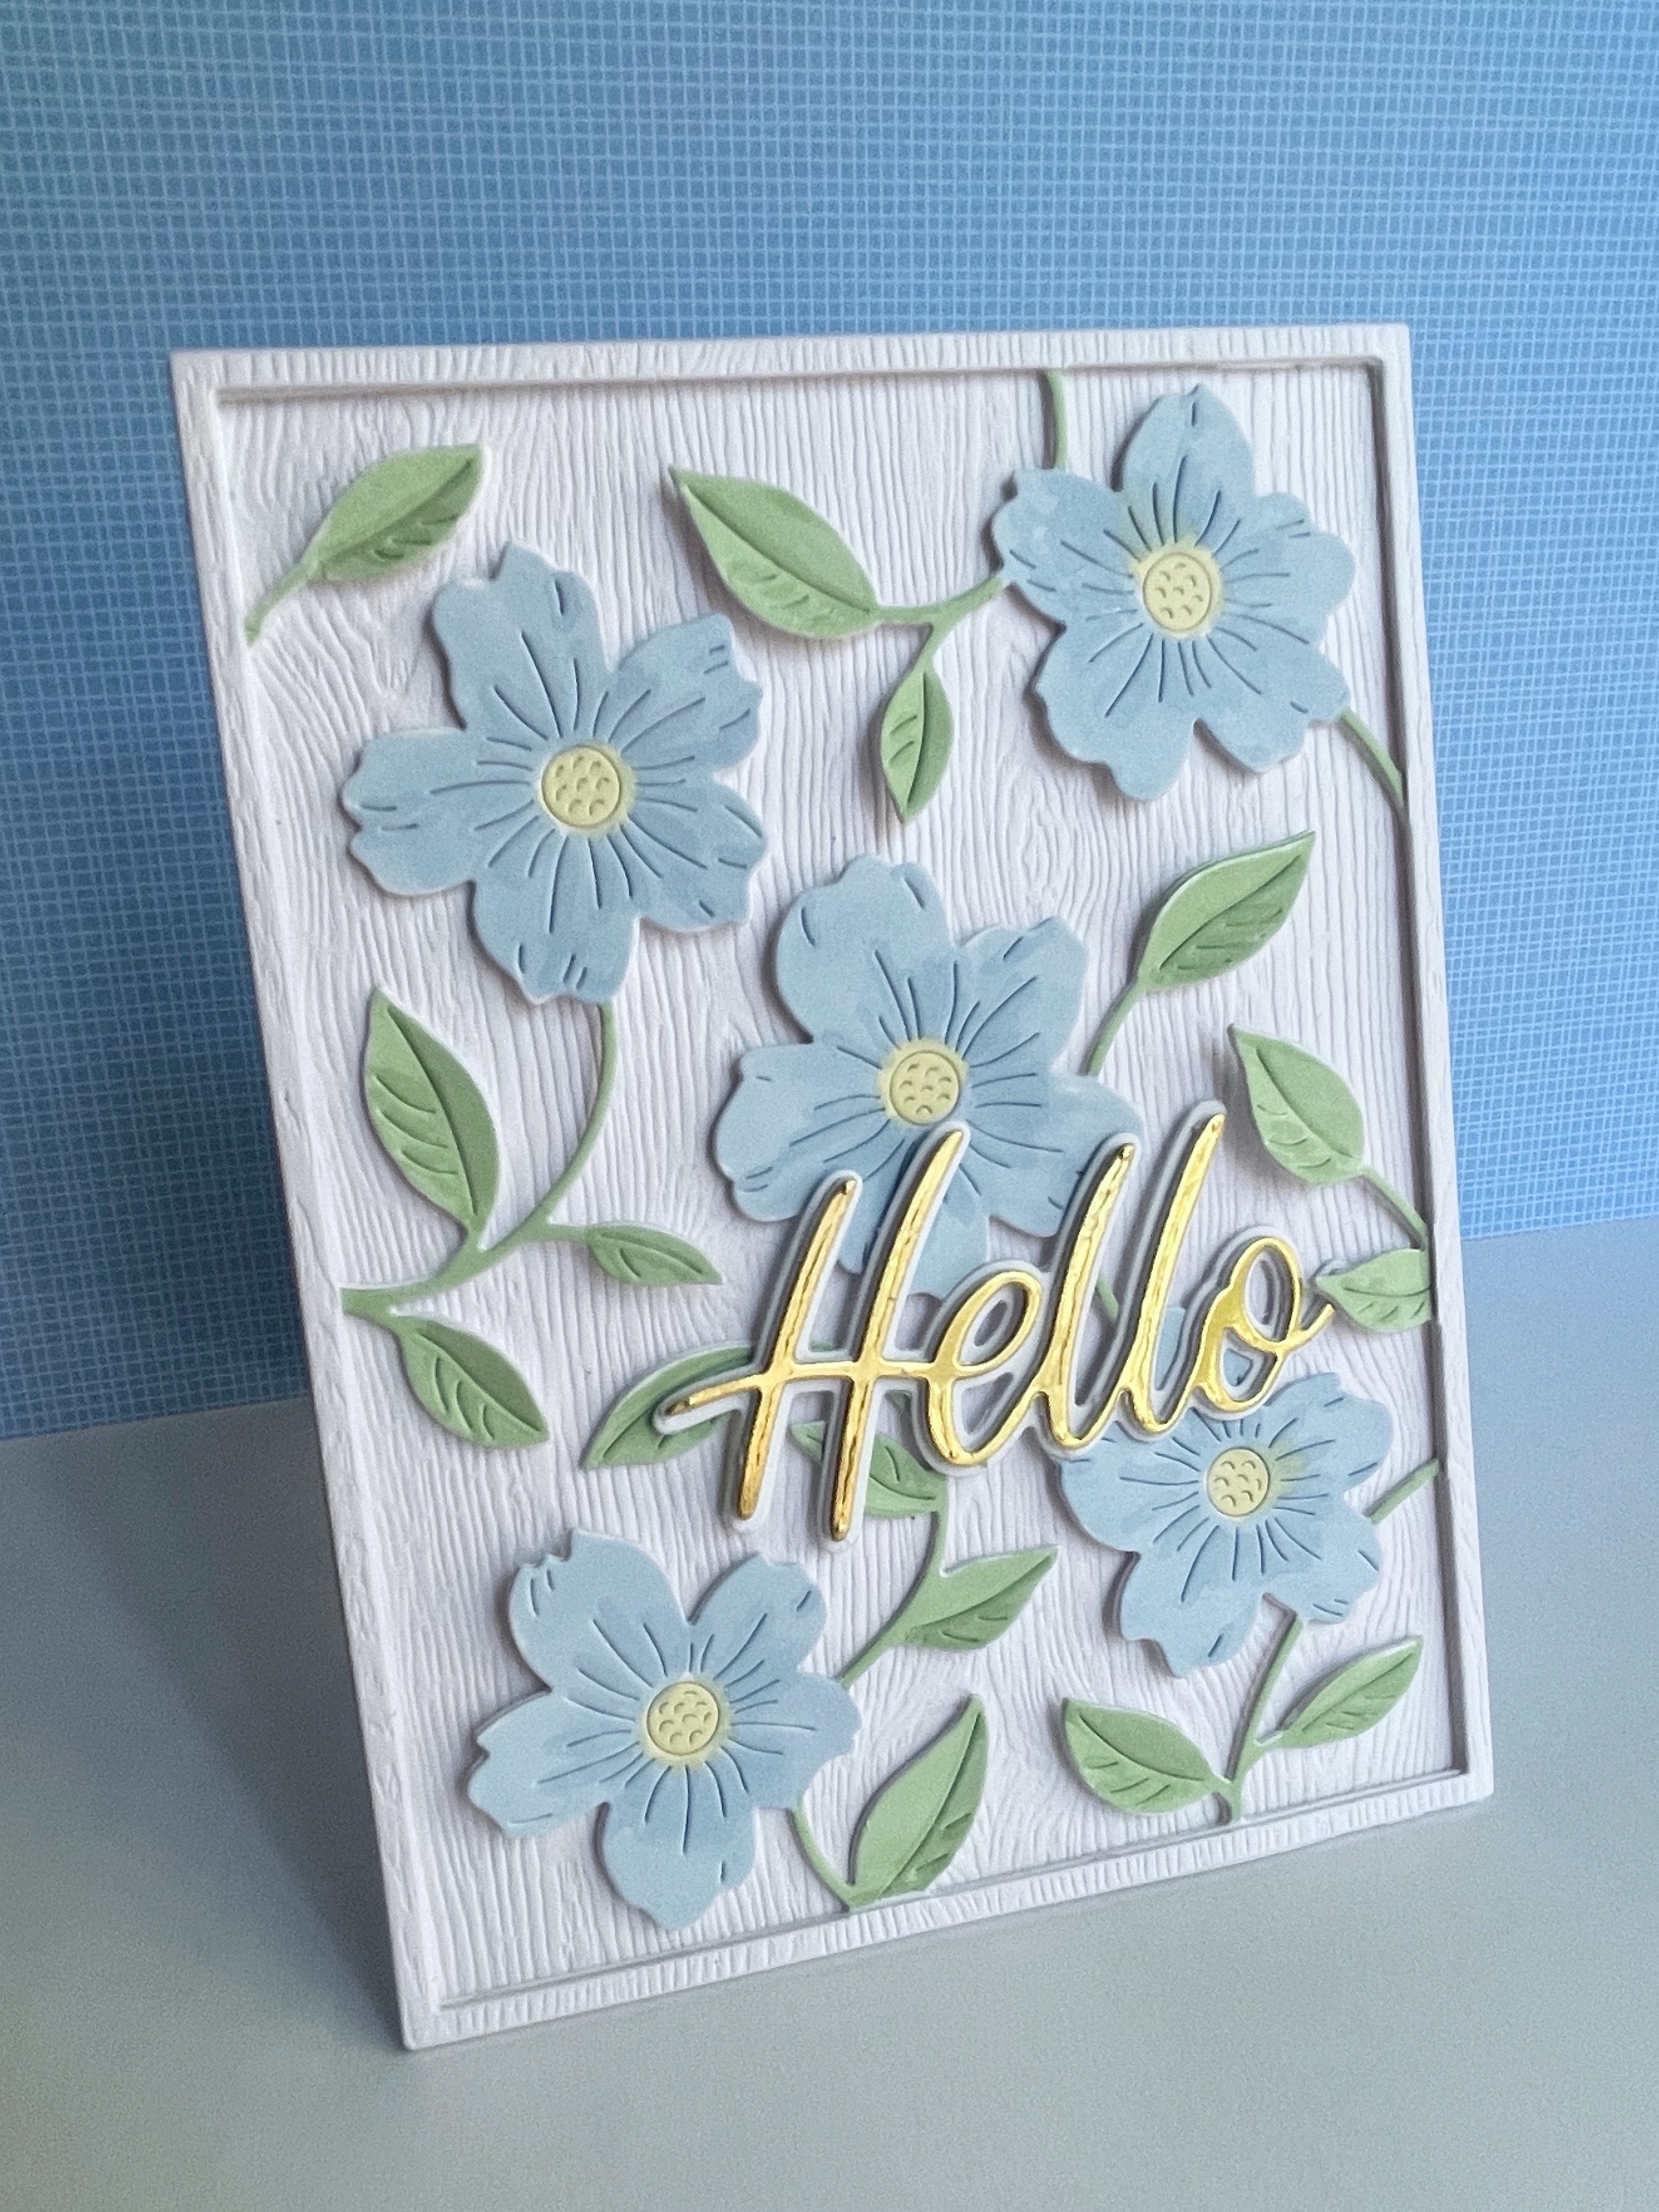
This beautiful card size die is called Flourishing Bloom Plate, and the sentiment Handwritten Hello!  I die cut and layered the plate, and colored with markers.  I adhered the flowers to some Simon woodgrain paper.  I then die cut the frame once more, this time in the woodgrain cardstock, clipped the stems and leaves off the frame, and adhered to the colored frame.  I added the gold cardstock die cut and layered hello.  I also bent the leaves just a little for some dimension.  Here's a close up...
There are SO many WONDERFUL stamps, dies, stencils, hot plates...and so much more, in this huge release, it has been so much fun getting it started!!  Now, the fun for you!!  Every artist participating in the Blog Party has an offer from Simon for a giveaway!  There are different ones on many of the blogs, so, just like a scavenger hunt, you will have to go looking to find the offer that makes you most happy!  Here's my offer for you:
I LOVE the sentiments in this set...think I may just have to get this one, myself!!  You can go to the SIMON  BLOG to see all the participants at the party today...I KNOW you will be inspired!  Have fun...PARTAYYYY!!  
Thanks for Partying with me!! Hugs!! Lisa

Monday, August 22, 2022

Just Because

I made a card witht the beautiful Simon Says Stamp Bohemian Background Hot Foil Plate from Simon's Dream Big release, to make a card...just because...
I hot foiled a piece of Simon Glossy Black cardstock with gold foil and the pretty plate, and simply added the die cut and layered Simon sentiment die.  The foil plate can stand on it's own with a simple sentiment...LOVE!!  The pretty shine on this card is so pretty!  Here's a close up...
I also made a supeer short video, to show you the pretty shine,..
A pretty simple card, but love the shine!  
Thanks for visiting me today!! Hugs!! Lisa


Thursday, August 18, 2022

Dimensional Cube Stencil Birthday

I have made a card with the new Simon Says Stamp Dimensional Cubes Stencil set from their Dream Big release,  to make a more mascuine birthday card...with a little sparkle...
I used three shades of the Simon Saturated gray inks. and blended the lightest one to the darkest, the most open stencil to the one with single little squares being the darkest.  I used some gray glitter cardstock to die cut the sentiment, and layered with gray cardstock.  I ran my wink of stella brush marker to add some extra glitter, so the glitter really showed.  I cut down the squares a bit and adhered the sentiment on a piece of vellum, then attached it to the card panel.  Here's a close up...
This was alot of fun, it's always such a wonderful suprise when you stencil, and lift the stencil up after applying the ink with the blending brush!  
Thank you so much for stopping by, today!! Hugs!! Lisa

Tuesday, August 16, 2022

Party Birthday Candles!

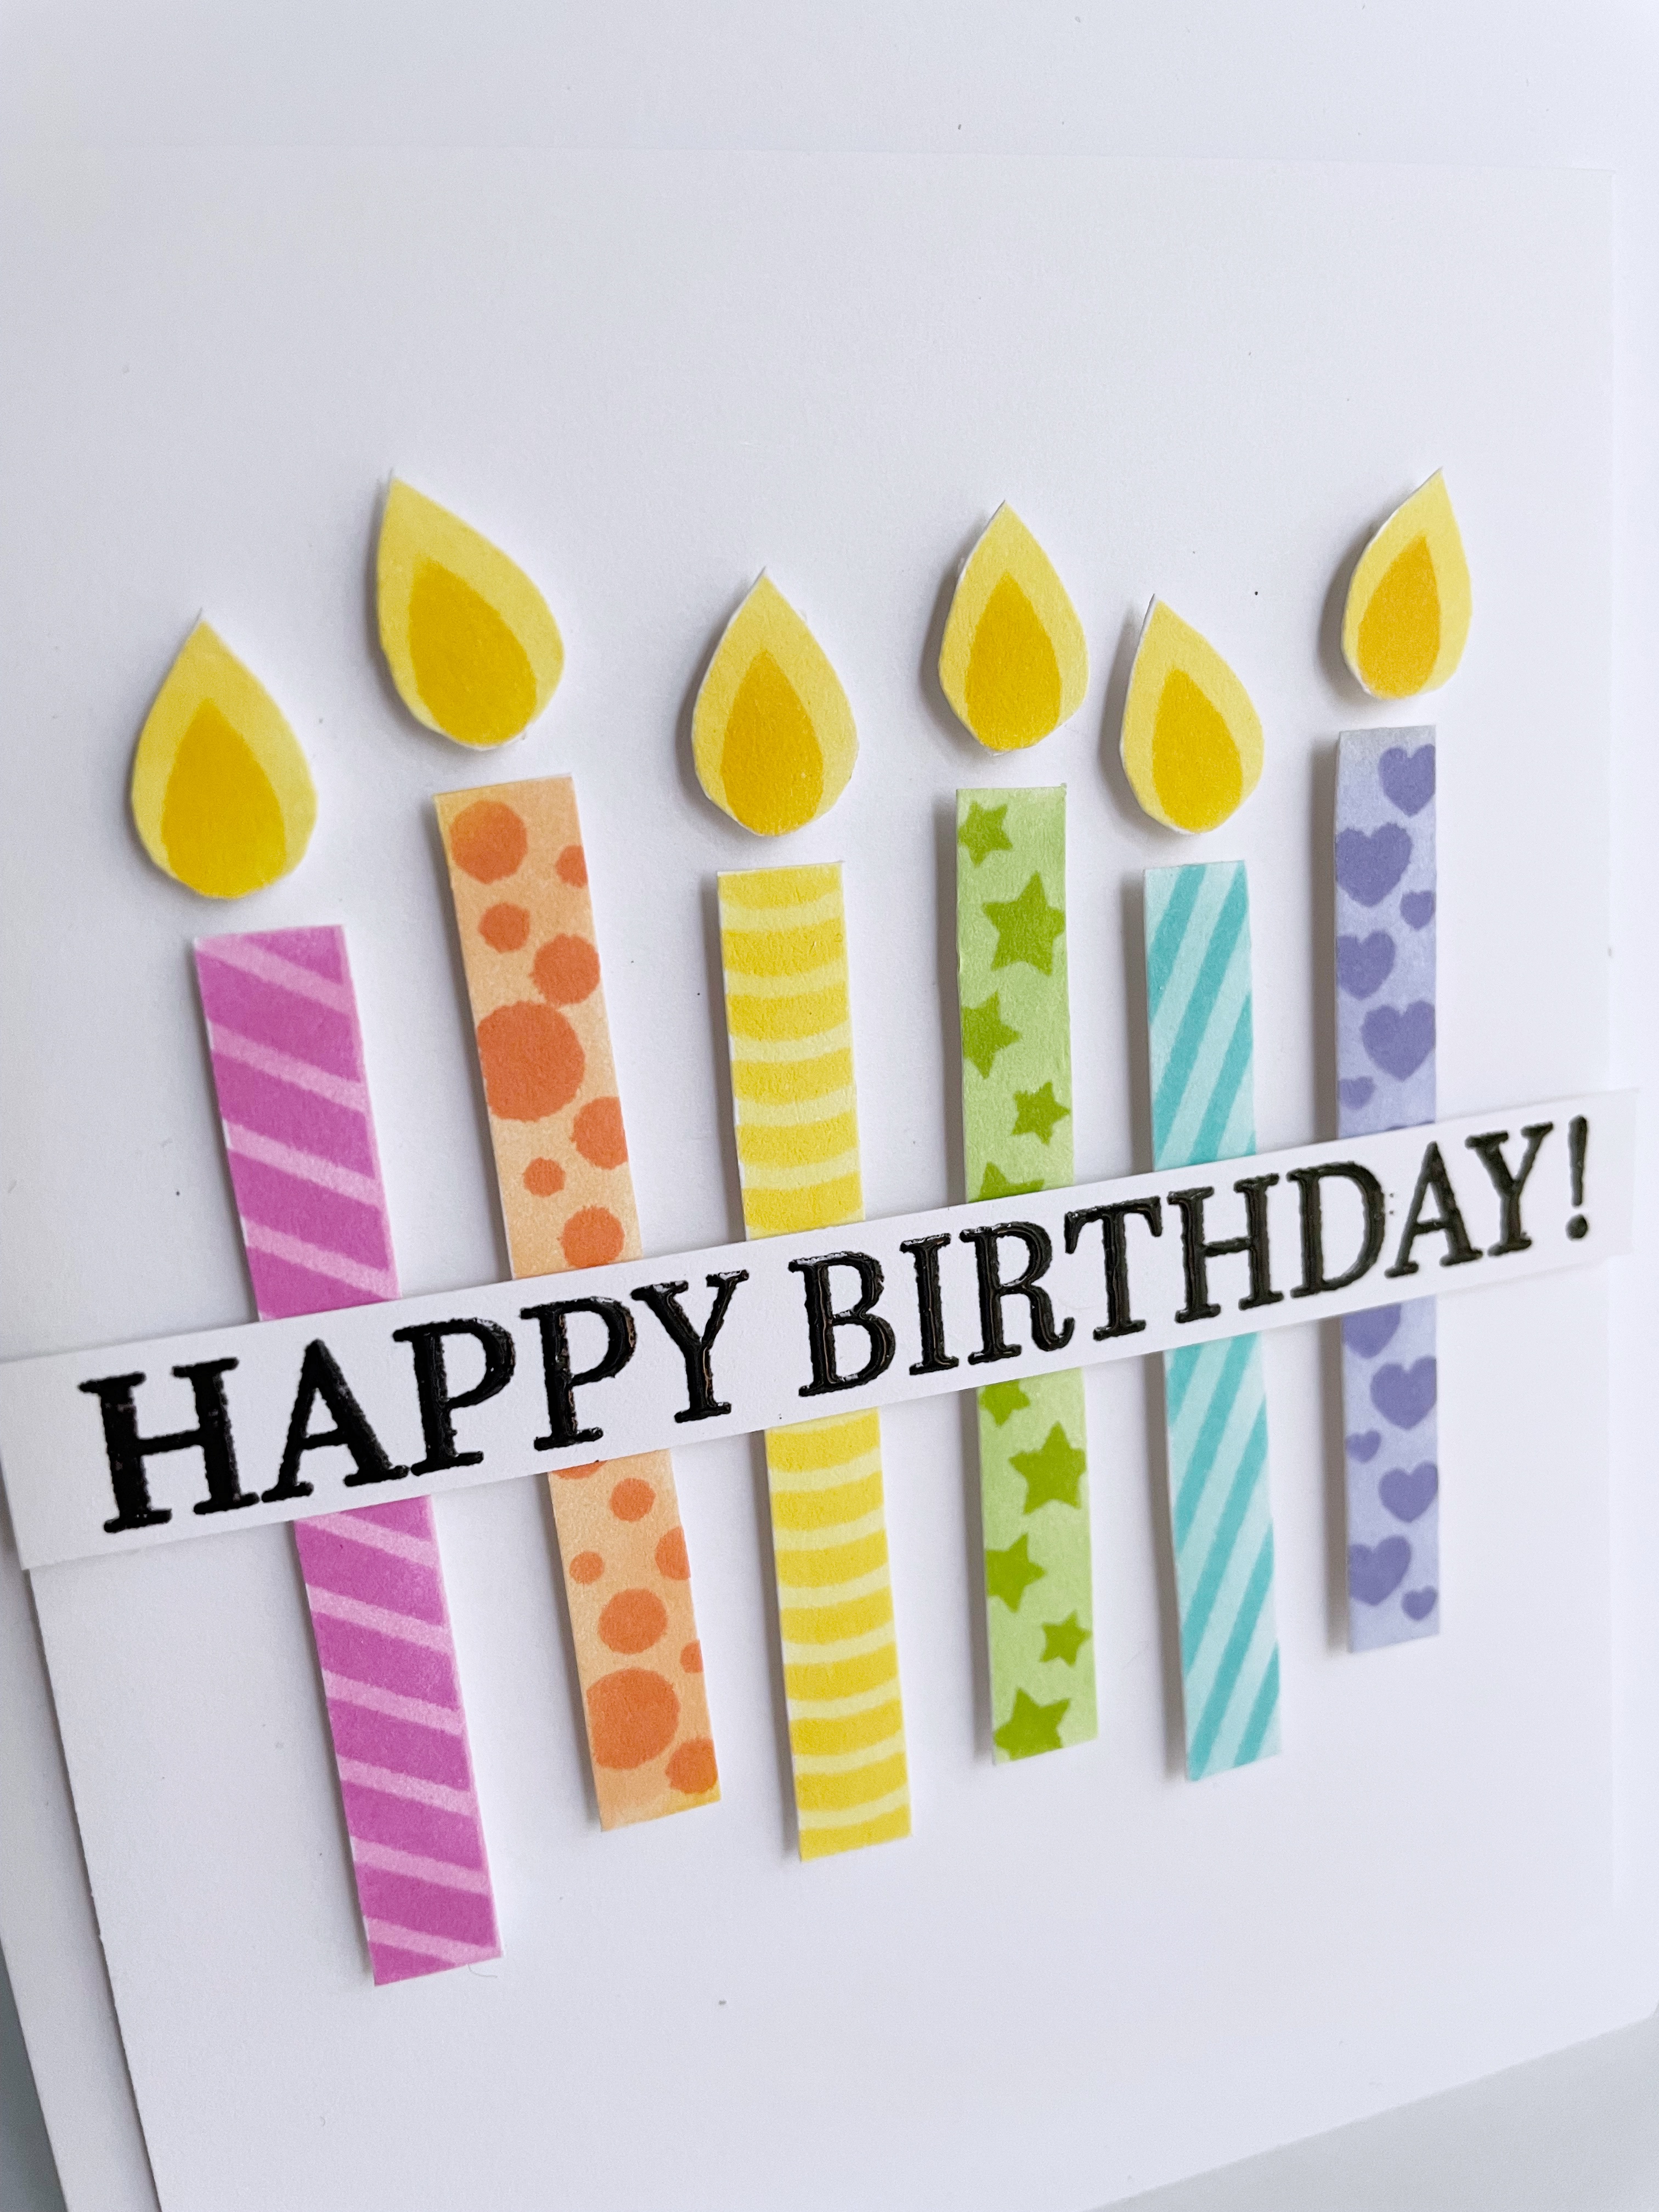
I decided to play with a stencil set that I had purchased a while back, but have not yet had a chance to play with...Simon Says Stamp Party Candles...
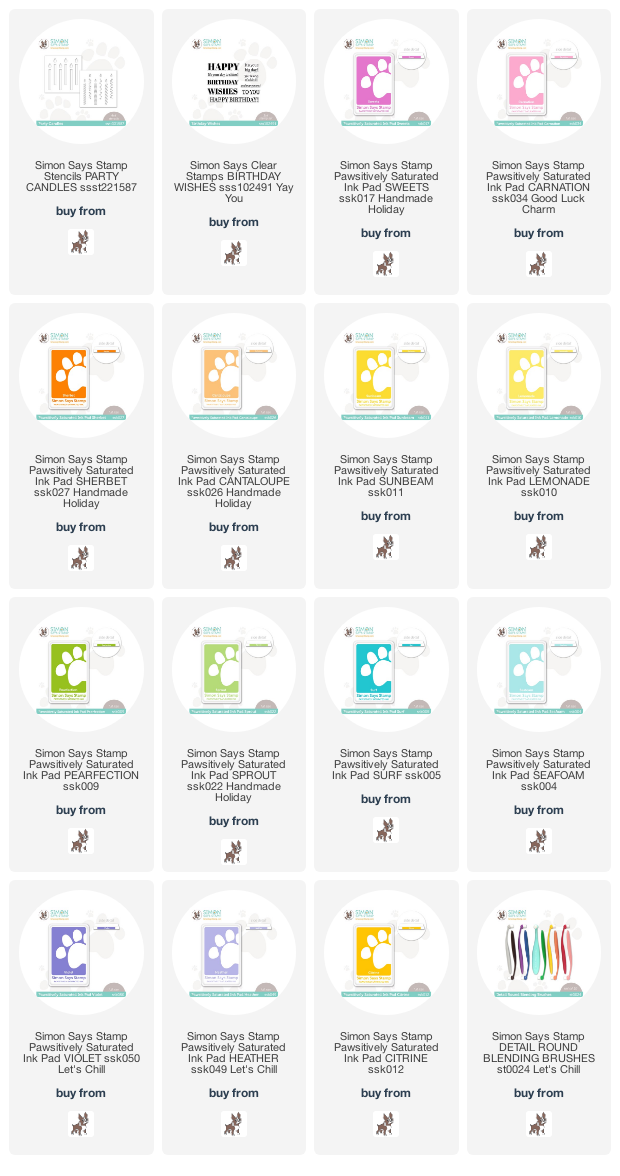
I used 13 different color inks for these cute candles...yes, thirteen.  Two different shades of each of the rainbow of colors, and a second "yellow/orange" for the flame(sunbeam and then citrine).  I used the lighter shade for the full candle and the darker shade of each color for the detail.  
I hand cut both the candles and flames, and then randomly popped them all up on the card panel.  I stamped the sentiment, and black embossed.  I cut it into a strip and popped it up over the candles.  Here's a close up...  
Okay, I may have used a lot of inks, but what fun!!  Thought of putting some bling on the candles, but felt they were "good" on their own, but if you decide to try this, you might choose to use some bling!  
Thank you for coming by my blog today...so appreciate your time and interest!! Hugs!! Lisa

Sunday, August 14, 2022

Fab Floral Plate Happy Birthday

I have made a birthday card with the fun Simon Says Stamp Fab Floral Plate die, from their 
I first embossed the plate onto a piece of cardstock...so I had the flower images.  I then used the old MFT Stamps Itsy Bitsy Polka Dot Background stamp(so sorry, but doesn't appear to be available any more), stamped with versamark and white embossed, over the embossed plate cardstock.  I then used a rainbow of colors and the new Simon Detail Round Blending Brushes to give color to the flowers.  I adhered three layers of die cut plates over the colored flowers, and added a silver, layered Simon happy birthday die cut!  Here's a close up...
Rainbow anything, but especiallyflowers, ALWAYS make me so happy!  Hope you had a great weekend!!
Thanks for visiting me today!! Hugs!! Lisa

Saturday, August 13, 2022

Leafy Birthday

I have used the beautiful Simon Says Stamp Layered Rose Leaves dies, from their Dream Big release,  to make a metallic, shiny leaf filled birthday card...
I die cut the two leaves each in gold, silver and a glossy black cardstock.  I also die cut the same amount in white to layer each leaf.  I adhered them in a random pattern after stamping the sentiment from the Soaring Birthday stamp set.  I popped up the panel on a card, and added some black Tonic drops.  Here's a close up...
I was and still am a little on the fence about the colors of this card, as my one daughter told me the colors make this card one for an older person(which I am, as is most everyone I know), but I thought the colors are classy, not old.  I love the three together, and to celebrate a birthday, I was no less in love.  Would love to know your thoughts!  I can take it! 😁
Thanks for visiting me today!! Hugs!! Lisa
Friday, August 12, 2022

Floral Stem Two Ways

I have made a couple cards with the wonderful Simon Says Stamp Floral Stem die from their Dream Big release...one watercolor, the other simply marker colored...
I used watercolor cardstock, and embossed the floral stem image onto the paper.  I then used my watercolors to color in the petals and leaves of the stem.  I added a stamped sentiment, from the Big Day stamp set.  I used the same cardstock, and die cut another two stems, and adhered them together.  I then adhered them to the watercolored panel.  I added some jewel tonic drops to add some bling and here's a close up...
The second one, I made into a daisy stem, which only required coloring one flower center, and the leaves...
I layered the outlines just as I had the first card, and although I know both the little flowers look a little off being totally white with no centers, I wanted to keep them all daisies, see as it is a stem, not stems.  I adhered it to a stamped background, made with the pretty new Talavera Vine background stamp, stamped in Simon Fog ink.  I added some enamel accents and added a stamped sentiment from Soaring Birthday, made into a strip, popped up over the stem.  Popped up the whole panel on the card.  Here's a close up
This die makes me so happy...sweet, pretty, and so versatile...lots of fun to create with!!  
Thanks for visiting me today!! Hugs!! Lisa
Thursday, August 11, 2022

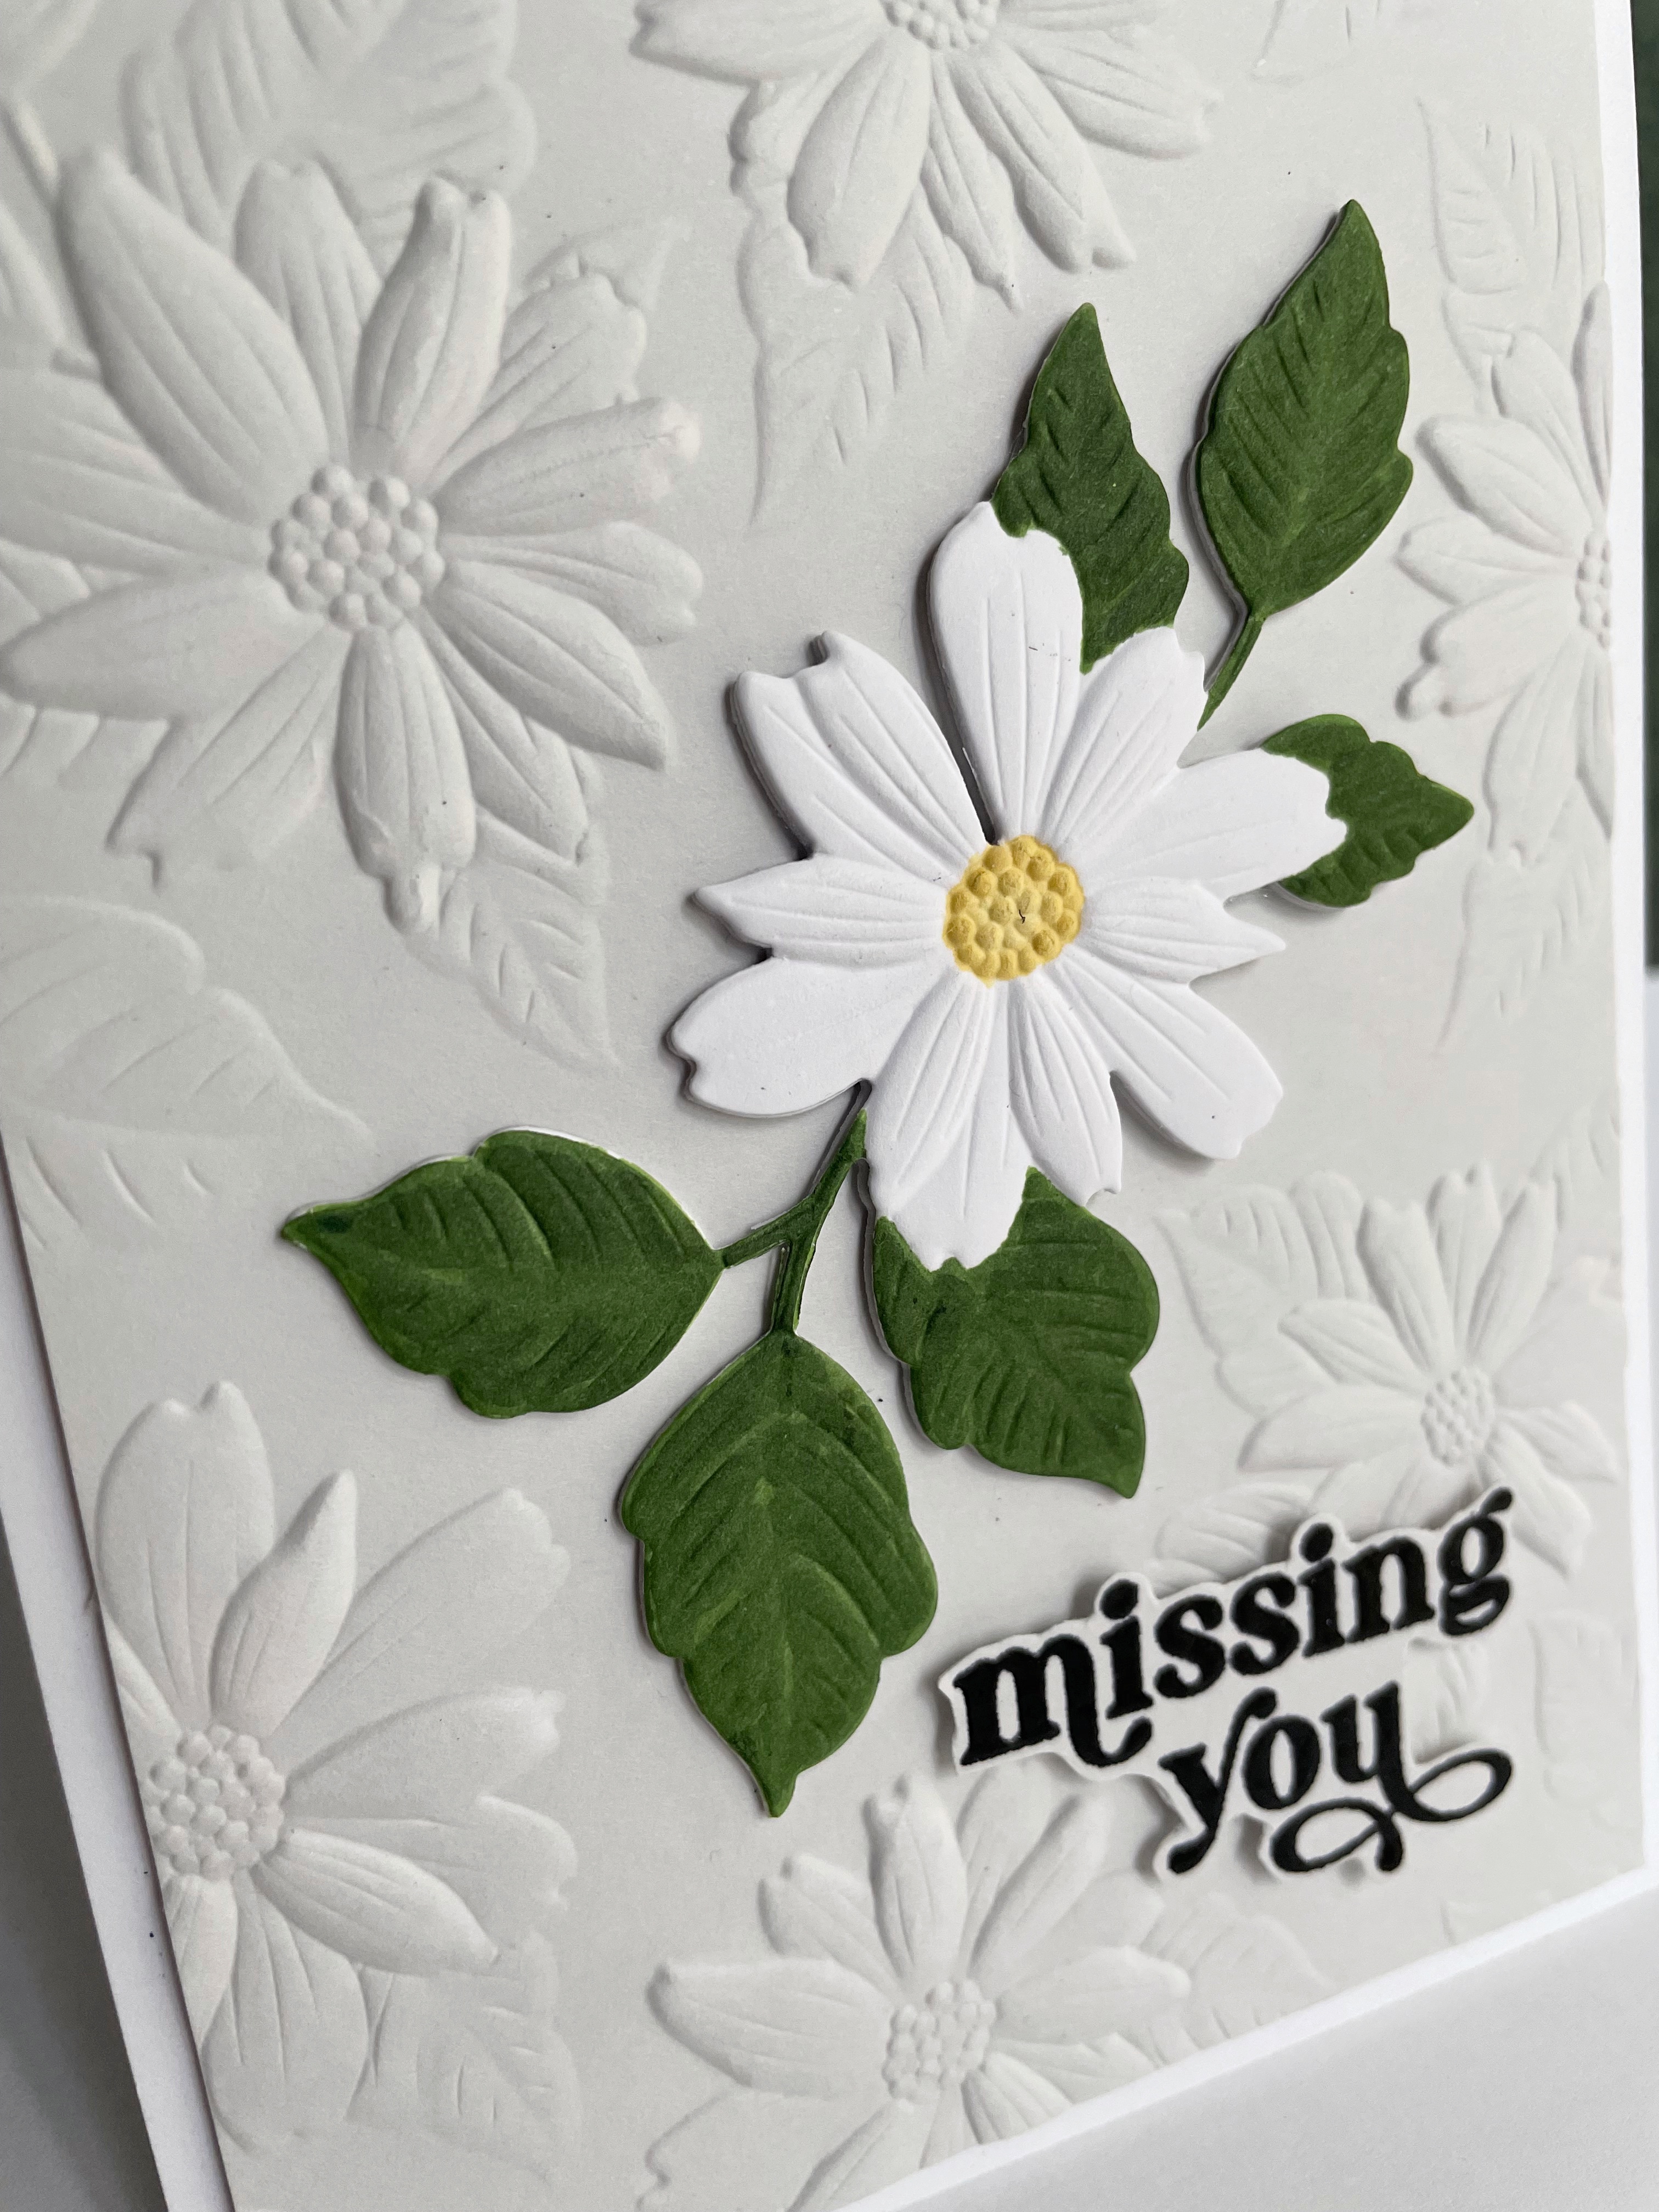
Terrace Floral

I have used the Simon Says Stamp Terrace Floral Embossing Folder/die to make a card for a friend that I have been missing alot!  The set is from Simon's Dream Big release!
If you know me, you know I love daisies.  I could not pass up the opportunity to make this die cut and embossed flower into a daisy...but hey, it looks like one, so a pretty easy create!  I embossed the whole folder in gray.  I then die cut the flower and leaves.  I put that flower into the embossing folder and embossed it.  I then colored it with markers, layered and adhered it to the embossed gray panel.  I used a Simon sentiment  stamp, then after embossing with black powder, I hand cut it out, and popped up on panel.  Here's a close up...
A pretty simple, easy card, but love how it turned out...the daisy "pops", and is the star of the card...sweet!  Hope you have a great weekend...gonna be a nice one in my part of Virginia...can't wait!!
Thanks for visiting me today!! Hugs!! Lisa
Sunday, August 7, 2022

Blooming Tree Christmas

I have made a Christmas card with the pretty new Spellbinders Blooming Tree Hot Foil plate/die set, from their Glimmer Greetings Collection, and their Happy Occasion Word dies...
I am loving Hot foil dies, of late, and this one is wonderful.  I originally simply colored the flowers and leaves of this tree.  I decided simply coloring the flowers and leaves didn't give the tree enough life/color, it "needed" something more, so I colored the tree!  I addded the die cut and layered sentiment.  I adhered them to a panel that I had used my old but much loved Cuttlebug snow embossing folder, then adhered that to a marker colored (the same green as the tree), and gold stripped card.  I added some white enamel accents, and Tonic Morning Dew drops to the flowers and berries on the tree.  Here's a close up...
Hope you have a bright and shiny rest of your week!  
Thanks for visiting me today!! Hugs!! Lisa

Saturday, August 6, 2022

Parcel and Post Hearts

I have made a couple cards using the Spellbinders Parcel and Post Heart Decorations from the Parcel and Post Collection...
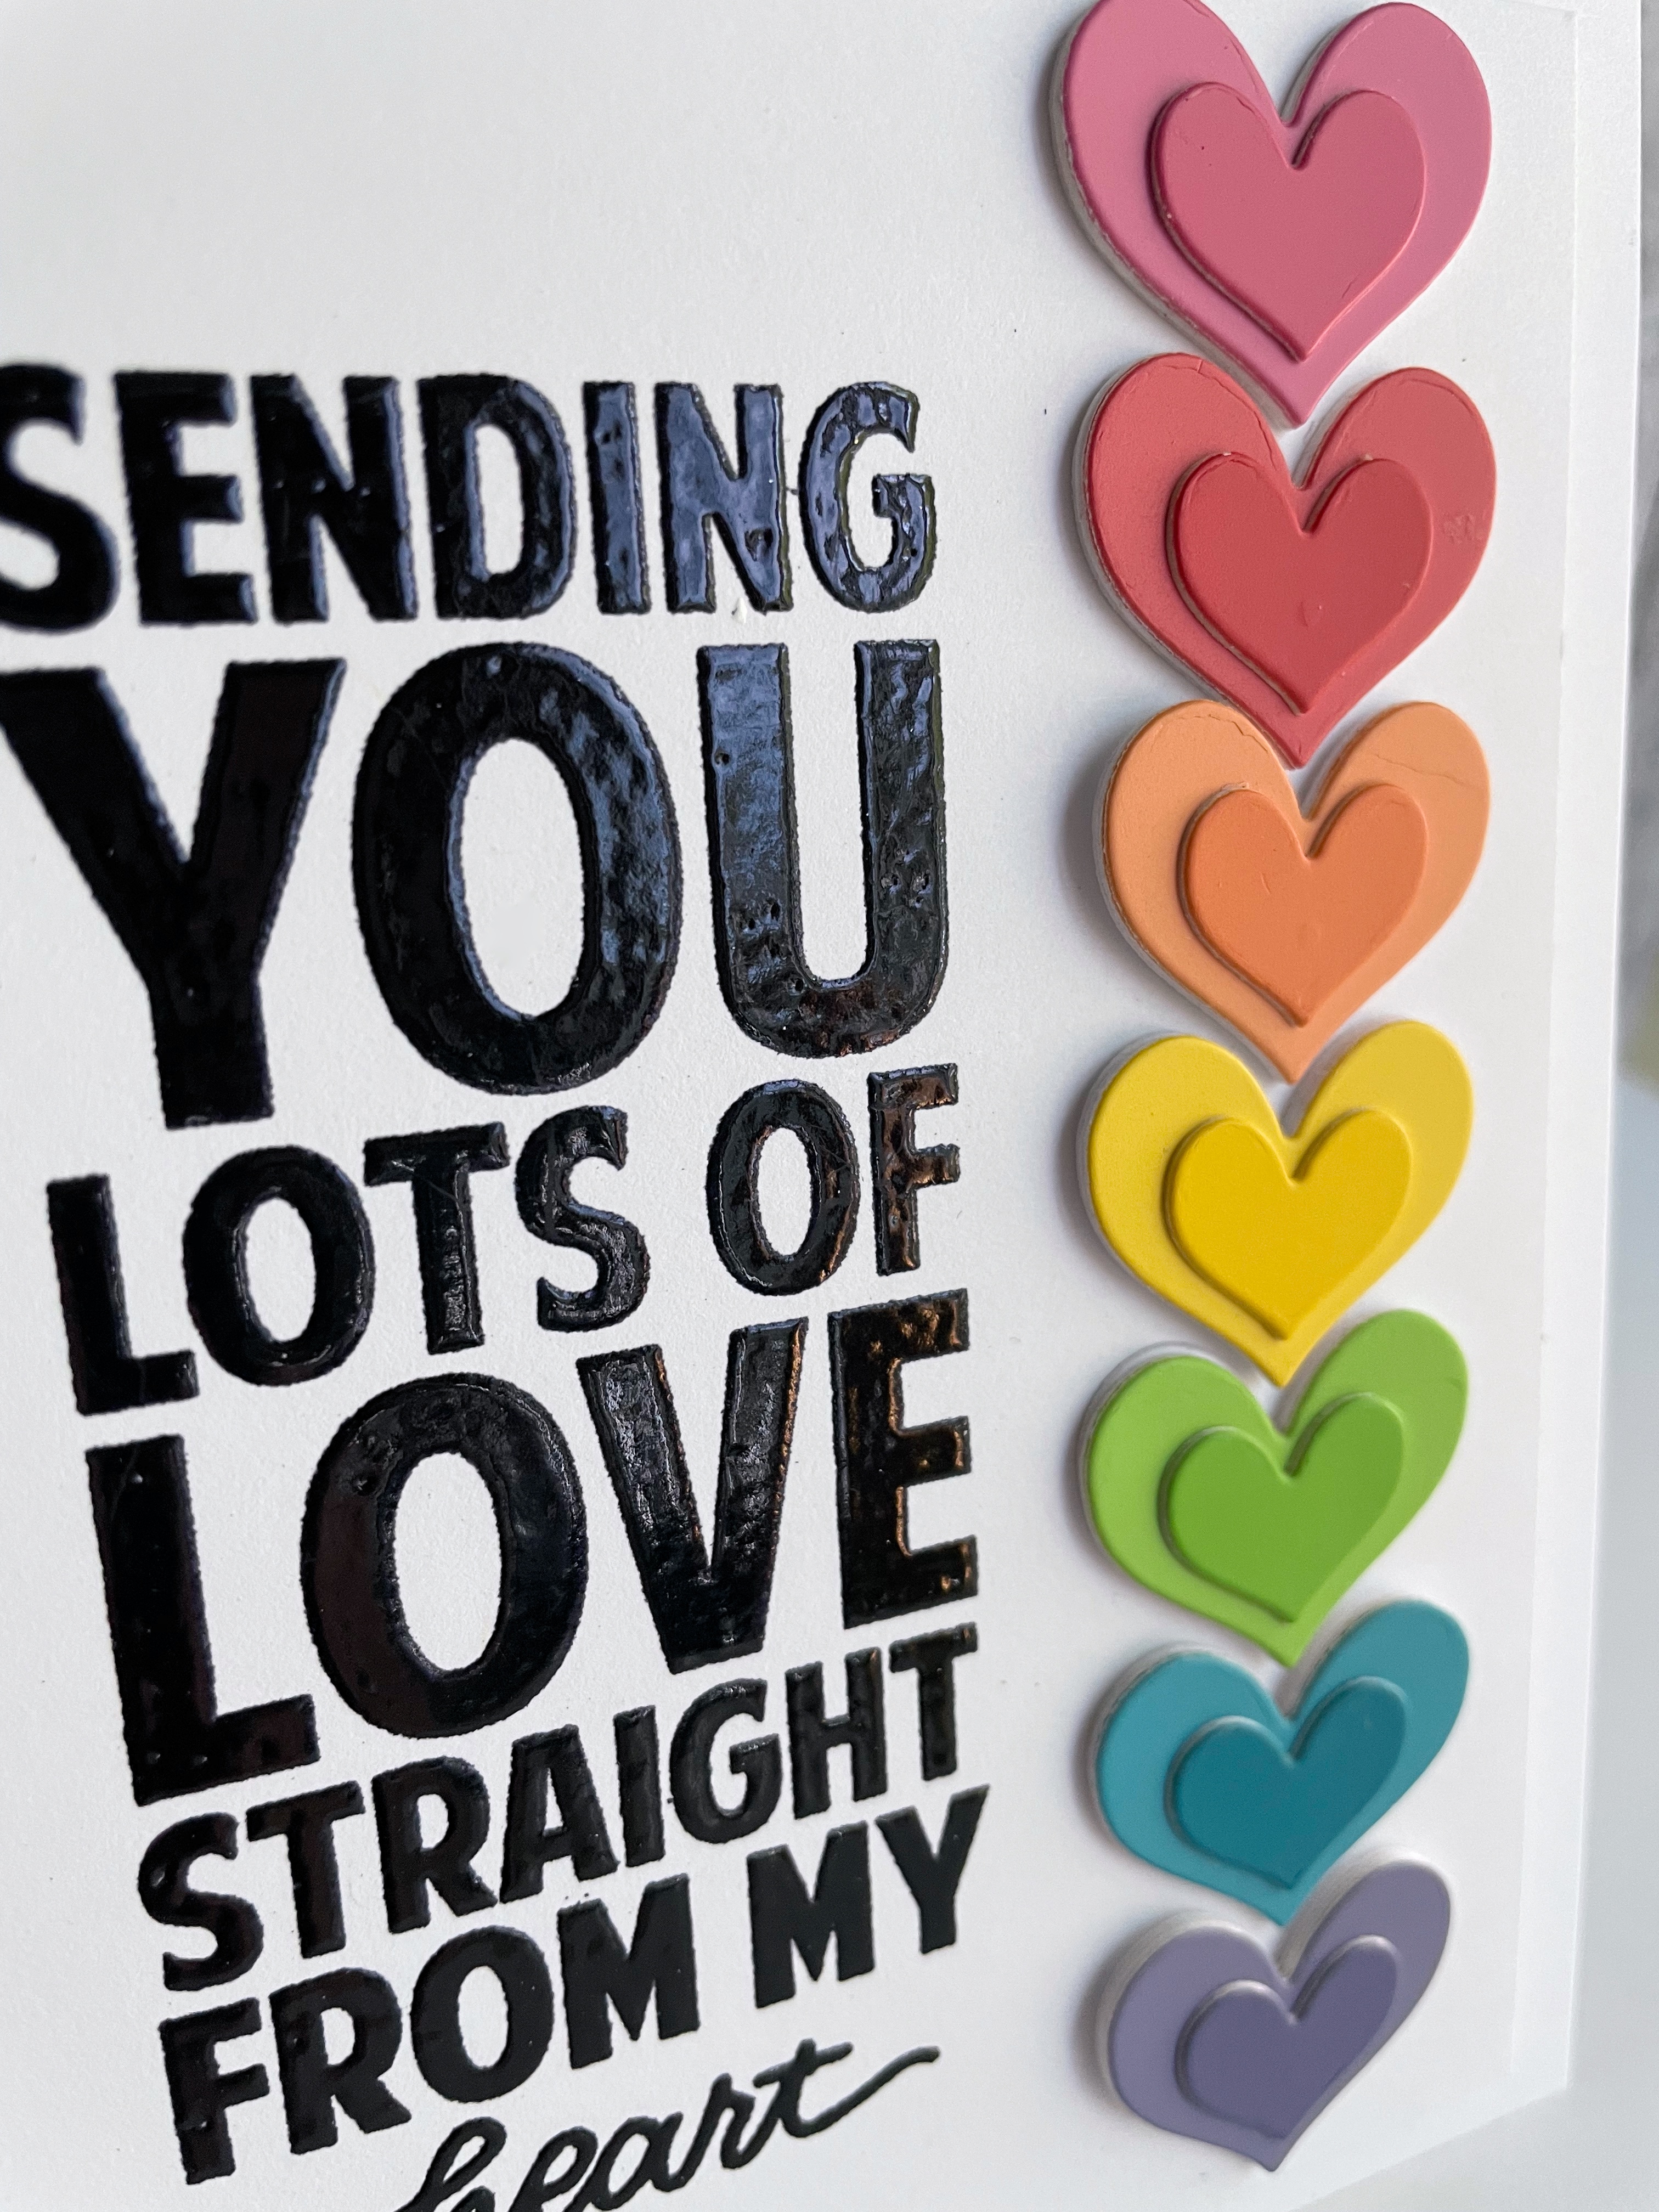
I used the trio of heart dies from this cute set of dies for both my cards, and the "LOVE" sentiment die set on this first one. My sister told me to make a rainbow with all the hearts, and I thought that sounded perfect, so that's what I did!   I used 7 paint chips that had three shades on them, and die cut the set of three hearts from each of the shades...21 cuts.  I used the lightest shades for the smallest hearts, and the the darkest shades for the largest hearts.  I layered each of the hearts twice and adhered them in a rainbow over the layered "LOVE".  I added some Tonic jewel drops on the heart and popped up over a black panel and then card.  Here's a close up...

The second one, I used the leftovers from the first...
I layered the hearts, then adhered the smaller, darker hearts over the larger.  I used a Simon Says Stamp sentiment stamp, stamped with versamark and black embossed.  I adhered the hearts to the panel and poppped up over the card.  Here's a closeup...
Hearts and rainbows...doesn't get much more fun or loved  than this, for me!  Hope you are having a super weekend!! Thanks so much for taing the time to stop by!  Hugs!  Lisa

Sunburst Thank You

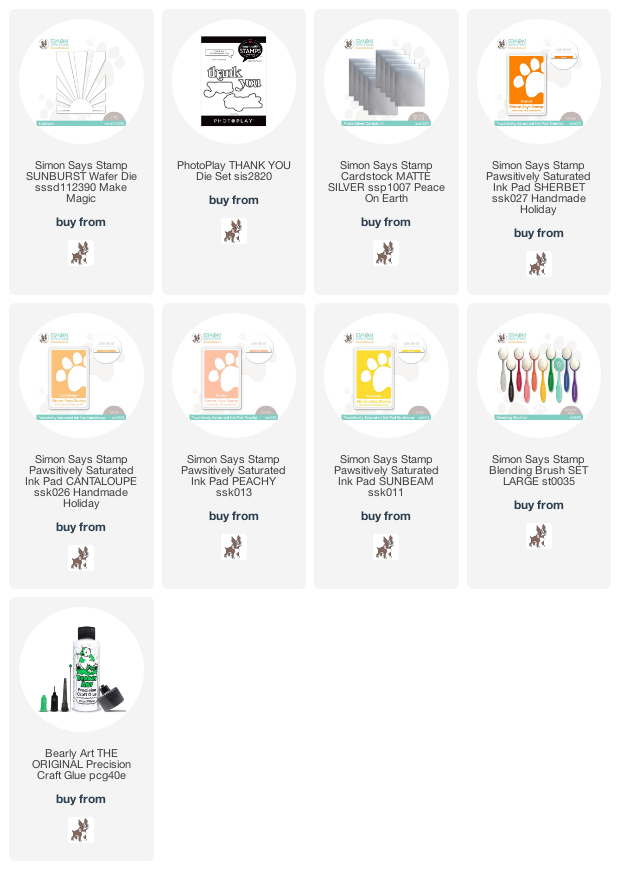
I've made a card with the Simon Says Stamp Sunburst and Photo Play Thank You dies, for a requested thank you card for my daughter to give to a friend...
She wanted a thank you card with a sun, and for it to be melon colored....the Simon Sunburst was my first thought to create the card she was thinking of.  I die cut, blended the inks, and layered the sunburst,  I cut it down before layering...kind of liked the border that it created.  I added a cool die cut and layered thank you, and done.  Simple and I have to say, I think it turned out kind of  cool!  Here's a close up...
Hope you have a sunny day...but not too hot, although I am recently having a hard time imagining the not too hot part...ha ha!!  
Thanks for taking a look today!! Hugs!! Lisa
Monday, August 1, 2022

Ginko Leaves Birthday

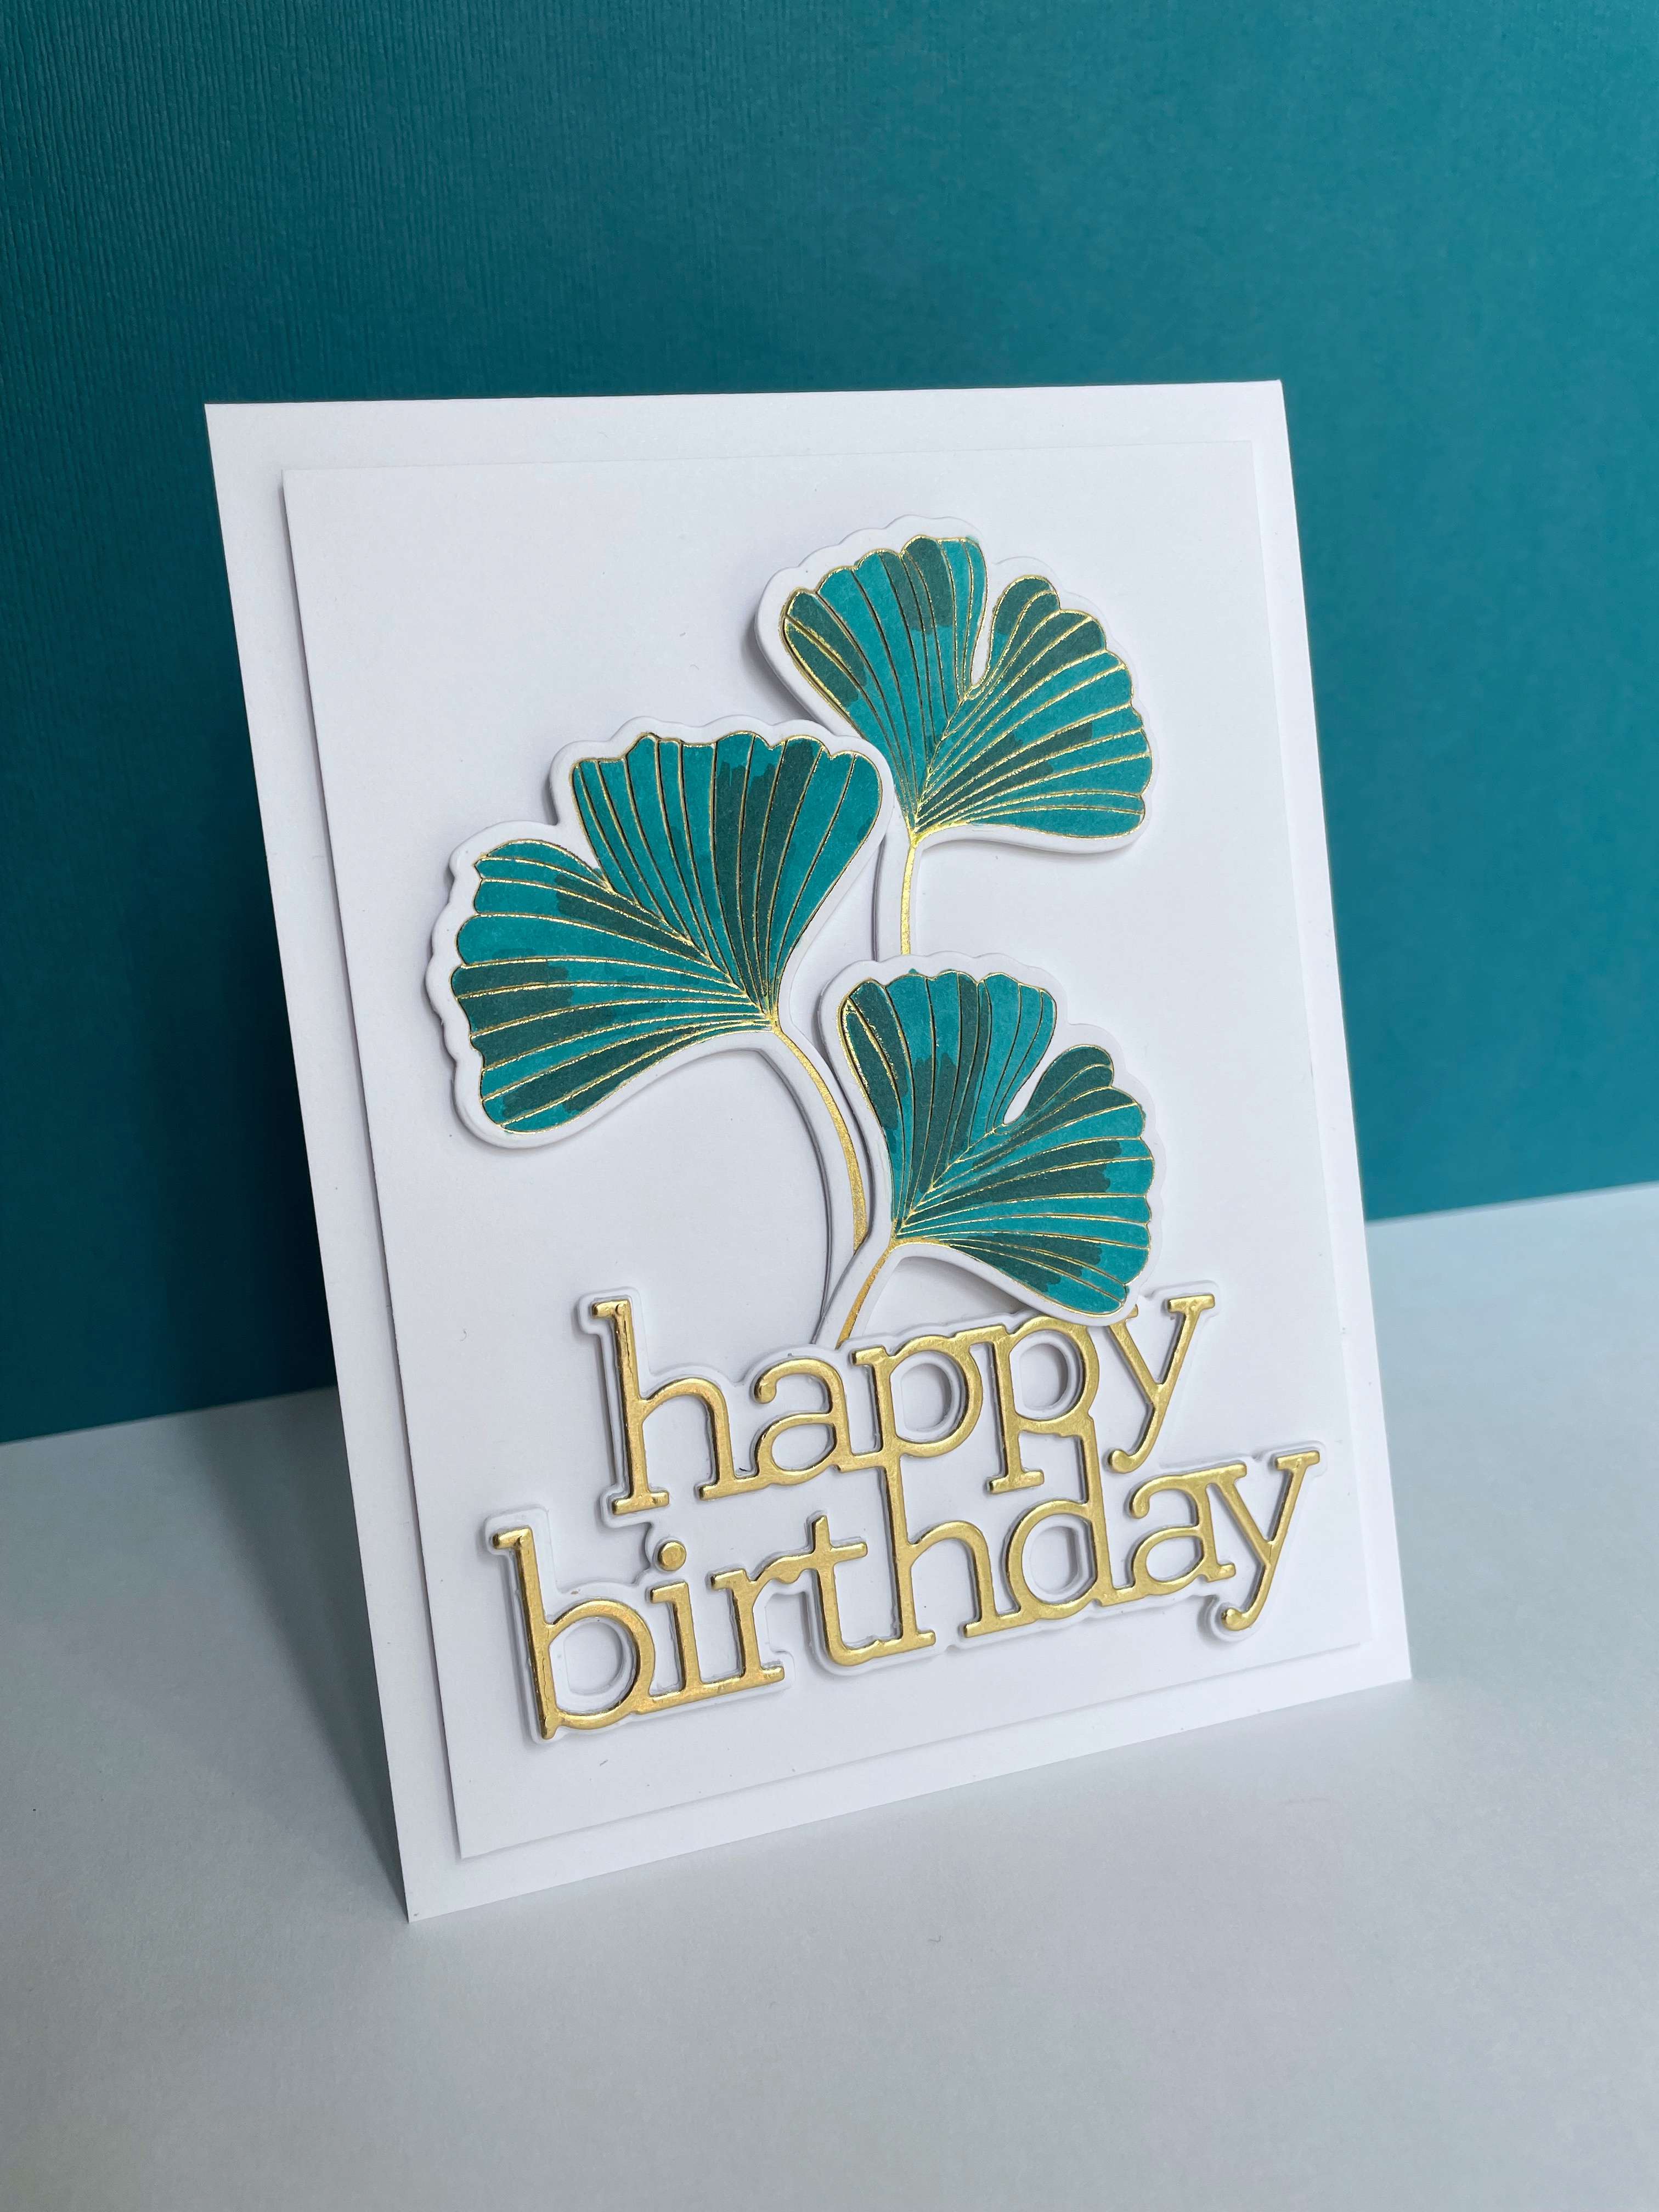
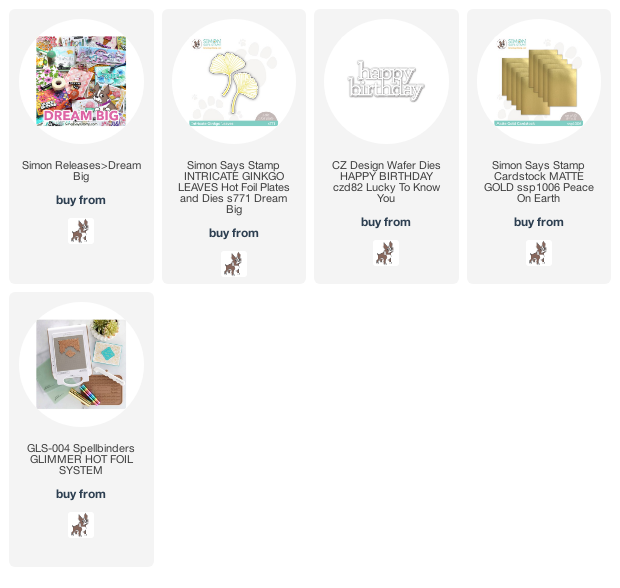
I have used the new Simon Says Stamp Intricate Biloba Leaves Hot Foil/die set, from their new Dream Big release, to make a birthday card...
I hot foiled the leaves, then colored with two shades of teal colored markers, after being inspired by some leaves on Etsy.  I layered them and then die cut and layered the CZ Design Happy Birthday die in gold.  I adhered them to the card panel and popped up the panel on the card.  Simplicity is happiness!   Here's a close up...  
Happy August...looking forward to an amazing month!
Thanks for visiting me today!! Hugs!! Lisa