Tuesday, January 31, 2023

Wild About You

I have used the new Simon Says Stamp Animal Print stencil set from their new Kisses release, combined with the CZ Design Wild About You die from the Hugs release, to make a Hugs and Kisses kind of card...
As I have said many times in the past, my mom LOVED giraffes!  I thought it perfect to use the giraffe print stencil from the set, to make a card to use with the sentiment die!  I used Simon Latte ink on a dark cream color cardstock.  Before brushing on ink to the stencil, I sprayed the back of the stencil with Pixie Dust spray, which is a moveable adhesive.  This way, this finely designed stencil will not move when brushing on the ink.  I used a strip of the entire piece I brushed, and adhered it to the card.  Then, I brushed on ink to the same cardstock, and die cut the sentiment from the colored cardstock.  I layered it and adhered several die cut hearts, then a metallic die cut heart for the top layer.  Here's a close up...
Such FUN!!   Hope you are having a great day with some fun in it!  Thank you so much for stopping by!  
Hugs to you!  Lisa

Saturday, January 28, 2023

Rectangle Love

I have used the Simon Says Stamp Dimensional Rectcangles stencil set from their Diecember® release, and a new CZ Design sentiment stamp from the new Kisses release to make a thank you card...and then a much needed birthday card with the same stencil set...
I had so much fun using these stencils!  I chose a rainbow of colored inks, and brushed on ink with the four stencils.  As you can see, my blending is not perfect, but I think it's cool!  I didn't have the heart to cut off a row or partial row of rectangles, so I made a card that was 1/4" longer than an A2 card....so, will just require a bit longer of an envelope!  I stamped the sentiment with versamark,  black embossed, die cut and layered.   I made one of the smaller sentiments from the set, into a strip for below the thanks.  Here's a close up...
I had to edit my post to show you that I had made an envelope for the card 4 1/2" x 6"...and stamped another stamp from the set onto the back of the envelope...

The second one is a birthday card for my wonderful next door neighbor! We have been neighbors for 26 years, and  I couldn't ask for a better neighbor and friend!  I have made a card that hopefully looks a bit more manly than most I make...guy cards can be such a challenge, at times!  I will be making some cupcakes to go with my card!...
I used four different colors of blue ink to make the rectangles.  After I brushed on all the inks, I hand cut  all the rectangles, and popped them up on the card with my t ruler, to get them straight.  I stamped the Happy Birthday sentiment with versamark and gold embossed.  Here's a close up...
Hope you are having a great weekend...it's pretty cold here in VA... for those of you in places like me, stay warm.  If you're not in a place like me, in a place where it's warmer, enjoy it...I wish I could be where you are!!  Thanks for visiting me today!! Hugs!! Lisa

Wednesday, January 25, 2023

Slay Every Day

I have made a card using the cool new Simon Says Stamp Slay die from thier new Kisses Release...
I used magenta, glossy black, and matte gold metallic cardstocks for the sentiment's background.  I die cut the letters and layered them.  Being that there were so many letters to adhere to the die's background, for the first layer of letters, when I die cut them, before removing them from the die cutter platform, I taped the letters together.The pic below, shows the letters die cut with the border still around it.  Having the border on the die cut makes it especially easy to adhere the letters to the background...
After removing the tapted letters from the die cutting machine platform, you flip the letters over, and run thin strips of glue on the backside of each letter only, not the background pieces or border.  Then, flip the letters over to the striped background, and then removed the unglued pieces.  I then layered the letters a couple more time.  I popped up the sentiment onto an embossed panel.  Here's a closeup...
As the card reads, slay every day!  Hope your week is going great! 
Thanks for coming by,  today!! Hugs!! Lisa

Monday, January 23, 2023

Nested Love

I have used the new Simon Says Stamp Nested Round Hearts die set, from their new Kisses release, ro make three cards filled with love...
Simply done, the first card I die cut each of the hearts from the set, and then die cut the centers out of each of the hearts, with the smaller in each, but the smallest.  I adhered then together on a layered base, and added a Swoopy Love You die cut, from the Hugs release, which was also layered.  I popped them up on a card panel, and added some Tonic drops for interest.  Here's a close up...

For the second card, I die cut some more hearts...this time on patterned paper...
I die cut and layered each heart.  I stamped the sentiments, from three different stamp setsl with versamark, and white embossed.  I arranged them on the card panel, with polka dot embossing, and adhered and popped up some.  Here's a close up

The third one, I used leftovers from the first one...
I layered each of the die cut hearts a second time and stamped another of the very cool sentiments from the new From the Heart Messages, on the white heart, as well as on the back of the handmade envelope.  I partially die cut the largest heart  to make the card base for the hearts to be adhered to.  I then cut off a small piece of the back of the card, so it would stand.  I again, added some tonic drops for some pretty bling.  Here's a close up...
Simply done cards, but with these stamps and dies, simple is lovely to me!  Hope you have a great week!!
Thanks for visiting me today!! Hugs!! Lisa

Saturday, January 21, 2023

Kisses Blog Hop Day 2!

I am thrilled to be a part of Day 2 of Simon Says Stamp's Blog Hops, celebrating Simon Says Stamp's newest Kisses release!  When you combine this release with the release from December, you have Hugs and Kisses...and I have combined both releases in my cards, today, as they go together wonderfully!  I must admit, I had ALOT of fun with one of the new dies, and have made not one, not two, not three, but four cards to share with you today!   
I have used the Heart Chain in four slightly different ways!  For this first card, I partially die cut the hearts...
This made it possible and super easy to hang my die cut hearts on a silver string.  I used the new Rich Red Matte Metallic cardstock to die cut a row of hearts, then adhered them to the partial die cuts.  I put the string in the heaart and used a glue dot to adhere them closed, and also a glue dot behind them to adhere to the card.  I used a sentiment from the Forever Yours stamp set, from the Hugs release, and popped up on a card.  Here's a close up...

For the second one, I used some more of the die cut hearts, done with glossy blended cardstock and a new sentiment die from CZ Design...
This was simply done, using white die cuts from my third and fouth cards to layer.  I then die cut hearts from the Color Blend cardstock to use for my pink and red hearts.  The "love ya" is die cut and layered, and the top layer die cut with Simon Glossy Black.  Here's a close up...

Lest you think I forgot about the actual chain...my last two cards...
I used the chain, cut down to fit my A2 card.  I die cut it several times, layered, and used paint chips to fill in the colored hearts.  I used the new CZ Design "hi there" die, layered, as well.  I set the hearts in an opening bordered by popped up panels and silver strips.  I also added some Tonic drops for some bling.  Here's a close up...

Last but not least, the full chain...
There is a story with this card.  My 3yr old grandson was in my craftroom with me, having fun putting all the dies and die cuts from my desk all over my craftroom.  I had a number of leftover hearts and a die cut chain, so I put a double sided adhesive strip behind the chain, and had him put the hearts into the chain.  Thus they are not perfectly placed, but pretty close!  I didn't intend for it to be a card, as I had three made already, it was just done for fun!  After he left my house, I decided to turn his play into a card...and thus this card!  I added a Valentine's Day sentiment from a set from the Hugs release!  Here's a close up...
I had SO much fun making my projects...now it's your turn for some fun!  
Simon is generously giving a $25 coupon to every stop on the hop from our comment sections, so the more hop blogs you comment on, the more chances you have to win!  Winners will be chosen and posted on the Simon Blog on Wednesday, January 25th, so make sure you check the Simon Blog on the 25th, to see if you are a winner!!  If you are a winner, you can email Simon to claim your prize.
The list of participants in today's hop are listed below...
A couple things before I go...don't forget the offer in the banner at the top of my post!  Simon is offering a FREE End of the Rainbow stamp set, with ANY purchase!  Simply use the code RBW23 when checking out, to get this gift!  Just remember the offer is only good until the end of the day on January 22nd, or until supplies last!  
Second...there was another blog hop yesterday at the Simon Blog, so hope you will check it out, for more celebration and inspiration!  
Thank you so much for stopping by, and keep on hopping!  
Hugs! Lisa

Thursday, January 19, 2023

Kisses Release!

There is a new release over at Simon Says Stamp, Kisses!  It is a release that when combined with the release from December, Hugs, makes Hugs and Kisses....SWEET!!  I have made a card using three of the new products from this new release...
I used the new Candy Hearts Layering Stencil set to make the hearts.Then, I had an idea to use some of the stamps from the From the Heart Messages to decorate them.  There were no sentiments for the very smallest hearts, but a couple random little plain ones wasn't terrible.  I added a die cut and layered Love You Very Much and popped it up on a card.  Here's a close up...
I love the glossy black sentiment with the rainbow candy hearts!  This is a fun release...have so much more to share with you!  There will be two blog hops at the Simon Blog, one on Friday and one on Saturday...I hope you will check them out for some wonderful inspiration!   
Thanks for stopping by, today!! Hugs!! Lisa

Tuesday, January 17, 2023

Love You Always

With Valentine's Day next month, I have used a Simon Says Stamp die and sentiment stamp set from their Hugs release, to make a quick and simple Valentine's Day card...
I die cut and layered the outside heart pieces, then stamped the sentiment on the white center heart.  I popped up the heart on the card, after stamping the second sentiment on the card panel.  Here's a close up...
Ahhh...simplicity...happiness!  Hope you are having a great start to your week!  Happiness!  
Thanks for visiting me today!! Hugs!! Lisa

Friday, January 13, 2023

Simple Jumbled Hearts Valentines

I hope you had a wonderful Christmas and New Year's!  I have been away from my blog for a few weeks to visit with family, but my craftroom has consumed most of my time.  I have begun...begun...a redo of my craft room! The room was originally a guest bedroom, then bedroom/craftroom for the last MANY years.  THEN, a couple years ago, the BED became consumed with stamps, dies, and craft supplies, so it officially became a craftroom, albeit a really sad craft room, and mind you a rather small, sad craft room.  The last 6 months, I have become increasingly anxious, and the room has really stressed me out.  I KNEW I had to do something, but the thought of actually doing something was overwhelming.  Two weeks ago, I began to demolish the room!  My daughter and I then went to, where else, IKEA, and bought a large  desk(I LOVE LOVE LOVE my new desk!!!), and a couple cabinets, to start.  My room is still a disaster, and probably will be for some time to come, but I am excited and encouraged that it will be ME when it's done.  I will never have one of those huge designer craftrooms, but I've never had a room soley for crafting, so a room with a nice desk and some nice storage, will make me VERY happy!  I just may show you my space when I'm done, and a pic of the original?! 
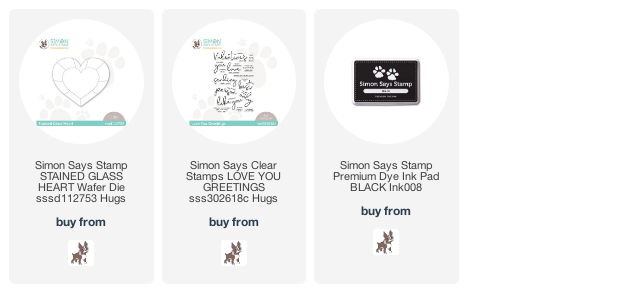
Soooooo....I am back to creating. amidst the chaos.  My crafting mojo is coming back...time away has made it take a nap, but I have a couple Valentine's Day cards made with a new Simon Says Stamp stamp and die from their Hugs release, to share with you...
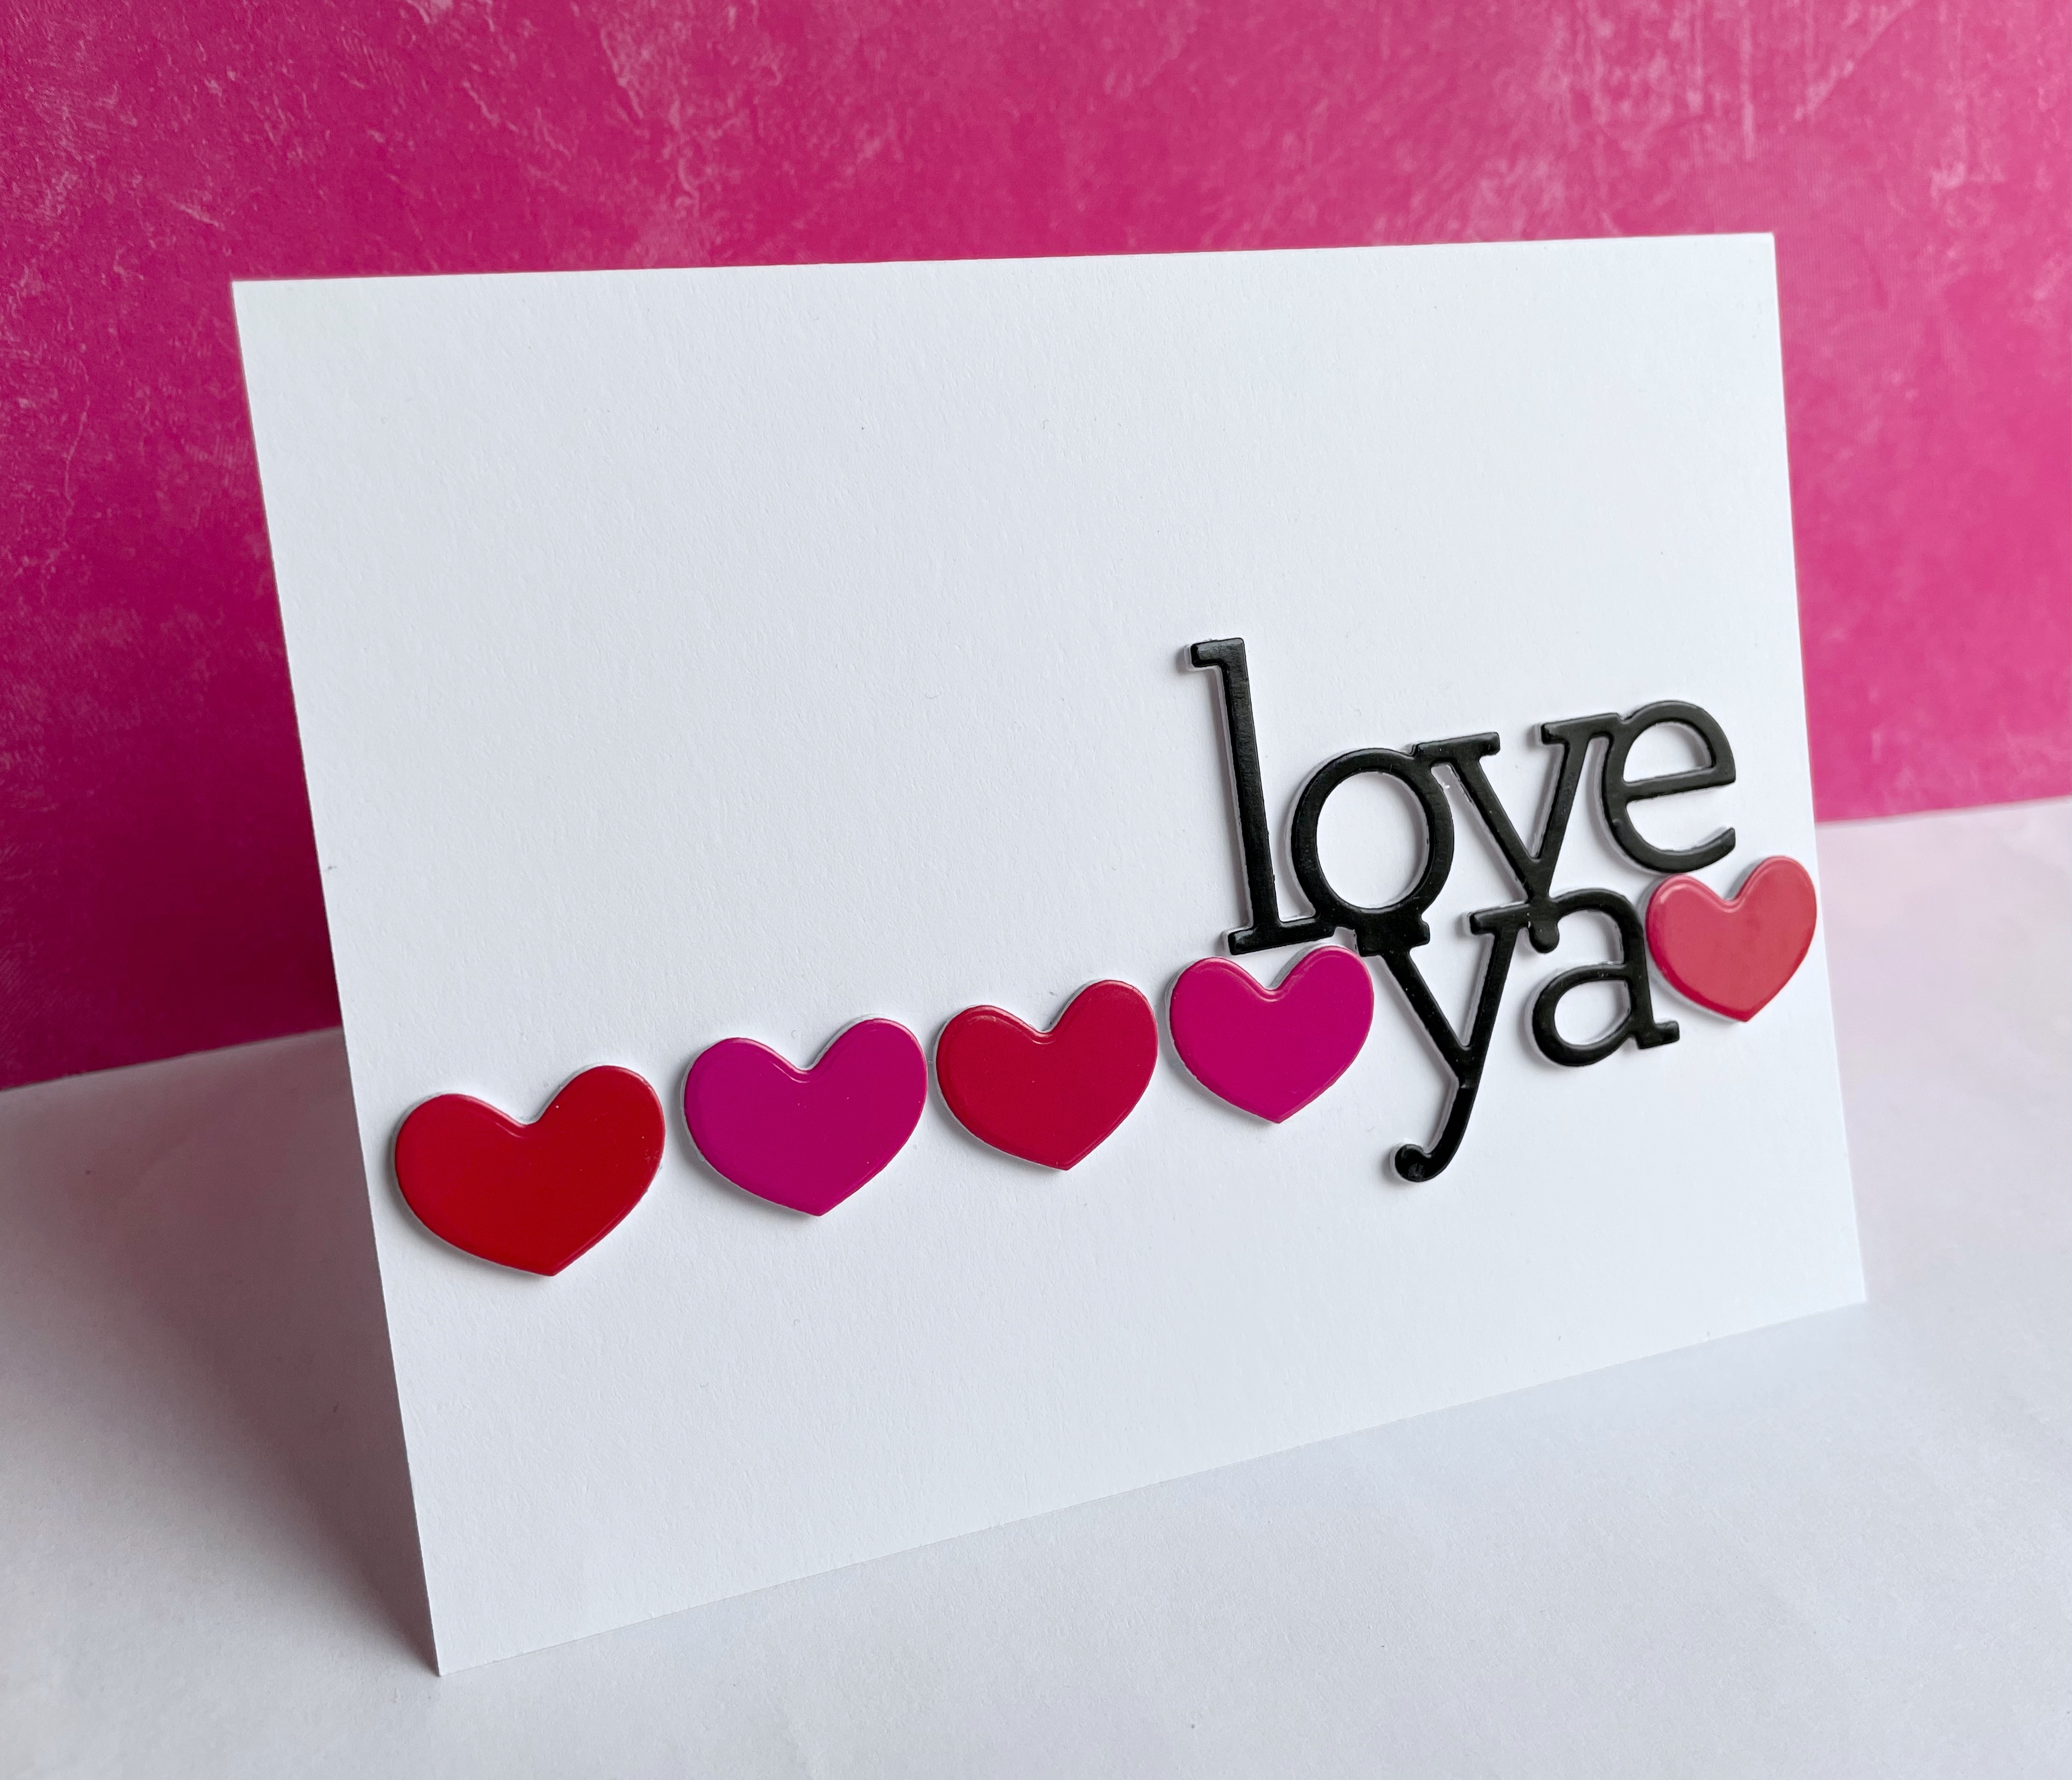
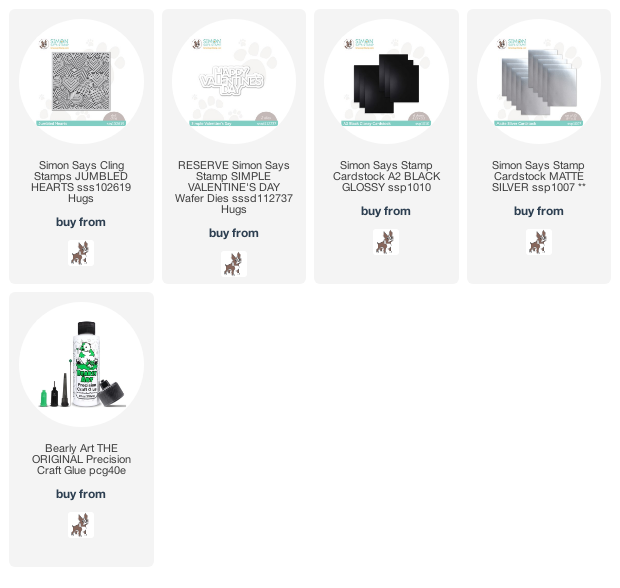
I colored the Jumbled Hearts stamped hearts with markers, and added the layered Simple Valentine's Day sentiment die cuts over the bordered hearts.  Here's a close up...
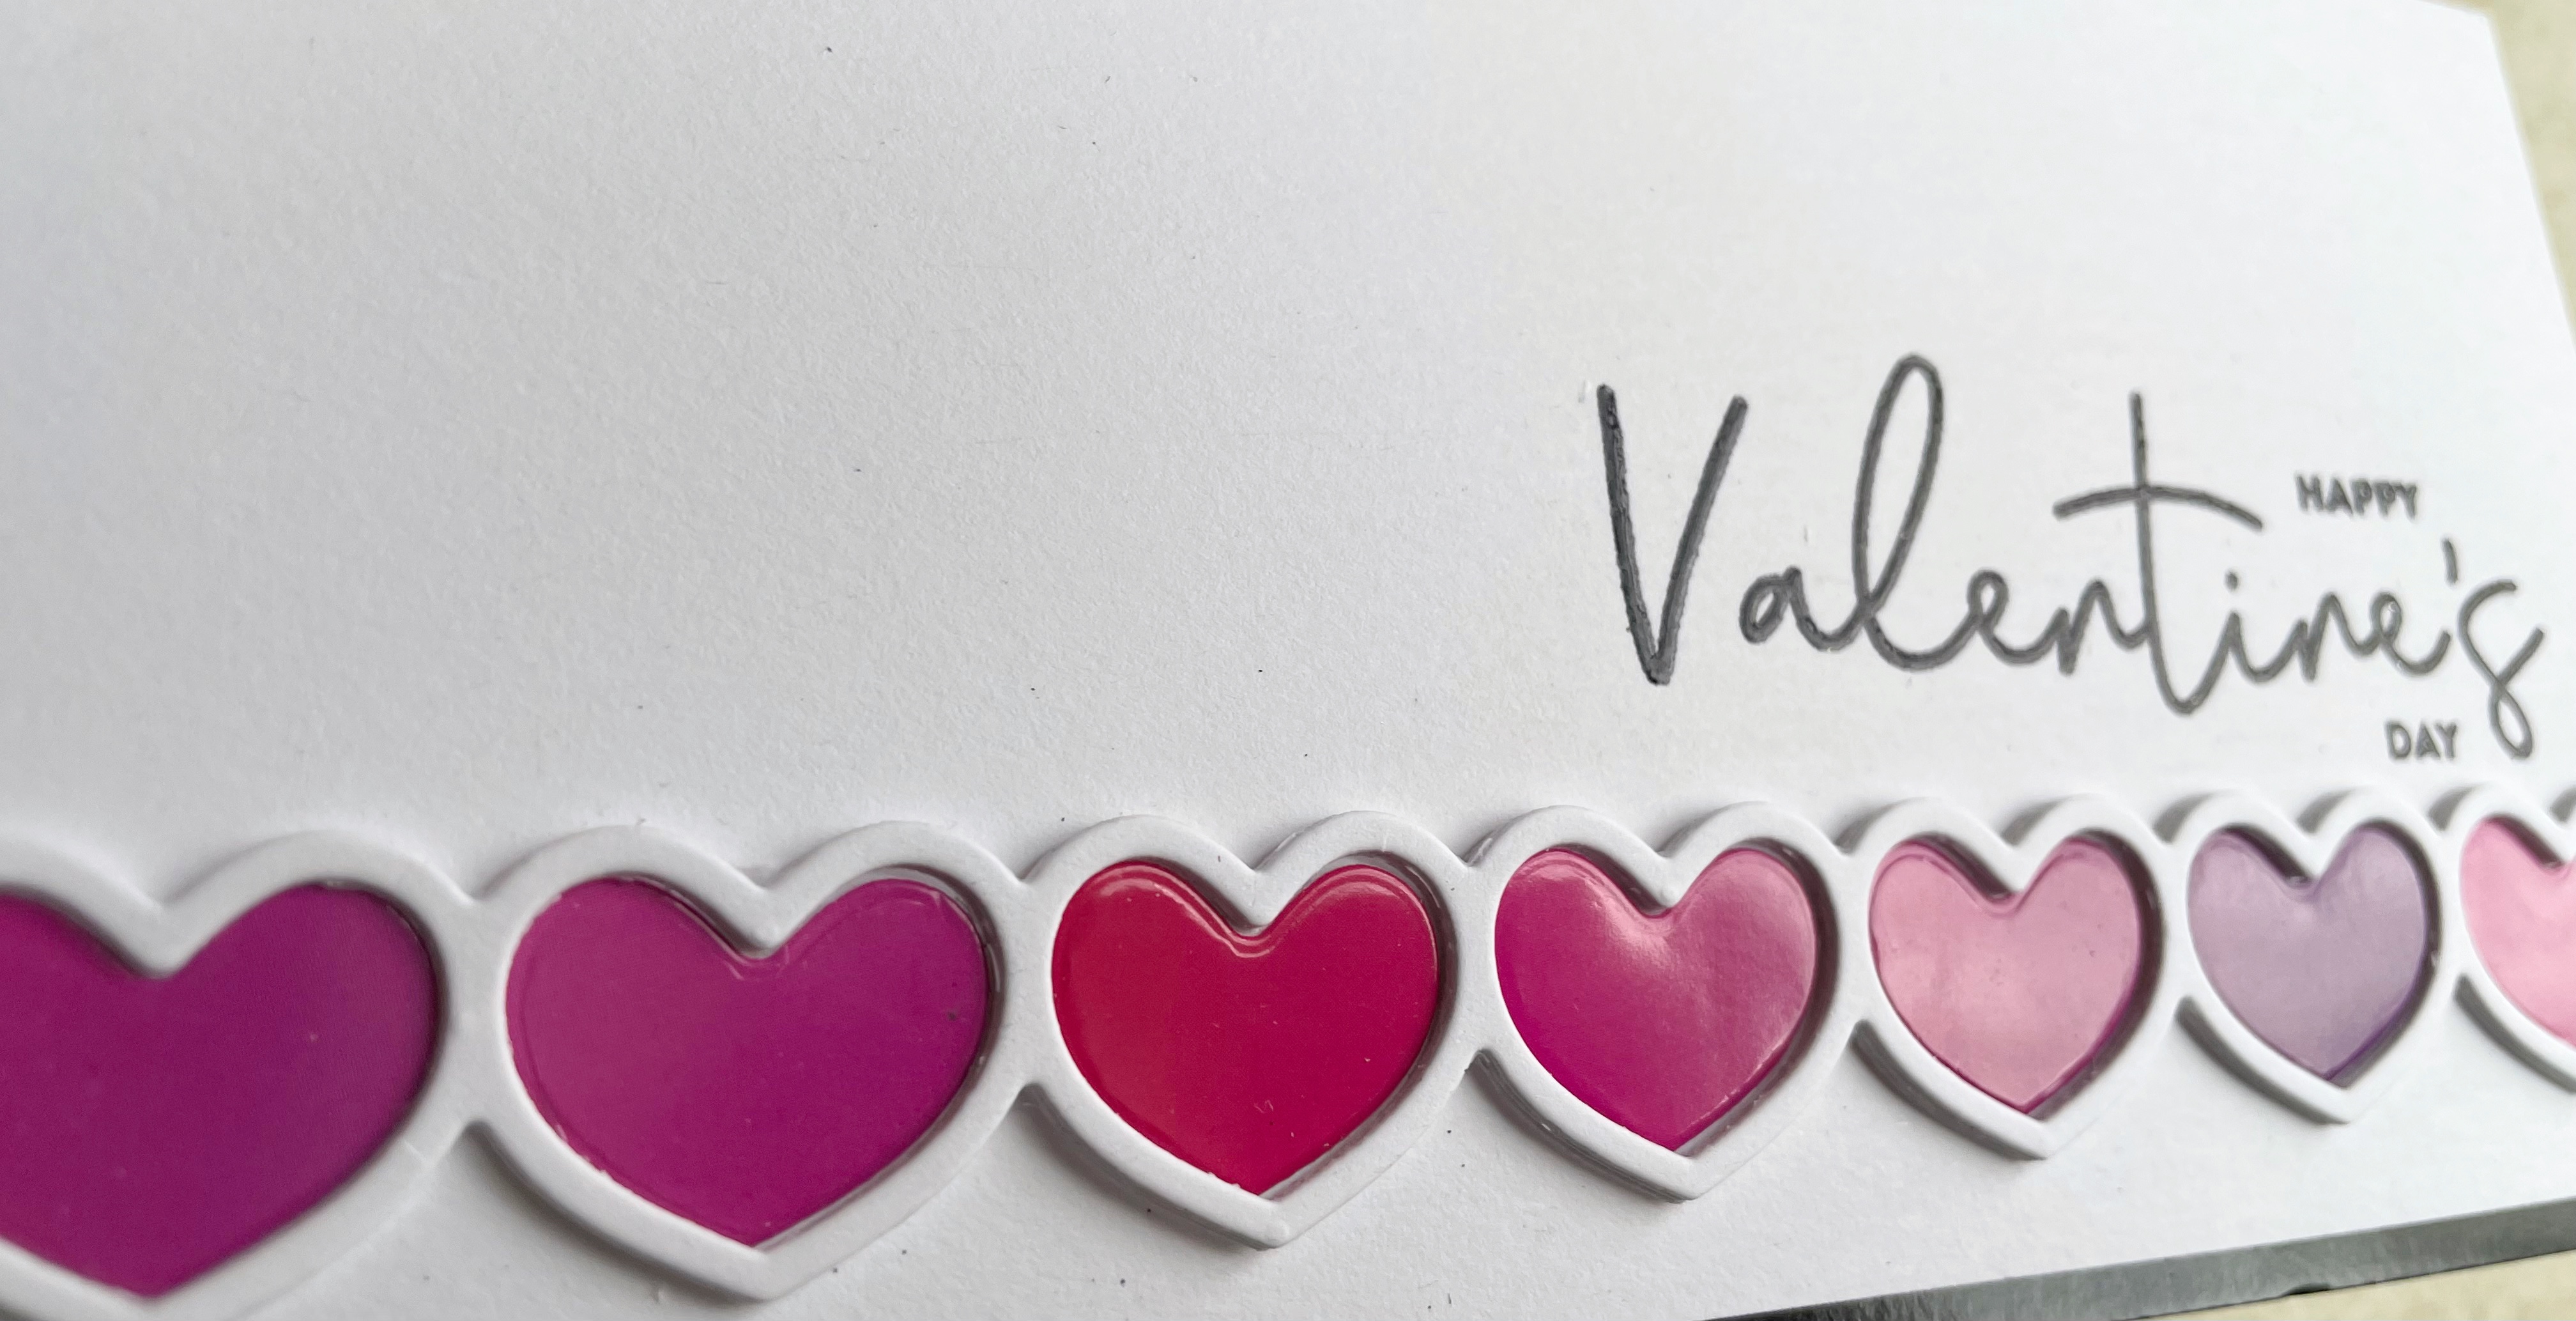
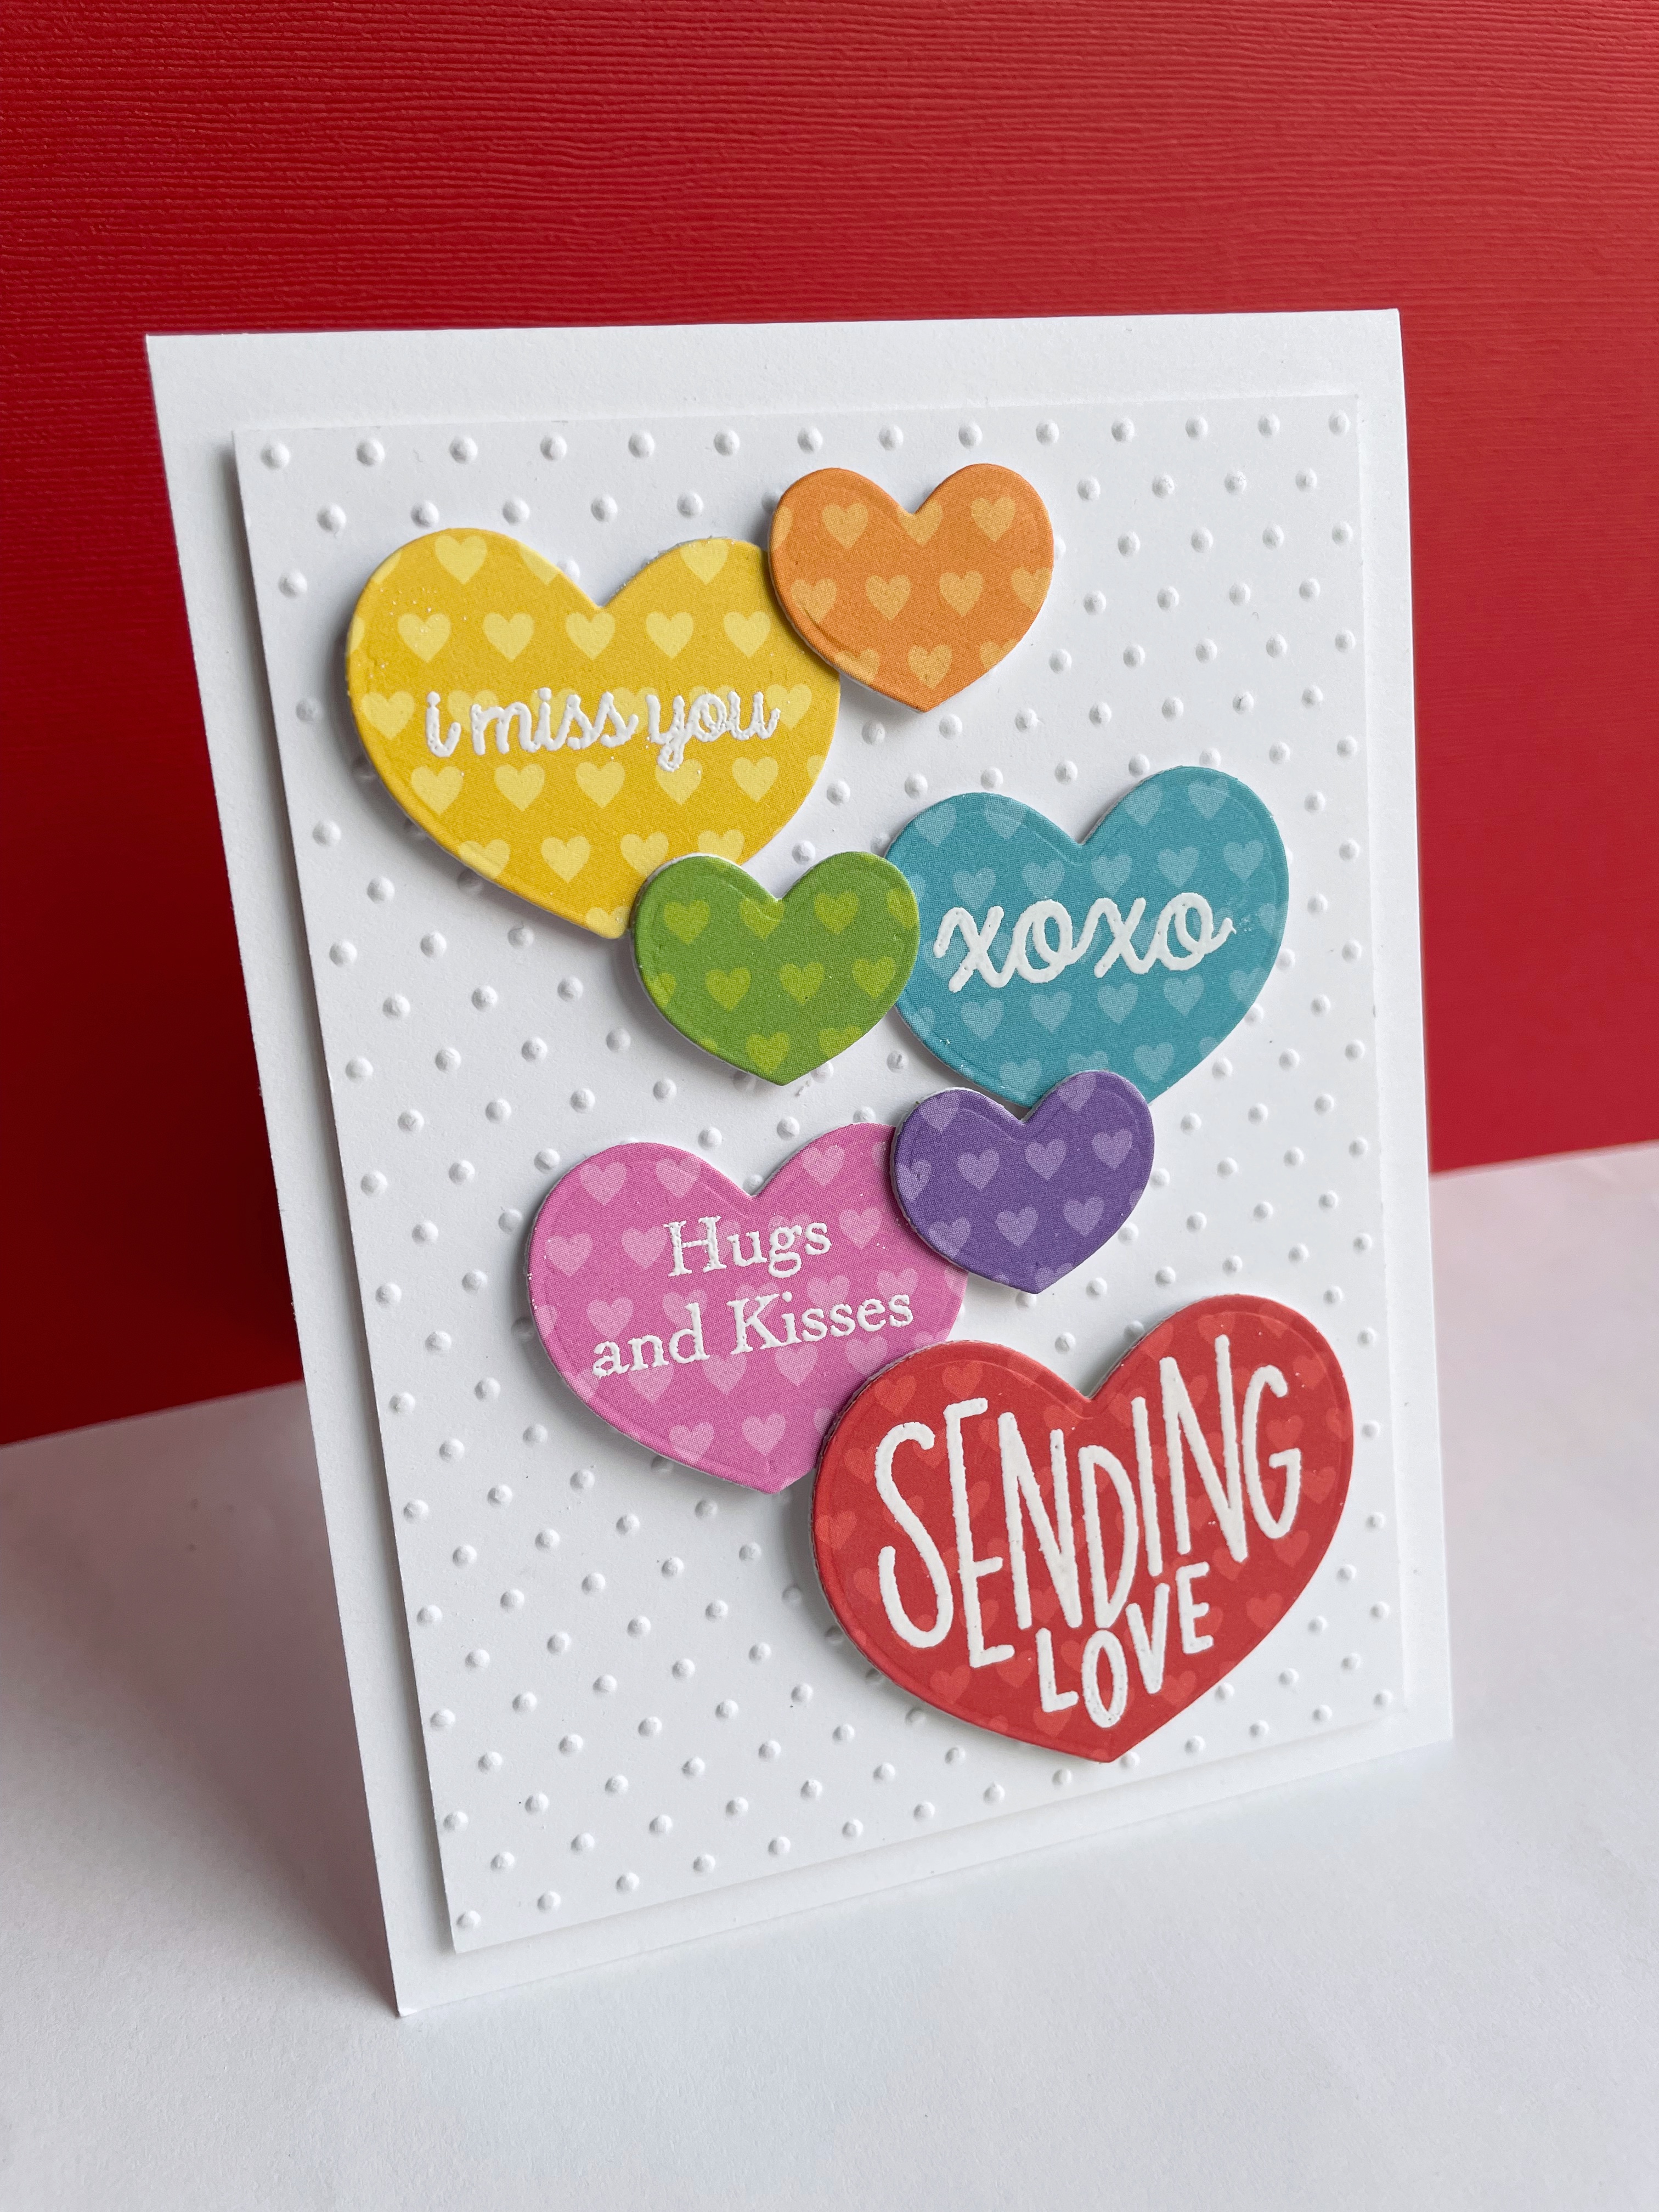
The second, to show the versatility of the stamp, I made a card with the stamp going vertical rather than horizontal, and rainbow colored hearts..
I again colored the hearts with markers, and used a silver cardstock strip to separate them from the other side of the card.  This time, for the sentiment, I die cut it for the top layer, with glossy cardstock.  Here's a close up...
Getting back in the groove with two simply made cards...happiness!  
Thanks for visiting me today!! Hugs!! Lisa