Wednesday, October 30, 2019

Maple Leaf Thanks

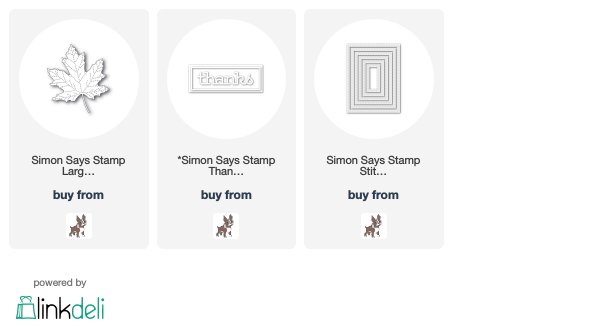
I used the pretty new Simon Says Stamp Large Stitched Maple die from their latest Cheer and Joy release to make a thank you card with Fall in mind...
I used my Ranger Vintaj Arte copper foil, die cut it, pulled off the adhesive paper and layered it with white cardstock.  I then lit it with a lighter and burned it a bit to change the color of the copper to shades of orange (SO much fun)!!  I used a lighter that is like a torch...when I originally saw this technique done, it was done with a small torch, so a lighter is much more doable, but a torch-type lighter.  I added a layered Simon Thanks die cut, and used a couple Simon Stitched rectangle dies to complement the leaf.  I used a piece of kraft/copper patterned paper for the background that I had gotten in the $1 section of Target a couple/few years ago.  Here's a close up... 
Maple leaves are my love...love the copper foil too, so a win win...great fun:)!!

Thanks for visiting me today!! Hugs!! Lisa

Saturday, October 26, 2019

White and Gold Christmas

I used the beautiful new Simon Says Stamp's Ornamental Wreath die from their new release, Cheer and Joy, to make a white Christmas card with just a touch of gold...
 I die cut the wreath twice, once for the main panel, and one as an underneath layer.  I pushed all the leaves up(they are designed as partial die cuts), so they would stand out from the card, and then die cut the berries of the die in a muted gold.  I didn't want super shiny, but wanted the gold of the berries to match the gold of the sentiment, which is from the new Simon Holiday Greetings Mix 1 stamp set...stamped with versamark and gold embossed.  Here's a close up...
Ahhhhh....the simplicity, in color and design...Merry Christmas, indeed!!
Thanks for visiting me today!! Hugs!! Lisa

Thursday, October 24, 2019

Wreath Cards That Almost Weren't!

I used the beautiful new Simon Says Stamp Holly and Pine Frame die from the Cheer and Joy release, to make a couple cards!...
 The title of this post is the truth of this beautiful die.  I had die cut with this die a number of times, but just couldn't seem to get the die to cut properly.  I tried thin cardstock, thick cardstock, a metal adapting plate...nothing seemed to totally cut through this die.  I expressed my concern to an amazing fellow crafter, and friend, Susan Opel, who told me how she successfully die cut with this die(note that she has a totally different die cutting machine than mine)!  THANK YOU, SUSAN...you saved not only my sanity, but this die for me!!  Like Susan, I sent the die through my Big Shot 3-4 times (not just one time, like I ususually would), then...the best advice she gave me...I turned it 90 degrees and sent it through a couple more times.  This die is VERY beautiful , but not only is it's design beautiful, a large part of it's beauty is that it is VERY intricate.  Intricate dies require a special touch for achieving the perfect cut.  Now, your machine may not require so many times through, and you may be thinking that that many times through your machine might seem like a lot, but it is super fast, and for the results of a great cut, and having this beautiful wreath adorn your Christmas cards...WELL WORTH IT!!! I just wanted to make sure I let you know that you may need to work a little differently with this die, so that not only will you be fully aware, but that you will be fully successful and as fully in love with it as I am!!  
 Make certain your die cut looks like this from the back...
and NOT this...
...or you will never be able to remove all the die cut pieces!

Ok...for the first one, I used eight Distress oxide colors of inks, sponged them on cardstock and die cut and layered.  I added silver embossed striped cardstock strips on top and bottom and a silver die cut, and layered new Simon Merry die with an added sentiment stamp made strip, embossed in silver.  Here's a close up...

The second one, I went a bit more traditional...
 I die cut and removed all the pieces except for the bottom layer, where I kept the holly leaf and berries in the die cut wreath.  I colored them with a green and red marker, then started layering.  I put a second layer in, then used my Glossy Accents and filled in the leaves and berries with gloss.  I then added the third layer over the two, added a layered Joy, from the new Joyful Frame die, with a striped piece of cardstock behind.  Here's a close up...
This was wonderful fun...I LOVE this beautiful die!!
Thanks for visiting me today!! Hugs!! Lisa

Wednesday, October 16, 2019

Leaf Branch and Polka Dots

I made four simply done cards with the pretty new Simon Says Stamp's Leaf Branch Oval die from their latest release, Cheer and Joy!  I made cards for  different seasons and occasions, combining the die with different designed and colored polka dotted papers(I have been LOVING polka dotted paper for backgrounds, of late!!)...
This first one, I die cut and layered the leaves then added Tonic drops that I had squirted onto acetate, let dry, then picked off with my exacto knife and adhered to the leaves.  I used a sentiment from the new Simon Holiday Greetings Mix 1.  Here's a close up...
The second one, with more of a "Fall" feel, I made as a card of encouragement...
 I used water color cardstock to paint the leaves, and used a sentiment stamp from a Simon Tiny Words stamp set.  Here's a close up... 

The third one, I used the leaves from the die, added a stamped and hand cut flower to make a thank you card...
I stamped the flower with a light colored ink, colored the flower with markers, and then stamped the flower again with versamark and gold embossed.  I used a sentiment from another of the Simon Tiny Words stamp sets and embossed in gold.  The paper is from My Favorite Things (I love it, but sadly, think it may be discontinued.  Love the kraft with colored polka dots, these are a green like the leaves).  Here's a close up...
The last one, I left the leaves white, and combined them with two colors of  die cut pink flowers...
I dotted the flowers with Tonic drops and added a sentiment from the Simon Tiny Words Birthday.  Can you tell I love the Tiny Words stamp sets with this die??  I DO!!  The sentiment stamps from these sets fit perfectly with the cross bar!  Here's a close up...
I love dies like this, they have so many possibilities...
Thanks for visiting me today!! Hugs!! Lisa

Saturday, October 12, 2019

Deer in a Row...or Two

I used the fun new CZ Design Deer in a Row, and cool new sentiments from Simon's Holiday Greetings Mix 1,  from Simon Says Stamp's newest Cheer and Joy release, to make a couple fun Christmas cards...
 I die cut and adhered together a couple layers of the die cut deer with white card stock.  Truth be told, I adhered A LOT of two layers of these guys...I think they are so stinkin cute, I just KNEW I would be making more than one or two cards with them(I still have some layered ones on my desk for more cards!).  I then got the idea, because there were so many deer, and you know how I LOVE rainbows, to make them my favorite colors...a rainbow!!  So, I cut 1/2" strips of striped patterned paper, adhered it together on a piece of paper, and die cut the strip of deer from the strips of color!   I don't think my strips were 100% 1/2"...so I was happy to see that my experiment worked!! I popped up a card panel on the top and bottom of the row, and added a sentiment from the new Simon stamp set, Holiday Greetings Mix 1.  Here's a close up...
The second card, I chose to use some kraft colored card stock for my deer...
 THEN, I thought...what if I used TWO rows of deer??  So I layered and then adhered together  2 rows of deer, positioning them catty corner to each other so you can see them all. And THEN...I thought of the sentiment and the word "magic" in the sentiment gave me the idea to make one of my deer Rudolph!!  SO, I dotted one's nose with a drop of Berry Tonic drops.  I used some pine tree patterned paper behind the deer and popped the panel up on the top and bottom of the deer.  Here's a close up... 
Oh these little guys are so so cute, and so so fun!!
Thanks for visiting me today!! Hugs!! Lisa

Friday, October 11, 2019

Simon Says Stamp Cheer and Joy Blog Hop Day One!

I am thrilled to be a part of today's Simon Says Stamp's Cheer and Joy Blog Hop, celebrating this newest release!!  Cheer and Joy is filled with an amazing variety of stamps, dies, stencils, watercolor cards, and other card making accessories to make this coming Christmas season one truly filled with Cheer and Joy!!
I have chosen to used the wonderful new Holiday Greetings Mix 1 to make a couple Christmas cards! This set has some beautiful sentiments, and I have chosen the Leaf adorned "Merry" for my cards today..
I watched a short video on Instagram, of an artist showing how to color and gold emboss a stamped image.  I tried to, but I could not find the video, and I don't remember who the artist was, whose video I watched.  Perhaps this technique has been around for a while, but it was new to me, and it is GENIUS!!  When you stamp an image and gold emboss, coloring after embossing will affect the gold embossing.  It can change the color, or dull the shine of the gold.  In the technique I watched, I learned, you stamp the image, color with markers, THEN gold emboss over the stamped and colored image!  The pics below will hopefully give you an idea of how to do this amazing technique...
BTW...the only way this really works is using a MISTI, as the stamp and paper need to be stamped twice in the exact same place !...
1.  You put your stamp on the stamp side of the MISTI, and your card stock in the corner of the MISTI...making sure the paper is securely in place.  Stamp with a light colored ink...I used Simon Smoke colored ink....
2.  Color the leaves and berries of the image with markers, making sure that you color as carefully as possible to keep within the stamped lines of the image...
3.  Using a static bag, Versa mark, and Fine gold embossing powder, place the stamped/colored image(make sure it has dried) back in the corner of the MISTI, secure in place, ink the stamp (still in very same place as when you stamped it the first time) with versamark and RESTAMP the image...  
...Sprinkle with gold embossing powder, and heat.   
I have to tell you, I did this 4 or 5 times, coloring the leaves with slightly different shades of green to experiment...the embossing turned out perfect EVERY TIME!!  It was like magic and I have to say again,  GENIUS!!!                       
I then stamped the background, with the beautiful new Leaves and Berries Background stamp (an exact match to the leaves and berries of the image just stamped and embossed) with red ink on red cardstock.  Here's a close up...

I then did the same thing as the first one, but with a gold embossed background on gold card stock...
Here's a close up...
...and yet another showing the letters of "merry"...
 My fun is above, yours is below!!
Simon Says Stamp will be generously giving a $25 coupon to one commenter from each and every blog on the hop, simply leave a comment for a chance to win!!  The winners will be chosen and be posted on the Simon Says Stamp Blog on Wednesday, October 16th, so
make sure you check the blog on the 16th, to see if you're a winner!

   The list of participants of the hop are below.  If you get lost, you can head to the  Simon Says Stamp Blog...hope you will check out all the amazing artists' inspiration today!! 
Don't forget, TOO, the offer in the blog hop heading...a free Post Office Box enamel pin with any purchase, until the end of October 13th, while supplies last!  Use the code, HPYML9 to receive this offer!!  
Make sure, too, you check out DAY 2 of  Cheer and Joy Blog Hop tomorrow at the Simon Blog!!
Thanks for visiting me today!! Hugs!! Lisa
Thursday, October 10, 2019

Cheer and Joy...the Gnome Way!

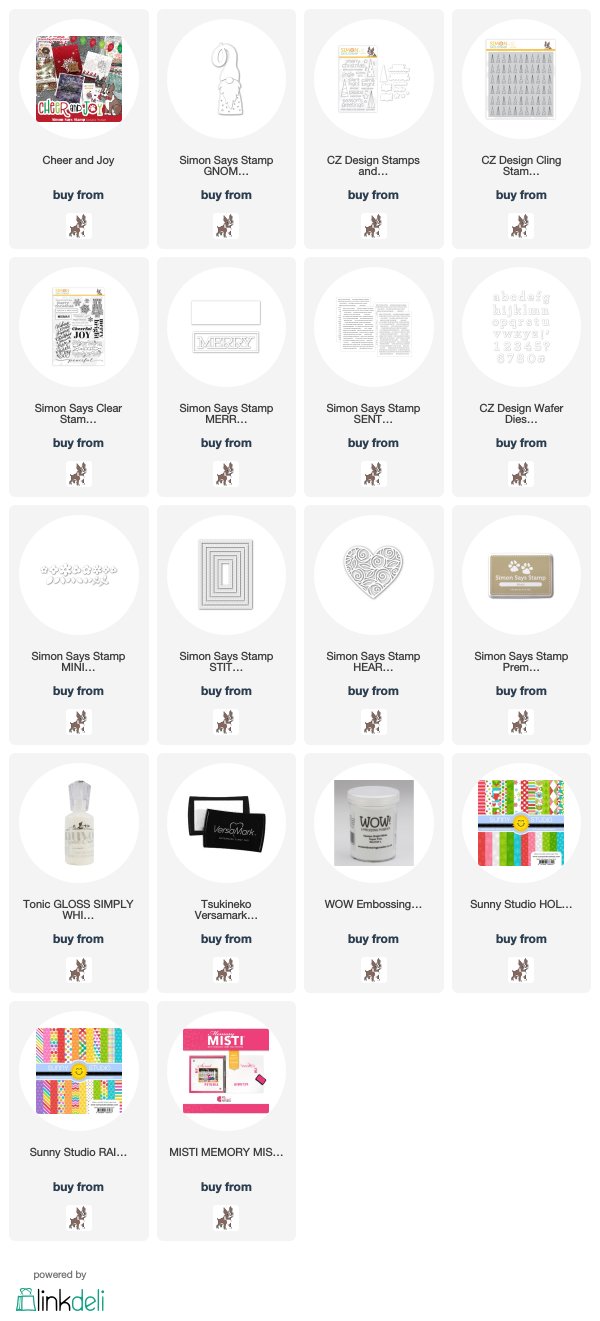
There is a brand new release available over at Simon Says Stamp today, Cheer and Joy!!  There is so much wonderful in this new release...I have made two cards to show you, made with the new adorable little Gnome die!!...
 The Gnome is a shadow die, so I die cut the  hat and clothes with patterned paper, and the nose from a peach colored paint chip, and the background in white.  I layered him with a couple layers, and adhered him to a panel that I had stamped the new CZ Design Clean Line Trees on.  I used the really cool new Merry Frame die (layered), using just the "merry", and a couple new sentiments from the new Clean Line Christmas and Holiday Greetings Mix 1 for the perfect Christmas sentiment from this little Christmas gnome:)!  Here's a close up...

 The second one, although I went in an everyday direction, I chose a sentiment from the new Everything Winter sentiment strips for my inspiration...
 I die cut the gnome from patterned paper and layered, like the first one.  I chose to frame him in a die cut heart (with a woodgrain embossed background)with some die cut flowers (after all, gnomes ARE usually found in the garden:)!), die cut from Simon's Mini Flowers and Leaves dies.  I die cut and layered letters from the cute alphabet dies from CZ Design, Archie Jr. Solid.  I thought the font of these letters was perfect for the cute gnome.  I repeated the sentiment, bringing the "gnome" into the sentiment with the strip from the sentiment strip set.  The sentiment strips ARE winter, but this one is really generic in it's season.  Here's a close up...  
This little guy is too stinkin' cute, right??!!  I'll be back tomorrow to be a part of day 1 of a two day blog hop over at the Simon Blog....hope you'll check out the inspiration for this wonderful new release, and I've provided a link to the release at the beginning of my product list below!!  
Thanks for visiting me today!! Hugs!! Lisa

Tuesday, October 8, 2019

BOO

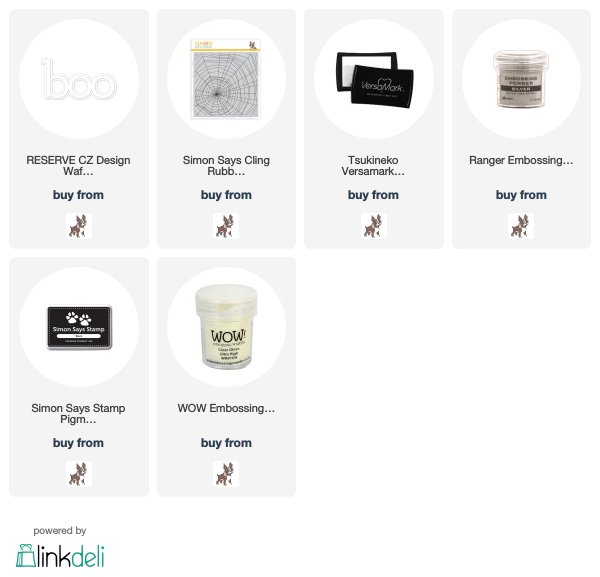
I couldn't resist making a card with the adorable CZ Design Boo die from the Simon Says Stamp STAMPtember® release!...
 I die cut and layered the "boo".  I stamped the Simon Says Stamp Spider Web background stamp with versa mark ink on dark gray cardstock, and silver embossed.  I stamped, clear embossed, and hand cut out the cute spider, from an older Simon Halloween stamp set, Not So Spooky(so sorry...I didn't know that it had been discontinued when I made this card).  Super simple, and super easy, but super fun:)!  Here's a close up...
Hoping your October is out of the ordinary outstanding:)!!
Thanks for visiting me today!! Hugs!! Lisa

Friday, October 4, 2019

Merry Mistletoe and Glad Tidings

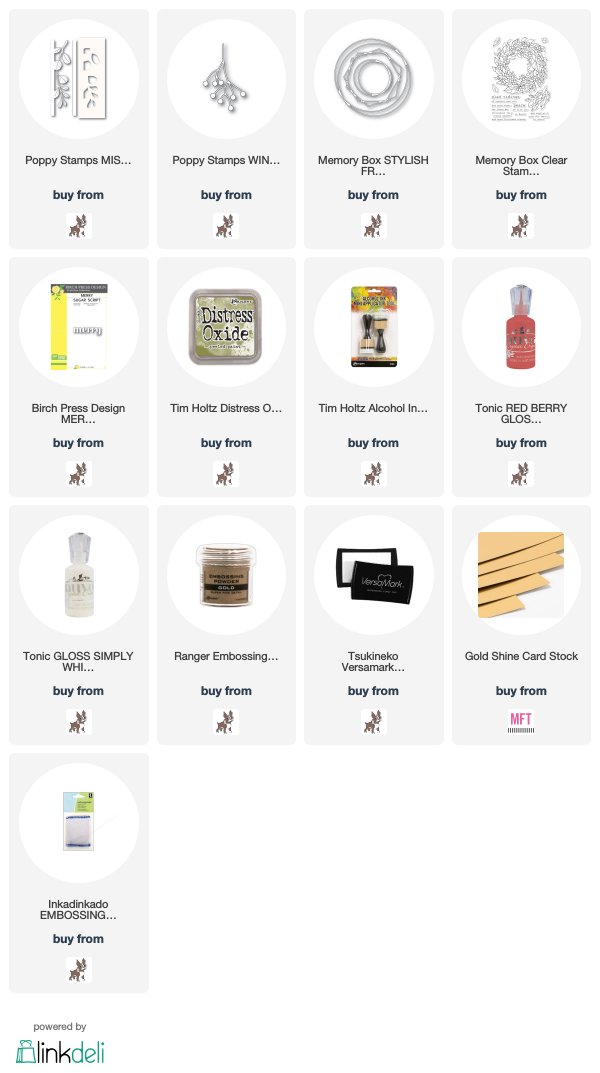
I used the beautiful new Poppy Stamps Mistletoe Side Strips and Stencil die to make a couple cards with mistletoe!...
 This first card, I used the die as it was designed, and stenciled color onto the white leaves with some distress oxide ink.  I love the detail of the leaves on this die!  I used Tonic drops and a piece of acetate, to make some mistletoe berries.  I used my exacto knife to remove the dryed dots, and then 
adhered them to the branches of the mistletoe...
 I layered the leaves a few time, then popped up the other side of the card panel, and used a layered Birch Press "Merry" die, cut from gold card stock.  
I DID use my Wink of Stella brush to give a little glitter to the leaves....although it's very subtle in this pic. Here's a close up...
  
The second card, I die cut the leaves, then cut them off the border strip with scissors.   I used the Poppy Stamps Winter Berries die, dotting the berries with Tonic drops, and die cut one of the  pretty Memory Box Stylish Frame Trio dies, to make a frame for the winter berries and leaves...
I stamped two sentiments from the Memory Box Tidings Wreath stamp set with versa mark and embossed with gold powder.  Here's a close up...
I am getting in the mood for Christmas!!  What fun!!  
Thanks for visiting me today!! Hugs!! Lisa