Thursday, February 28, 2019

Fruity Thanks

I used the new Simon Says Stamp Fruit From the Heart stamp set and Simon's Watermelon die to make a couple Fruity cards of Thanks...
The first one, I used the Watermelon die and one of the sentiments from the Fruit From the Heart stamp set, along with the Simon Scripted Thanks.  I LOVE this watermelon die...the hearts for the seeds are so stinkin cute!  The same image of this die is also in the stamp set!  I layered both the watermelon and sentiment, adding two layers of black heart "seeds", then glossy accenting the hearts. The stripes at the top and bottom are recycled paper...
The second one, I used the Thank You stamps from the set, along with the apple stamp and a coordinating sentiment...
I stamped and hand cut the apple, and popped it up over the sentiment.  I added a piece of striped paper at at the bottom, this paper from MFT Stamps.  Here's a close up...
What "sweet" fun!!
Thanks for visiting me today!! Hugs!! Lisa

Tuesday, February 26, 2019

Otterly Cute Otter

I have used the Simon Says Stamp Big Picture Book Otter die to make a birthday card...
I die cut the adorable otter with two shades of brown cardstock, black cardstock for the eyes.  I layered the various parts of the otter, to give him some dimension, then layered HIM a few times for some depth. I adhered him to a card with a Simon sentiment from the new set Bone-a-Fide Birthday, and the pun from the Simon Punny Animals stamp set.  I added a dot of white gel pen to each of the otter's eyes...saw it on the samples of this die, and thought it really gave life to the eyes(I think doing this would be GREAT for ALL the picture book animal dies!).  I added a little gift for the otter to hold.  The envelope die by Simon was discontinued, so sorry, but you could probably make one without too much trouble!  I used Sunny Studio patterned paper.  I actually folded a $20 bill and got it into the envelope!!  I would show you, but it just fit, and wanting to give this as a gift, you'll have to trust me...it's in there:)!!  Fun, right?!  Here are a couple close up...this of the top of the otter and the glossy sentiments...
...and here's the envelope/present...
Otterly fun!!!
Thanks for visiting me today!! Hugs!! Lisa

Love You Arches

I recently purchased the Birch Press Amour Arch Layer die cut set!  I LOVE hearts!! Hearts aren't just for Valentine's Day...love is for everyday!!  I loved the thought of this die as it's potential...well, I have far more ideas of what I could do with this die than time I have to create.  I have had some fun the last couple days, though, making a couple cards to share with you...
 You know I couldn't escape the rainbow!  I used the largest of the arched layer(A), the middle sized heart(B),  sentiment die and stamp from Simon Says Stamp, and paper from Sunny Studio, for this first card.  I die cut and layered the arch, die cut the hearts(LOVE how many hearts you can die cut at one time, too...for OTHER projects!!) from the second layered arch (B) die cut, and stamped the Simon sentiment onto the panel.  I adhered the die cut hearts into the layered heart openings.  Here's a close up...
 I love the die cut sentiment with this layered arch...the thin outline of the outside of the hearts and the the thin sentiment just "go" together:)!  Here's a close up of the sentiment...
 The second one, I used all three layers , four colors of cardstock, and Birch Press die cut and Simon stamped sentiments... 

I am not putting this die set away just yet...more fun in the future!!
Thanks for visiting me today!! Hugs!! Lisa

Friday, February 22, 2019

For the Love of Tulips

I recently got the Spellbinders Tulip Flower Frame die...I love tulips, and thought this die was SO pretty!!  I have made three cards, all constructed the same way, simple in design, with different sentiments...thank you, birthday, and love you cards...
 I die cut the frame three times each for layering of each card.  I then embossed the frame onto another piece of cardstock, and colored it with my Prismacolor markers for the yellow and purple, and all the leaves, my sharpie markers for the red flowers.  I added sentiments that I used the Simon Nested Banners to cut out with, positioning them differently on each of the cards.  Here's a close up of the yellow...
The purple is the birthday card...
here's a close up...
The red tulips are LOVE....
 and here's a close up of this one...
I LOVE this die!!  Simply done is all this die needs...I just loved the simplicity, not to mention the fun of coloring that these cards brought...happiness!!
Thanks for visiting me today!! Hugs!! Lisa


Thursday, February 21, 2019

Sending Ornate Love

I used the pretty LOVE letters from the new Simon Says Stamp Ornate Love stamp/die set to make a card to send someone some love...
I decided to try my hand at coloring!  These letters have A LOT of flowers, and I felt like a little kid, again, coloring flowers and filling in all the letters with markers.  I layered the letters, and adhered them over a die cut heart(the largest of the three from the set).  I used a sentiment from Simon's Messages for Everyday, cutting the sentiment apart and stamping the "sending" above the LOVE, and the "Hugs and Kisses" below (I used my MISTI for positioning). I DID use a piece of foam to give the heart some lift from the card...I LOVE depth, not only in die cuts, but for layouts.   Here's a close up...
Coloring is so much fun...I "LOVE" it:):)!!
Thanks for visiting me today!! Hugs!! Lisa

Wednesday, February 20, 2019

Rainbow Background Thank You

I used the Simon Says Stamp Thank You Script die to make a rainbow colored thank you card...
This die is pretty, and I love sentiment dies with backgrounds, but the background on this die was one that fits both the "thank" and "you", so the background is a bit bigger than the usual sentiment background.  I just wasn't happy with a plain white background, so I opted to color the background with strips of a rainbow of colors from the same paper pad that I used for my last card...well, it WAS out on my desk:)!!  Making the background patterned, I opted for a white sentiment ...I thought it worked:)!   I used strips of the patterned paper a bit bigger than 1/4", adhering them to a thinner cardstock and then running the rainbow striped paper with the background thank you die, through my Big Shot.  I adhered a layered thank you to the rainbow background, and adhered them to a Quilted Hearts stamped background.  I added three die cut and glossy accented hearts , popping up the stitched panel on a card.  Here's a close up...
This card was fun...a heart filled rainbow thank you...oh yeah....
Thanks for visiting me today!! Hugs!! Lisa

Monday, February 18, 2019

Clustered Leaves Thanks

I used the new Simon Says Stamp Outline Clustered Leaves die and the Clustered Leaves die,  to make a rainbow leafed thank you card...
I die cut the outline and then a whole leaf die cut.  I adhered them together, then went to town, die cutting the colored leaves.  I used the Sunny Studio rainbow stripes paper(LOVE this paper!!), LOVE how many wonderful colors are in this pack, being intentional about the direction of the stripes for each leaf.  I adhered the leaves to the two die cuts already put together, then, when finished with all the colored leaves, adhered another two outline die cuts over the colored leaves.  I used the Simon Deco diamonds for the background, and the Simon/CZ Design Thanks for the sentiment.  I chose to use vellum as the background for the sentiment.  I thought it important to stand the sentiment apart from the leaves, but wanted the color to faintly show through...thus the vellum instead of a white background, which I felt would cover up too much.  Here's a close up...
Here's a close up of the leaves...
Another card that makes me happy...oh how I love rainbows...and this cluster of leaves is soooo pretty...together...sheer happiness!!!
Thanks for visiting me today!! Hugs!! Lisa

Saturday, February 16, 2019

"Sentiment"al Birthday Card

I had made a card with Simon Says Stamp's Nested Banner dies a few posts ago.  I had not used the middle ring of die cuts, and said I was going to find a way to use them...well...here's what I made with them...
I decided(after MUCH trial and error), to stamp sentiments inside each ring.  I gathered sentiments from a number of Simon stamp sets, and used some Sunny Studio rainbow striped paper to cover the rings.  I loved what the colors brought to the sentiments,  and happily made this a birthday card!  I then wanted a background.  I decided to use the candles from the Simon Birthday Borders stamp set.  I opted for a black panel and used white ink..thought it looked cool!  I will say, I used my MISTI for the positioning of the candles...made the stamping SO MUCH easier than stamping by mere sight, with hands!!  Here's a close up...
Rainbows and birthdays...LOVE!!  
Thanks for visiting me today!! Hugs!! Lisa

Friday, February 15, 2019

Pointsettias, Paint Chips, and Patterned Papers

I am blessed beyond measure to design for Simon Says Stamp!!  I am also blessed beyond measure to receive products from them to create with!!  I received the Mod Pointsettia and Mod Leaves dies for the Diecember® release, but with the You are Loved release right on the heels of that release, I haven't had a chance to use these pretty dies, until now.  I KNOW the flower is a mod poinsettia, but I didn't even think of it as a pointsettia, or know that until I looked at the die's title, so I decided to show ways you could use this flower for everyday occasions!!  For this reason, the flower choices are blue, yellow and purple...NOT pointsettia colors:)!! AND...then I put the Mod Leaves die cut up against the Mod Poinsettia die cut, and I LOVED them together...they fit perfectly together and looked sooooo pretty together!!  So what you see below, are three cards made with BOTH dies together!!   I made them all pretty similarly, using paint chips for the flowers and leaves, patterned paper for the background, with stamped Simon sentiments for different occasions.  
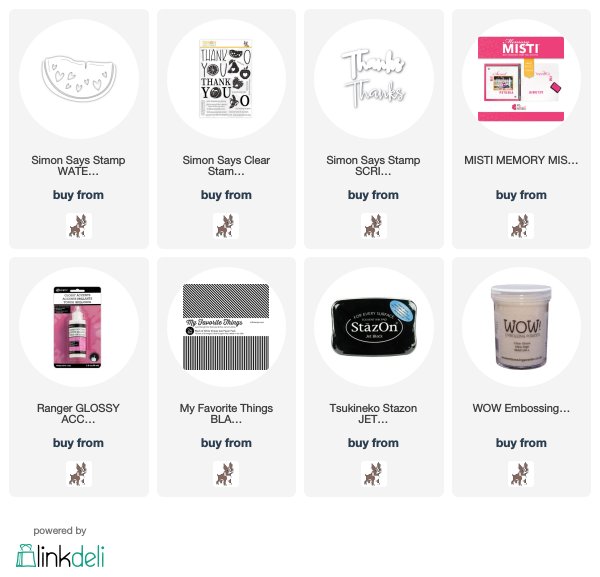
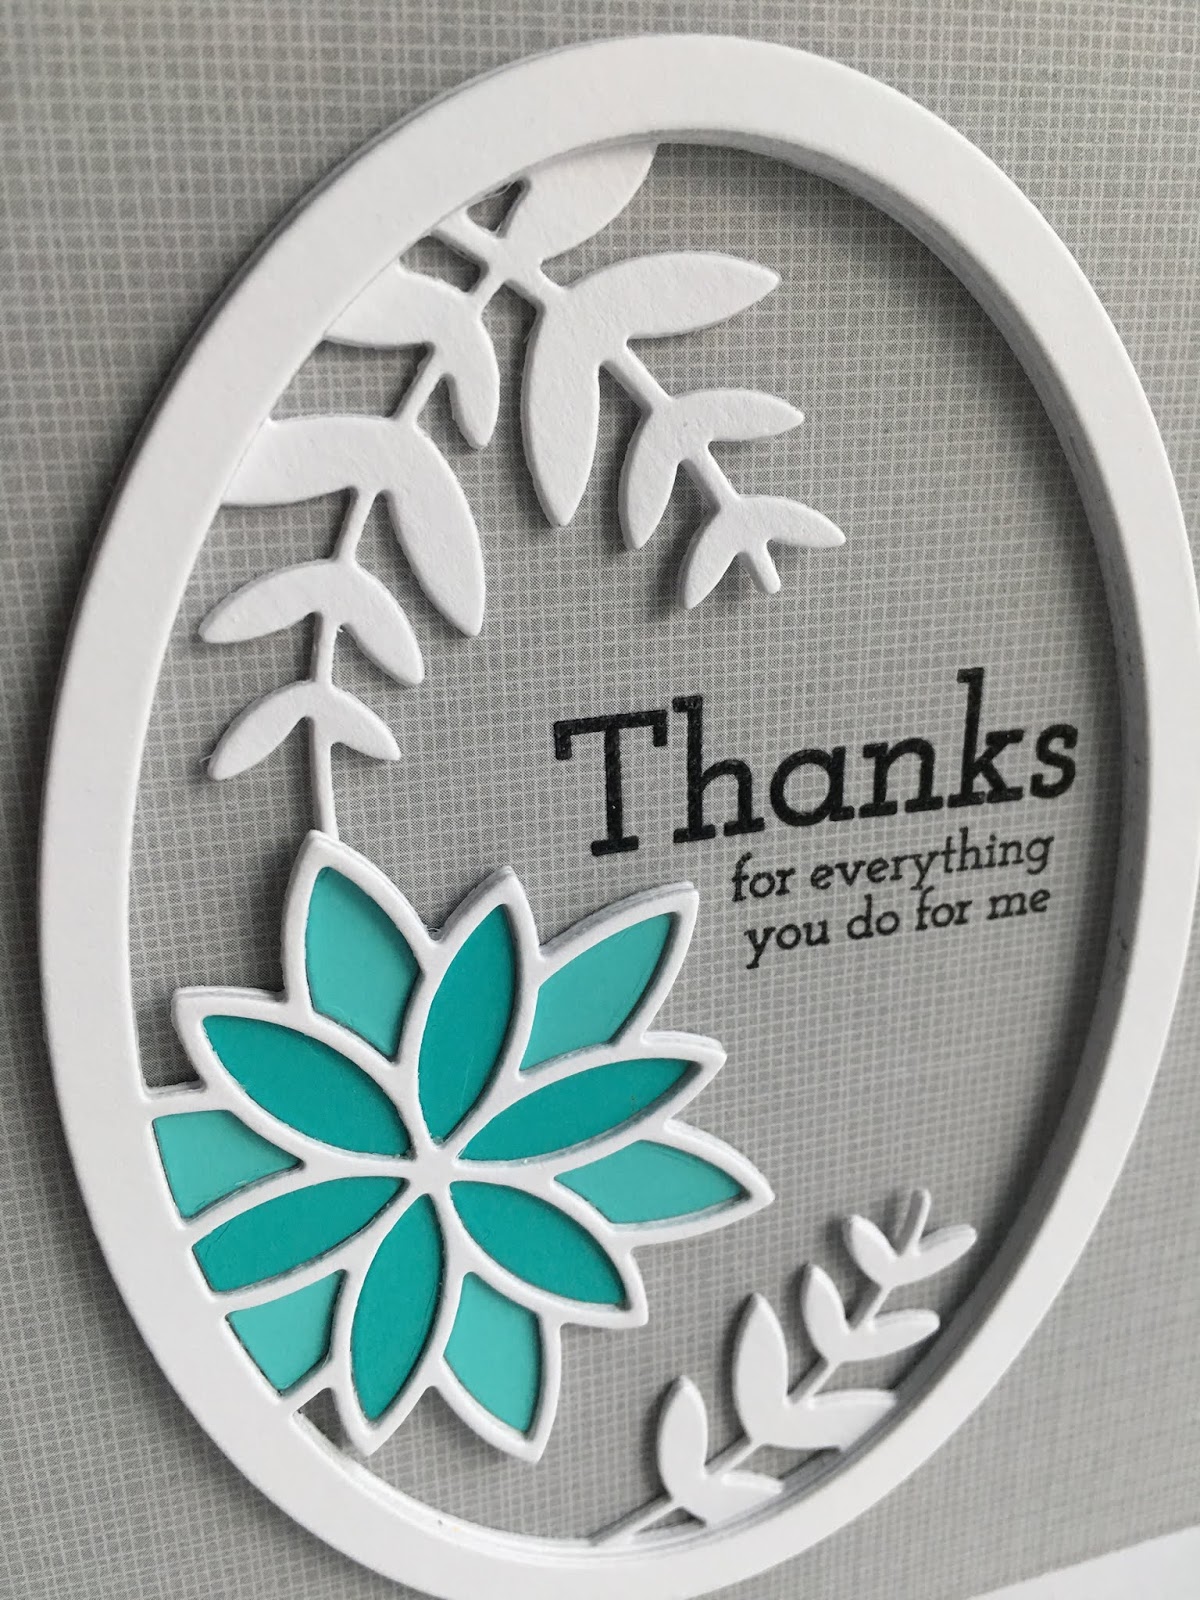
The first is a blue flowered thank you...
I used TWO shades of blue paint chips, no color on the leaves and a gray linen design paper (Doodlebug) for the background.  Here's a close up...
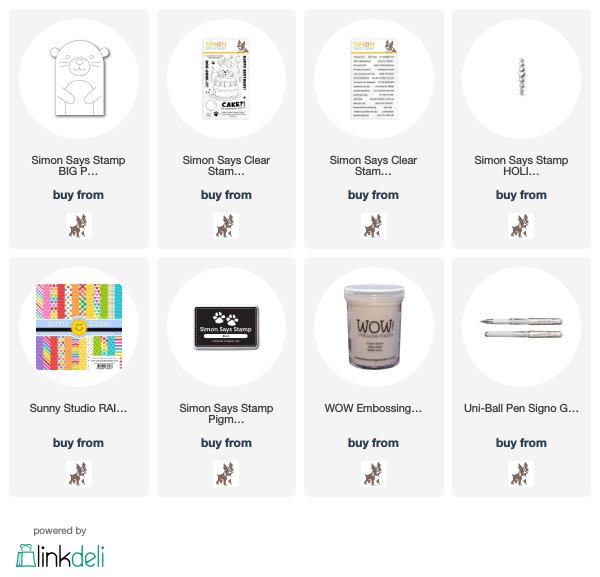
The second one, a yellow flower...
 This one, I opted to use two shades of green paint chips for the leaves, and THREE shades of yellow for the flower.  I used a Sunny Studio striped gray paper for the background and made it a card for my mom...she loves yellow and daisies...this flower fit the bill!!  Here's a close up...
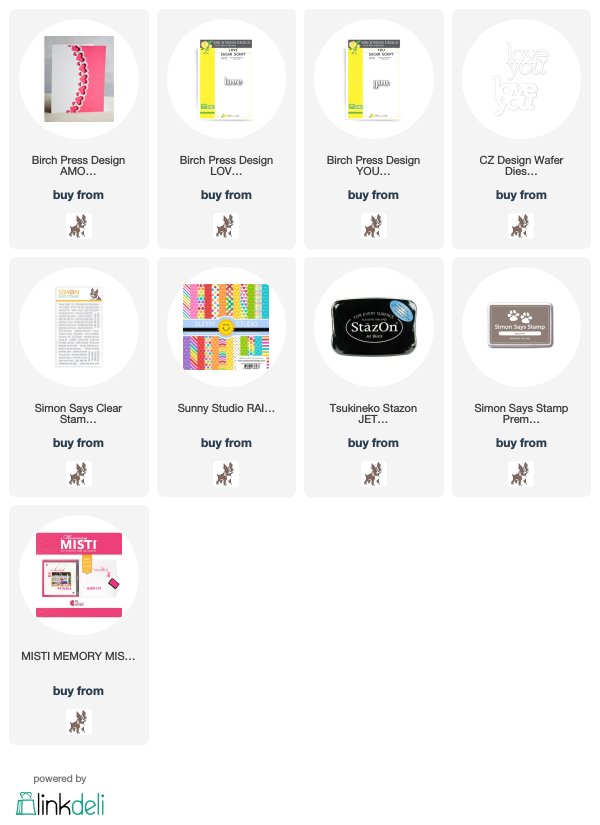
 The third one, I made a purple birthday flower...
This one, I used FOUR shades fo purple paint chips, two shades of green for the leaves, and some itsy bitsy polka dotted paper(kraft collection) from MFT stamps, that I could not find, so it must have been discontinued...along with a Simon Happy Birthday sentiment .  Here's a close up...
So much fun...pointsettias...paint chips...and patterned paper...leaves and sentiments, too...but the three "P's" had a better ring to it:):)!!
I MUST give a HUGE birthday shout out to Simon Says Stamp...
17 YEARS old this week...Simon, you're AMAZING!!!  
They are having a HUGE sale...thought you would want to know!!...

Thanks for visiting me today!! Hugs!! Lisa

Wednesday, February 6, 2019

Happy Birthday Spring Foliage

I love putting soft pink and olive together on a card...it makes me happy!  Today's card is one of those!  I used my new Creative Expressions Spring Foliage die(not sure how new it is...but new to me), along with the Simon Says Stamp Happy Birthday die to make a Spring flavored birthday card...
I thought the leaves of this die were so pretty, and that the die came with the ability to die cut the pretty flowers four at a time...made this die a part of my collection:)!!  I die cut and layered the leaves, flowers, and sentiment.  The leaves and flowers on the right is part of the whole die, with lots of leaves cut off to make it look a little different!  I adhered the flowers  to the leaveswith small glue dots, and then more dots to attach the branch with leaves and flowers to the card panel.  I dotted the flowers with Tonic drops and stamped a "happy" from the Altenew Birthday Builder stamp set.  I wasn't happy with the "empty space", so I used the same olive colored cardstock of the leaves and stamped the MFT Stamps Pinstripe Background stamp with versa mark  and white embossed, using the striped pieces on the top and bottom of the card.  The card is 4" across, I loved the leaf hanging over the side, so it is a bit more narrow than an average card, so it will fit into a regular envelope. Here's a close up...
Pink and olive happiness...such fun!!
Thanks for visiting me today!! Hugs!! Lisa

Tuesday, February 5, 2019

Rounded Rainbow Thanks

I used the new Simon Says StamNested Banners to make a thank you card, with my favorite colors... rainbow...
I am LOVING these dies for graphic styled/designed cards, beyond their being fab for sentiments!!  I used the Lawn Fawn Really Rainbow paper for my elongated die cuts.  On the middle three colored die cuts, I die cut right in the middle of the colors, the end two, the very end colors on the paper are smaller, so I tried to get as much of those as I could, so they are not centered.  I used the Simon Everest Solid Letter dies for my sentiment...LOVE these letters!!  I layered them, and I added a sentiment stamp from the new Simon/CZ Design Simple Sentiments 2, using the smallest of the nested banners.  Here's a close up...
I have to tell you...rainbows make me so happy...these dies and this card makes me happy!!  I didn't use the die cuts from the middle oval die cuts, as I only popped up two of the three...I have another idea on my desk for those...hope it works out, and if it does, can't wait to show you!!
Thanks for visiting me today!! Hugs!! Lisa