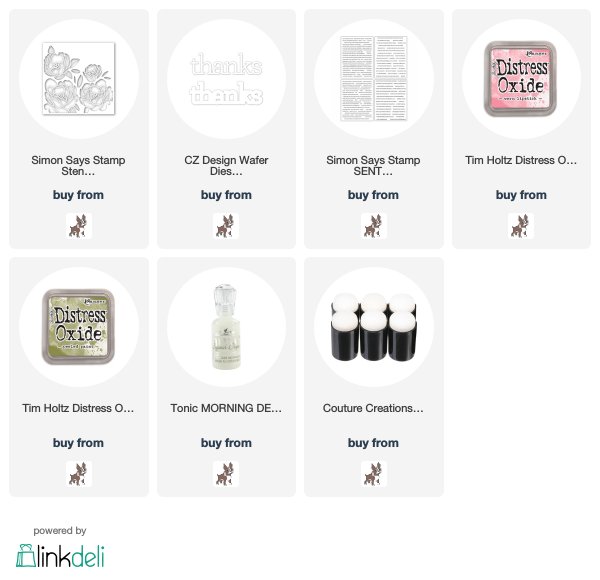
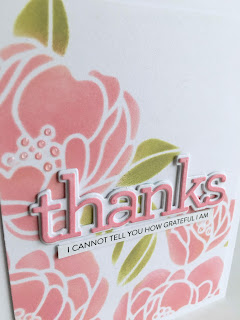
I've made a card with the pretty Simon Says Stamp Peony Bouquet stencil from the Hey Bestie release...
Okay...I really love how the card, above, turned out. Sometimes, though, it takes a
failed attempt or two, to get to the card you love. I thought I would show you the progression of this card, and those first two attempts!
I googled peonies to find out about them, and found that the majority of peonies are pink...so I KNEW my flowers would be pink. I wanted a thank you card, so I KNEW the sentiment would be the CZ Design Thanks die (my favorite!). Below, you see the first card I made, fully finished minus the sentiment strip(which I "stripped" from this card to use for the final version) ...
I thought that it would be cool to use embossing paste, as I've loved to do, of late with stencils, and on kraft cardstock. Thought that pink flowers on the kraft cardstock would go together!! So, I spread white embossing paste on the cardstock, let it dry, and then, with the stencil back in place, sponged the color onto the dried paste. I added the layered sentiment and sentiment strip and some tonic jewel drops. Hmmmm....well, I kind of liked it, but the more I looked at it, the less I liked it. The kraft background just bothered me a bit. I watched a youtube video about stencil techniques, and not learning much new, thought I would go back to basics...sponge ink onto cardstock through stencil! The second one, below, used two pink distress oxide inks...picked raspberry and worn lipstick....
Well...I liked it better than the first, but definitely didn't like what I did to the centers, and the more I looked at it, it was tooooooo dark and too intense a pink, I wanted a softer pink. So....I simply used the Worn Lipstick on my final card, and LOVED the softer pink. I didn't used any yellow in the middles, but used some Tonic jewel drops on each center dot, to give them some interest. I didn't use the THANKS from the first card, as I had glued them down, but decided that a pink THANKS would be better, so I sponged one of the die cut" thanks" with the worn lipstick, then layered, and used a white layered shadow underneath. Until last night, my card looked like this...
I photographed it last night, but then didn't like it without a border...so on the chopping block it went!! I reattached it to the card, and my final thought is that I like both the final two...whole and trimmed...maybe should have trimmed a tiny less...oh well, I always say, "can't go back, can only go forwards"....so it is with today's card. Oh this card...questions from start to finish...and beyond!! Below, are all three versions...
I photographed it last night, but then didn't like it without a border...so on the chopping block it went!! I reattached it to the card, and my final thought is that I like both the final two...whole and trimmed...maybe should have trimmed a tiny less...oh well, I always say, "can't go back, can only go forwards"....so it is with today's card. Oh this card...questions from start to finish...and beyond!! Below, are all three versions...
Sometimes, you've just got to keep on trying different things until you do something, and see something, that makes you happy...and you'll know it when you see it:)!! Such fun, as always!!
Thanks for visiting me today!!
Hugs!! Lisa


Appreciate you taking us on the "journey" with you. I personally like all three, but I do agree the soft pink of the final version is very pretty.
ReplyDeleteLisa - I love this post. So fun to see the progression of your work. I think they are all wonderful. As always, your creations are a work of art. Hugs back to you.
ReplyDeleteMaybe you’re just a photographer who makes everything look great, but I love the unexpected kraft paper card too. (You sometimes mix color directly into paste I think I remember? Ink on mat/paste/squish with palette knife/add water if needed?) And Worn Lipstick is everything. Thank you for demo-ing your process!
ReplyDeleteVery excellente!
ReplyDelete