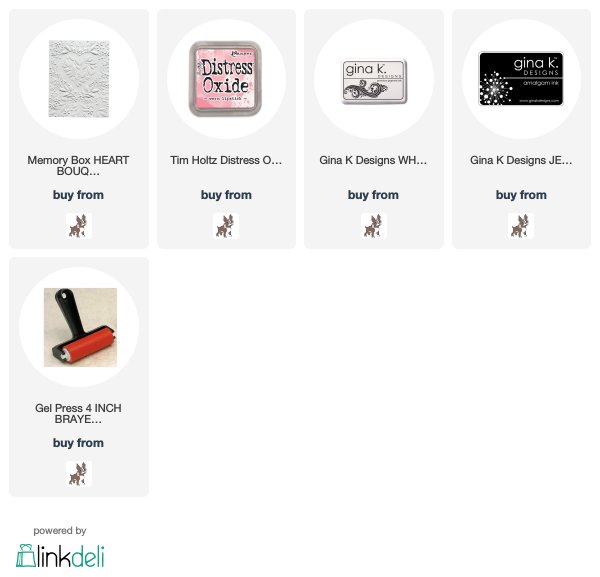
I just love the Memory Box Heart Bouquet 3D Embossing folder...it is so, so pretty!! I have made three cards(no sentiments as of this writing) with this folder using paper, ink and my long forgotten... brayer!...
Do you remember this tool?? Well, maybe you do or don't, but I had forgotten about it until I made these cards!
I last used it maybe 10 YEARS ago...and only thought of it when I embossed a white piece of cardstock with this pretty folder, and thought...I'd love to see some varied color...hmmm...enter, MY OLD BRAYER!! For those of you who may not know what this is, it's a tool you can use for a variety of techniques. For embossing folders, I remembered that you can roll ink onto one side of the inside of the folder, with the brayer...rolling ink onto the flat side of the folder...the side with none of the raised pieces(never sure if it's the negative or positive). You close the folder and run through your machine and the ink is left on the flat part of the folder's impressions.
For the first card, I used a very light pink piece of cardstock. I rolled Worn Lipstick distress oxide ink all over my brayer and the result is that it gave the embossed background a darker pink than the cardstock and the impression of the folder! Here it is again...
The second one, I used a darker piece of pink cardstock, and some white ink on my brayer...
The third one, I got a little bold and used black on white cardstock...
By the third one, I actually had gotten over my sheer giddiness, and took a few pics...
I first embossed the white paper, by running it through my Big Shot. I kept the paper on the folder where it had been embossed, while I brayered with the black ink on the other side. THEN, you put the inked side ONTO the white embossed paper, and all is well...then run it through your machine.
After it came out of my Big Shot, this is what it looked like...hmmmm....definitely in need of more ink! AGAIN, don't touch the paper, keep the embossed paper ON the folder while you ink up the other side. THEN, bring the inked side TO the already embsossed side, and run it through your machine. Here's the second time through...
Better, but I inked some parts of the folder a couple more times, where ink was lacking on the paper, and what you see above is what it became...pretty cool, right?!! And...simply pretty!!! I may put sentiments on them eventually, but I think they're pretty sweet, simply as they are!!
Such fun bringing new life to an old tool, and enhancing such a lovely folder!! Thanks for visiting me today!!
Hugs!! Lisa


It is great!!
ReplyDeleteThey all look gorgeous! Jo x
ReplyDeleteI remember those old brayers. Your cards are beautiful but that black and white one... stunning.
ReplyDeleteBeautiful! Cathy x
ReplyDeleteI absolutely love these cards, especially the second one, utterly gorgeous! Well done you, I must have a good go at this technique that I haven’t done in AGES! Tfs 😍
ReplyDeleteThese are super! My brayer is sitting in full view! so
ReplyDeleteI must get going and have a try!
Lovely cards, Lisa! I never had good luck with my brayer, but seeing your cards I can't wait to try it again :) Thanks!
ReplyDeleteI am going to dig out my brayer!! Thanks for this. These are beautiful cards!!
ReplyDeleteOh, I several of those brayers in a drawer..somewhere! Used to love them when I first got into this wonderful hobby! Thanks for reminding us of this fun tool and the time it took to show us exactly how you made these beautiful cards!
ReplyDeleteLove all of these! Will be getting mu brayer out! (Thanks for reminding me which side to put the ink on!) :)
ReplyDeleteNever ending love for all these designs.
ReplyDeleteThis embossing folder is awesome and you made magic with it. All three of these cards are simply beautiful.
ReplyDeleteLove this idea!
ReplyDeleteAwesome creations, thanks for the brayer reminder and photos!
ReplyDeleteThese crds are amazing, thanks for the tips xx
ReplyDelete