Tuesday, August 13, 2019

Birthday Candles

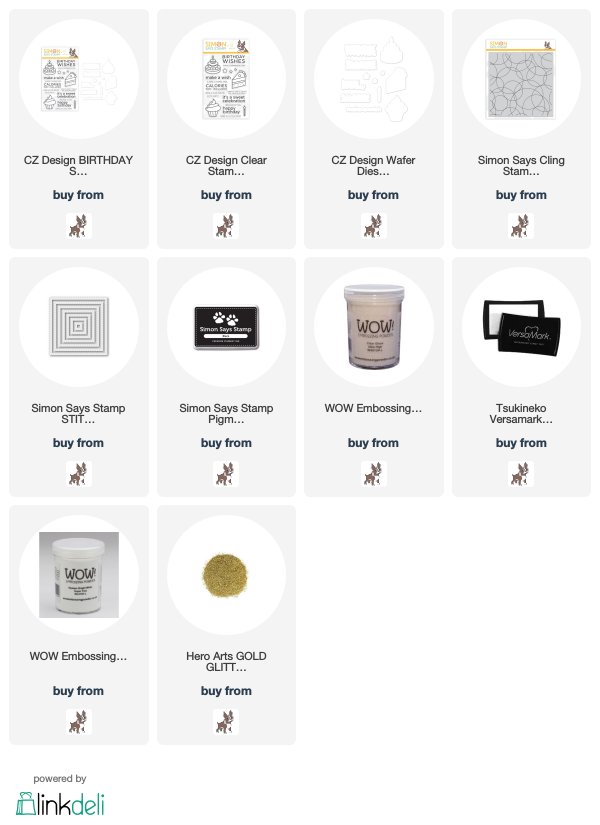
I've made a couple cards to share with you today, made with the sweet new CZ Design, Birthday Sweets, from Simon Says Stamp's latest release, Believe in You.  I used the candle and sentiment stamps and their dies from the set for both cards...
For the first card, I stamped the candles with black ink and clear embossed.  I colored them, then layered them, and adhered them above a stamped and embossed sentiment.  I used a glitter gel pen to color the flames (Jelly Roll Clear Star pen).   I used a Simon stitched square die to enclose them in,  and here's a close up...
The second one, I embossed with white powder and used the same gel pen for the flames...
This one, though, I used the Simon Round and Round Background stamp and a thought (and some input from my daughter...thanks honey!).  I had stamped the background stamp in light gray, then black and made the aperture for the candles a square.  Her idea was to use a glitter gold to match the flames of the candles.  Funny thing, my daughter is the one who had given me some glitter gold embossing powder, which is the ONLY glitter embossing powder I have!  I also opted to gold emboss the black cardstock that would be peeking out from the white(I hand cut the circle from the white panel),  and line up the circles.  Love the shine and yet glittery look this powder gives to the lines!  Here's a close up... 
The first card, a no brainer, the second a bit of trial and error, and although they both have six candles, the cards are both pretty different from each other.  Either way, SO MUCH FUN!!!
Thanks for visiting me today!! Hugs!! Lisa
Sunday, August 11, 2019

Gloss and Glitter

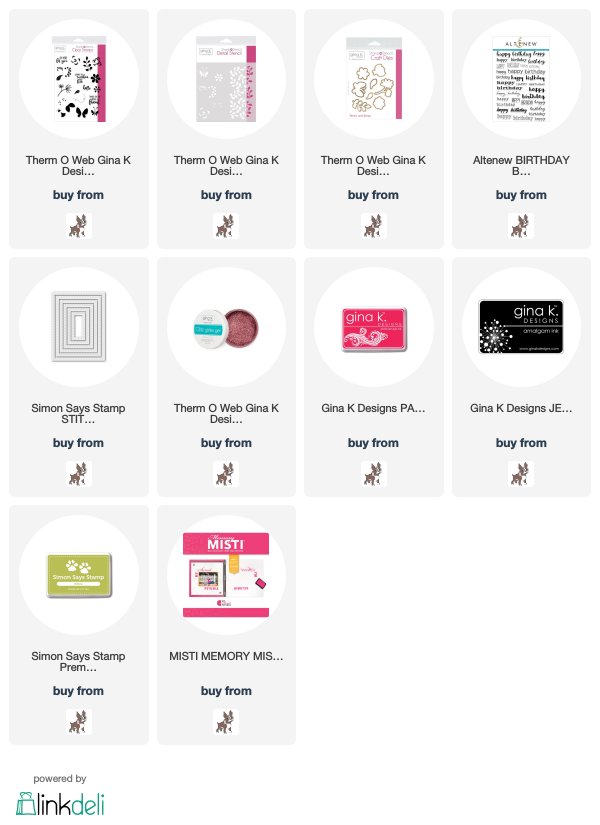
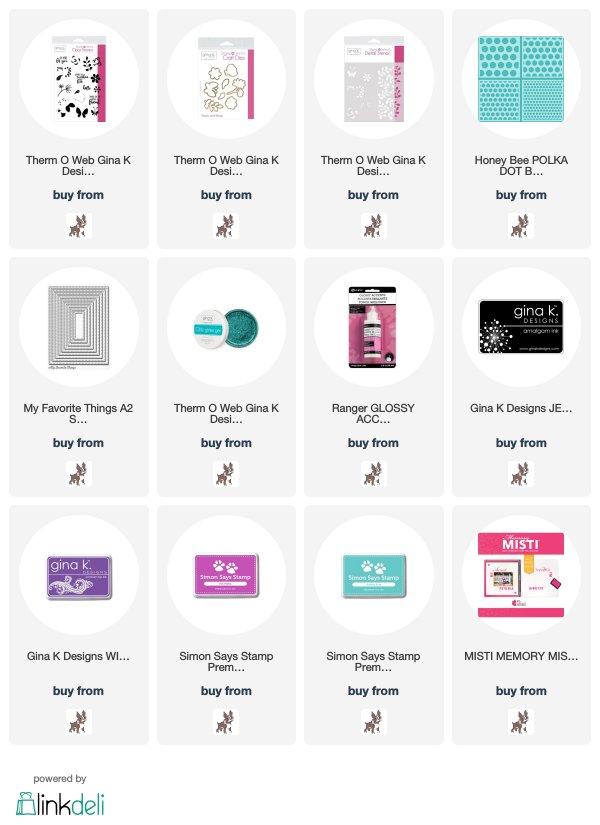
I made a couple more cards with the Gina K Designs, Petals and Wings...I am loving this set of stamps, dies and stencil!...
I had an idea for the stems with little berries on them for both cards.  For this first card, I learned, by trial and error, to stamp and die cut the stem first, by itself.  THEN, I stamped the berries onto the already die cut stems, with Gina K Wild Lilac dye.  I found it next to impossible to stamp both the stems and berries and get them to fit into the die when I die cut...just too much room for error. YOU may be more precise, but in case you are like me, remember that tip...will save you time and paper.  I layered the berries, then covered each of the berries with Glossy Accents.  Thought I would show you the difference between the original color of ink and what it looked like after the glossy accents....
...quite a change in color, right?!!  It just so happened I had ONE card size piece of card stock that matched that purple color precisely...so stinking cool, right?!  I used a stencil from Honey Bee,  Polka Dot background stencil, to add some polka dots to go with the berries. I stamped one of the sentiments from the set, and popped up the white off the polka dotted panel.  Here's a close up...
The second one was a complete afterthought...thought of last night after I realized the stencil had the BERRIES on it:)!!...
 I stamped the stem and die cut, then positioned the stem underneath the stencil and used some glitter paste to adorn the stems!  LOVE!!  As with the first one, I polka dotted the background and used the same sentiment stamp as the first card.  
OMG...SUCH FUN!!  I love when cards are fun, easy and you love them when you're done...card making at it's best...and that's these two:)!!
Thanks for visiting me today!! Hugs!! Lisa

Friday, August 9, 2019

A Butterfly, A Rainbow, and A Birthday!

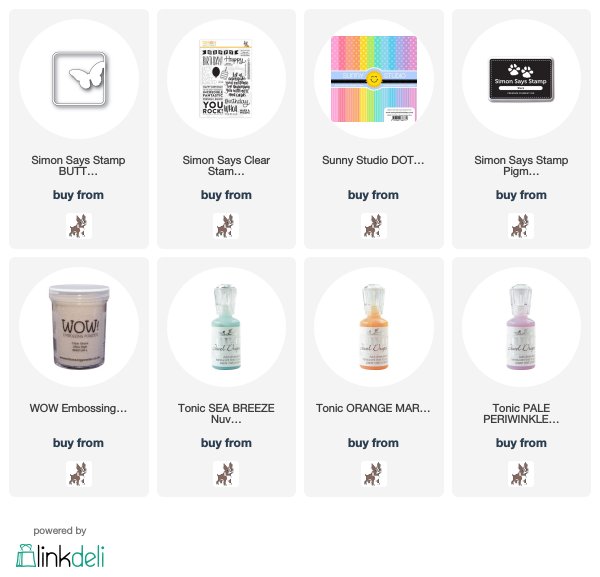
I made a birthday card using a pretty new die from Simon Says Stamp's latest release, Believe in You, the die...Butterfly Square...
I love butterflies and rainbows, they both have very deep meanings for me.  Having a butterfly and a rainbow on the same card, well, simple perfection!  I had just purchased the new Sunny Studio Dots and Stripes Pastels, a pastel rainbow of papers(LOVE how many amazing different colors are in this pack!!), and combined  tiny adhered strips of each of the TWELVE different colors of paper from the pack, with a multi layered Butterfly Square die cut.  I thought...hmmm...I could end the strips to just fit behind the butterfly, but having adhered the total 6" of striped paper strips together, the strips were plenty long enough to allow me to extend them to the ends of the card!!  LOVED how it looked with the rainbow extending out over to the edges of the card, out beyond the top card panel!  DONE!!   I added a Happy Birthday stamp from the Simon Big Birthday stamp set and some Tonic Jewel Drops for some added pretty!  Here's a close up... 
Butterfly, Rainbow, Birthday, Simply done, FUN!!  
Thanks for visiting me today!! Hugs!! Lisa

Thursday, August 8, 2019

Glittery Flowers

I made a flower filled birthday card with a solid flower stamp and die from Gina K Design, along with a coordinating stencil and  some glitter paste...
(I have updated the pic, as I didn't like the first one, so much,,,)
I was inspired by Cathy Zielske(I am inspired by her...A LOT...I love her stamps/dies and the cards she makes:)!!), and the beautiful card she made with this same set, HERE!  She inspired me to get this set and I got  some glitter paste to have fun with, too!!  This set of stamps/dies/stencil has such wonderful potential!!  I stamped and die cut the flowers and leaves, then used the stencil to add some glitter to the flowers.  I layered both the flowers and leaves and added a sentiment from the Birthday Builder stamp set from Altenew.  Here's a close up...
Simple, sparkly fun...I'm in love!!
Thanks for visiting me today!! Hugs!! Lisa

Sunday, August 4, 2019

Not a Creature Was Stirring...

I purchased the little adorable Whittle Mouse die by Poppy Stamps a bit ago, and had five little layered mice on my desk for a couple weeks until a couple days ago...
..when I figured out one way I could have some fun with them.  I missed Christmas in July...it was quite a month, and I didn't have much time to create, but thought I'd make my Christmas card anyway.  I didn't have any sentiments for mice, and certainly not what I was thinking of for a Christmas card, so I went to my computer.  I chose a font, then typed up and printed out my sentiment on my printer.  I cut the top and bottom to fit the length and width I wanted them, and popped them up above and below the mice.  Here's a close up...
 A Christmas card a little late or a little early, depending on how you look at it, but no matter how you look at it, these mice are definitely cute and so much fun!!
Thanks for visiting me today!! Hugs!! Lisa

Saturday, August 3, 2019

Loving Black and White Polka Dots with Daisies!

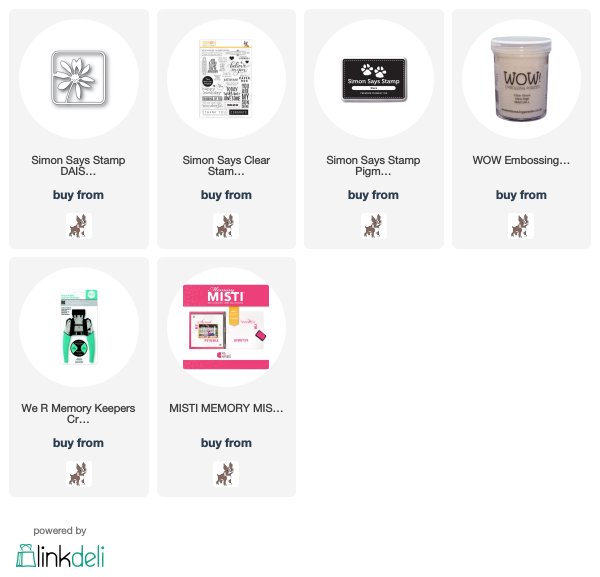
I am loving all the flower and specifically the  daisy dies in Simon Says Stamp's latest release, Believe in You!!  And I am also loving using black backgrounds to showcase all these beautiful flowers, today is no different...
 Black and white are naturals together!!  With a little pop of color on these dies, black and white are even better together!!  I used the pretty and fun new Daisy Square die for today's card.   I die cut and layered the daisy die, then colored the stem and flower's center for the pop!  I then popped them up over a piece of black and white polka dotted cardstock.  I added a new Simon sentiment from the Greetings Mix 1 set (LOVE this set of sentiments!) using my MISTI for perfect positioning(it's almost a standard these days to use my MISTI).  I also rounded the corners of the white panel, to "go with" the rounded corners of the daisy die.  I THOUGHT about rounding the polka dots, but thought is looked kind of cool with the contrast of rounded and square corners.   Here's a close up...
Such great fun...loving the pretty flowers and polka dots:)!!
Thanks for visiting me today!! Hugs!! Lisa

Thursday, August 1, 2019

A Repeat Post for My Bloglovin Readers...Pink Carnation

I am reposting the Pink Carnation card, as for some unknown reason, the post never showed up on my Bloglovin feed.  I tried to find ways to contact Google and Bloglovin, to no avail.  So...I have taken matters into my own hands and am simply reposting the  card for the benefit of Bloglovin readers.  Sorry to everyone else, for the inconvenience of a repeat post...can only hope this is a stand alone occurrence!  Here goes:


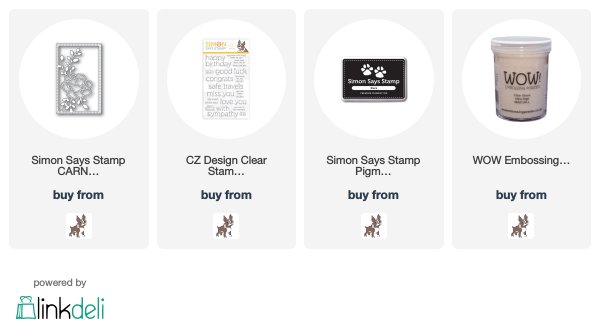
 I made a card to share with you today, using the beautiful new Simon Says Stamp Carnation Frame die from Simon's latest release, Believe in you...
I decided to let the color of the carnation flower be the only color on the card, so I got out my favorite go to colored papers for these kind of flowers...Paint Chips!!  I die cut the flower part three times with three different shades of pink.. I then die cut the flower and frame three times, adhering two of the die cuts together after taking all the die cut pieces out.  The third die cut, I left the flower petal pieces in the die cut, and used my Tombow adhesive runner and put adhesive all over that die cut.  I adhered the two layers over that adhesive covered die cut, then put in the separate petals in the different shades into the layered die cuts.  I adhered an embossed piece of black card stock behind the flower, and added a sentiment from the pretty new set of sentiment stamps from CZ Design, Clean Line Everyday.  Here's a close up...
Having so much fun with this new release!!
Thanks for visiting me today!! Hugs!! Lisa


Wednesday, July 31, 2019

Today Wil Be Awesome

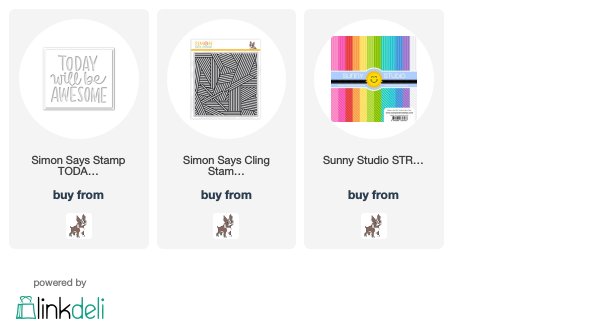
One more post for today:)!  I used the fun new Simon Says Stamp Today Will Be Awesome die from their latest release, Believe in You, to make a card of encouragement...
I LOVED this sentiment die and the first thought I had was...you may have guessed it...rainbow!!  I used the wonderful Sunny Studio paper which has one of the brightest and most colorfilled papers to make my rainbow.  I cut strips less than a 1/4" thick and adhered them together.  I die cut the words from the rainbow paper.  I then...yes...a tiny bit crazy....layered each letter and word twice with black die cuts of the same...
I adhered them to a die cut panel that I had adhered to a solid panel.  I then added a layered (twice) gray piece behind the sentiment, and adhered to stamped gray cardstock with the new Stripe Jumble Background stamp.  Here's a close up...
I hope you have had a wonderful July...I am hopeful that August will give me a lot more time to create...a lot more time to have fun!!
Thanks for visiting me today!! Hugs!! Lisa

Thanks, Mom!

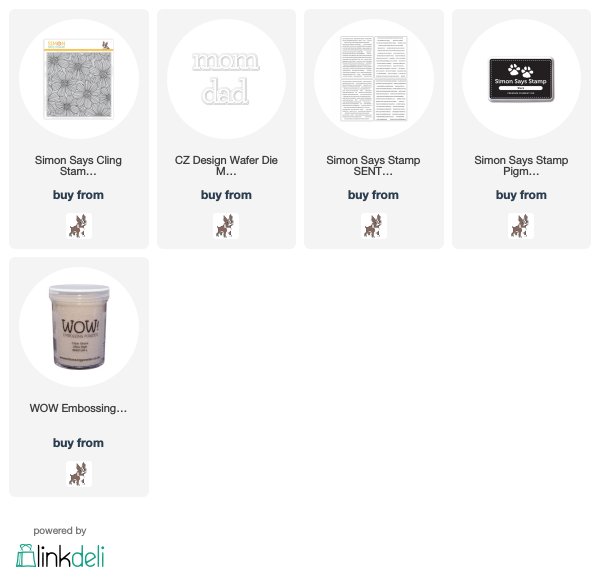
I used the pretty new Cosmos Bloom Background stamp from Simon Says Stamp's latest release, Believe in You, along with the cool new CZ Design Mom die from the same release, to make a card letting moms know how much we appreciate them...
 I stamped and clear embossed the cosmos.  I then used two yellow markers, a gray marker for accenting the flower petals, and green for the leaves.  I then used the same green and swiped it around the card edges to match the leaves.  I added the die cut and layered "mom" and used one of the sentiment strips from Simon, that I also swiped with the same green marker.  Here's a close up
Simply done fun!!  I think I will have one more card to show you today...Thanks for visiting me...I really appreciate you!! Hugs!! Lisa

Tuesday, July 30, 2019

Pink Carnation

 I made a card to share with you today, using the beautiful new Simon Says Stamp Carnation Frame die from Simon's latest release, Believe in you...
I decided to let the color of the carnation flower be the only color on the card, so I got out my favorite go to colored papers for these kind of flowers...Paint Chips!!  I die cut the flower part three times with three different shades of pink.. I then die cut the flower and frame three times, adhering two of the die cuts together after taking all the die cut pieces out.  The third die cut, I left the flower petal pieces in the die cut, and used my Tombow adhesive runner and put adhesive all over that die cut.  I adhered the two layers over that adhesive covered die cut, then put in the separate petals in the different shades into the layered die cuts.  I adhered an embossed piece of black card stock behind the flower, and added a sentiment from the pretty new set of sentiment stamps from CZ Design, Clean Line Everyday.  Here's a close up...
Having so much fun with this new release!!
Thanks for visiting me today!! Hugs!! Lisa

Saturday, July 27, 2019

Daisy Birthday

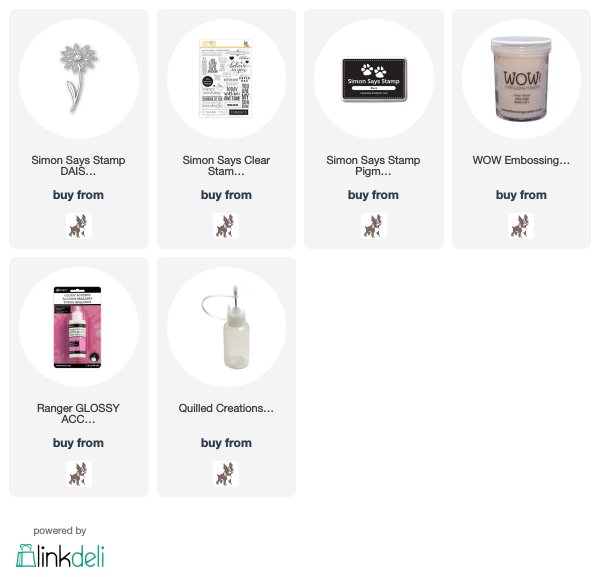
 I have a simply done card to show you today, using the pretty new Daisy Stem die from the latest release from Simon Says Stamp, Believe in You...
 I die cut, layered and colored the middle and stem of the daisy with markers.  I adhered the flower to a polka dotted panel that was slightly popped off the card panel.  I added a sentiment from the new Greetings Mix 1 stamp set and two stamped hearts that I also put glossy accents on... 
Such fun...aren't daisies such a happy flower??
Thanks for visiting me today!! Hugs!! Lisa

Friday, July 26, 2019

Simon Says Stamp Believe in You Blog Hop...Day 1!

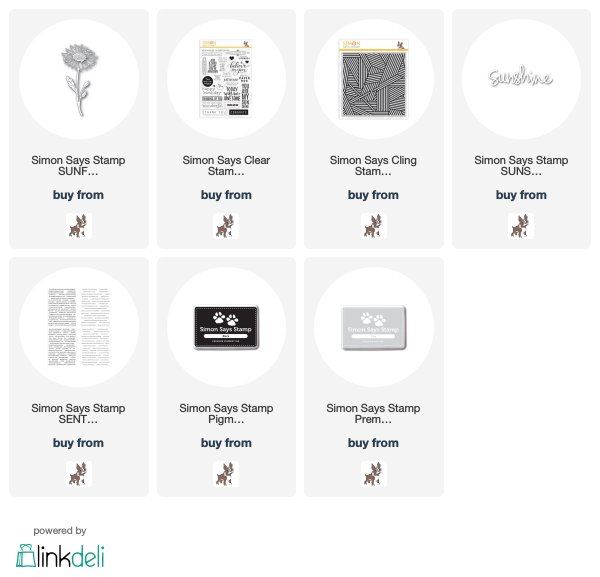
 I am so thrilled to be a part of today's Simon Says Stamp Blog Hop, celebrating their newest release, Believe in You!  This release is filled with lots of pretty and fun stamps, dies, a new stencil, Suzy's watercolor cards, sentiment strips and sequins...all will provide lots of fun and help us to let others know we believe in them, while we believe in ourselves, right, fellow crafters??!!  I used the very popular and beautiful Sunflower Stem die to make several simple, but because of this die, beautiful sunflower cards!...
 My mom's favorite flowers were sunflowers, my daughter got married with sunflowers adorning her bouquet and the reception...so sunflowers are very special to me through my family.  I die cut and layered all the sunflowers I used for all three cards.  The first card, I chose to leave the leaves and middle of the flower white, to make the flower the main focus with the only color being in the flower.  I used three different colors of paint chips.  I die cut the paint chips and placed each into the die cut and layered die cut sunflower.  I adhered it to a polka dotted panel and added a sentiment from the new stamp set, Greetings Mix 1.  Here's a close up...

The second one, I used the die cut with a copper metallic sticky foil sheet...
 I die cut, adhered, and then layered the copper with white card stock die cut sunflowers.  I LOVED the look of the metallic, (an older piece of taped copper foil by Ranger)and opted to keep the flower petals empty, and simply stamp another of the sentiment stamps from the Greetings Mix 1 set.  Here's a close up...

The third one, I did much like the first, except instead of leaving the petals blank, or not coloring the center of the sunflower or it's leaves, I used markers to color all the parts of the flower and it's stem/leaves... 
 Sunflowers have "sun" in their name, so I thought an older "sunshine" sentiment die was perfect with this pretty yellow flower.  I also used a background stamp for this card, also from the new release, Stripe Jumble...sooo cool, right?!  Here's a close up... 
 My fun is above, yours is below!!
Simon Says Stamp will be generously giving a $25 coupon to one commenter from each and every blog on the hop, simply leave a comment for a chance to win!!  The winners will be chosen and be posted on the Simon Says Stamp Blog on Wednesday, July 31st, so
make sure you check the blog on the 31st, to see if you're a winner!
The next stop on the hop is amazing Heather Ruwe
   The list of participants of the hop are below.  If you get lost, you can head to the  Simon Says Stamp Blog...hope you will check out all the amazing artists' inspiration today!! 
         Cathy Zielske
        Nina-Marie Trapani
         Jessica Frost-Ballas
        Amy Rysavy
         Suzy Plantamura
                                            Lisa Addesa<-----You are HERE
         Heather Ruwe
         Gayatri Murali
        Barb Engler
        Marge Yoon
         Lea Lawson

A couple BIG things before I go....Simon is offering of a FREE Tim Holtz Mini Distress Resist Spray with any purchase until the July 31st(while supplies last)...how cool is that??!! See the details below!!   AND...there's another blog hop tomorrow, hope you'll check it out for more amazing inspiration!!
Thanks for visiting me today!! Hugs!! Lisa
Thursday, July 25, 2019

Lunchbox Full of Love!

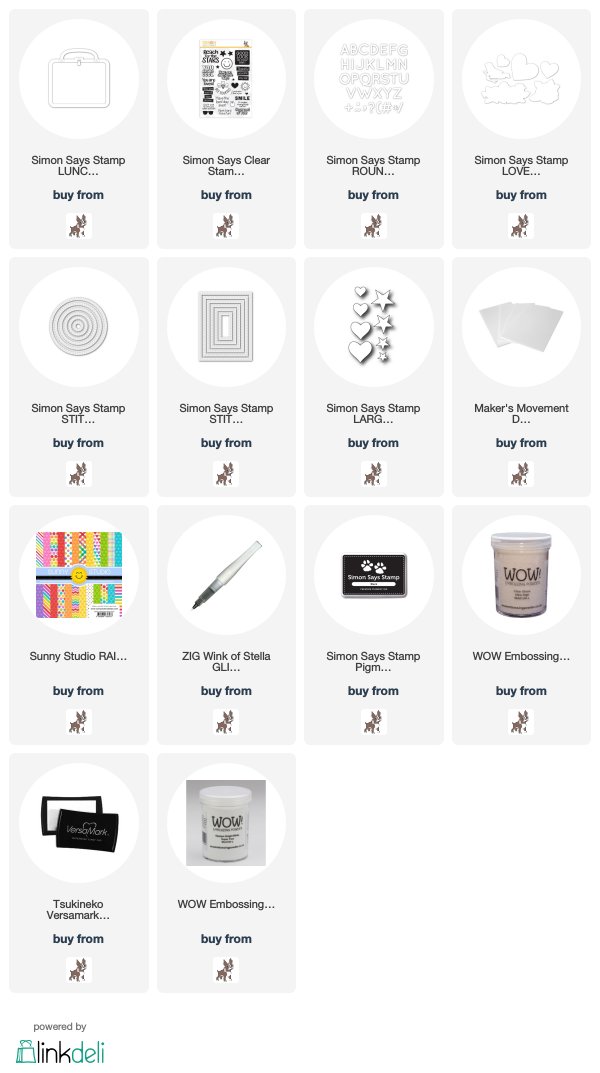
Today is release day over at Simon Says Stamp!  Their newest release, Believe in You, is one filled with beautiful and fun new products to encourage and celebrate those in your life!!  I chose the new and incredibly fun Lunchbox die and Lunchbox Notes 2 to showcase today!...
 Let me start by saying, I have NO school age children, and often times, when school is about to start and school stamps are out, it's easy for me to look beyond them.  I DO have grandchildren, now, though, coming up to school age...well...in a few years:)!!  This die and stamp set, though, were TOO STINKIN CUTE to let go by despite my "children" not being the right age.  Honestly...I beyond LOVED this lunchbox die, and the stamps...they are both toooooooo cute!!  I even thought, what about a lunchbox invitation to a friend for a lunch date...a birthday present with some money in it(not quite big enough for standard sized gift card)...make it into a suitcase with money for a trip??  LOTS of possibilities!!  OK...onto the lunchbox creation.
I MADE a 3D lunchbox out of the die, so that it could be sent IN a lunchbox with the notes inside it.  To do this, I die cut and layered the lunchbox for the back, die cut a double sided sticky foam piece for the middle to give depth in the box, and then a die cut top.  For the top, I die cut the box in white twice, cut off the flap that opens from one of them, and added the flap from another die cut piece from a piece of striped patterned paper underneath the cut off white.  I layered the opening clasp with all the white pieces from the die cuts, and adhered to the lunchbox with an old mini brad(yes, that stash of old brads DOES occasionally come in handy!!).  I added die cut and layered letters that spell my oldest grandbaby's name, Isla (pronounced eye-la)!  I added some wink of stella glitter to the letters for fun...
 Then...onto the notes to put IN the lunchbox...
 I stamped, then die cut or cut out the notes.  OMG...SUCH FUN!!!  The sentiments and fonts...I had SOOO much fun stamping, coloring, die cutting!!  Below are what I made...oh...and one of my daughters reminded me of snacks I used to give them, as well as party favors and such, and it will NOT fit in the die cut lunchbox, but could go in the real lunchbox!!  So... the snack with the Smiley Face on it, was Emma's idea!...
 Here's what the lunchbox looks like inside...
 ...and my wonderful son-in-law, Heinz, was my handsome hand model , to show you what taking a note out of the lunchbox looks like:)!!...
Hope you will check out the new products over at Simon,  and join me tomorrow and Saturday over at the Simon Blog for inspiration with a two day blog hop celebrating this new release!!
Thanks for visiting me today!! Hugs!! Lisa