Sunday, August 30, 2020

Whimsy Rainbows

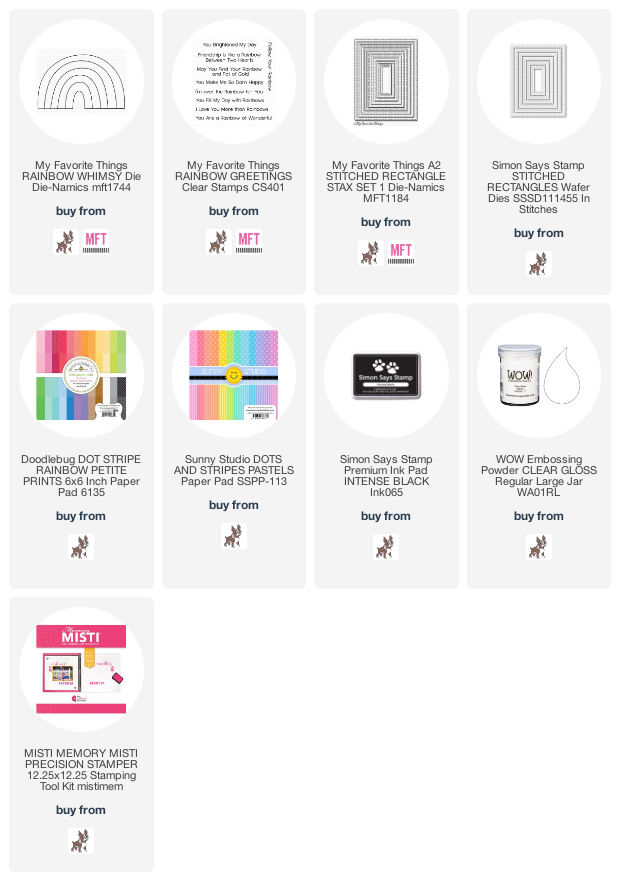
I made three fun, simple cards with the My Favorite Things Rainbow Whimsy die and their Rainbow Greetings stamp set...
The first one, I used plain card stock and a stitched rectangle die...
I layered the rainbow and popped up the panel I adhered it to. In all three, simplicity was key.  I honestly tried Tonic drops, but didn't like the look, so they are simply rainbows, nothing else.  I also tried to use these rainbows on cards with the rainbows running along the top half, but thought this die cut "fit" better on the long side. 
Here's  a close up...

The second onem I used patterned paper and adhered to the same patterned paper in gray...
The paper is Doodlebug. Here's a close up...

The third one I opted to put on a square card for something a little different, and the sentiment was longer than the first two...
The only stitched square die I had large enough for a 5" card was made by Lil Inkers (sadly, no longer in business, so no longer available).  The paper is from Sunny Studio.  I framed with a black border.  You KNOW this card has to go to somebody REALLY special if I am willing to tell them I love them more than rainbows...a family card, for sure:)!!  Here's a close up...
I LOVE this die, it's cute and sweet at the same time, and hey...it's a rainbow, what is not to love for just that fact, alone!!!  Here's one I saw a couple weeks ago while driving to my daughter's house!  I was so stunned, I had to pull over in this school's parking lot to gaze at it for a while and get this picture...I love rainbows!!
Hope your day is happy, and that you are staying safe!!
Thanks for visiting me today!! Hugs!! Lisa
Wednesday, August 26, 2020

Floral Sympathy

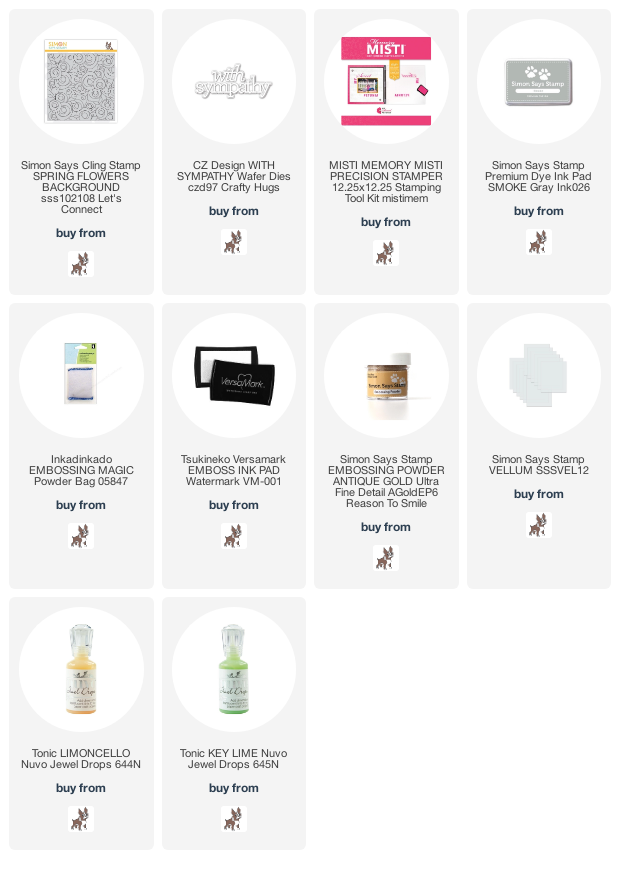
I've made a card to share with you today, using the pretty new Simon Says Stamp Spring Flowers Background, from the Let's Connect release, to make a sympathy card...
The last card I posted, I had colored the background of the background stamp, and used all the same colors with this stamp, except that I embossed the entire background stamp after coloring, with gold embossing powder instead of black. I made this card by stamping the image in my MISTI with Simon Smoke ink.  I took it out of the MISTI, and colored with my Prismacolor markers.  What I love about this stamp, is that it had modern, sort of geometric flowers, and I opted to simply color different parts of each flower with different shades of yellow...nothing fancy, but I thought it looked cool.  I colored the background gray and the leaves with a green marker. I then put the colored image back into my MISTI, rubbed with my static bag, and stamped again, this time with versamark, and then gold embossed! I dotted some of the petals and some of the leaves with Tonic Jewel drops and added a layered CZ Design sentiment die.  I die cut a piece of vellum for the sentiment's background.  Here's a close up...
...then from the other side...love the golden shine!  It's hard to capture metallics  in pictures, but thought the above and below showed it pretty well...
I am really enjoying coloring...so much fun!!
Thanks for visiting me today!! Hugs!! Lisa

Monday, August 24, 2020

Daisy Thanks

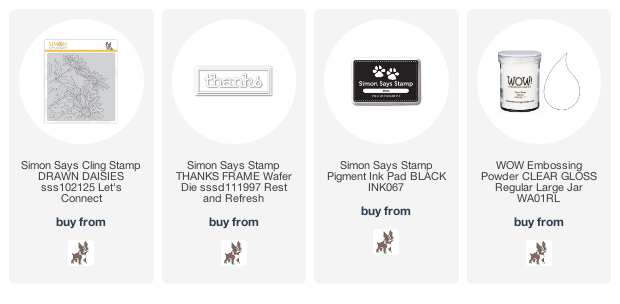
 I used the pretty new Simon Says Stamp Drawn Daisies stamp, from the Let's Connect release,  to make a thank you card...
I LOVE daisies!  I thought this daisy stamp was so pretty!  I had to think a bit how to make the daisies stand out without having to color them.  SO...I colored the background gray, making the white daisies stand out a bit.  I did give their petals some gray streaks for highlights, but a super simple card...full of coloring...which was super fun!  I am plain jane colorer, but sometimes, when the stamp has details, like this one, I think you can get away with being a mediocre colorer.  I have seen some of the beautiful cards made with this stamp, and the coloring that some artists can do...maybe I'll get there someday.  But for now, this coloring, in it's simplicity makes me happy!  I cut the stamped image down to fit my A2 card, popped up a bit, and added a die cut and layered Simon Thanks die.  Here's a closeup...
Such fun...hope you are all doing well and staying safe, wherever you  are in this wonderful but crazy world we all live on!  
Thanks for visiting me today!! Hugs!! Lisa

Sunday, August 23, 2020

Sweet...

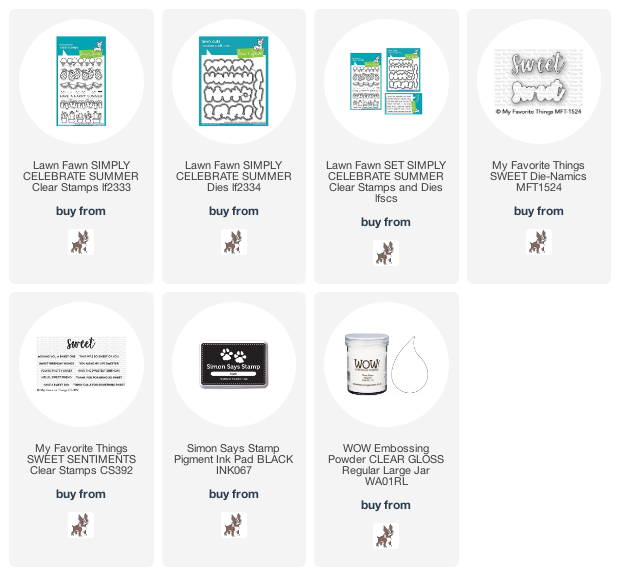
I used the Lawn Fawn Simply Celebrate Summer stamp/die set and the My Favorite Things Sweet sentiment stamp and Sweet die to make a couple cards...
I LOVE  these Lawn Fawn "Simply" stamp dies sets!  They are simple, and simply adorable!  I also purchased the sentiment stamp set that goes with the "Simply" stamp/die set, but chose to use the My Favorite Things Sweet stamp/die set for today's cards.  I stamped, embossed, die cut and layered the ice cream cones, them swiped the pink marker on a piece of cardstock and die cut the sentiment and layered, as I wanted it to "match" the ice cream.  I used an old Papertrey Ink impression plate (Tin Types) for the background.  Here's a close up...
The other one, I used the watermelons for a card to encourage a friend!...
I absolutely LOVE watermelons...my family thinks I'm crazy, but I never buy one watermelon....usually two or three at a time!  I love watermelon, but am always afraid that if I buy one and picked a bad one, I'll have none...so two or three gives me better odds of getting a good one.  One time I picked three BAD ones...the most recent purchase, I have eaten two of the three and so far, both were AMAZING!!  There is nothing like a beautiful, sweet watermelon...and while the summer lasts, I will indulge as much as possible.  I used another Papertrey Ink Impression plate for this card (retired Simple Stripes) and popped the top and bottom up over the watermelons.  Here's a close up...
Hope you are enjoying the sweet simple things in life, this summer, ice cream and watermelon...it doesn't get much sweeter, or fun than this!!
Thanks for visiting me today!! Hugs!! Lisa

Tuesday, August 18, 2020

The Little Flying Unicorn

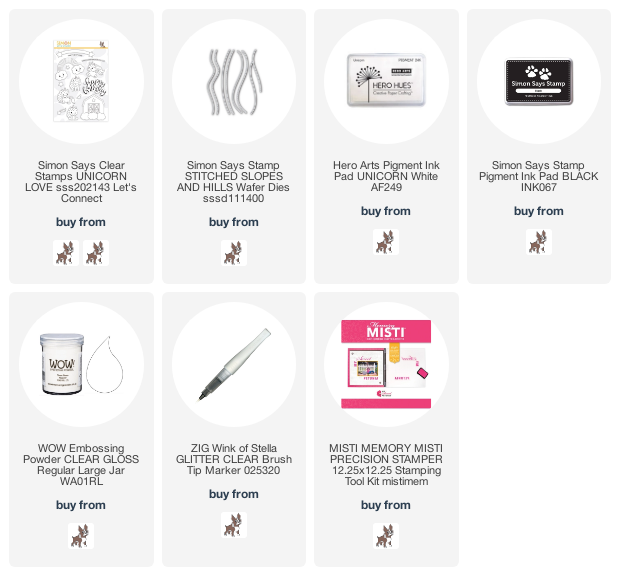
I used the adorable new Simon Says Stamp Unicorn Love stamp set, from their newest Let's Connect release, to make a card...
When I saw this set, I fell in love with the sweet and adorable little unicorns!  I knew I wanted the unicorn to fly...only thing is, didn't know how.  I thought...I's LOVE to see him/her flying with a slider, over the sentiment banner...but didn't have any slider dies.  SO,  I made my own!  I used one of the dies from the older Simon Says Stamp Stitched Slopes and Hills die set, partially cutting with the die twice, right above/below each other, then cut out the middle piece.  I had to partial cut, as the die is much longer than what I wanted/needed.  I then put raised glue squares and strips around the opening, wide enough to fit the penny that would weigh the unicorn and help him move.  Not shown, I also put a thin strip on the other side of the penny, attached to the unicorn, to keep the unicorn flying straight along the track.  Here's the back of the track...
The black panel, I had splattered some watered down white ink, and added some sparkly silver stars.  I stamped and hand cut out the unicorn and the star banner.  I colored the unicorn with markers and used my Wink of Stella marker brush on the uniorn's mane and the stars on the banner, for some glitter, to give it some real "sparkle"!!   Here's a close up of the unicorn's sparkle...

I also took a short video of the "flying" unicorn...

If you have an idea, watch some videos(I did for the penny idea), get some inspiration, and try to see if you can make your idea come to life...it's so much fun!!
Thanks for visiting me today!! Hugs!! Lisa

Monday, August 17, 2020

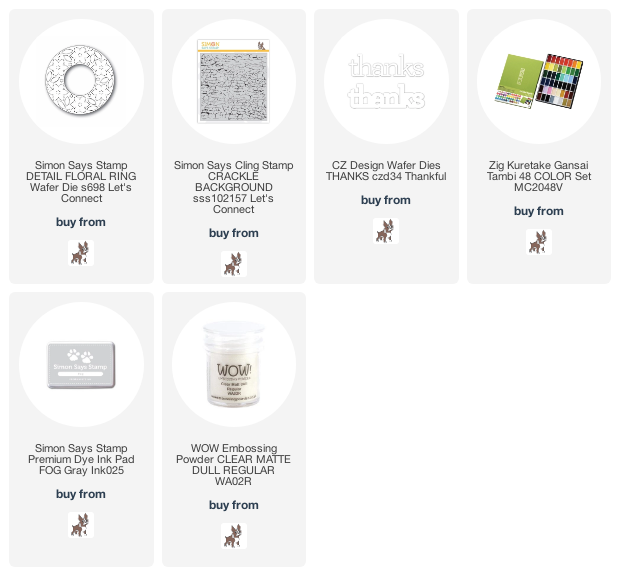
Detail Floral Ring Watercolored

I used the pretty new Simon Says Stamp Detail Floral Ring die, from their newest release, Let's Connect, to make a thank you card...
I die cut the ring with watercolor paper, then used my watercolor paints to color the flowers and leaves.  I layered the ring and adhered to a square card with a gray background using the wonderful new Crackle background stamp in gray and clear embossed.  I used the CZ Design Thanks die layered, for the sentiment.  Here's a close up...
Having such fun with this new release....hope you have some fun today, too!!  
Thanks for visiting me today!! Hugs!! Lisa

Thursday, August 13, 2020

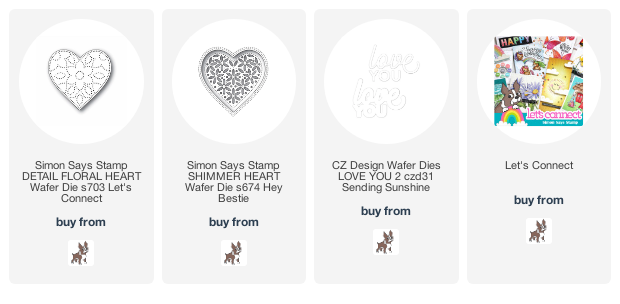
Stitched Detail Floral Heart

I used the beautiful new Simon Says Stamp Detail Floral Heart die from their newest Let's Connect release, to make a card...
When I first saw these new detail dies(there are four of them in this new release), I thought, "they look like they could be stitched". I decided that three of them were too big, with too many details and would have too many stitches, but I opted to try and stitch the heart, which is smaller than the others.  I colored the cream colored cardstock with three colored markers, and picked floss thread to match the marker colors(I hung onto those three boxes of floss...I KNEW they would come in handy, again, someday!), and stitched away!!
I layered the heart...then had an idea. I'm going to be honest.  The stitching was fun, relaxing, and rewarding, but took a LOT of time.  I have seen some amazing artists stitch cards and it's beautiful, but the time and effort that goes into it, for me, is something that is hard to do.  I wanted to make sure I gave my "heart" a chance to maybe be appreciated for a little longer than an average card(well, worth a shot, right?!) .  This die would be beautiful done with red flowers and darker green leaves for Christmas and hung from a ribbon!!  But...I didn't think of that until after I was half way through my stitching.  SO...I decided to add a magnetic backing on the heart and make it a magnet!!  The magnet it from one of the magnetic sheets that I use to adhere my dies sets to that have little pieces.  With a magnetic back, I can send it and let the recipient know that they can put it on their refrigerator?!  I know, lots of people want clean looking frigs, but hey...better than nothing!  Here's a pic of back and front of my heart magnet...

I used another Simon die, Shimmer Heart, to make a "window" for the heart to sit in,  I rolled up three glue dots, put them on the back of the heart and adhered to card.
I used a layered CZ Design Love You die for the sentiment.  Here's a close up...
Ok...even with the time it took to stitch, this card was so...much...fun!!
Thanks for visiting me today!! Hugs!! Lisa

Monday, August 10, 2020

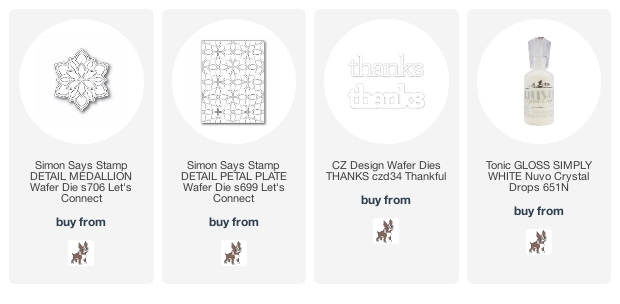
Rainbow Detail Medallion

I used the beautiful new Simon Says Stamp Detail Medallion die from their latest Let's Connect release, to make a thank you card...
 When I first saw this die, I imagined it with six different colors...for the six different sides and points to the medallion.  The only thing is...I wasn't sure how to do it, and wasn't very good at making that happen.  I cut squares, then cut the squares into triangles...nope.  Then I cut some of the leftovers, but nope.  THEN, I had an idea...not the best, but better than I had had up til that point.  I googled "circle cut into six pieces template", and then printed it off...a few times, until I got it the right size...about 3".  Yes, I could have die cut a 3" circle, but the lines that cut it into 6 pieces were key.  I probably could have figured out how to do that, too, but I wasn't "feeling" the work it would take to get it right, so I opted for the printed circle.   I then took and cut the colors with the printed circle over each one as I cut them with my paper cutter.  The cuts are by no means perfect...I had to cut the pink one down to fit.(it was the last one I put in place).  I didn't account for the lines in the printed circle when I cut them with my paper cutter, so they are not perfect, but I think you can get the gist of the idea I had when started making this idea happen.  I used white Tonic drops and dropped a dot on a piece of acetate, let dry, removed, and adhered to the center of the medallion.  I used the beautiful new Detail Petal Plate for a background, and the CZ Design Thanks die for my sentiment, die cut and layered.  Here's a close up...
Not perfect, but a whole lot of fun!  A phrase I learned while watching Disney's Raven's Home with my Noah, is key to remember with cards like this: "Wabi Sabi"...meaning, there is beauty in the flaws!  
Thanks for visiting me today!! Hugs!! Lisa

Friday, August 7, 2020

Let's Connect Blog Hop!

I'm joining a number of uber talented artists, today, to celebrate Simon Says Stamp's newest release, Let's Connect with a blog hop at the Simon Blog!  Connecting with others is so important in life, and during a season like we are living in, cards are an especially perfect way to connect!!  This release is filled with some fun, some pretty, some cool, but everything wonderful, in the way of stamps dies, and lots more, to make connecting to others so easy!!  
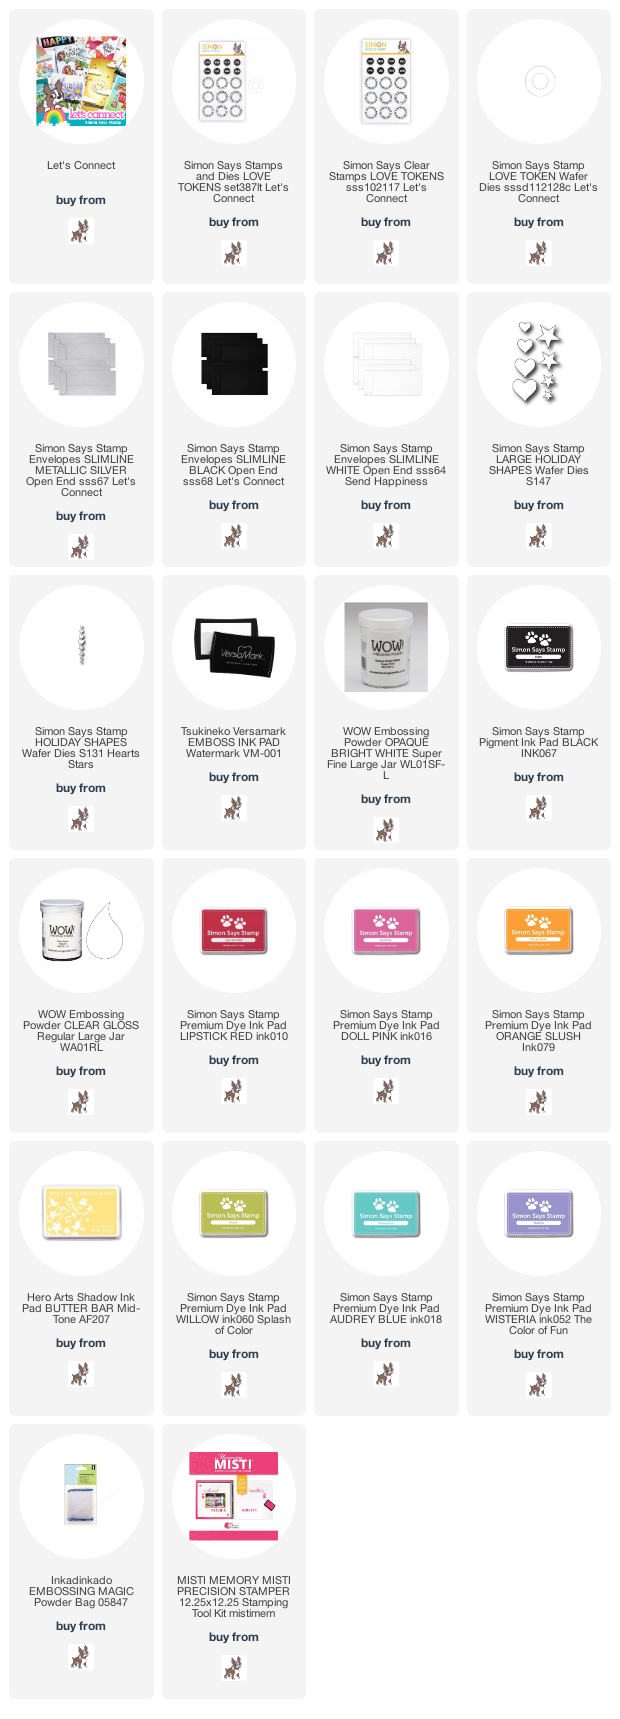
I have used the new Love Tokens stamp/die set to make three slim line cards filled with rainbows of love...
  I could not get away from the thought of rainbows and slim line cards for these love tokens, so all three show you different ways I stamped the tokens and three different layouts of them.  I opted to put hearts in the centers of the tokens, because they fit so perfectly and, they're love tokens, right?!  But, you could easily put the "mom", "dad", "you",..in the centers if you deided to make cards that are for particular people.
  The first one I stamped the "friend" circle for the last token. All the tokens and hearts are layered, the first one, the white panels are popped up over the black panel.  I paired each of the cards with one of the new Simon Slim Line envelopes...thnis card, a black envelope.  Here's a close up of the card... 

   The second card... 
The white panels are popped up on either side of the tokens, like the first.  Here's a close up...

The third one, a birthday card...
I stamped the tokens in seven different colors of ink and used white hearts for the centers.  I cut squares like the colors of the tokens, and put black strips on either side of the squares. I paired this card with one of the new shiny silver envelopes...thought it perfect for a birthday!!   Here's a close up of the card..
OK...my fun is above, your fun is below!  
Simon Says Stamp will be generously giving a $25 coupon to one commenter from each and every blog on the hop, simply leave a comment for a chance to win!!  The winners will be chosen and be posted on the Simon Says Stamp Blog on Wednesday, August 12th, 
so make sure you check the blog on the 12th, to see if you're a winner! 

   The list of participants of the hop are below.  If you get lost, you can head to the Simon Says Stamp Blog...hope you will check out all the amazing artists' inspiration today!! 
Don't forget about the offer from Simon in the banner, above, for Gina K Designs Dot Runner with any purchase during this hop...until the end of the day on August 9th...or until supplies last...just use the code GLUE at checkout!!  
I hope you have been inspired and will continue to "connect" along the blog trail today!!  There is a second day of inspiration tomorrow, with a second Blog Hop, so check Simon's Blog tomorrow ...and don't forget to connect with family and friends...it feels  amazing!💗
Thanks for visiting me today!! Hugs!! Lisa

Thursday, August 6, 2020

Let's Connect Rainbow Card!

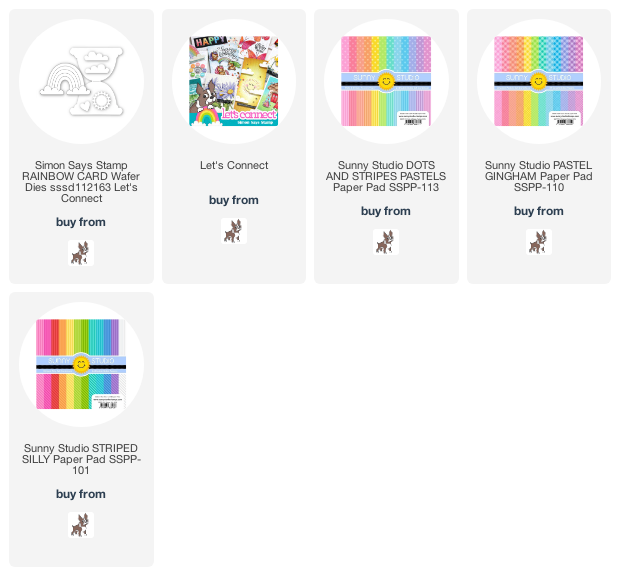
There is a new release just out today, at Simon Says Stamp, Let's Connect!!  I have used the wonderful new Rainbow Card die set to make a card to celebrate this new release...
I LOVE this die set!!  I love rainbows, and to have a die set that MAKES a rainbow card...well, I am over the rainbow!!  This set has everything except the cardstock to make this card...I love that, too!!  I die cut all the rings of the rainbow with patterned paper from Sunny Studio, and layered all the pieces then adhered them to the card.  OH...AN IMPORTANT NOTE... when putting the card together, make sure you put it together on the correct side of the card.  I couldn't figure out why my clouds die cuts didn't fit "right"...I turned the card to the reverse side, and VOILA...perfect!! So make sure the clouds line up first😊, when assembling your card.  The inside reads "you are my rainbow"...here's a close up of my rainbow...
I then found a purple envelope so you could see how it fits in one...
Hope you will check out the new release over at Simon (I've also provided a link below in my product list)...and there will be two blog hops tomorrow and Saturday to celebrate all the fun new stamps, dies and accessories!!  
Thanks for visiting me today!! Hugs!! Lisa