Thursday, January 30, 2020

Hearts of Gratitude

I used the new Simon Says Stamp Tumbling Hearts Stencil, from the Love You More release, to make a thank you card...
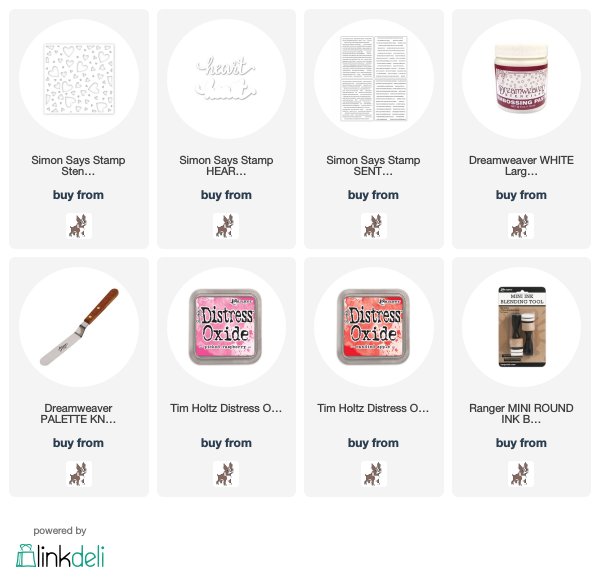
I had just gotten the Simon Heart Shadow die(LOVE the font on this sentiment die!), it came out some time ago.  I thought I would combine the sentiment with some hearts, to make a thank you card.  I looked up the "color" of thanks, and pink and red were the colors that denote not only love, but thanks/thankfulness.  I know that hearts are definitely for Valentine's Day, and pink and red ones, especially, but I LOVE hearts, and wamted to show that the use of hearts goes far beyond that one day... hearts are for the entire year!  I used white embossing paste with the heart filled stencil on some black cardstock, let dry, and colored the hearts.   I used Candied Apple and Picked Raspberry distress oxide inks, placing the stencil back over the dried pasted hearts and sponging the ink over the hearts.  I found a Simon sentiment strip that was PERFECT to go with the stenciled hearts and heart die.  Here's a close up...
Yes, hearts and love are for everyday!!
Thanks for visiting me today!! Hugs!! Lisa

Wednesday, January 29, 2020

Lovely Friend

I used the beyond beautiful new Simon Says Stamp's Be Kind stamp/die set, from their newest release, Hey Bestie, to make a card for a friend...
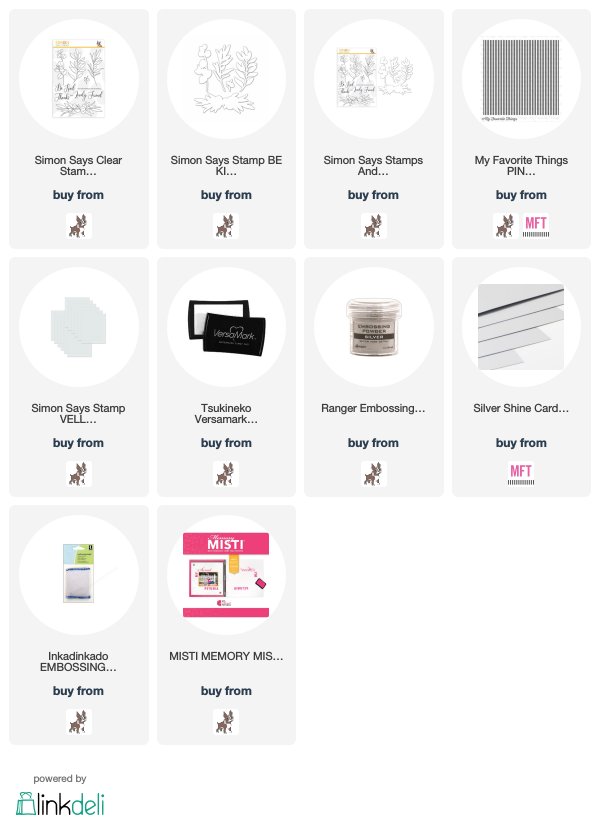
 I stamped the image on vellum, silver embossed, die cut, then colored on the back side of the vellum with markers.  I layered the leaves, then adhered to a panel that I had stamped the pretty sentiment on  from the set, with vellum and again, silver embossing powder.  I used a backgound stamp with more vellum on silver cardstock with silver embossing powder for the strips on the top and bottom of the card.  Here's a close up...
Such really pretty stamps in this set...love vellum and metallic, together...such fun!!
Thanks for visiting me today!! Hugs!! Lisa

Monday, January 27, 2020

Happy Birthday Mice

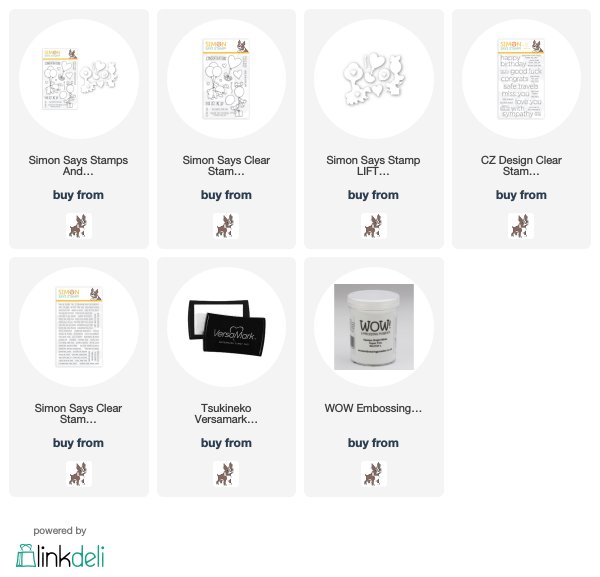
I've made a birthday card with the new super cute Simon Says Stamp Lifting Hearts stamp/die set from their latest release, Hey Bestie!  Love these adorable mice!!...
I stamped, die cut, colored and layered the mice/balloon/present image, then die cut and layered the hearts.  I used a glitter gel pen to color the hearts as well as the ribbon around the package.  I also used the pen to make polka dots on the present.  I added a sentiment from the CZ Design Clean Lines  Everyday and a sentiment from Simon's Tiny Words.  I adhered it to a strip of black cardstock with two strips of striped paper on either side of the strip.  Here's a close up...
A mouse in my house, not so much fun, but a few of them on a card of any kind, well... these are too stinkin' cute!!  Such great fun!!
Thanks for visiting me today!! Hugs!! Lisa

Saturday, January 25, 2020

Simple Birthday Wishes

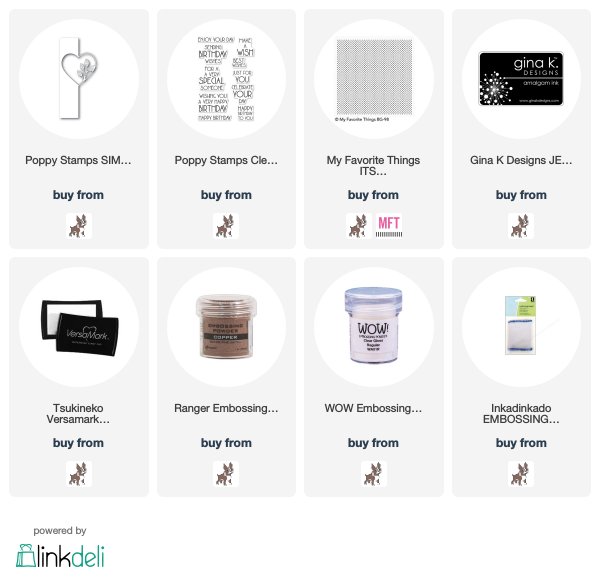
I used the beautiful new Poppy Stamps Simple Leaf Heart Split Border die to make a birthday card...
I die cut the die, then stamped the sentiment, from Poppy Stamps Birthday Blowout stamp set, love the bold statement this sentiment and it's font make with this design!  I die cut the die a couple more times and adhered under the first die cut.  I chose to stamp some black cardstock with a polka dotted background stamp from My Favorite Things with Versamark, then emboss with copper embossing powder.  I thought the leaf/heart combo would show better with a dark background, and the polka dots are small and many, I just liked it...I thought it brought a cool design to the leaf/heart die. I use this polka dot stamp a lot...and together with metallic embossing, also a love of mine... I think, so cool!!  Here's a close up...
Simple card made with a simple leaf die:)!!  Such sweet fun...sweet, simple fun!!
Thanks for visiting me today!! Hugs!! Lisa

Wednesday, January 22, 2020

Banded Hearts Fun!

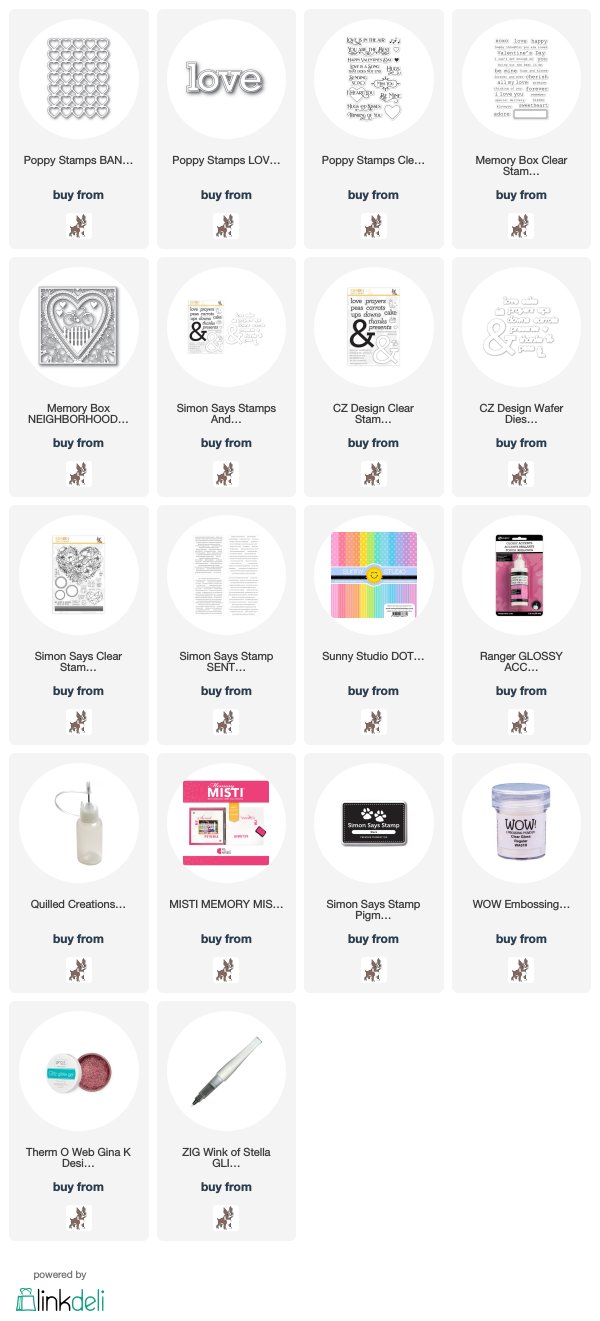
I have made five cards to share with you today, made with the wonderful Poppy Stamps Banded Hearts die!!  The first two were made with the whole outline of the die, the last three made with the die cut hearts from the outline😊!!
I die cut and layered the Banded Hearts outline, and filled the hearts with a rainbow of die cut hearts from Sunny Studio's patterned papers.  I used the Poppy Stamps Love Outline die for the sentiment.  I had some scrap paper in glossy white for the outline of the hearts, and had a piece of glossy black for the sentiment.  Here's a close up...
The second one, I wanted one sole heart to stand out...
I die cut and layered like the first, but embossed the bottom layer.  I then used a number of gray markers to color the hearts.  I then layered and then covered one heart with some glitter gel.   I let it dry, then added a stamped and die cut sentiment from Simon Says Stamp and a Simon Sentiment strip for the sentiment.  Here's a close up...
Okay...I had ALOT of hearts from all the Banded Hearts outlines I die cut and adhered together.  I had fun and spent some time watching tv, adhering three of them together and then put them in an envelope, not knowing what I would do with them, but got excited just thinking about all these hearts on cards!!  Here's the bag....
The first card, a sole red heart and layered borders to either side with a Poppy Stamps sentiment stamp...
Here's a close up...
The second one, I covered the hearts with the same striped paper used above, along with a Memory Box sentiment stamp...
Here's a close up...
The last one, I used a bunch of leftovers...
The white hearts were covered with die cut pink hearts and then brushed with Wink Of Stella glitter.  I used the leftover heart die cut from the Memory Box Neighborhood Heart Frame die...the heart that is die cut when the dies of the set are kept together and there is a die cut heart that happens between the frames.  The sentiment is from Simon Says Stamp, and the black paper, a scrap piece of paper.  Here's a close up...
This was SO MUCH FUN!!!  Love and Hearts...for EVERYDAY!!
Thanks for visiting me today!! Hugs!! Lisa

Monday, January 20, 2020

The LOVE of Ornate Letters Make Me HAPPY!

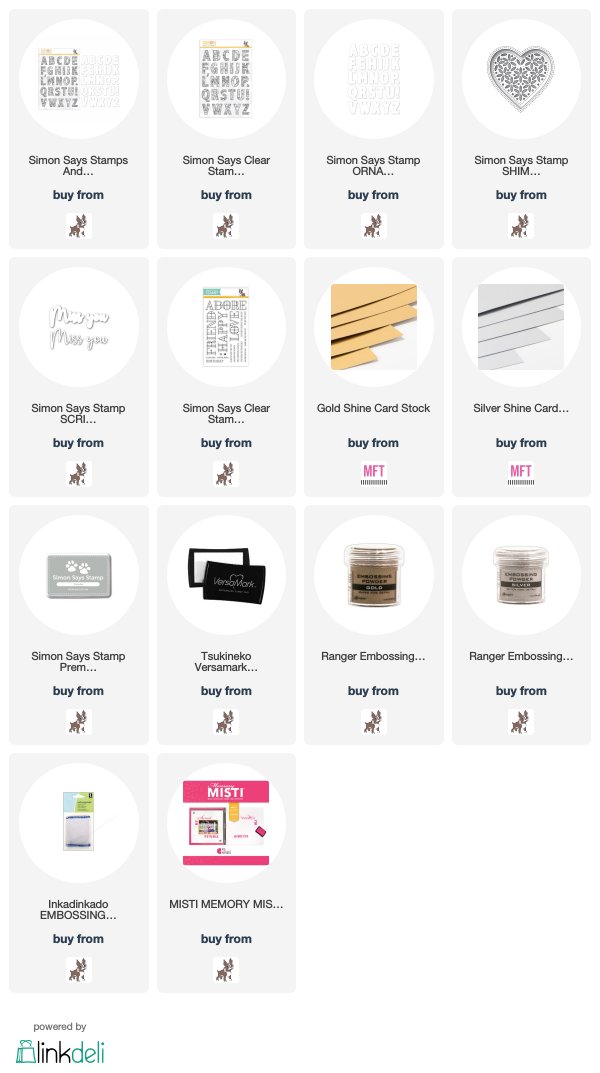
I made a couple cards with the wonderful Simon Says Stamp Ornate Alphabet stamp/die set, the stamps released several releases ago, the dies just came out in the Diecember® release!  I love these letters, their possibilities are limitless!!   I made a card for Valentine's Day and one for a birthday...
I was in a metallic mood, and used a technique that I LOVE to color and emboss the letters for both my cards...one gold, the other silver.  You HAVE to have a MISTI to do this!  I put the stamps/letters in the MISTI, and stamped the letters with a gray ink, then colored the letters with markers. Below, is the beginning of the coloring the second of the three colors of ink I used on the letters (I used three different pinks).  
 I dried the inks with my heat tool to make SURE they were dry, then put the paper back in my MISTI so that the paper was put back in the MISTI the exact way they were taken out.  I brushed my embossing bag over the letters to make sure there was no static, and used versa mark on the stamps this time.  After stamping the colored letters, I sprinkled the gold embossing powder over the letters and heated.  I die cut then layered the letters, adhered to a layered stitched heart from the Simon Shimmer die, and added a gold die cut "you" from a Simon"miss you" die set.  Here's a close up...
The second one done just like the first in the way of technique, this time using only two colors of  color on each letter, for a birthday...
This time, I opted for silver on the letters!  Below, you see what each letter looked like after coloring, but before embossing...what a difference embossing makes...
I then cut a card panel and popped it up on the top and bottom of the "HAPPY", each having a silver strip.  I added a silver embossed "BIRTHDAY" below the happy...here's a close up...
Some might ask why do the embossing AFTER coloring??  Metallic embossing is not very forgiving when a marker touches it...the metallic changes to the color that touched it.  Now, if you had larger open spaces in your stamped image, it might be easier to get away with embossing then coloring, but I can pretty much guarantee that a marker will hit the embossed metallic at some point, and it will become colored. The look of pure silver or gold on top of the color is pretty cool, and not hard, as long as you have a MISTI!  The MISTI has really become a huge part of my stamping, not just for this kind of stamping, but for sentiment placement, and hard to stamp images that take more ink than one time stamping will provide, just to mention a couple examples...but examples that happen all...the...time!  Ok..."happy" to share my cards and insight with you today...having so much fun!!
Thanks for visiting me today!! Hugs!! Lisa
Sunday, January 19, 2020

Rainbow Bright

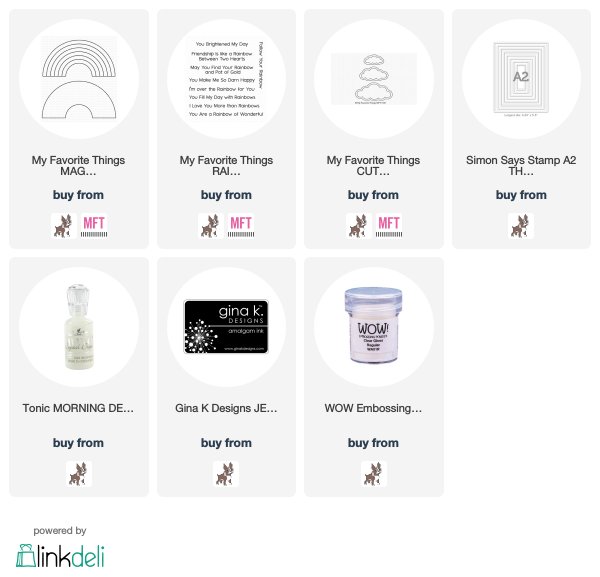
  I used the My Favorite Things Magical Rainbow die and stamps along with the Cute Cloud Outline dies, to make an encouragement/thank you card...
You know me and rainbows...well this one is so stinkin' cute!!  The sentiments in the stamp set are wonderful, and fit perfectly below the rainbow!  I layered the rainbow, and the cloud borders, added a few tonic drops and adhered to a framed, layered frame.  Here's a close up...
Hope you have a colorful day...it's fun!!
Thanks for visiting me today!! Hugs!! Lisa

Wednesday, January 15, 2020

Verdant Leaf Loving Heart

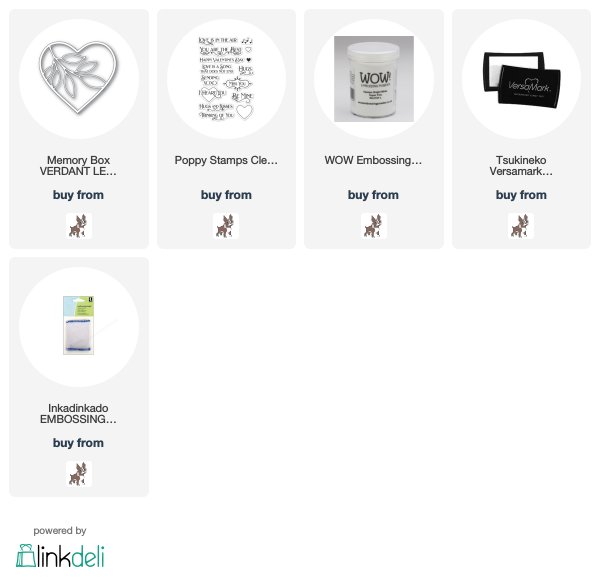
I used the very pretty new Memory Box Verdant Leaf Loving Heart to make a card today...
I love this die, these leaves in a heart is sooooo pretty!!  I decided to layer the heart/leaves, and put one layer of green leaves into the die cuts,  in a variety of shades of green.  I adhered the heart/leaves to a very old piece of patterned paper.  Truth be told, I had one scrap piece of this paper...a whole card sized piece of this paper, and the piece above, which was the leftover of that whole piece.  I stamped the sentiment (Poppy Stamps) terribly not just once, but twice on that whole piece of paper, as it then became smaller.  I then turned to the piece you see above, as it had now become the bigger of the two pieces.  Funny thing is, I stamped the sentiment perfectly on this smaller version, and actually LOVE the smaller width, rather than a full sized card piece!  Here's a close up...
Making cards with things I love makes me SO happy...hoping you are doing something fun that makes you happy with your day, today!
Thanks for visiting me today!! Hugs!! Lisa

Love Ampersand Thanks

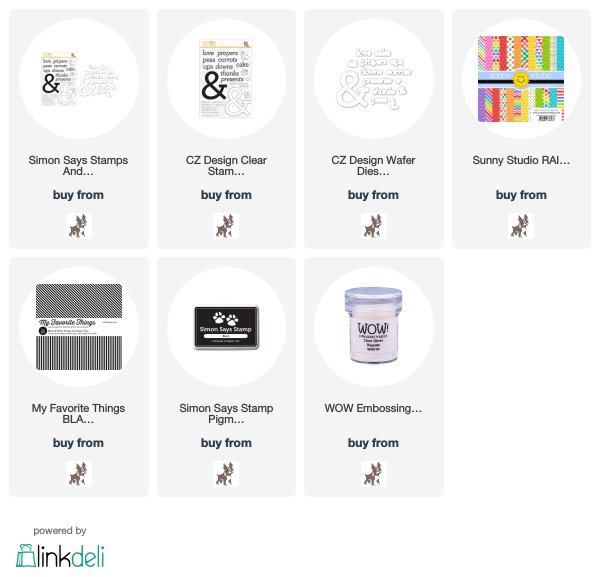
I made a card with the fun new CZ Design's Ampersand Words set from Simon Says Stamp's new release, Love You More!...
I stamped the ampersand stamp on a piece of patterned paper.  I then used scissors and hand cut it out.  I then adhered it to a layered die cut ampersand, which gave it a border.  I stamped and die cut the sentiments and hearts, layered, and adhered to card with another of the sentiments from the set stamped on the panel. I used strips of striped cardstock on either side of the card.  Here's a close up...
Such great fun!!
Thanks for visiting me today!! Hugs!! Lisa

Tuesday, January 14, 2020

Heart Wreath

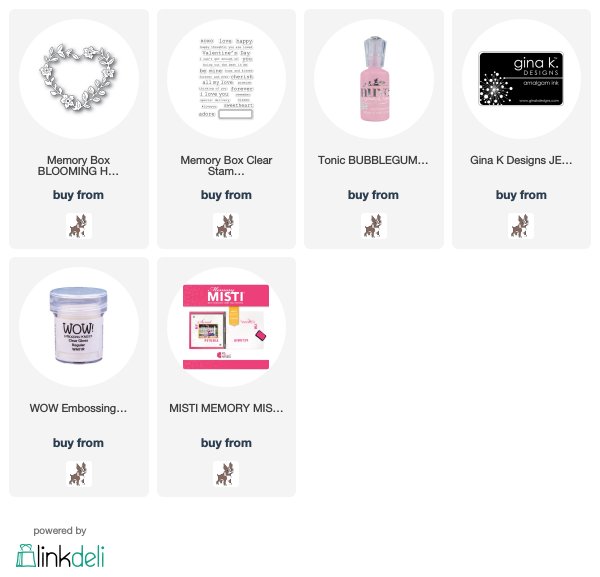
I made a card with the beautiful new Memory Box Blooming Heart Wreath die...for Valentine's Day, or any day!...
This die is pretty, so pretty, that I felt simplicity was how I wanted to showcase it's loveliness best!!  I die cut the wreath three times in white, colored one of the die cuts with markers, and then adhered all of them together.  I added some pink tonic drops to the centers of the flowers, then adhered the wreath to a card with a stamped sentiment from Memory Box's Big and Little Valentines, and then embossed  the panel with a lined embossing plate.  Here's a close up...
I LOVE simplicity!!  Having so so much fun in my craft room!!
Thanks for visiting me today!! Hugs!! Lisa

Sunday, January 12, 2020

I Really Like You

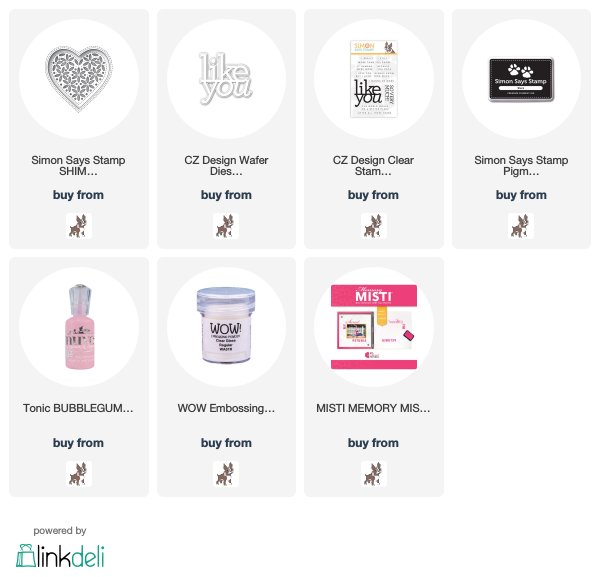
I made a card with the beautiful new Simon Says Stamp Shimmer Heart die,  and cool new CZ Design Like You die and sentiment, all from Simon's newest release, Hey Bestie...
 I LOVE the Shimmer dies...the flowers are so pretty and they are easy to color, any shape or design the Shimmer dies have been made in are just beautiful, and now a heart...I REALLY LOVE!!  I die cut one layer, and didn't remove any of the pieces.  I colored that layer with markers.  When I finished coloring, I then die cut another heart, removed all the pieces, then adhered it to the colored heart.  I added one more layer to the bottom of the heart for some added dimension.  I used one of the panels from the die cut for the card, and stamped a sentiment that went with the "Like You" die.  I colored the "Like You" die cut the same color as the flowers, the "like" a little bit lighter than the "you".  I layered the die cut sentiment and adhered to the card. Here's a close up...
Valentines or every day...hearts are timeless!!  Such great fun!!
Thanks for visiting me today!! Hugs!! Lisa
Friday, January 10, 2020

Love You

I made a card with the beautiful new Memory Box die set, Neighborhood Heart Frame, to make a card filled with love, for Valentine's or any day...
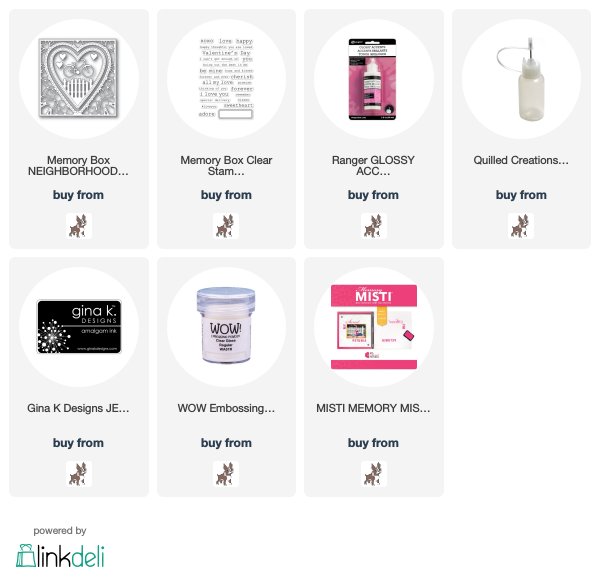
I die cut and layered the heart with the fence, frame, and bicycle three times, the frame having the bottom layer a black layer with all the pieces still intact...the other two of the frame, the pieces removed.  I colored the top layer of the bicycle with red, black and silver markers, as I colored the balloons with the same red as the bike.  I used glossy accents to coat the balloons and bicycle to give them some "shine", and added floss strings to the balloons, tying them to the seat of the bicycle. I used a sentiment from the Memory Box Big and Little Valentines stamp set.   Here's a close up...
I love love...every day of the year!!
Thanks for visiting me today!! Hugs!! Lisa

Hey Bestie and Love You More Releases Blog Hop

I am so thrilled and excited to be a part of today's Simon Says Stamp Hey Bestie and Love You More Blog Hop!!  Simon is combining two fabulous releases, Love You More which was released last month, and Hey Bestie, released yesterday, to showcase all the new products in these releases in one blog hop!!  There are sooo many amazing dies, stamps, stencils and accessories in these two releases...follow the hop, and I KNOW you find lots of inspiration!!
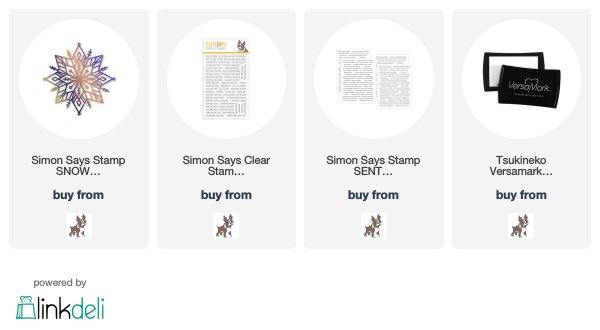
I have used one of the beautiful new dies from the Hey Bestie release, Snowflake Mandala, and made a couple cards celebrating this release and die!!...
From the moment I saw this die, I was in love!!  Although I am somewhat of a snowflake snob(having to have 6 points), this is a Mandala snowflake, and mandalas have 8 points, and I think this is really beautiful, so those two alone, made it ok.  The first thing I thought, though, is that all the sides MIGHT not be exactly alike, so I marked the tip of one of the points with a sharpie marker, and used that as my base for making a rainbow of colors mandala.  Good thing I did, as all the sides four and four...are NOT alike....they are a tiny bit different than each other!   I wanted to put all the colored pieces in a white die cut that was adhered to a die cut that had all it's pieces still in it(a whole die cut serves as a base for all the many pieces), so making sure the pieces exactly fit was crucial.  Here's what it looked like when I die cut it...the pink is where the die is marked...then I have laid a pin next to the marked tip to show you how I contnued to die cut the colors based on the first two, die cutting two colors at a time.  
Once I had all the colored pieces in the white die cut on the solid die cut, I adhered one more die cut snowflake over all the colored pieces.  I embossed the mandala die on the cardstock on the top and bottom, and added a sentiment that I made into a strip.  Here's a close up...

The second one, I left all the pieces out of the die cuts, and used some striped papers behind the layered die cuts...
I embossed the stripes with a snowflake embossing folder which I believe is no longer available.  I used a Simon winter flavored sentiment strip.  Here's a close up...
OK...my fun is above, your fun is below!  
Simon Says Stamp will be generously giving a $25 coupon to one commenter from each and every blog on the hop, simply leave a comment for a chance to win!!  The winners will be chosen and be posted on the Simon Says Stamp Blog on Wednesday, January 15th, 
so make sure you check the blog on the 15th, to see if you're a winner!

   The list of participants of the hop are below.  If you get lost, you can head to the Simon Says Stamp Blog...hope you will check out all the amazing artists' inspiration today!! 


AND...TWO THINGS before you go:
1.  Don't forget the offer in the heading!!  With a $50 purchase and the code: BFF489,  you will recieve the Simon Says Stamp Friend Outline die!!  Good until
1/12 at 11:59 or while supplies last!
2.  Don't forget that there's a second blog hop tomorrow at the Simon Blog...hope you will check back for MORE inspiration!!
Ok...now I'm done...have a wonderful day...hop on!!
Thanks for visiting me today!! Hugs!! Lisa