Saturday, June 30, 2018

Loving Those Good Vibes!

 OK...I couldn't wait to make a card with the new Good Vibes Only stamp from the Simon Says Stamp Good Vibes stamp set from the new Good Vibes collection...with all those vibes, are you feeling it, yet??!!:):)...
This stamp is SO MUCH FUN...so cool and a blast to color!  I stamped and clear embossed the image.   I then used very fine sharpie markers to color the rainbow of colors...oh...I love this stamp!!  Here's a close up...
A card simple in it's design, but some stamps are simply wonderful all...by...themselves!!  Thanks for visiting me today!! Hugs!! Lisa

Wreath Thank Yous

I used the Simon Says Stamp Wreath Greetings to make a couple cards...
I stamped two of the branch/leaf images all over a card panel, then die cut it to a stitched panel.  I took my Memento marker and touched each leaf of the branch with color.  I then dotted the empty spots with some Nuvo Crystal drops.  I added the Simon Says Stamp Thanks die cu and layeredt sentiment.  Here's a close up...

The second one, I stamped a background with veramark and clear embossed.  I used the circular wreath from the set, stamped, embossed, die cut, colored, and layered.  I added one of the really pretty sentiment combos from the set...
...here's a close up...you can see the background embossing a bit better...
What a pretty set of stamps...they make for a diversity of possibilities...such fun!!
Thanks for visiting me today!! Hugs!! Lisa

Sunday, June 24, 2018

Center Cut Geometric Dude and Friend

I used the new Simon Says Stamp Center Cut Geometric background stamp as well as the Dude and Friend dies from the newest release, Good Vibes, and made a couple fun cards:)!...
 I stamped the background stamp on the gray with versa mark(making sure you use the embossing bag to get rid of static, first), then white embossed.  I die cut a frame to cover the bare circle impression of the stamp, using two stitched circle dies taped together(this makes it super easy to die cut the same die cut to layer, which I did:)!).  I die cut and layered the "dude" and adhered by popping up with 3D dots.  Here's a close up...
 The other one, I made a friend card, using an aqua blue cardstock for the background and sentiment die...
I did it exactly like the first, changing the colors and sentiments.  The stamped sentiments are from the Simon Messages for Everyday stamp set!  Here's a closeup...
So much fun to get such a cool looking background and card with a simple stamp, and the sentiment dies really do rock:)!!  Thanks for visiting me today!! Hugs!! Lisa

Friday, June 22, 2018

Simon Says Stamp Good Vibes Blog Hop and Giveaways!

I am thrilled to be a part of today's Simon Says Stamp Blog Hop, celebrating Simon's new release, Good Vibes!!  
If you are following the order of the hop, 
and came here from  Barb Engler's blog, by now you are surely feeling the good vibes...what a fun release this is!! 
 I LOVE sentiments, so it's little wonder that I was drawn to and super smitten with the new Everett Solid Letters dies, as these are MADE for words:)!!  I have made a couple cards with these fun dies, to share with you today...
I used a rainbow of colors, die cut and layered the letters (four layers total), added a finishing sentiment, and used translucent embossing paste with the new Jazz Dance stencil for a background.  I added some Tonic Crystal drops.  Here's a close up...

The second one, I used the new Center Cut Geometric Pattern background stamp to give pattern to the letters...
I stamped with versa mark, white embossed, die cut, layered and added a sentiment to the "thanks"...simply done, but I LOVE the pattern...it "makes" this sentiment.  Here's a close up...
What I love so much about these letters, is that there are so many looks that you can give to a simple sentiment whether by placement or design on the letters...SO...MUCH...FUN!!!
Ok...that's MY fun, but now, some fun for YOU!!
 Simon Says Stamp will be generously giving a $25 coupon to one commenter from each and every blog on the hop, simply leave a comment for a chance to win!!  The winners will be chosen and be posted on the Simon Says Stamp Blog this coming Wednesday, so make sure you check the blog to see if you're a winner!
The next stop on the hop is Lea Lawson
 All the participants of today's blog can be found below, if you get lost, you can head to the  Simon Says Stamp Blog...hope you will check out all the amazing artists' inspiration today!!  

Don't forget the fun giveaway that was in the heading...with any purchase from Simon, you will get a free package of Pebbles Flowers Puffy Stickers...FUN...but for a limited time:)!!
Thanks for visiting me today!! Hugs!! Lisa


Here's the full Good Vibes Release:

Wednesday, June 20, 2018

Good Vibes...Peace and Love

Simon Says Stamp has come out with a brand new release, today, Good Vibes!!  I  have been so  excited to play with the namesake stamps and dies, as I was a girl of the 70's!!  I have made two cards to celebrate the release of the fun new products over at Simon ...
I went to Pinterest and found a 70's paper pattern that I simply copied on my printer(I know...probably a lot of ink, but it was JUST what I wanted!!).  It  was not a full 8 1/2 x 11 copy, but was the perfect size for both the sentiment and the panel...with a "hand" to spare (below:):)!!)!  I die cut and layered the sentiment, and layered the rectangular panel, as well...here's a close up...
I used the remaining piece of paper for stamping the peace and love hand/fingers...
I stamped, embossed and hand cut the hand.  The new Simon acrylic blocks are the perfect size and shape for the larger stamps of this set...love these blocks for being big enough, but not too big!!  I layered it and adhered the cut out hand to a card that I first stamped a sentiment from the set, and had used embossing paste and the new Simon Stencil, Jazz Dance to make a background.  Here's a close up...
Ok...you have GOT TO check out this new release...lots of fun!!!  Thanks for visiting me today!! Hugs!! Lisa
Friday, June 15, 2018

Thanks Friend

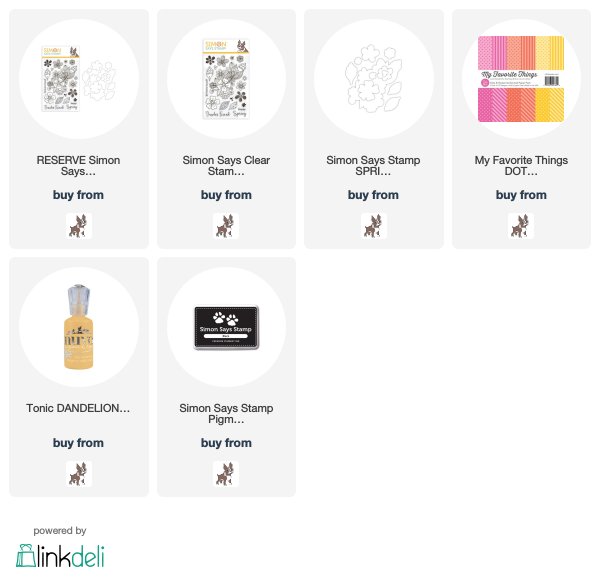
I used the pretty new Simon Says Stamp Spring Flower Burst stamp/die set to make a card for a friend...
I stamped and die cut the flowers, colored them with my Prismacolor markers, layered, and added a Tonic Crystal drop in the middle of each.  I adhered them to a card with a polka dotted panel stamped with one of the pretty sentiments from the set.  Here'a a close up...
I love this flower and I love purple and yellow together...it's a match... on the color wheel, for Spring(or Summer), and with me:)!!  Thanks for visiting me today!! Hugs!! Lisa

Thursday, June 14, 2018

Birthday Flower Cards

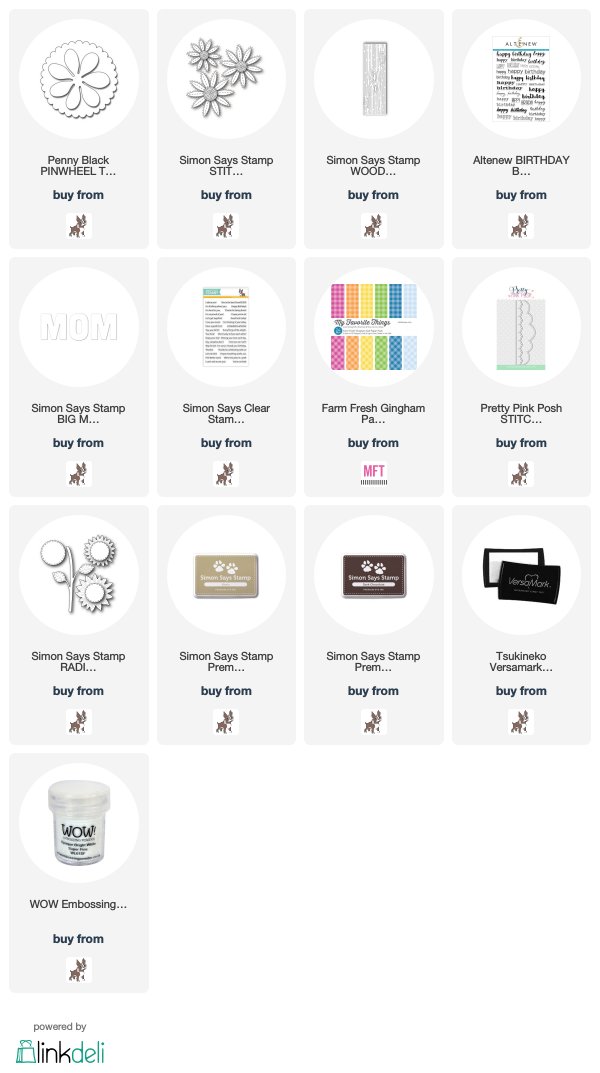
I made some birthday cards for my mom!  Daisies and sunflowers are her favorite flowers, so I chose a couple daisy looking dies and my favorite sunflower die for my cards, and made cards to celebrate my mom...
 This card was my mom's favorite, so I thought I would start with it!  The Penny Black Pinwheel die is probably my favorite stand alone flower die...I just LOVE it...and have for a long time.  I chose to pair it with a couple Simon Says Stamp dies for the flower's center and the background woodgrain panel, and a retired Memory Box leaf die for this first card.  I layered the flower and added an Altenew happy birthday sentiment...
Yes, there is a theme going on with these cards...white, yellow, brown/kraft, and green.  I didn't plan it that way, that's just the way it turned out.  The second one used the Simon Says Stamp's Big Mom die, along with some Simon sentiment stamps.  The daisy and it's leaves are part of a retired die set from My Favorite Things, Flower and Leaf Trio...
The center of the flower was also from the same die as the first card, Simon's Stitched Daisy dies.  Here's a close up...
  The third one I used my favorite Sunflower die set, by Simon Says Stamp, along with a sentiment from the Altenew stamp set as used above, Birthday Builder. The panel behind the sunflower is a retired die from My Favorite Things, Vertical Stitched Strips
Thanks for visiting me today!! Hugs!! Lisa

Koalas, Monkeys, and Love, Oh My!

I made a couple "love you" cards with a couple of the "love"able new Simon Says Stamp stamp/die sets...
 I thought the animals in the new Hello There stamp/die set were so adorable, so I used the koala and the monkey for my two cards.  I die cut, then colored the animals with my Prismacolor markers.  I layered them a couple times, as well.  I used a swivel exacto knife to cut the paws of the koala a bit to hold the stamped and die cut heart from the set.  I added a little glossy accents to the heart for shine.  I stood the koala on a die cut layered love you sentiment, with an added stamped sentiment from the Love You Like stamp set below it.  Here's a close up...
Then, I used the adorable monkey, who's arms looked like they were in the "SO MUCH LOVE" position, for the second card...
 I stamped, die cut, colored then layered the monkey.  I added a hanging heart on twine, also glossy accented like the first, using the same two sentiments as the first card.  Here's a close up...
Such fun with these little cuties!!  Thanks for visiting me today!! Hugs!! Lisa

Wednesday, June 13, 2018

Thanks So So Much

I used a couple of the new Simon Says Stamp stamp and die sets to make a fun thank you card...
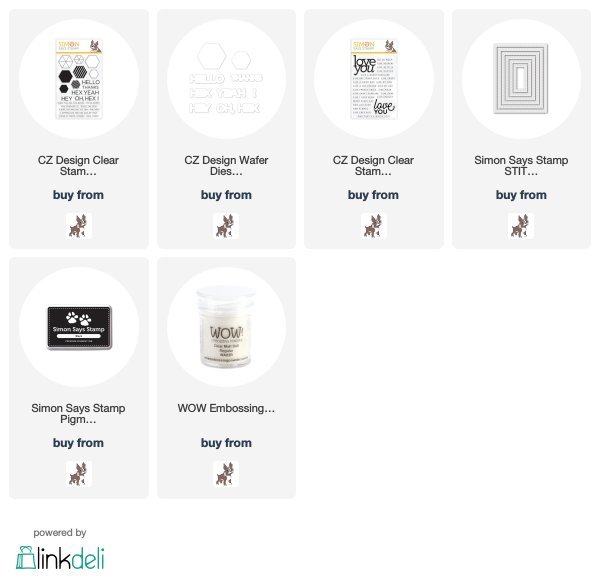
The Hex Yeah set has not only got some fun sentiments and cool hexagons, but coordinating dies that  die cut around those sentiments!  I thought THAT was so cool, and stamped and then die cut the thanks in a rainbow of colors!  I layered them, and added a sentiment from another new set of sentiment stamps, Love You Like, and there you have it!  Here's a close up of the stamped, embossed, die cut and layered sentiments... 
Oh, now THAT was so much fun!!!   Thanks for visiting me today!! Hugs!! Lisa

Thursday, June 7, 2018

Birch Press Butterfly Garden Dies

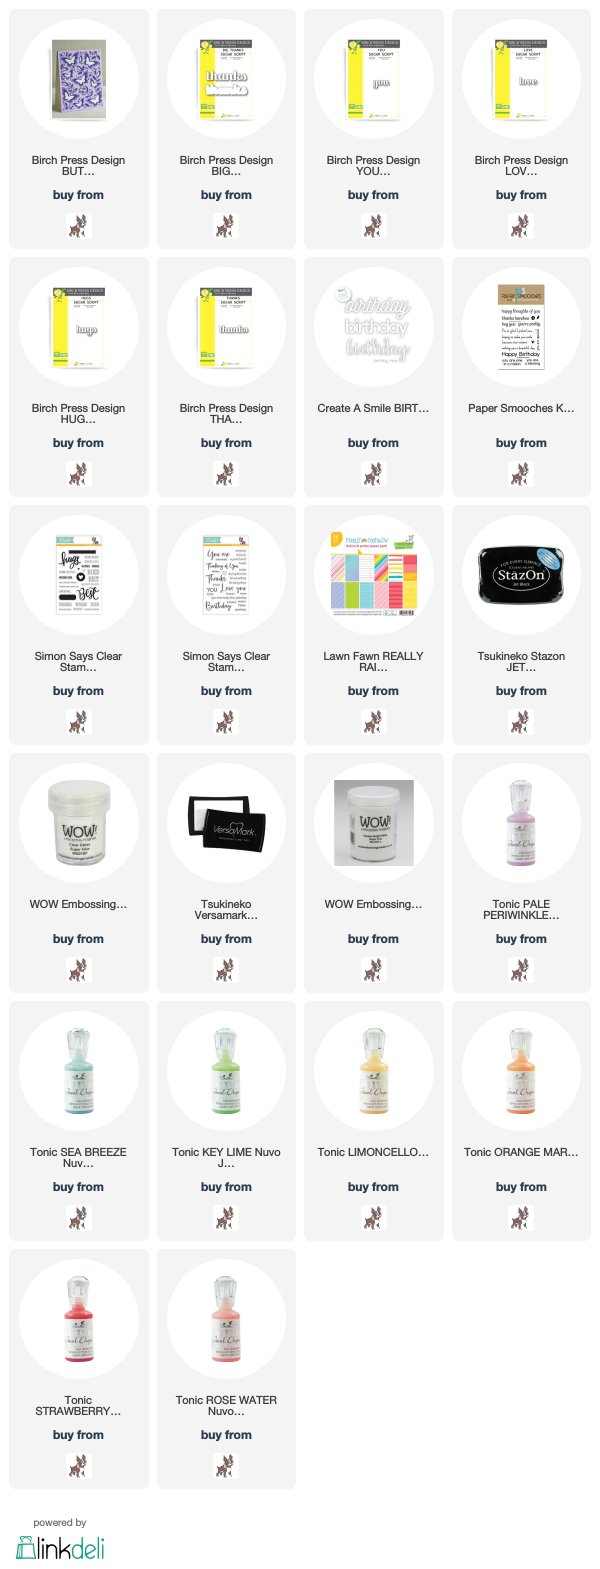
I purchased the new Birch Press Butterfly Garden trio of full card die plates, recently!  I had this set of dies in my Simon Shopping cart for a while...while I thought about them.  These are beautiful dies, but a bit more than an average person like me has to spend on one set of dies.  The truth is, though, this is a set of 3 full size card dies, so the cost is warranted...but I still had to think about it for a while...and a while more!  I got them a few weeks back and finally took them out of their envelopes a couple days ago.  In less than 2 days,  I had EIGHT cards made with the three plates!!  There are SO many different ways that these three plates can be used...SO many possibilities!! 
 Here are the eight that I made...
The first one, I used all three plates in three shades of pink onto a white card.  I added a Birch Press sentiment die, along with a Simon Says Stamp sentiment stamp...

The second one, I used all three plates, die cut in white.  I adhered them to a black bottom layer underneath the three die cut layers (so the black would peek out), and added purple paint chip, die cut butterflies, filling in the last die cut layer's butterflies.  I added another Birch Press die cut sentiment...

The third one, all three plates die cut in cream color cardstock...thought it would be pretty for a wedding...
...and so I added a layered Penny Black die cut sentiment on the inside (from the retired Hooray die cut set)...

The fourth one I made while I was writing this post...LOL...I just couldn't stop!  I love black and gray, so I chose two shades of gray, and black on a white card with the Birch Press Big Thanks die...

The next one, I put used only the two top layers, one white and one cream, layered them on a cream card, and added the same Thanks as the one above, with a cream background, as well...
Here's a close up of this one...

The next one, I used just the first layer, love all the stitched detail of this layer!  I chose a piece of rainbow colored paper to put behind the layered die cuts(yes, I layered this one!), and added a fun birthday die that I recently got by Create a Smile, and sentiment stamp from Simon...
Here's a close up of this one, too...
THEN...I used all the die cut butterflies and made a couple more cards...
This first one, I used some paint chips for the five sizes of die cut butterflies.  I added a Paper Smooches sentiment stamp and added some enamel dots!  
The last, but not least is a card made with the butterflies simply left in the white cardstock from the previous die cuts, on the leftover piece of rainbow paper from the birthday card, above...
I used the You sentiment die from Birch Press...I LOVE the font and sizes of these sentiment dies!!!  I also added a part of a sentiment stamp from the same Paper Smooches stamp set as the Happy Birthday, above.  I added Tonic Jewel drops in seven colors(I LOVE these drops!!!), adhering the rainbow panel of white butterflies onto a tiny bit bigger black panel.  I DID use my fingers rubbing the wings of the butterflies and putting a tiny bit of pressure upwards, to  hand curve the butterflies a tiny bit to give them some dimension...I think the tiny details can make a simple card more fun!!  Here's a close up...

OK...I think this set of dies is well worth the investment I made...fun, easy and such pretty cards...  with 3 dies(along with some sentiment stamps and dies).... SOOOOO MUCH FUN!!  Thanks so much for visiting me today!! Hugs!! Lisa