Saturday, January 5, 2019

Botanical Branch with a Masked Background

I hope for all of you who celebrated, that you had a very Merry Christmas!  I had a wonderful Christmas spent with my children...it was a blend of beautiful but crazy chaos, mixed with quiet, tender moments and all covered with lots of love...yes, a wonderful Christmas!!  Happy New Year to you all, too...I am believing that 2019 is going to be a great year! 
I have been absent from stamping as my craft room is my guest bedroom.  After everyone went home, Noah and I got sick.  We have spent the last five days getting better.  I am rarely sick, and I'm so thankful for that, but oh how I hate being sick!!  I finally got back into the craftroom, and made and threw away my first number of cards...I WANTED to create, but "it" just wasn't coming to me.  I pulled out my scraps, and found some of the Pink Fresh Studio Botanical Branch die cuts that I had die cut a while back, but hadn't used.  They were white, and although I didn't use the scraps, the branches did inspire me...
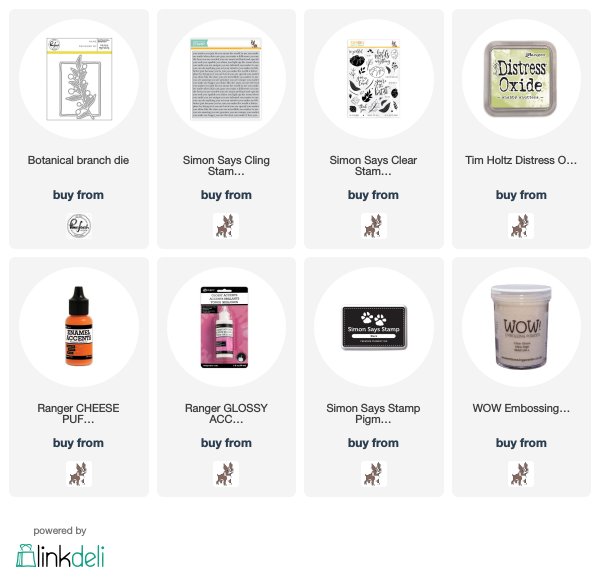
The total die cut contains a frame around the branch, but I opted to cut the branch from the frame and use only the branch.  I layered it in two colors of olive green card stock, and used orange enamel accents to make berries(the most intense and solid orange colored product I have).  I then dotted each berry with glossy accents, to make sure they were really shiny.  I was inspired by the Pyracantha bushes I am seeing everywhere around where I live.  Here's a picture of what they look like, I think they're so pretty...
After I had the branch put together, I chose to give it a background before adhering to the card. I chose the Simon Says Stamp You Matter Background stamp...the words so fit being grateful for someone! I stamped the sentiment onto the card panel, then masked it, so it would not be a part of the worded background...
I stamped the sentiment onto a piece of copy paper, and cut out with scissors.  I put a tiny dot of tombow runner on the cut out, and put it over the stamped sentiment.  
 The below is my pattern, having been stamped a bunch of times before I took the picture, so the print is ALL OVER the paper, but hopefully you get the idea. I tore a piece of printer paper in a shape that went with the shape of the branch, centered it on the card, and then flipped both papers over onto the inked background stamp.  
Here's a close up of the branch and sentiment...
I am so very grateful for wonderful family and friends in my life, and I am so grateful for you!...
thanks so much for visiting me today!! Hugs!! Lisa
Saturday, December 22, 2018

Bixby Flowers...Love and Thanks

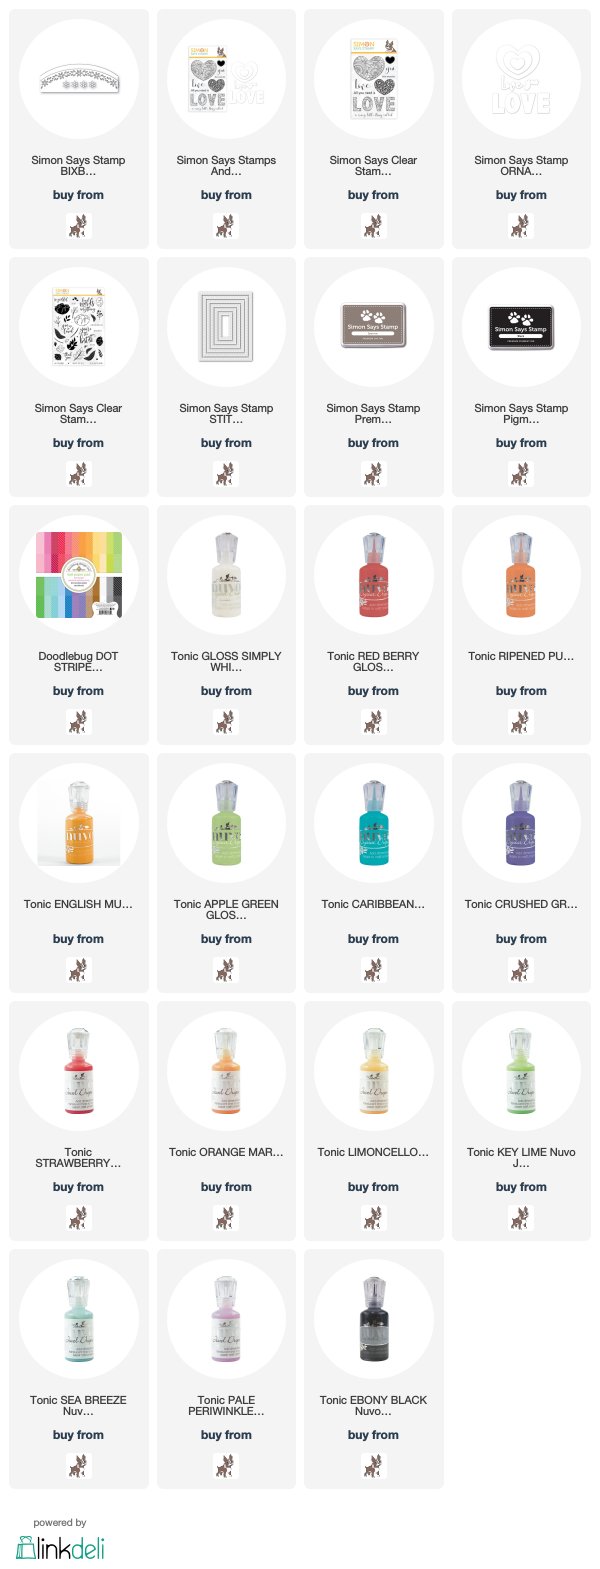
I made three cards using some of the new stamps and dies from Simon Says Stamp's two latest releases, Diecember®, and You are Loved!...
All three cards use the flowers from the Bixby Arch die!  The first one, I die cut a BUNCH of flowers in two shades of pink, and adhered them together with tiny glue dots.  I then adhered the adhered flowers to a die cut heart from the Ornate Love die set.  I dotted all the centers with white Tonic Crystal drops.  I then adhered the whole heart to the stamped and die cut card panel.  Here's a close up...

The second one, I made the flowers into daisies and used the stamped/die cut Ornate Love heart as a backdrop for the daisies...
I die cut and layered the flowers, added some stems made by simply finely cutting paper, and stems from the Bixby die.  I stamped, die cut and layered the heart, as well as the sentiment.  I added striped strips of paper on the top and bottom to center the heart and sentiment.  Here's a close up...
The third one was an experiment!  I wondered what it would be like to fill up a layered die cut with Tonic drops??!!...
I thought someone might want to know how I die cut this border of flowers...so here are some pics of my die cutting...
  I centered the four flower die in the middle of the card panel...
This is the four flowers die cut...
To get the extra two flowers, I positioned the die over three of the already die cut flowers and die cut...
...making an exta flower on the right side.
Then, I placed the die over three of the already die cut flowers again, this time on the left side...
...and die cut, now having a full row of flowers!!
I made three more like these, and cut those three into strips.  I adhered all three of the strips together with a uncut piece at the very bottom.  I decided to try using my Tonic drops to fill them in, in lieu of paper, paint chips, or coloring/painting.  It was fun!!  I had to refill the flowers a second time, as the Tonic drops seemed to dissipate a bit when they dried.  What was SO cool about the process is that when the drops dried, there were little lines in each of the flower's petals...not sure why, but way cool!!!  Here's a close up...
I then adhered the Tonic Drop flower strips to the top panel, and added Jewel Tonic drops to the centers of each flower, and a small black dot in between each flower for some interest. The sentiment is from one of the new Simon stamp sets, So Loved...such lovely sentiment stamps!!  
OK...this was so much fun...hope you are having a wonderful December and for those of you preparing for Christmas, that you have peace in your heart and home:)!!  
Thanks for visiting me today!! Hugs!! Lisa

Saturday, December 15, 2018

You Light Up My Life

I made a fun card with a new Simon Says Stamp stamp set from their latest release, You are Loved!!
You light up my life...hmmm...not much going on here...
 Then the light goes on!!...
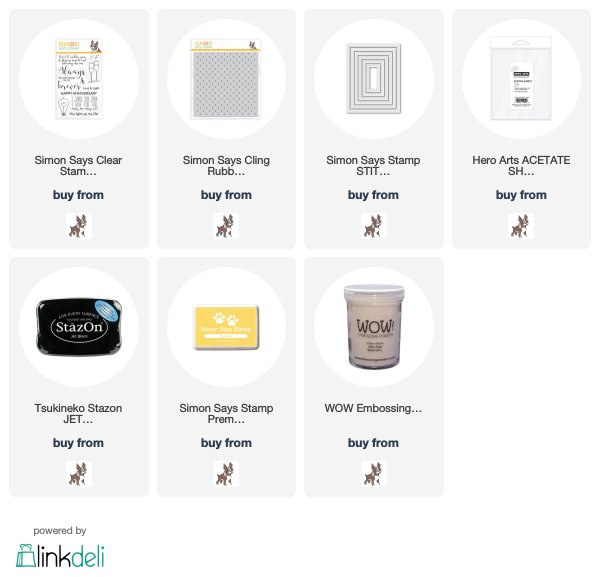
Okay...the story.   I was trying to find a card I had made using a little girl sitting on a flower pot.  I FINALLY found her, having made the card back in 2012.  As I scrolled down, I found THIS post, and KNEW I had to try this again!!  In Simon's latest release was this light bulb, with the PERFECT sentiment for this fun interactive card!!  It DID take a little perfecting...but it's basically a stamp stamped on a piece of acetate(with stazon ink) and another of the same, stamped on cardstock, embossed, and colored.  They are separated by a piece of white cardstock when you pull the two of them, the colored one is revealed behind the acetate one.  Here's a 7 second video of me pulling it out...

Okay...SO...MUCH...FUN!!!!
Thanks for visiting me today!! Hugs!! Lisa

Thursday, December 13, 2018

One of a Kind

I used the pretty new Simon Says Stamp Sweet Tulip die from the Diecember® release, with some paint chips, to make a card...
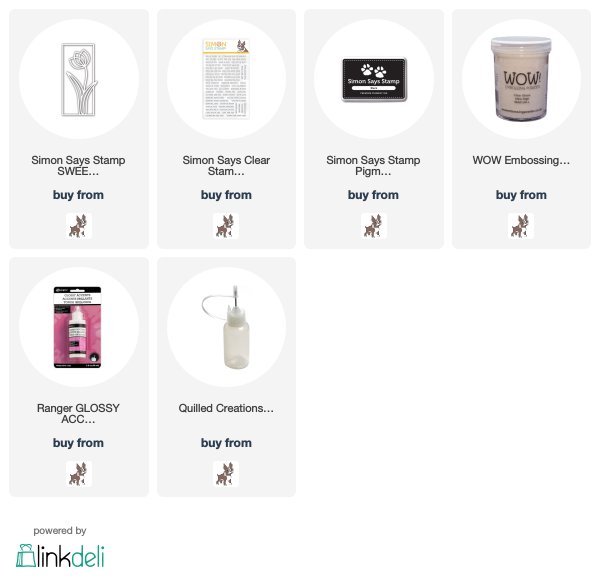
This is such a pretty die!!  I used two shades of red and green paint chips, and after die cutting and layering the die cuts, added the colored paint chips.  I used one of the sentiments from the Tiny Words stamp set to complete the card.  Here's a close up...
I am having the most fun with the latest Simon releases!!!
Thanks for visiting me today!! Hugs!! Lisa

Tuesday, December 11, 2018

You Are Loved!

Simon Says Stamp has come out with a new release today, You Are Loved!!  It is a beautiful release, filled with "love"ly stamps, dies, stencils and sequins that celebrate LOVE!!  I have used a number of the new products to make three cards that celebrate the new release, and LOVE:)!!...
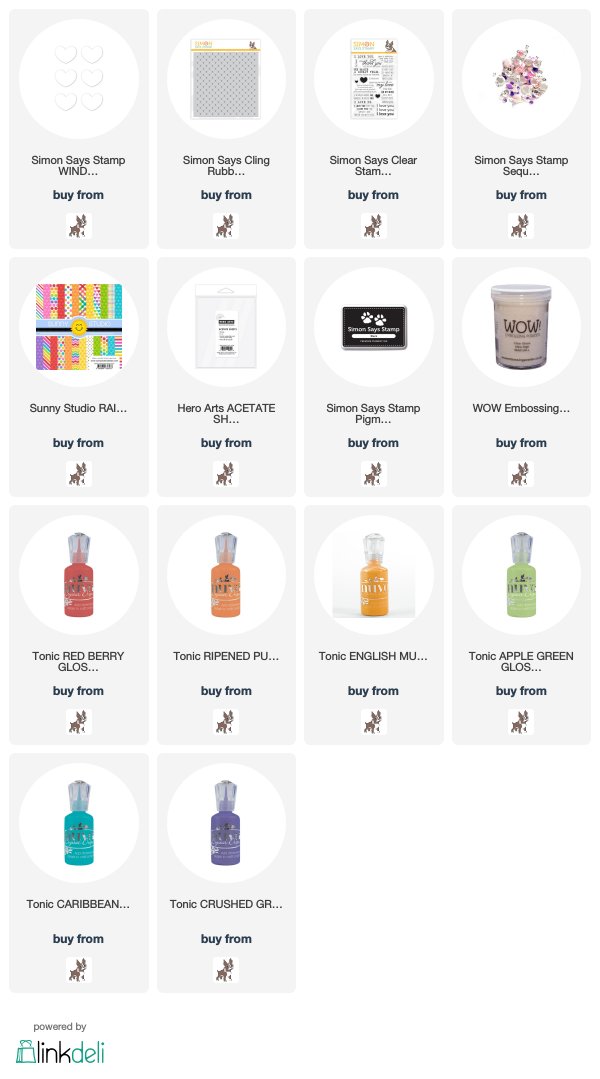
 I made the first card a shaker card as when I read the name of the die, it was my first thought!!  The die is Windows to My Heart. I also used the Quilted Hearts background stamp (I really "LOVE" this background stamp....the tiny hearts and the soft look it gives to a background....LOVE...just sayin!!), the Love Messages stamp set, and the Girl's Best Friend Sequins to make my shaker card!  I stamped the background, die cut the hearts, and stamped the sentiment onto the card panel.  I used double sided foam, and die cut the hearts from it.  I added a piece of acetate to one side of the foam, and then adhered the acetate/foam to the card panel.  I added the pretty sequins, then put a square of the hearted patterned paper on top of the other side of sticky foam.  Here's a close up of the windows...
I used the white die cuts from the first card, to make another rainbow card, this time with layered hearts...
 I used the same background stamp, sentiment stamp set, and patterned papers to make this, as well as the third card.  I dotted a few of the hearts with Tonic Crystal drops.  Here's a close up...
The third one, I did more of the same, but, as with the first two, the hearts are in another pattern...
I dotted ALL the hearts with Tonic Crystal drops and used the same sentiment as the first card.  Here's a close up...
This release is full of love and full of fun, I am having so much fun!!!
Thanks for visiting me today!! Hugs!! Lisa

Monday, December 10, 2018

Happy Birthday with Love

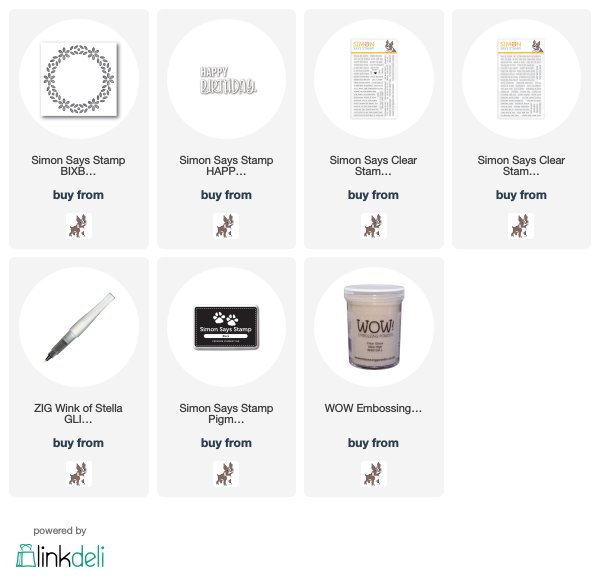
I used the pretty new Simon Says Stamp Bixby Wreath die from their latest release, Diecember® to make a birthday card!  I was asked to make a birthday card for someone who liked purple and glitter:)!!...
I embossed the die onto cardstock and used markers to color both the flowers and leaves.  I die cut again on a full panel, and stamped the two small sentiments on the panel.   I then die cut the wreath another time and adhered the two of them together, and then to the bottom colored panel.  Here's a cloe up of the colored embossed wreath...notice the coloring doesn't need to be perfect...
I die cut the Simon Birthday sentiment die from a piece of cardstock that I had swiped the same two colors of markers on...a kind of ombre look.  I die cut the sentiment a couple more times, and adhered the layers together.  I then brushed on glitter with my Wink of Stella brush.  Here's a close up...
I am loving the Bixby dies...have another on my desk...soon:)!!  
Thanks for visiting me today!! Hugs!! Lisa

Saturday, December 8, 2018

Sending Happy to a Friend

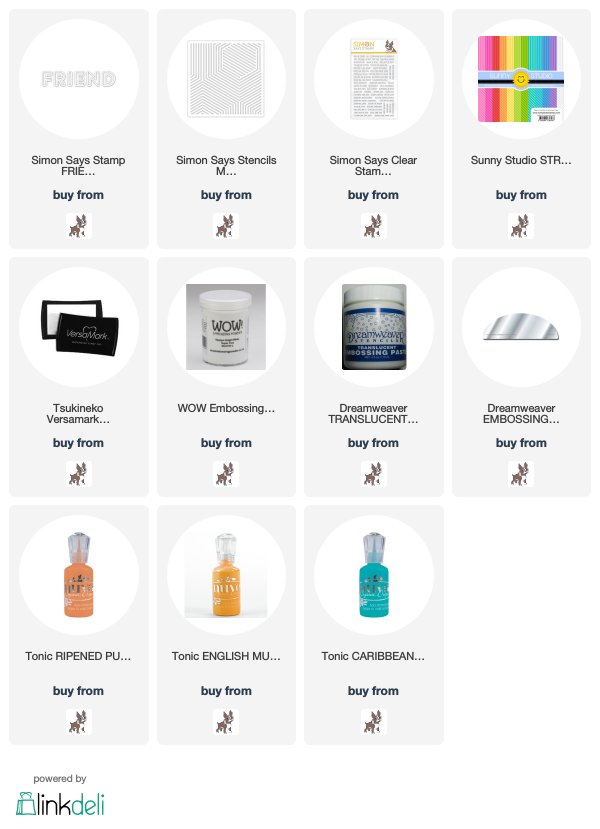
I used the cool new Simon Says Stamp Friend Outline die from the Diecember® release, to make a card that I hope will make a friend happy!!  Who couldn't use some happy, after all?!!...
 I used the Simon Mod Stripes stencil with some transluscent embossing paste to make a background for the fun sentiment!  After spreading the paste, you need to let it dry for a number of hours.  I took a picture with another view, so you could see the shiny lines...
I  then die cut a circle from the embossed panel.  Meanwhile, I die cut the FRIEND sentiment from white cardstock , and then from stripped patterned paper from Sunny Studio for the  top layer of each layered letter. I made sure the inside of the letters was raised above the outlines...thought it looked kind of cool.  I popped up and adhered the letters across the diameter of the circle after adding a sentiment stamped with versa mark and white embossed. 
I then added three drops of Tonic Crystals for some interest ...
Oh, what fun...and yes, rainbows always make me happy...having so much fun with all the new Simon dies...make sure you check out DIECEMBER®, there is so much fun to be had over at Simon!!!  Thanks for visiting me today!! Hugs!! Lisa

Friday, December 7, 2018

Bixby Border Cards

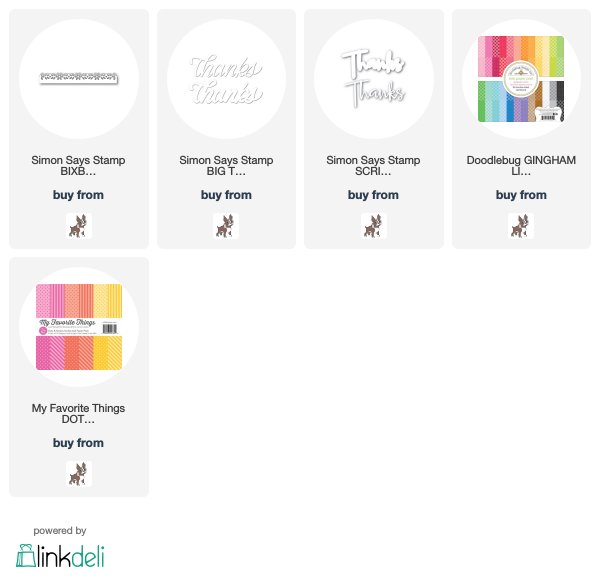
Simon Says Stamp has just come out with a fantastic new release, Diecember®!!  There are a number of very pretty flower dies, I'll call them the Bixby Collection, that are sweet, charming and very lovely!!  I have made two cards with the first of the dies that I have had the chance to work with...the Bixby Border die...
I embossed the die on a card panel, and then colored with my Prismacolor markers.  I then die cut two more of the dies, and adhered them together and then to the colored, embossed panel.  I added a die cut and layered Thanks, and added a gingham border on the bottom.  Here's a close up...
The second one is much like the first except using the die at a diagonal and adding a different Thanks....
 I DID hand cut the embossed die cut and colored border, so I could add a polka dotted bottom panel. I colored the border of the "thanks" with the same marker I used for the leaves, so the colors would be coordinated.  Here's a close up...
Oh my...what fun...I LOVE flowers...and with such sweet, pretty flowers, I think the Bixby dies may be my favorites of this new release!!  Have some more on my desk at this writing...hope to have more to share with you tomorrow!!  Thanks for visiting me today!! Hugs!! Lisa

Thursday, December 6, 2018

Wrought Iron Rainbow

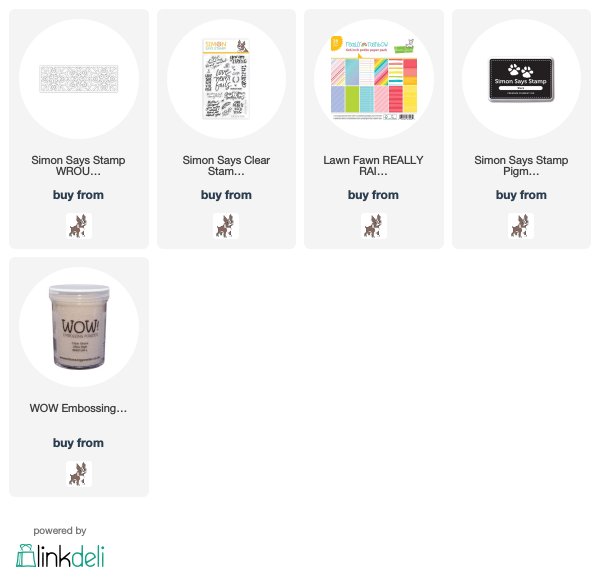
The Wrought Iron Wide Border die from Simon Says Stamp's newest release, Diecember® is SO PRETTY!!  I LOVE it's design!!  I chose to use it on a card as it's name would suggest, to look like wrought iron...
I die cut and layered the wrought iron die 3 times for depth, and combined the die cut with some of the Lawn Fawn rainbow patterned paper.  I used a sentiment from the Simon Sentiments stamp set, that I thought went PERFECTLY with  a wrought iron die cut!!  Here's a close up...
I am having so much fun with this latest release...more tomorrow:):)!!!  
Thanks for visiting me today!! Hugs!! Lisa