Showing posts with label Pretty Pink Posh. Show all posts

Friday, August 9, 2024

Daisy Bundle

I have had the Pretty Pink Posh Daisies stamp/die set for a while, and finally made time to make a couple  daisy cards with this pretty set!...
Simply made, I stamped, die cut, and colored with markers.  I layered then popped up the flowers on the square card panel and added the perfect sentiment(to me)...one that perfectly went over the stems of the flowers, and fit the sunshine filled daisies!  I added some tonic drops, and popped up the panel on a square card.  Here's a close up...
The second one, I used the biggest of the single flower heads and a couple of  the leaves from the stamp/die set...
I opted to adhere this flower on a piece of medium gray,textured cardstock.  I added a sentiment that fit the space perfectly(that's something I love to do, along with just a wonderful sentiment!).  I added three enamel accents dots...and popped up the panel on the card.  Simply done, and made me happy!  Here's a close up...
Daisies make me SO happy....and happy I finally got to play, if even only for a short time, with this lovely set!  Hope you have a great weekend!  
Thank you for stopping by and visiting me today!! Hugs!! Lisa

Thursday, July 28, 2022

Construction Truck Birthday

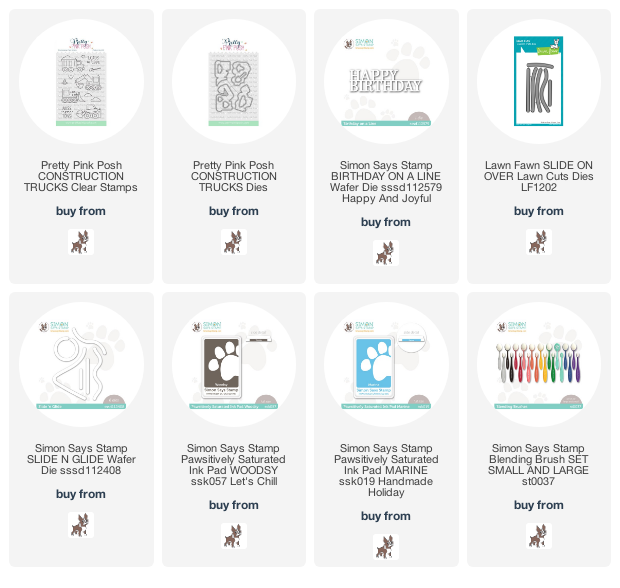
I made a card for my grandson's birthday with the amazing Pretty Pink Posh Construction Trucks stamps and dies set...
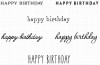
I was SO excited when I saw this set!!!  My grandbaby, who just turned three, LOVES trash trucks and construction trucks, so I was beyond thrilled that I would be able to make a card with things he loves on it!!  I'm not sure, but in all the years I have been creating cards, I cannot remember a set stamp/die set with trucks like this!  Thank you, Pretty Pink Posh...these are ADORABLE!!  I will admit, my card was made with lots of foibles.  My "happy birthday" is crooked, and despite my best of intentions in making the trucks sliders, they are, I think due to their size, a bit wobbly, and the curve on the bottom truck was not thought out well, as it runs down off the card.  Despite it all, I loved the idea, and for the most part, it turned out to be a card not only was I pretty happy with, but more importantly, one my grandbaby loved!   I DID learn ALOT, though!  I have only made a couple of slider cards, so I'm pretty happy with how it turned out, despite all  the missteps!  
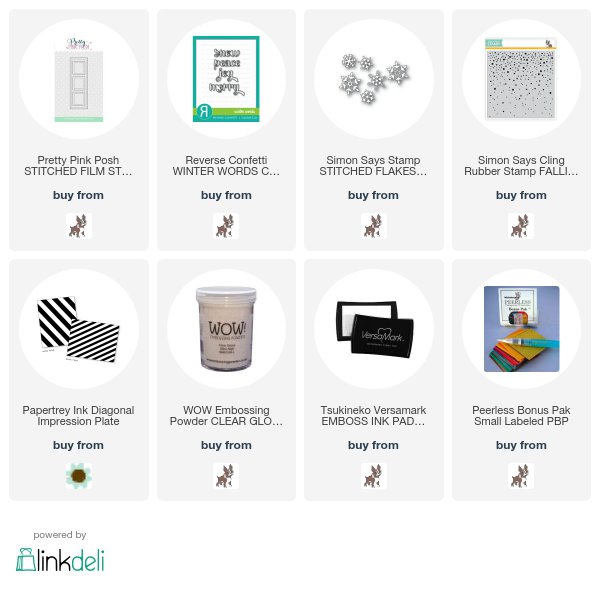
First I die cut all the sliders.  I then masked the card panel to blend the brown and blue inks on the cardstock, and blended a second panel with the brown, to have behind the sliders.  I stamped, embossed, die cut, colored then layered the trucks.  I used THIS video to help me remember how to make sliders.  
Here are a couple close ups...


And here's a video I made to show you how the cute trucks can move(please don't mind the foibles)...
I hope this card gave you some ideas of how you might want to use this adorable set...I am so in love!!
Thanks for visiting me today!! Hugs!! Lisa

Saturday, December 9, 2017

Having Fun With Leftovers...Joy!

I made a card with leftover die cuts...
I save my leftover die cuts.  Some projects work, others, not so much, but...call me a hoarder or maybe as I'd like to say, a hopeful hoarder, I save the die cuts I don't use for another day...another project.  THIS is what my craft desk looked like when I opened my 4+ bags of leftover die cuts to sort and decide what to keep or use...AGHHHHH!!!!!....what a mess, but what POTENTIAL!!!...
I chose to use the snowflakes from the discontinued Memory Box die, Snowflake Love Pendant die (on the bottom left in the above picture), cut them off the die cut, layered and used the Pretty Pink Posh Film Strip dies that I had leftover(in the middle), layering them as well.  I combined them with a piece of watercolored paper, that I had THROWN IN THE GARBAGE, my craft garbage can...but remembered it, and thought it would be perfect for THIS project...TOO FUNNY!!!!  I adhered them to a card that I had used the Papertrey Ink Impression Plate and then die cut the Reverse Confetti Joy to finish the card(layered too)!  Here's a close up...
 I have ideas for A LOT more of my leftovers...stay tuned!!!!!  Thanks for visiting me today!! Hugs!! Lisa

Wednesday, August 10, 2016

Another CAS(E) this Sketch! 184...BABY

I just couldn't resist another card for the CAS(E) this Sketch challenge this week!!  This card uses the sketch sideways!  Here's my card and the sketch...

I used a onesie die from W Plus 9, letters from Papertrey Ink, and one of my favorite border dies from Pretty Pink Posh.  The flower is from a retired Memory Box die, Floral Delights.  Here's a close up...
My daughter, Hannah, often adds her creative inspiration to my cards...sometimes you just need another pair of eyes to look and see what you don't!   I was not crazy about my first attempt...just missing something, so I asked her opinion ...
...she suggested I add some white stitches to my border:)!  SO...I put a new panel on top of the original after hand drawing the white stitched lines on the panel in lieu of the die cut stitching.  
I like the white stitches much better:):)!!  This sketch has been so much fun!!  Thanks for visiting me today!! Hugs!! Lisa

Sunday, August 7, 2016

CAS(E) this Sketch! 184...Smile

Oh...the sketch at this week's CAS(E) this Sketch! is so...much...fun!!  I searched my stamps and dies to find something a bit different than the flowers I WANTED to use...here's my card and the sketch...

I stamped the smiley face stamp on 4 scraps of colored cardstock, and clear embossed.  I layered them and enamel accented their eyes.  I adhered them to a stitched white panel after stamping a SMILE sentiment.  I stamped the background with a pinstripe background.  Here's a close up of the smiley guys...
I must have tried at least a half dozen different ways to place my smiley guys on a card for this challenge!  I used different cardstock...patterned, plain, colored, white, I used impression plates and stamps for backgrounds...added imbellishments, took them away...crazy how challenging, and how many ways and tries it takes to find what you think looks good...don't know about you, but sometimes THAT'S the challenge in a challenge for me!!  FUN, FUN, FUN!!  Thanks for visiting me today!! Hugs!! Lisa

Saturday, July 2, 2016

Stars and Stripes Happy Birthday

I got the Inside and Out Stitched Star die set from My Favorite Things and HAD to make a card...
I die cut the stars onto a piece of striped paper, stamped a sentiment from Papertrey Ink, lined the panel with black underneath, and die cut 3 sized smaller stars to fit into the die cuts from paint chips.   I added a Pretty Pink Posh striped border, then made two gray strips with the same die to put on top and bottom of the striped panel.  I popped the whole panel up on a white card.  What I think is so cool about these stars...they have the stitched outside and a cool outline inside on each star.  Here's a close up...
 ...and another close up...
Super fun!!   Thanks for visiting me today!! Hugs!! Lisa

Thursday, March 19, 2015

Rainbow Strips Hello

Last night I had a thought to use the Pretty Pink Posh Stitched Border dies I had purchased a while ago, but haven't had time to play with, so that's the set of dies I immediately pulled out this morning and made this...
I layered and glossy accented the "hello", and popped up the white panel from the colored strips..
No...no stamping or ink on this one, but FUN, FUN, FUN!!!  Thanks for visiting me today!! Hugs!! Lisa
EDITED TO ADD HOW TO
OK...hold on...here are some pics for you...putting this card together was fun, but involved particulars to making all the uneven edges fit together and fit the card, so here's some of MY tips (although you might be able to do it easier...please let ME know if you do:)!!)...Hopefully this will help answer some of your "How did she do that" questions:):)!!...
      
Cut the end off of colored paper with the tiny chevron die, then line the die up against that cut edge, making sure the stitch edge is on the already cut side and the cutting edge of the die where the tape is showing.  Die cut all the rest of the colored strips.
 
Put adhesive on piece of paper(I used thin card stock) and place all the stitched strips on top of it.  Cut underneath the blue and pink edges, so no sticky edges...hey, no edges at all:)...yes, you could put less adhesive and leave the paper...just showing you how I did it:)...

Using a 4 1/4 x 5 1/2 piece of white cardstock to make your top panel, make stitched cuts on both sides of panels in a slanted direction.  With ANOTHER 4 1/4 x 5 1/2 piece of paper(can be a junk paper as long as the measurements are right), adjust the three pieces together on that paper, so they kind of fit the white paper underneath (yes, they will be way too long).    Place a tiny swipe of adhesive to the back of each of the three pieces, while making sure they are where you want them on the piece of paper.    The next pics were taken on scoring board, cutting board, and die cutting machine...on my lap or edge of desk...so just look at the card, not the background...:)LOL...

 REMOVE the colored strips, then turn over.  It should look kind of like the middle pic...uneven edges on every side.  You need to cut the edges off...you can cut them all off by hand, I cut one with scissors, then having one straight edge, cut the other 3 edges with my cutting board.  THEN trim off  1/4 " from each side.

 
Remove the white halves from the scrap piece of paper, put pop up dots on back, then adhere the strip and the panels on top and bottom of it...done...well with addition of "Hello".  Hope it all makes sense...