Tuesday, October 31, 2023
Rainbow Christmas Trees
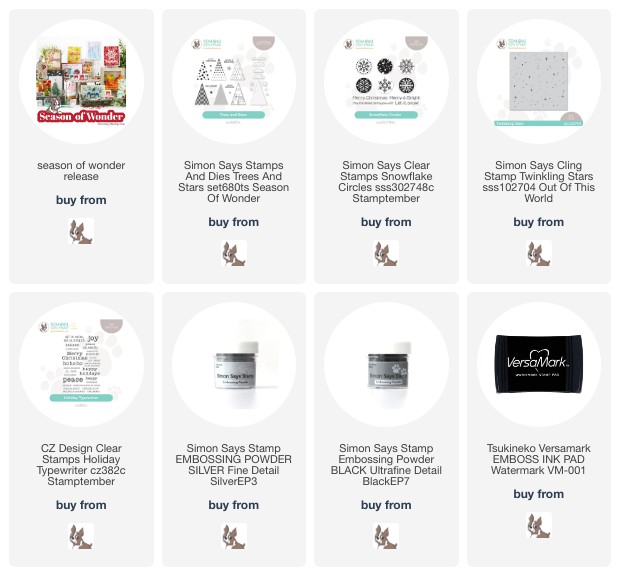
I have made a couple Christmas cards with the Simon Says Stamp Trees and Stars stamp/die set, from their Season of Wonder release!...
I know the picture of this card shows it at strange angle...I couldn't seem to find another way to show you the prettiness of the silver embossing...it just didn't show in the traditional pose! The way I made these cards, was to place the stamps and a piece of cardstock in my MISTI. I stamped four of the trees with Simon Smoke ink, then colored the trees with markers, ALL in RAINBOW...who doesn't love a little rainbow, even at Christmas?!!...
Then I put the colored cardstock back in my MISTI, and restamped with versamark and silver embossed three of the trees, and embossed one with black embossing powder...
I cut them all apart from each other with scissors, then die cut each. I am saving the two unused trees for later! I adhered the first one to a silver embossed starry background...
The second was the one that I embossed in black...the santa kind of required it...
I popped it up on a diagonally striped panel....using all of the colors as close to the colors in the colored tree! I love the shine of the black embossing!! Here's a close up...
Okay...this is the last day of October...Happy Halloween...tomorrow we're on to Thanksgiving! Hope you are having a great week...onward November!!
Thanks for visiting me today!!
Hugs!! Lisa
Friday, October 27, 2023
Boho Medallion Flowers
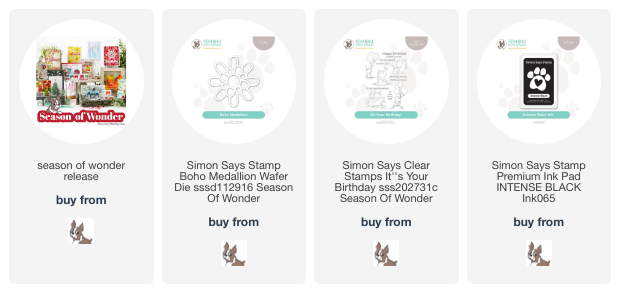
In the midst of Fall and Christmas coming, you can't forget about birthdays! I have made a birthday card with a Simon Says Stamp die, from their Season of Wonder release!...
I die cut this medallion...I'm calling it a flower, and layered it...three times for three flowers. I then die cut a bottom layer, and used three different colored cardstocks for each flower. I then adhered the layered flowers on top of the colored ones, and adhered to an embossed panel(a scrap piece of cardstock. I popped up the pieces of the card above and below the flowers, having stamped a sentiment on the bottom panel. Here's a close up...
Hope your weekend will have some "happy" in it!! I can't wait...it's going to be a beautiful weekend here in Virginia, so I will be out, at some point, enjoying the sunshine and warmer weather!!
Thanks so much. for stopping by my blog, today!!
Hugs!! Lisa
Friday, October 20, 2023
Lovely Fall Colored Leaves
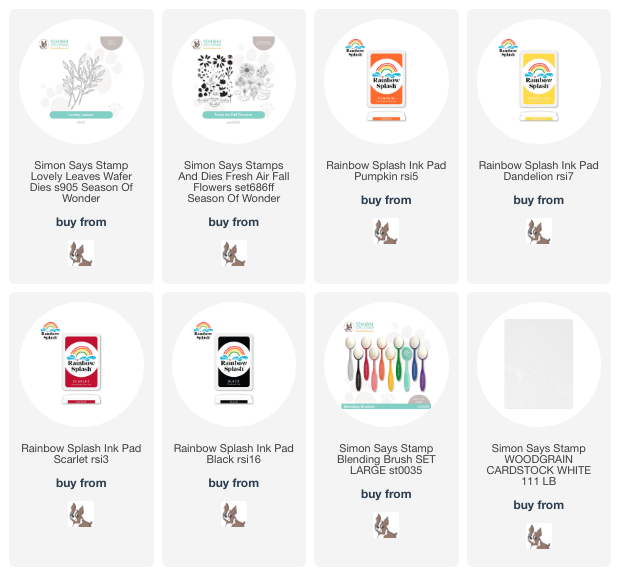
I have made a card with the beautiful new Simon Says Stamp Lovely Leaves die, from the Seasons of Wonder release...
I simply used three Simon Rainbow Splash inks, and blended them on a piece of cardstock. I die cut the leaves from the colored cardstock and gave it one layer just for a little bit of depth. I adhered it to a panel of woodgrain cardstock. I added a stamped, die cut, and layered sentiment from another of the new stamp sets. A little tip: The woodgrain cardstock is a very bright white. I stamped the sentiment on the woodgrain cardstock, so it would match the background panel. How, you ask, did I stamp on textured paper? I didn't. I turned the carstock over, before stamping, making it possible to stamp the sentiment on a flat surface! Here's a close up...
Fall is here in Virginia...raking every week, with bagged leaves at my curb every week! Hope you have a great weekend!!Thanks for visiting me today!!
Hugs!! Lisa
Monday, October 9, 2023
Berry Branch Christmas Card
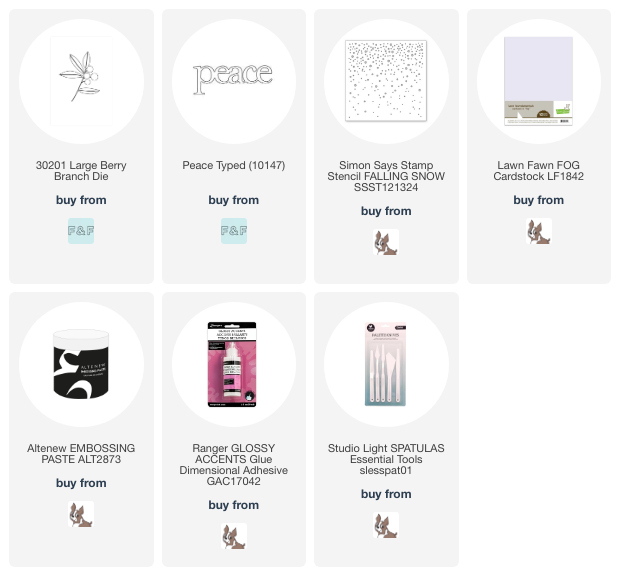
I have used two dies from Flora and Fauna, to make a Christmas card...
I cannot pass up a pretty berry branch, and I thought this one HAD to go on a Christmas card! I will say, though, I modified the berries just a bit. I generally like to glossy accent the berries, and three of these berries were very close together, and I tried it a first time, and all the glossy accent ran together, so...I die cut 4 little circles(from an old Simon die, Full Card Bubbles...sorry, but no longer available), you could even cut 4 circles, and covered the circles of the original berries with my die cut berries. I glossy accented the berries BEFORE adhering them over the berries, while also cutting the littlest one on the die cut(the one on the bottom)away from the one next to it, to give the berries a more independent look. I die cut and layered the "peace" and adhered both the stem and sentiment on a gray piece of cardstock that I had stenciled snow onto with embossing paste. I really like this Falling Snow stencil...I use it ALOT for simple Christmas cards like this one...gives the umph, that little bit of added interest that fills up empty space without being overwhelming. It would have looked pretty without the snow, but snow gives it a little something extra! Here's a close up...
Hugs to you! Lisa
Sunday, October 8, 2023
Halloween Pumpkins
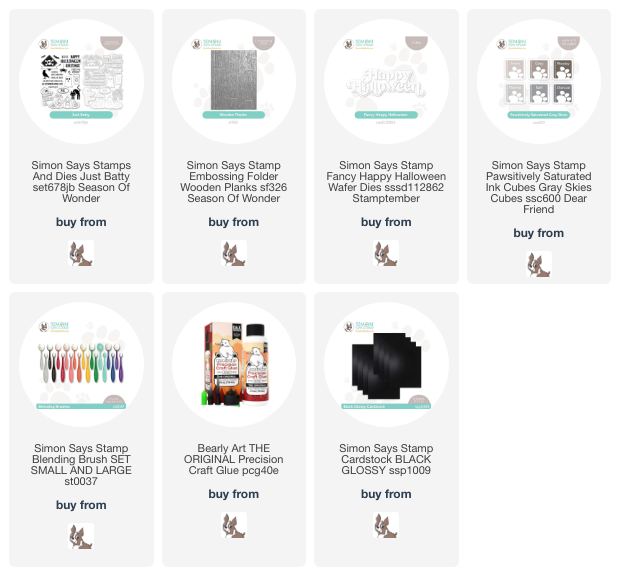
I have made a Halloween card, with the cute jack-o'-lantern pumpkins stamp, from the
Simon Says Stamp Just Batty stamp/die set, from the Season of Wonder release,
I stamped and cut out the pumpkins( I didn't have the die set), then colored with markers. I wound up using a florescent yellow for the pumpkins "glow"...beat out all the other yellows. I die cut the "Happy Halloween" from Simon glossy black cardstock, and layered. I adhered both the pumpkins and sentiment to a panel that I had embossed using one of the new embossing folders, Wooden Planks. I brushed on two grays, love the look of these planks! Here's a close up...
Friday, October 6, 2023
Season of Wonder Blog Hop Day 1!
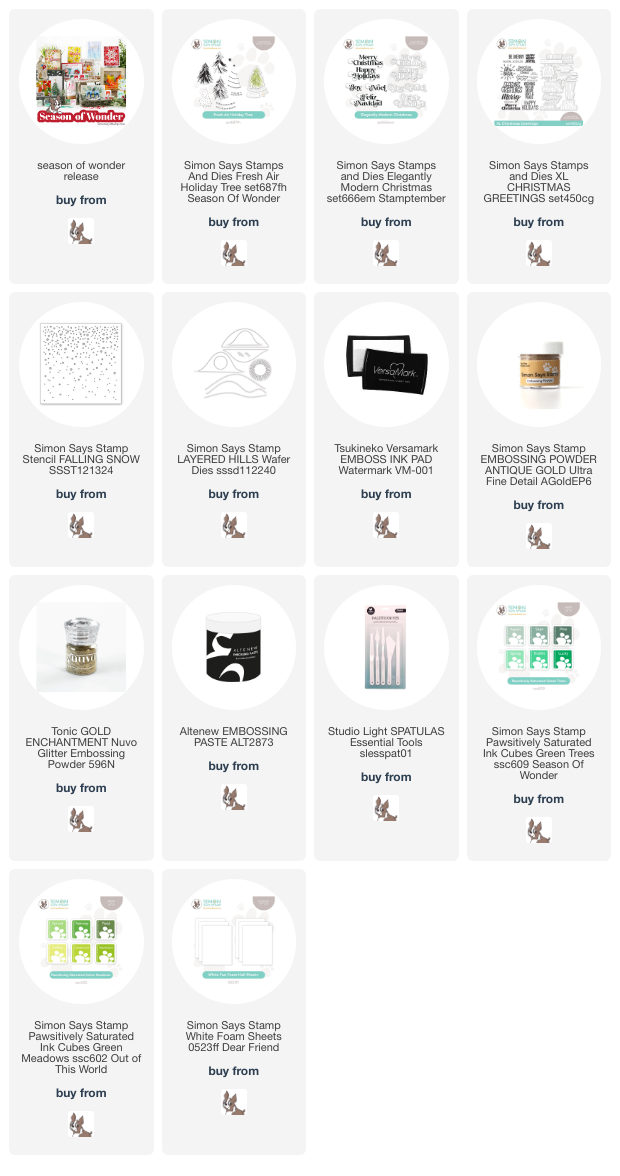
I am so happy to be a part of today's Simon Says Stamp Blog Hop, over at the Simon Blog, celebrating their newest release, Season of Wonder! Christmas is fast approaching, and what better time for a release filled with wonderful products to get your Christmas makings off to a great start! I have used one of the beautiful new stamp/die sets, to make a couple Christmas cards for today's hop!...
This stamp set is a three part stamp which, when all stamps are stamped on top of one another, make a beautiful Christmas tree! I have used three different colored green inks, to make each tree. I will tell you, the easiest and best way to stamp this tree is by FIRST die cutting the tree, then placing the stamps OVER the die cut (I use my MISTI and a small tape runner to adhere the tree to the surface in the MISTI), thus fitting the stamp to the die cut. This way, your stamping will match every curve of the tree....the branches move with the die cut curves. For both cards, I used the Simon Falling Snow stencil for the background, spreading paste over the stencil to make snow. For the first card, I used the Elegantly Modern Christmas Greetings stamp/die set. I also used gold glitter embossing powder for both the the decorations, as well as the stars of both trees. I used an old embossing plate for the diagonal lines. Here's a close up of this first card...
The second card, I changed layout, sentiment, and decoration on the tree...
I started with a very light gray cardstock, and put snow on it with the stencil and paste. I then used one of the Simon Layered Hills dies, and made a hill of snow. I used an older sentiment that "fit" into the space of this tree and layout, and popped both the tree and sentiment up with foam. Here's a close up...
Okay...I had SO much fun!! My fun was above, your fun is below!!
Simon is generously giving a $25 coupon to every stop on the hop from our comment sections, so the more hop blogs you comment on, the more chances you will have to win! Winners will be chosen and posted on the Simon Blog on Wednesday, October 11th, so make sure you check the Simon Blog on the 11th, to see if you are a winner!! If you are a winner, you can email Simon to claim your prize!
The list of participants in today's hop are listed below...
Lisa Addesa<-------You are HERE
Two things before I end my post...There will be another blog hop tomorrow, so I hope you will check it out at the Simon Blog! There is a whole bunch more inspiration and more chances for you to comment for winning one of the $25 coupons!
The second thing, please don't forget about the offer in the banner at the top of my post! The offer is for a free Graceful Holly 3D embossing folder with the purchase of $25 or more . There are directions on how to do that in the banner above...follow the three steps and the embossing folder is yours for FREE, until the end of the day on October 8th or until supplies last!!
Thank you so much for stopping by, and please keep on hopping!
Hugs!! Lisa
Thursday, October 5, 2023
Season of Wonder Release!
There's a new release over at Simon Says Stamp! The release is Season of Wonder, and I have used one of the cute new Simon Says Stamp embossing folders to make a Christmas card!...
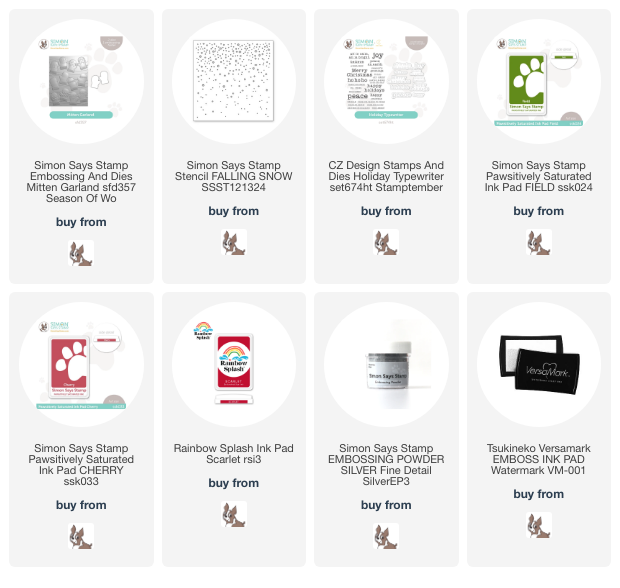
The embossing folder is called Mitten Garland, and it's adorable! I used the mitten die to die cut and then emboss three pairs of mittens, and make a true garland. I die cut, embossed, then blended three different colors of ink onto the mittens. I semi die cut three pairs of the mittens with folded pieces of cardstock, then adhered them to the colored mittens. I then hung them from silver thread and then closed the semi die cut hanging over the thread with a glue dot. I used a CZ Design for the sentiment, embossed in silver, then die cut and layered. I adhered all of them to a panel that I had used a Simon snow stencil and embossing paste, to put snow on the background of my card. I DID have to use a mini slim line to fit all the mittens onto the card, so it became PERFECT to be a card for a money present, at Christmas!! Here's a close up...
This was so much fun!! Christmas is coming...this new release has so many wonderful stamps/dies/stencils and more, to get us ready for the season! I hope you will check out this new release, and there will be two blog hops tomorrow and Saturday over at the Simon Blog...there will be lots of inspiration!!
Thank you for visiting me today!!
Hugs!! Lisa
Wednesday, October 4, 2023
Fanfare Frame
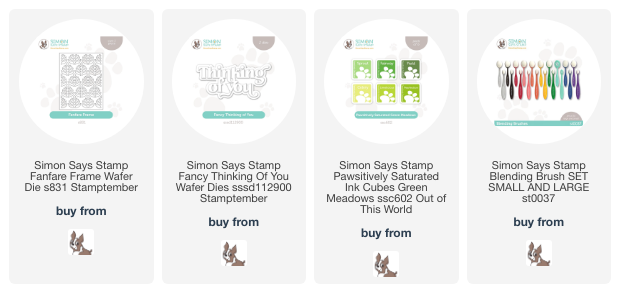
I used the Simon Says Stamp Fanfare Frame die and Fancy Thinking of you die from the STAMPtember® release, to make a thinking of you card...
I EMBOSSED the frame on a piece of cardstock, and colored the leaves with all the differeent colors of green ink. I layered the die cut frame a few times and adhered it over the colored frame. I added a layered die cut sentiment and done! Here's a close up...
A new release is here tomorrow....hope you will check back!
Thanks for visiting me today!!
Hugs!! Lisa
Monday, October 2, 2023
Confetti Birthday
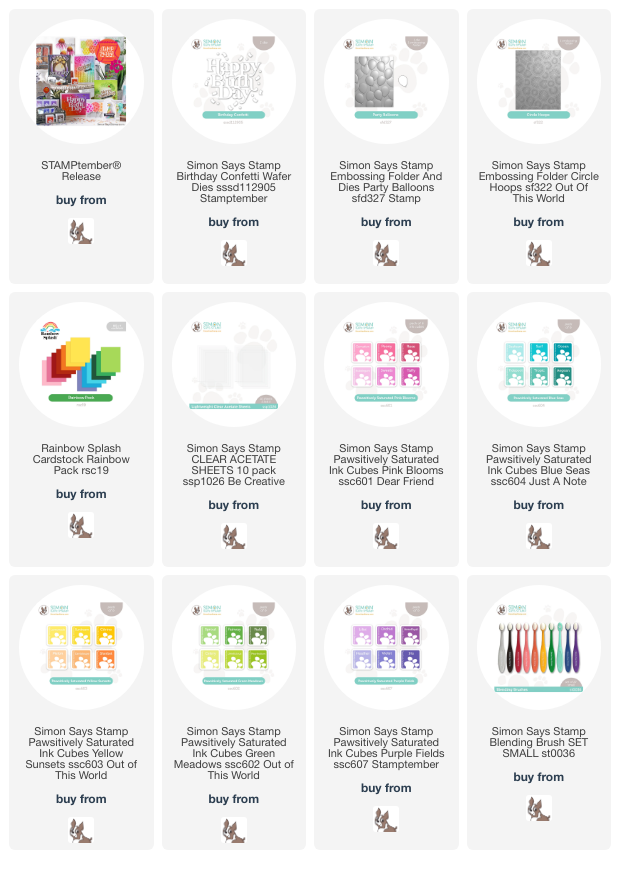
I have used the Simon Says Stamp Birthday Confetti die, from the STAMPtember® release, to make a couple fun and colorful birthday cards!...
This die is so cool ...I love the way it fills an entire card, and that it has so many possibilities!! For this first one, I used the new Rainbow Splash cardstock, cut in strips and adhered to thin paper, to die cut my sentiment. I used all the confetti, and then some extra, layered, just like the sentiment. I adhered the sentiment and all the confetti to an emossed panel...love all the circles amonst all the straight lines of the sentiment! Here's a close up...
For the second one, I used the sentiment die a little different....
I chose to keep the sentiment white, and put the color in the background! I used the new Party Balloons embossing folder/die set, and made a stencil to color all the embossed balloons! I used the die that came with the embossing folder, to die cut a balloon from a piece of acetate. I could then use the negative of the die cut balloon to mask the balloons that were on the sides of the balloon that I was coloring. Here's what they looked like...
I added the dots from the confetti to the background. I added the layered sentiment to the panel at an angle...just thought it looked cool that way! I opted for a square card...again, thought it looked cool that way! Here's a close up....
Hope you are having a great start to your week...hope your week is a happy one! Lisa
Saturday, September 30, 2023
Tim Holtz STAMPtember® Collaboration!
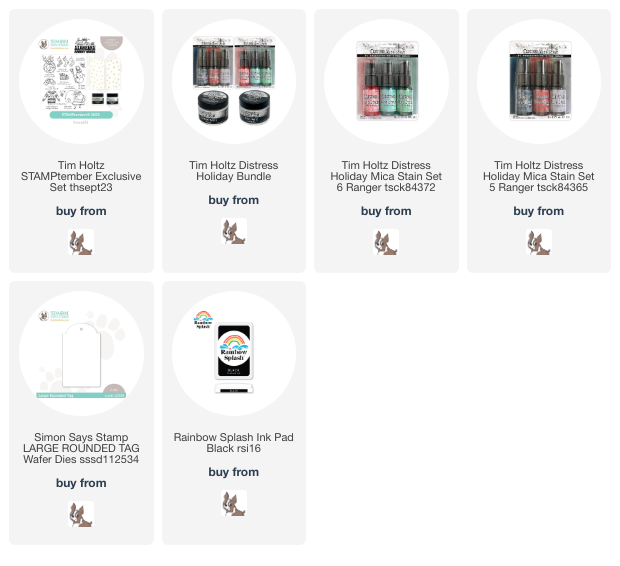
I am excited to be a part of the Simon Says Stamp and Tim Holtz STAMPtember® collaboration today! I have made Christmas gift tags using the fun new products in this collaborative set!...
I loved the sweater image...it was the perfect size and shape for gift tags, so I used the same image for all five of my tags! I used the Tim Holtz Distress Mica Sprays for the background colors...such wonderful glittery shine to these tags! I also used the stencils that come with this collaboration to make snowflakes/stars on all but one of the tags. I used the glitter paste that also came with the collaboration for the flakes and stars...and in two of the tags, I added just a tiny bit of white paint to make the stenciled images white. I added a second die cut tag to the back side of the tag, and ribbon with silver thread to tie the tags to finish them! Below is a close up of all the tags...
I tried to match one of the colors in the sweater to each background...made for some colorful fun...had such great fun...shiny, sparkly, colorful fun! This will be the last collaboration of STAMPtember® for this year...so sorry to see it end, but what great fun it has been!! Hope you have enjoyed the month long celebration of all things stamping!! Thanks for stopping by today...hope your weekend is wonderful!! Lisa
Artsy Pumpkins
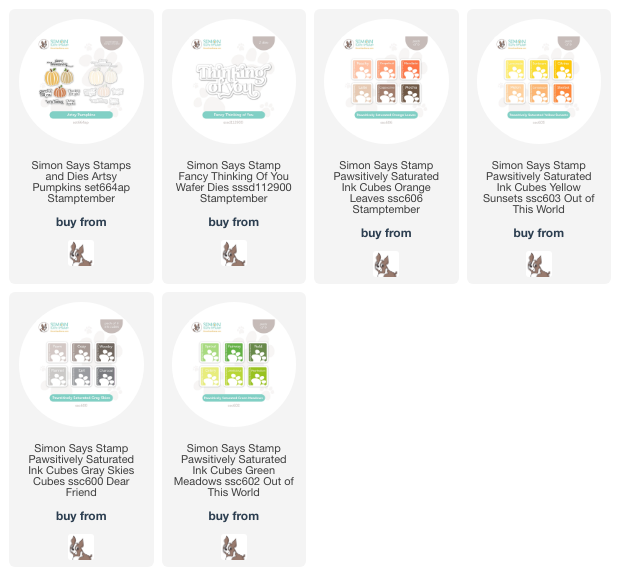
I have made three pumpkin filled cards with the pretty and fun Simon Says Stamp Artsy Pumpkins stamp/die set, from the STAMPtember® release!...
All three are clean and simple in their design...love simplicity!!...
Wanting to make these pumpkins colors other than the typical orange, I experimented with ink colors to make them a bit different! For the yellow one, I combined Simon's Citrine (yellow) ink, with Latte(light brown) ink. For the orange pumpkin, I used Mandarin (orange) and Cozy (brown). The brown pumpkin is simply Woodsy. I will give you a stamping tip for the leaf and stem at the tops of each pumpkin...wait to stamp both tops until AFTER die cutting, as the stems and leaves' directions are better stamped when you can see the shape of them in the die cut. After having stamped the leaves and stems before die cutting, and having them "off", I only stamped them AFTER die cutting! Here's a close up of the card...The second card, I did much like the first, with more pumpkins, another sentiment from the set, with a slightly different layout...
Here's a close up...
The third card, I used a new sentiment die with the pumpkins...
I die cut and layered the sentiment, and adhered it at the top of the card. Here's a close up...
Experiment with color...it is so much fun to get colors that are outside the ink pads we have!! Fall weather is here in Virginia....hope you're enjoying yours wherever you might be!
Here's a close up...
The third card, I used a new sentiment die with the pumpkins...
I die cut and layered the sentiment, and adhered it at the top of the card. Here's a close up...
Experiment with color...it is so much fun to get colors that are outside the ink pads we have!! Fall weather is here in Virginia....hope you're enjoying yours wherever you might be!
Thanks for visiting me today!! Hugs!! Lisa
Subscribe to:
Posts (Atom)