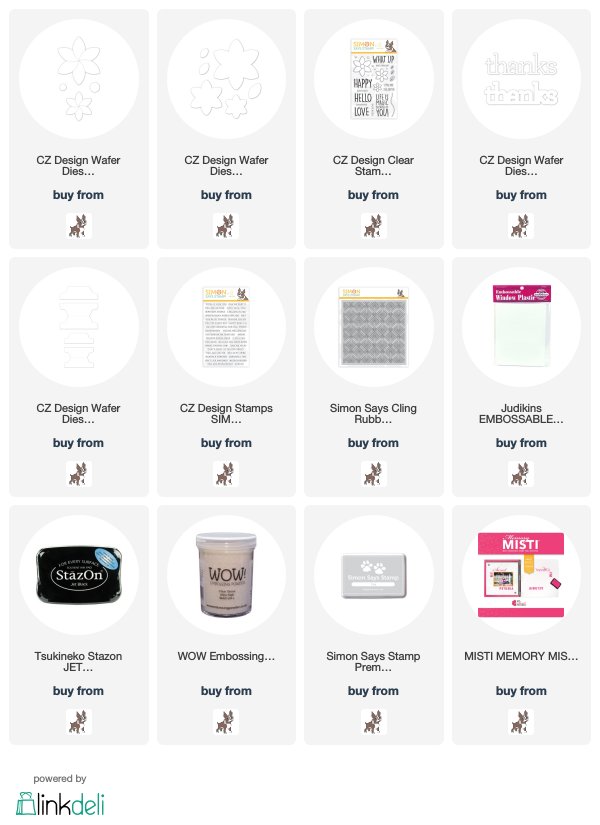
I have been having SO MUCH FUN with the new Simon Says Stamp CZ Design Buttercup collection of stamps and dies from the new Fresh Bloom release!!...
I die cut and layered the stand alone flowers, using the leaf dies from the stamp/die set to make leaves for the die cut flowers. What I love about these fun flowers is that all the petals are connected in the center of each flower...the pieces all stay together!!
I adhered the layered flowers together, added enamel dots in the centers of the flowers, a layered thanks die, also from CZ Design, then adhered them all to a card with the Deco Diamonds background stamp, stamped in Simon Says Stamp's Fog ink. I also added some tonic jewel drops. Here's a close up...
The second card, I used the same small sized flowers, and a sentiment from the stamp set to make a birthday card...
I layered each of the flowers and added an enamel dot in each center. I love my tonic drops, but the enamel dots were so much easier with these flowers as they have movement. Simply done, but a rainbow full of pretty flowers with a cute fonted sentiment...nothing more needed:)!!
Here's a close up...
I could NOT resist the sentiment in the Buttercup stamp set, and made a "magic" card...
I had fun making a card like the one above, back in December, found HERE, so as soon as I saw the sentiment, I KNEW I had to make another! This card and it's "magic" are made by using a piece of cardstock to separate a piece of stamped acetate in front of the cardstock, and the exact same image stamped in the exact position behind the cardstock. All this is put into a frame, with layered 3D pop up dots separating the layers of paper, so they can slide. Here's a little video showing me lifting the acetate and the colored image on cardstock from the frame...
I used all the flower and leaf images from the stamp set and stamped them all over the card panel. Below a pic of the flower lifted up...
I had SO MUCH FUN with these pretty, unique, fun flowers!!
Thanks for visiting me today!!
Hugs!! Lisa


Your designs are always so striking. I love these cards. The rainbow of flowers is gorgeous, and I love the layered flowers on the first one. That pull up card is so cool! I have this set but haven't used it yet, so thanks for the inspiration!
ReplyDeleteThe pull up is clever. Wonderful colors too!
ReplyDeleteLisa, I'm so in love with your cardmaking (and rainbow) style! Every time I see a new post here I'm happy!
ReplyDeleteThanks for inspiring me so often! Have a wonderful weekend!
Greetings from Wiebke (KomMa-designed)
I'm new to all this card stuff, but I have a vinyl cutter and would love to make something like the layered thanks cards. What type of adhesive do you use to sure the two layers of thanks?? Thank you!!
ReplyDeleteI use glossy accents between the layers. I have a Quilled Creations Precision Tip bottle that I put my glossy accents into, so that putting adhesive into small areas of die cuts is easier and neater. The bottle is great and for me, pretty necessary, but I also have a set of sewing needles on hand to unplug the metal tip when the glue dries in it...needles are a must have, also!! Hope this helps...welcome to card making...it's SO...MUCH...FUN!!!
DeleteAmazing cards!!! Great designs, love especially the colourful CAS, so adorable, and the magical interactive is just delightful!
ReplyDeleteEach of your cards is gorgeous, Lisa! I love that buttery yellow and those dies look amazing! The cascade of rainbow flowers is also striking! How fun to have just the right sentiment to go with that fabulous magic color changer!
ReplyDelete