Pages

Saturday, September 30, 2023

Tim Holtz STAMPtember® Collaboration!

I am excited to be a part of the Simon Says Stamp and Tim Holtz STAMPtember® collaboration today!  I have made Christmas gift tags using the fun new products in this collaborative set!...
I loved the sweater image...it was the perfect size and shape for gift tags, so I used the same image for all five of my tags!  I used the Tim Holtz Distress Mica Sprays for the background colors...such wonderful glittery shine to these tags!  I also used the stencils that come with this collaboration to make snowflakes/stars on all but one of the tags.  I used the glitter paste that also came with the collaboration for the flakes and stars...and in two of the tags, I added just a tiny bit of white paint to make the stenciled images white.  I added a second die cut tag to the back side of  the tag, and ribbon with  silver thread to tie the tags to finish them!  Below is a close up of all the tags...


I tried to match one of the colors in the sweater to each background...made for some colorful fun...had such great fun...shiny, sparkly, colorful fun!  This will be the last collaboration of STAMPtember® for this year...so sorry to see it end, but what great fun it has been!!  Hope you have enjoyed the month long celebration of all things stamping!!  Thanks for stopping by today...hope your weekend is wonderful!!  Lisa
Artsy Pumpkins

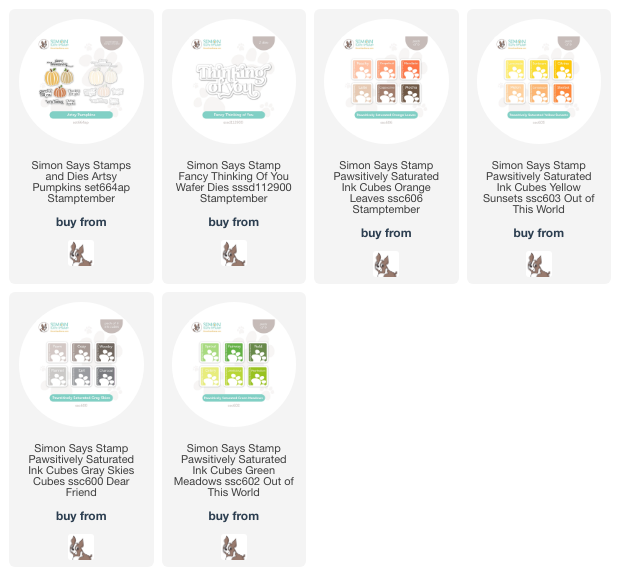
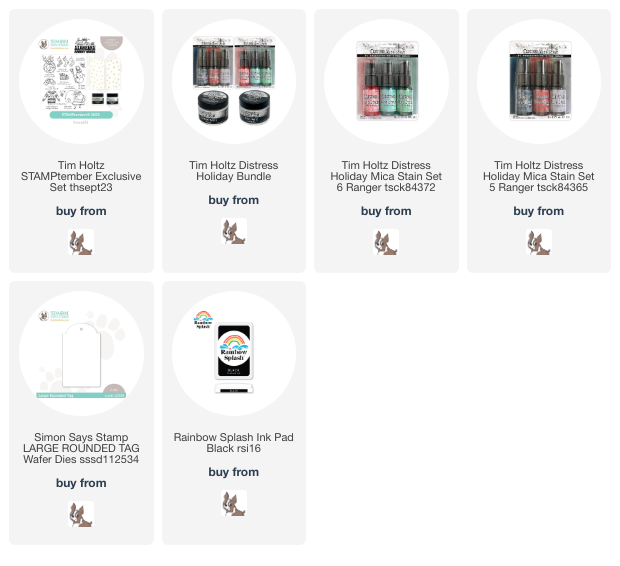
I have made three pumpkin filled cards with the pretty and fun Simon Says Stamp Artsy Pumpkins stamp/die set, from the STAMPtember® release!...
All three are clean and simple in their design...love simplicity!!...
Wanting to make these pumpkins colors other than the typical orange, I experimented with ink colors to make them a bit different!  For the yellow one, I combined Simon's Citrine (yellow) ink, with Latte(light brown) ink.  For the orange pumpkin, I used Mandarin (orange) and Cozy (brown).  The brown pumpkin is  simply Woodsy.  I will give you a stamping tip for the leaf and stem at the tops of each pumpkin...wait to stamp both tops until AFTER die cutting, as the stems and leaves' directions are better stamped when you can see the shape of them in the die cut.  After having stamped the leaves and stems before die cutting, and having them "off", I only stamped them AFTER die cutting!  Here's a close up of the card...
The second card, I did much like the first, with more pumpkins, another sentiment from the set, with a slightly different layout...
Here's a close up...
The third card, I used a new sentiment die with the pumpkins...
I die cut and layered the sentiment, and adhered it at the top of the card.  Here's a close up...
Experiment with color...it is so much fun to get colors that are outside the ink pads we have!!  Fall weather is here in Virginia....hope you're enjoying yours wherever you might be!
Thanks for visiting me today!! Hugs!! Lisa

Sunday, September 24, 2023

Too Cute to Spook

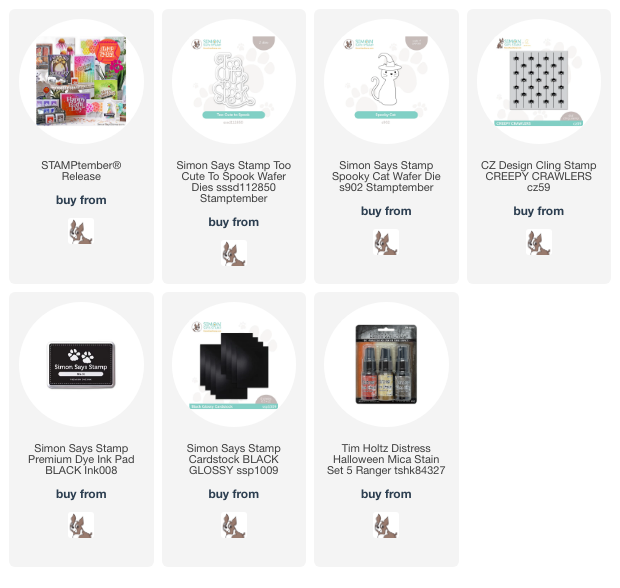
I made a Halloween card with two of the new Simon Says Stamp dies(well, part of one die), from their STAMPtember® release!...
I thought this sentiment die was too cute...just got that when rereading it!!  I thought to pair it with an older Simon background stamp that is ALL about cuteness, despite it being filled with spiders!  I stamped the spiders for the background, and then die cut and layered the sentiment...the top layer being cut with glossy black cardstock!  I used the hat from the Spooky Cat die.  I had sprayed some Tim Holtz Mica Stain spray on cardstock for a previous card, and die cut the strip for the hat from that, so even though you really can't see it, it has sparkle.  I adhered it all together and here's a close up...
What fun!!  I also love the black and white with just a tiny pop of color in the hat...fun!  Hope you are doing great as September is coming to a close...please take care!!
Thanks for visiting me today!! Hugs!! Lisa

Friday, September 22, 2023

Party Hat Birthday

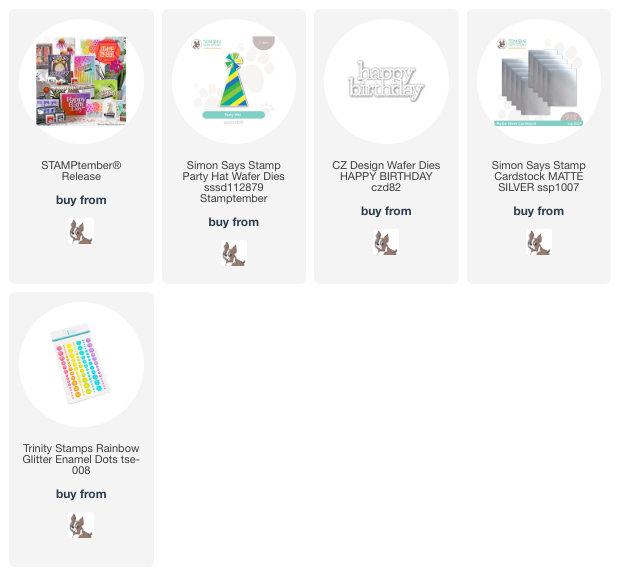
I have used one of the fun new dies from the Simon Says Stamp STAMPtember® release, to make a clean and simple Party Hat Birthday card!...
I used the Party Hat die set to make a rainbow striped party hat!  I used nine different colors of cardstock, and die cut one hat from each color.  This means, that you could technically make 9 different hats with these die cuts!  I have put all the remaining pieces that I didn't use, in a small plastic bag to save for later!  Here's a pic of all the pieces ...
I used silver cardstock for the tassel on the top, and the sentiment, a CZ Design die!.. I layered both, just as I had layered the hat.  I adhered the sentiment and hat, then adhered some sparkly enamel dots for some bling!  Here's a closeup...
Hope you have a great weekend...it's so hard for me to believe that September is already almsot over!!...time is truly flying by!!  Enjoying the STAMPtember® release!! 
Thanks for visiting me today!! Hugs!! Lisa

Wednesday, September 13, 2023

Holly Sprig

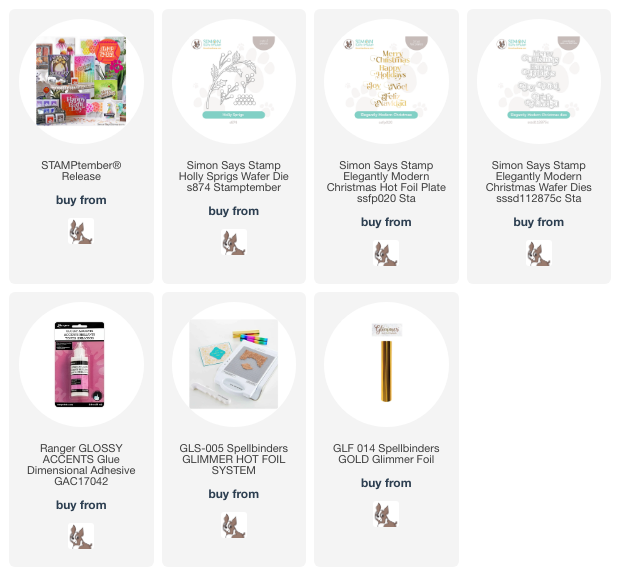
I have made a Christmas card with the beautiful new Simon Says Stamp Holly Sprigs die set and Elegantly Modern Christmas Hot Foil/die set, both from the Simon STAMPtember® release!...
Anyone who knows me, knows that I love clean and simple cards!  They would also know, that a berry stem is a call to me for a  super clean and simple card!  I LOVE berry stems for Christmas cards...they are so pretty...all by themselves, simply done with a sentiment!   I die cut the branch and berries from white cardstock and colored the pieces with markers.  I layered the stem once, and then bent the leaves a bit for dimension.  After adhering the red berries to the colored stems, I added two separate coats of glossy accents to the berries for some berry shine.  I adhered all the parts onto the card, then added the foiled sentiment, which I had die cut and layered. Here's a close up...
What great fun!!  I just love a die that is so beautiful, and can stand on it's own when used on a card!  Ahhh....happiness!  Thanks for visiting me today!! Hugs!! Lisa

Friday, September 8, 2023

Rainbow Splash Release!

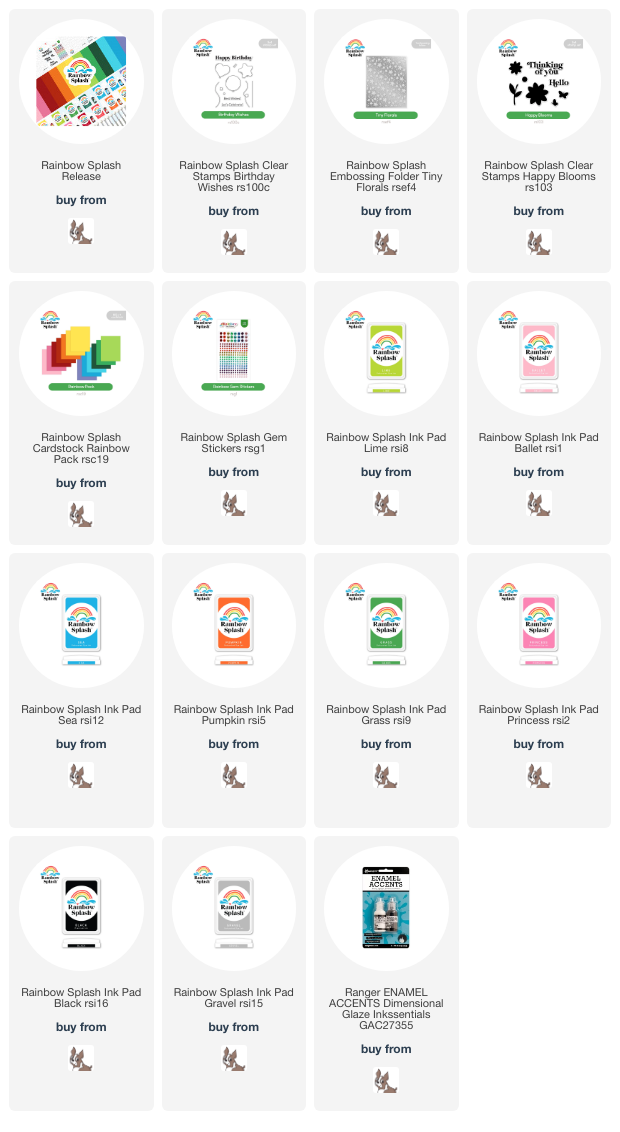
Simon Says Stamp has just come out with a new line of products, called Rainbow Splash!!  This new line of products is full of wonderful color and fun, and makes for some wonderful clean and simple cards!!  I have made a couple cards using the new cardstock, ink, a stamp set, and embossing folder from this new release!...
I am using the Birthday Wishes stamp set for my first card.  The ink and cardstock  colors are so pretty!!  I LOVE the fact that the inks MATCH the cardstock! I knew, when I stamped the balloons, that I wanted the ink to match the strips that I would be using, so....I quickly made some balloon stencils, so I could blend ink on the balloons and stay in the lines!  To do this, stamp the image on a piece of acetate. Using a craft knife, cut through the acetate, then cut the image out with a pair of scissors.  Wipe away the lines of the image from the acetate, and you're ready to blend ink on the balloons.  Below is a pic of what I just explained in one pic...
I added the sentiment from the set, and some of the gem stickers for added pretty!  Here's a close up...

The second card, I used one of the pretty new embossing folders, and a sentiment from another of the stamp sets!...
I thought these flowers were so pretty on this embossing folder, and I decided to use the Ballet and Princess inks from the release, to color the flowers, and Lime for the leaves.  How to do this??  I brushed the ink pad on my acrylic block, sprayed a little water on the ink, and used a very small paint brush to brush the ink onto the embossed flowers and leaves.  Super easy...don't have to be perfect...and super fun!!  
I used the Gravel ink for the dots on the embossed cardstock, and used my Enamel Accents to dot all the flowers.  I stamped the sentiment and cut it out, popping it up on the card,  I used the Princess and Ballet ink cardstocks to frame the flowers, and done!!  Here's a close up...
This release is wonderfully easy, fun and so colorful to create with!!  Hope you will check it out...I've provided a link, below!  Hope you have a colorful, fun and easy weekend!!  
Thanks for visiting me today!! Hugs!! Lisa
Thursday, September 7, 2023

Fanfare Leaf

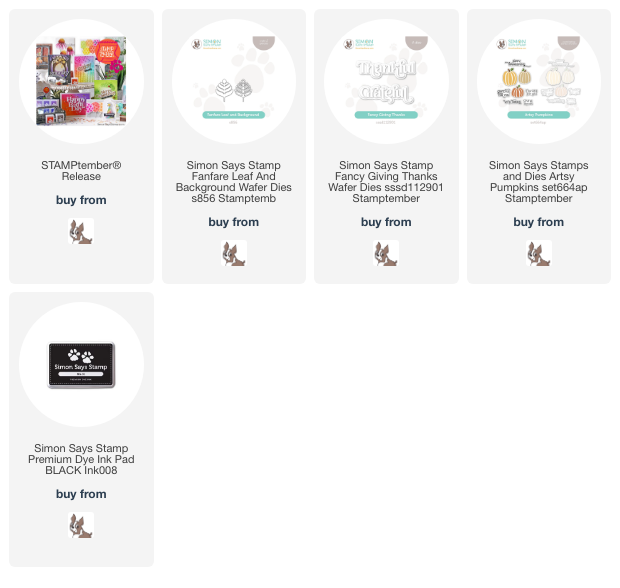
I have used the pretty new Simon Says Stamp Fanfare Leaf and Background die set, from the new STAMPtember® release, to make a couple Fall cards...
I die cut the leaf in a number of Fall type colors, using only the outline, and adhered them in a circle. I added a die cut and layered Thankful sentiment, also from the new release!  I originally had it set on an A2 card, but liked it much better on a square card.  Side note: cards with raised edges require more postage...they need a stamp that allows the card to go through by hand, not by machine.  That stamp is the same stamp that allows for square cards...so this card was going to have extra postage anyway...square or A2, so square it was!  Here's a closeup... 
The second card, I used white die cut outlines, and the backgrounds of the die cuts from the first card...
Simply done...five falling Fall colored leaves(I know, not typical leaves off your maple tree, but thought them cool!).  I added a sentiment from the new Artsy Pumpkins stamp set...tucked in the leaves.  Here's a close up...
It was 95º here in Virginia, feels like 103º...I...cannot...wait...for...Fall!!  Hope you are having a great end to your week, wherever you are!!    
Thank you for visiting me today!! Hugs!! Lisa

Sunday, September 3, 2023

Happy Birthday, Heidi!

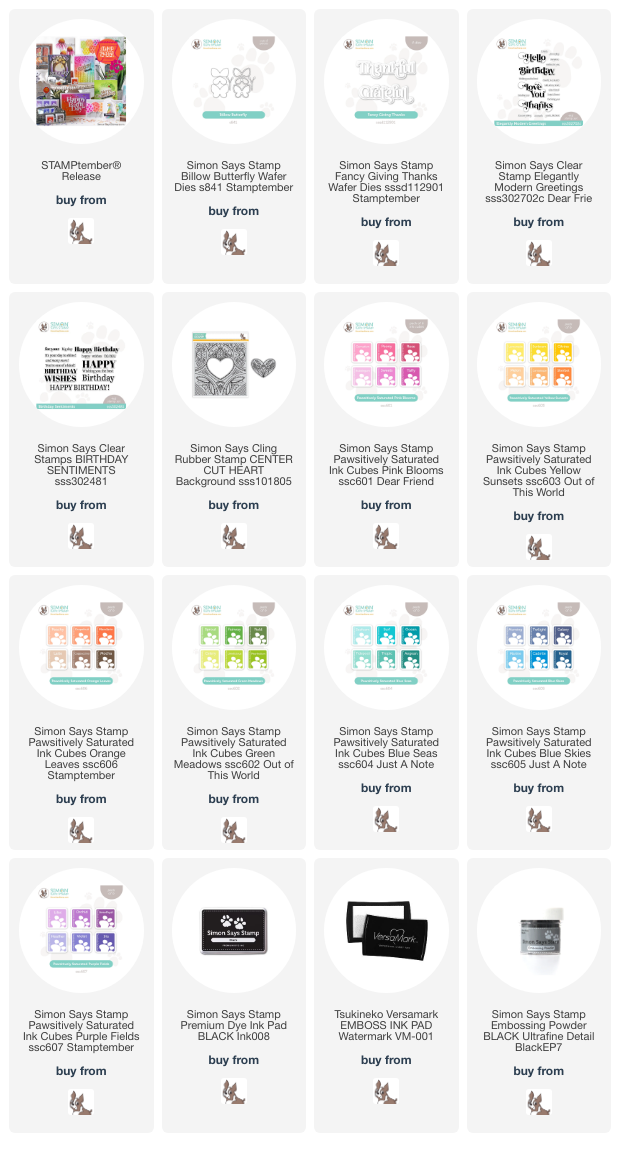
It is Simon Says Stamp's founder, Heidi Crowl's, birthday today! Happy Birthday, Heidi!!  Heidi is one of  kindest and most encouraging women I know, and I am SO honored to be a part of the Simon Family!  I have made a card for her special day with the Billow Butterfly dies from Simon's new STAMPtember® release!...
This set of butterfly dies is so pretty, and so cool, as there are a number of ways you can design butterflies!  For this card, I used the dies that gave you top and bottom pieces!  I used two different colors of ink for each butterfly. I used a solid white piece under each of the colored pieces, then layered a couple outlines on each of the colored pieces.  The antenna are layered twice, as well.  I know, seems like a lot of cutting and pasting... mind you, I had no idea where I was going with this card when I started putting butterflies together...the numbers and colors kinda "grew" as time went by.  Then, when I had 6 butterflies, I made one more, as they fell into a circle, and 7 was the perfect number for a complete circle. To put the butterflies together,  I used a small line of glue inbetween the top and bottom pieces, as well as three drops to put the body/antenna on, then let them dry,  I bent their wings just a tiny bit, to give them some life, then adhered to the card, having stamped a sentiment on the bottom with versamark and black embossed!  Here's a close up...
The second one was actually the first one I made with these butterflies...
For this card, I used the one piece butterflies, and one of the new sentiment dies from the STAMPtember® release!  I also wanted a design on my butterflies, so I chose an older Simon background stamp with a design that would be the same on both sides, like a butterfly...Center Cut Heart Background stamp!  I stamped the background, then cut out pieces that I thought would look cool, then colored them. I went with two cuts from the bottom of the cut out heart (I didn't know what I was doing, but made a circle...with lots of scratches, around the section I used)...
I layered the sentiment die cut, amd adhered the sentiment after stamping the "for you" from a "wishes for you" sentiment, from the Elegantly Modern Greetings stamp set.  Here's a close up...
Love these butterflies...they are so pretty and so much fun to create with..had so much fun making these cards!  I truly hope your day is full of happy, Heidi! Thank you for your kindness and incredible support of me and of my work!  Much love and hugs!!   
Thanks for visiting me today!! Hugs!! Lisa

Saturday, September 2, 2023

STAMPtember® Party!

I am so thrilled and excited to be a part of today's Simon Says Stamp STAMPtember® Party, celebrating the wonderful STAMPtember® release!  STAMPtember® began 14 years ago, it's a month long celebration of all things stamping!  There is an amazing amount of new stamps, dies, stencils, and, well...all things stamping, in this release! There will also be daily releases from other amazing stamp companies, who have collaborated with Simon for STAMPtember® and this month long celebration!   I hope you will check out the Simon website and keep a lookout throughout the month of September, for new releases!!  
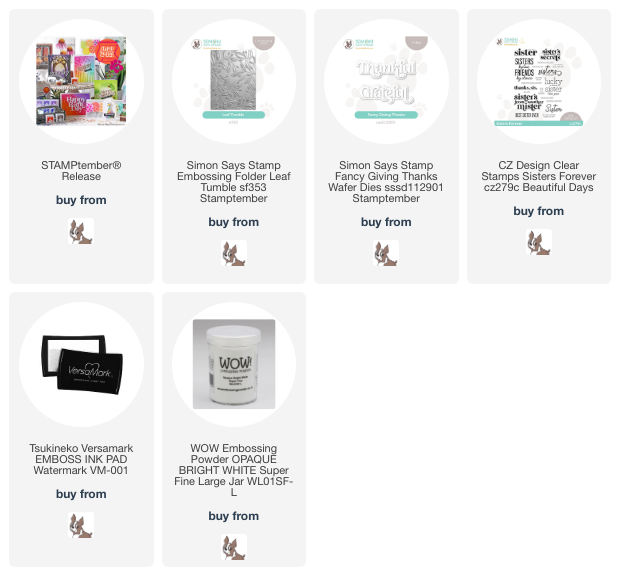
I have made a card to share at today's party, made with one of the new stencils,  one of new sentiment dies, and a stamped Simon sentiment...
This Leaf Tumble embossing folder is so pretty!  I decided to emboss it on gray cardstock, and color the leaves with green marker and the stems in brown.  I die cut and layered the Grateful from the Fancy Giving Thanks die set.  I stamped the sentiment below the die cut with versamark and white embossed.  Here's a close up...
  
You can find a list party goers over at the Simon Blog...it's a big party, with lots of inspiration!  Don't forget about the offer in the banner...a free Autumn Cascade layering stencil set with any $30 purchase!  PLEASE NOTE: the offer in my post is only one of many offers at today's party!  This part of the party is like a scavenger hunt, as you will have to visit other blogs to "find" other offers!  FUN!!   The offer is good until the end of the day on September 3rd, or until supplies last, so don't wait!  Simply follow the directions in the banner at the top of this post, to get your stencil set!
Thanks so much for being a part of today's party and stopping by my blog!!  Hugs!!  Lisa

Friday, September 1, 2023

Winter Bough

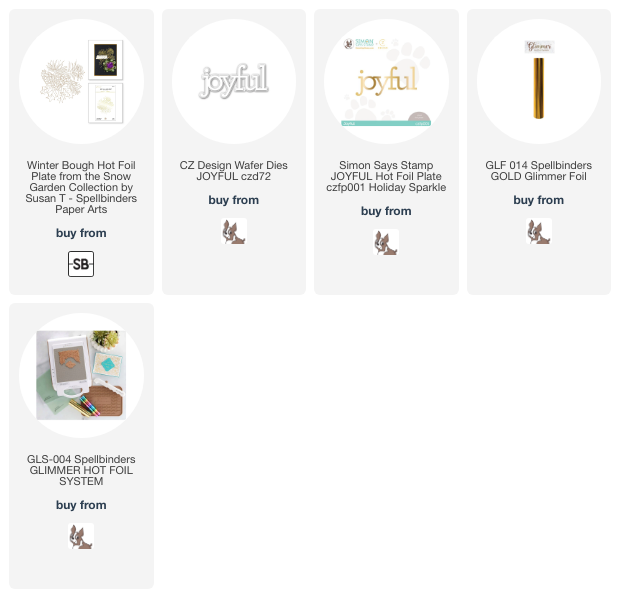
I have made a couple simply made Christmas cards, using the beautiful Spellbinders Winter Bough hot foil plate, fromt their Snow Garden Collection by Susan Tierney-Cockburn...
This foil plate is so big and so beautiful, that it is a perfect stand-alone for a card.  I think it looks beautiful simply heated with gold foil on black cardstock, which is what I did for this first card.  I simply added a layered gold die cut CZ Design sentiment, with two strips of gold on the top and bottom of the card.  Here's a close up...

The second one, I opted to color the gold foiled image, and gold foiled the sentiment...
I hot foiled the plate on a light gray cardstock.  I then colored all the images with markers, and used the hot foil plate of the sentiment used on the first card.  I die cut the foiled sentiment, and layered.  I added two strips of gold cardstock, this time on both sides of the card.  Here's a close up...
I love this plate, especially for Christmas cards!  The plate makes for a simply made, pretty card, perfect for making many in short order!  Hope you have a great Labor Day weekend!
Thanks for visiting me today!! Hugs!! Lisa