Pages

Wednesday, May 29, 2019

Gerbera Daisy Love

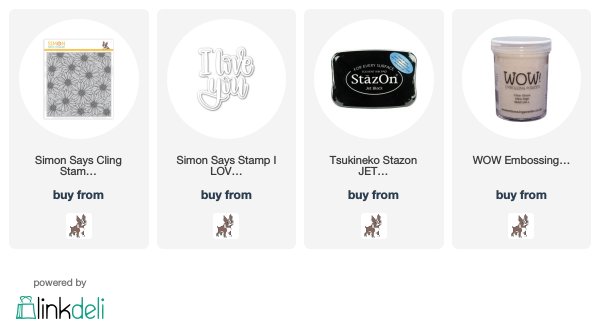
I made a card, today, with the really pretty new Simon Says Stamp Gerbera Daisy Background, from their latest release, Celebrate You...
 I stamped and embossed the image, then colored with my prismacolor markers.  I love the intense colors of gerbera daisies, so I chose to use some more "intense" colors!  I colored with 2 shades of each orange, pink, red, and yellow.  I added a die cut and layered "I love you" die cut sentiment, also from the new release!  Here's a close up...
Coloring was such fun...such pretty flowers!!
Thanks for visiting me today!! Hugs!! Lisa

Monday, May 27, 2019

Positive and Negative Thanks

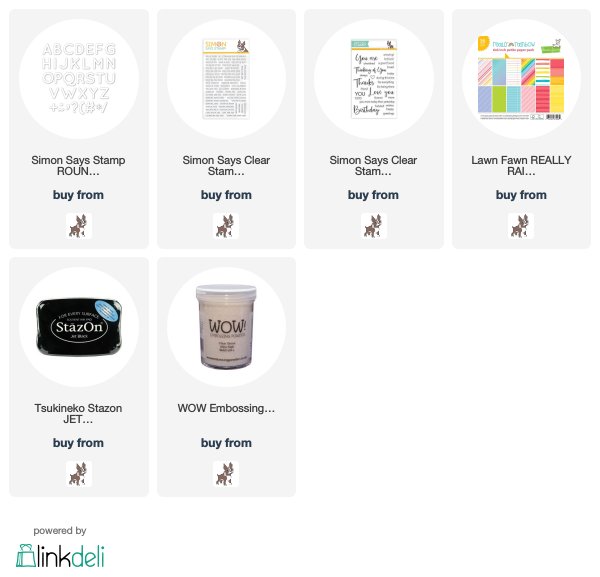
I have been having SO MUCH FUN in my craft room the last week!!  I made a couple thank you cards using the cool new Simon Says Stamp Rounded Alphabet dies, from the latest Celebrate You release, using the Positive and negative cuts of the letters(not sure which is negative and which is positive, though:):))...
 I started by adhering all the letters together with washi tape.  This was crucial for layering underneath...then all the die cuts would line up perfectly for this first card.  Not necessary for the second card.   Here's the die side and tape side, just in case you were curious...
I adhered a couple white layers below the rainbow striped paper die cut, and then used a black piece of paper under the layered letters.  Oh, I also stamped a sentiment from Tiny Words stamp set, to go with the thanks.  Here's a close up...
 The second one, I used the leftovers from the first...
 Such a different look, right?!  I popped up the card above and below the die cut sentiment, also stamping a sentiment on the lower panel before adhering to card.  Here's a close up...
Simply done..simply fun!!  I really love these letters, they have such a cool look to them...the curves and font are such fun!! 
Thanks for visiting me today!! Hugs!! Lisa

Sunday, May 26, 2019

Colored Pencils on Colored Card Stock

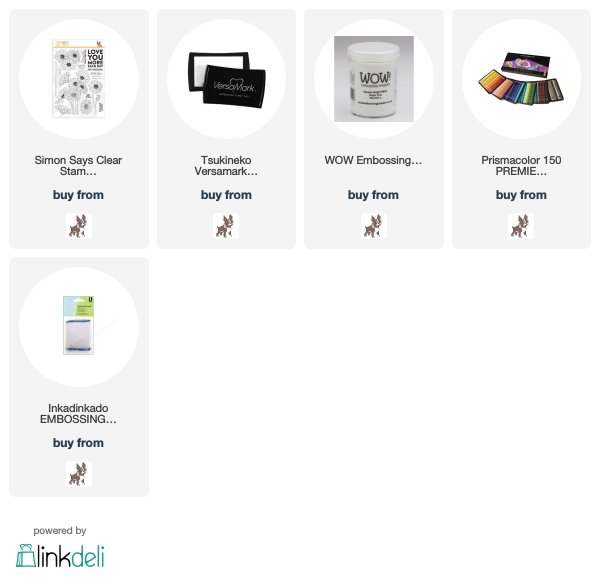
I used the beautiful new Simon Says Stamp Daisy Bouquet stamp set from their latest release,  Celebrate You, got out my colored pencils, and had some fun!...
I stamped and white embossed the beautiful image on the gray card panel.  The VERY cool thing about Prismacolor pencils, is that they are such great pencils, so wonderfully rich in color, that many(not all) of the colors stand up beautifully on dark card stock!!  I colored the flowers with two shades of pink and the stems with two shades of green.  I COULD have blended them with a blending stick, but chose not to with these.  I loved the touches of dark pink and the blending would have reduced that a bit, so although there are some tiny gaps of gray, I chose to leave them.  Here's a close up...
Oh, this was SUCH GREAT FUN...this coloring was such fun!!
Thanks for visiting me today!! Hugs!! Lisa

Saturday, May 25, 2019

Butterfly Hugs and Kisses

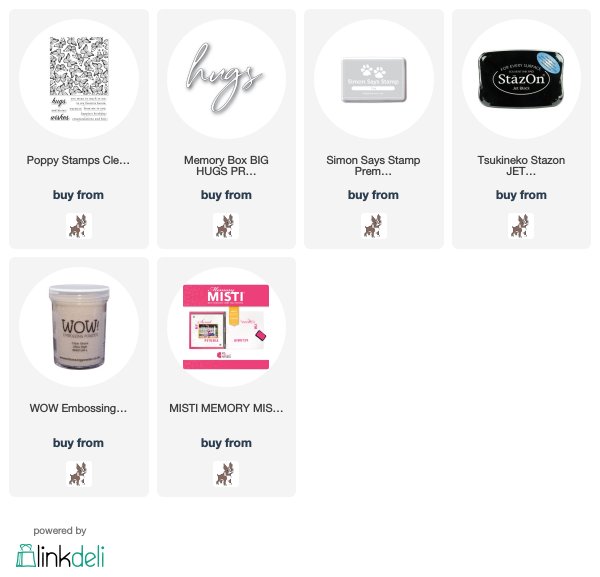
I've made a card with the pretty background stamp by Poppy Stamps, Butterfly Wings, combined with the Memory Box Big Hugs Premiere die to make a butterfly hugs and kisses card:)...
I stamped the background stamp with my MISTI with Simon Fog ink.  I then stamped a butterfly with black ink, clear embossed, then hand cut out and colored with a Prismacolor marker.  I stamped the sentiment from the Butterfly wings, then adhered the die cut and layered sentiment and butterfly onto the panel(the butterfly is directly over one of the butterflies exactly like him!).  Here's a close up...
This was so much fun and the simplicity made my heart happy!!
Thanks for visiting me today!! Hugs!! Lisa

Thursday, May 23, 2019

Brilliant Sunflower Birthday

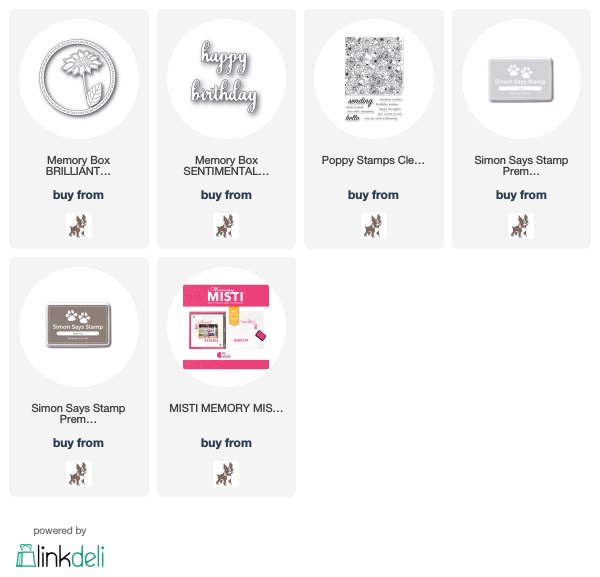
I've made a card with the beautiful Brilliant Sunflower die by Memory Box...sunflowers make me happy!!...
I die cut the whole die, then hand cut the flower off of the die cut.  The cool thing about this die is that it comes with a solid piece that fits on the back of the sunflower.  SO...I colored that solid piece with a Prismacolor marker and adhered it to a layered flower.  I die cut a green stem and green leaves, and adered them to layers of the same.  I stamped a background with a pretty Poppy Stamp background stamp in a subtle gray for some interest, and adhered the frame, flower and leaves to the card.  I used a Memory Box Happy Birthday die for the sentiment along with a partial stamp from the Flower Garden background stamp.  Ok...I love this flower...just sayin...here's a close up...   
It has been a crazy month at my house, with lots of family(soooo thankful but sooooo busy!!), but hope to have a few cards to show you by month's end, as I'm now able to get back in my craft room:)!!
Thanks for visiting me today!! Hugs!! Lisa

Sunday, May 19, 2019

Happy Birthday Rainbow Candles

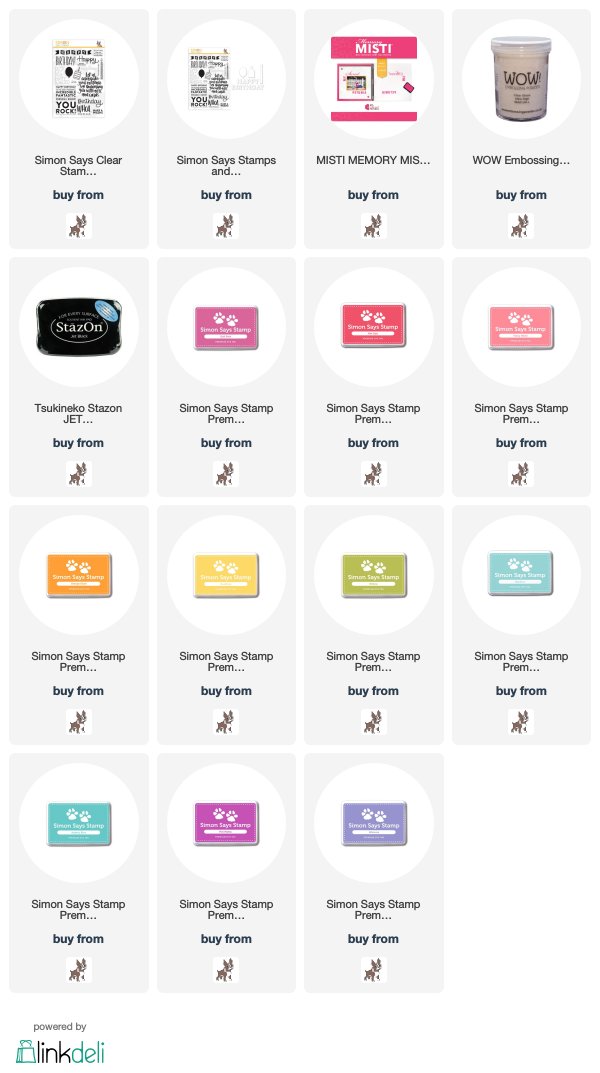
I've made a card with the fun new Simon Says Stamp's Big Birthday stamp set from their latest release, Celebrate You!...
 Using my MISTI was a must for this card!  I simply strategically placed the candle stamp in my MISTI, giving enough space to move the card to either side, stamping in a WHOLE BUNCH of colored inks. The MISTI makes it possible to stamp the candle in the exact same position on the card panel EVERY TIME...SO COOL!!   I then stamped the "Happy Birthday" from the set in black ink over the candles, and clear embossed.  I popped up on a card panel...done!  Here's a close up...
Love all the wonderful elements in this set...hope to get another card or two done with it to show you, soon!!  
Thanks for visiting me today!! Hugs!! Lisa

Thursday, May 16, 2019

Simon Says Stamp Celebrate You Blog Hop!

I am so thrilled to be a part of todays Blog Hop, celebrating Simon Says Stamp's newest release, Celebrate You! There are so many wonderful, pretty, and fun stamps and dies that celebrate all kinds of events that celebrate those "yous" in your life!!  
If you're following the hop, you should have reached here from amazing Amy Rysavy's blog!

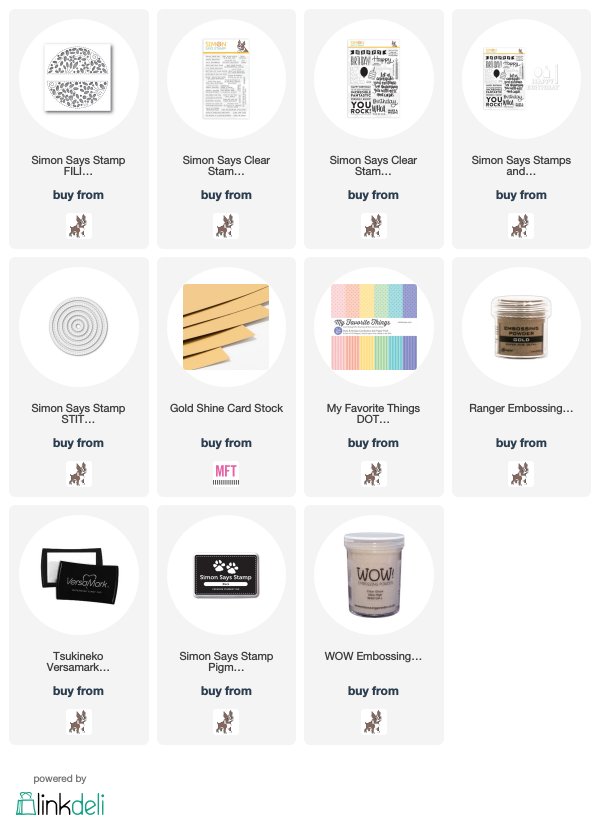
I chose to showcase the very pretty Filigree Message Circle die, celebrating birthdays, for today's hop...

The first one, I simply used a gold embossed Filigree die underneath a die cut white panel with a gold embossed birthday sentiment from the new Tiny Words Birthday stamp set....
I embossed the die's image on a piece of shiny gold cardstock.  I then die cut the die on a white cardstock panel.  I adhered the white over the gold and adhered to a gold panel adhered to a card.  Here's a close up...

The second one I used markers to color an embossed panel...
I colored the embossed piece with markers, hand cut out, and then adhered to a layered , die cut that I die cut with circular stitched die.  I centered on panel with a striped piece of patterned paper on the top and bottom of panel. I used another sentiment from the Tiny Words Birthday stamp set...wonderful sentiment in this set!!   Here's a close up...

The third use for this pretty die, I die cut and layered like the second, but made into a gift tag!...
I layered the die cut and then cut out a couple times, then adhered to colored cardstock.  I used the circular die to die cut a "card" with it, and adhered to the layered white and blue piece. The "Happy Birthday" is a very cool sentiment stamp(love the font and size of this sentiment), from the new Big Birthday Greetings set!   Added some twine and ready for a birthday package:)!! 

My fun is above, yours is below!!
Simon Says Stamp will be generously giving a $25 coupon to one commenter from each and every blog on the hop, simply leave a comment for a chance to win!!  The winners will be chosen and be posted on the Simon Says Stamp Blog on Wednesday, May 22nd, so make sure you check the blog on the 22nd, to see if you're a winner!
The next stop on the hop is amazing Kathy Racoosin
   The list of participants of the hop are below.  If you get lost, you can head to the  Simon Says Stamp Blog...hope you will check out all the amazing artists' inspiration today!! 
                                          Lisa Addesa<------YOU ARE HERE
Before you head off to the next blog, don't forget the free offer from Simon that was in the heading...
Use code BTF842 to receive the Tim Holtz Butterfly adornments (while supplies last!) with any purchase!!...AND don't forget to head to the Simon Blog tomorrow for a second Blog Hop...full of lots of wonderful inspiration...FUN!!!

Thanks for visiting me today!! Hugs!! Lisa
Wednesday, May 15, 2019

Celebrate You Release!

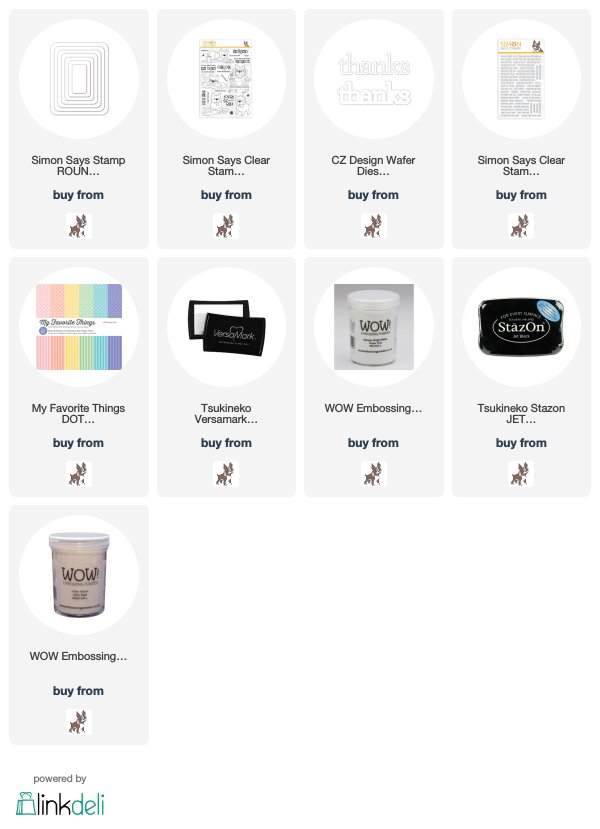
Today there is a new release over at Simon Says Stamp... Celebrate You!  I have made a couple cards with the fun new Rounded Corner Rectangles die set...
I left all the dies together as they came in their packaging.  I then die cut six colors of patterned paper from the total set of dies.  I then used every other size of die cut paper,  and layered those three with fun foam.  The other three, I layered on plain cardstock.  I stamped a sentiment from one of the new stamp sets, Chillin Frenchies.  I then adhered them to a card with rounded corners.  Here's a close up...
The second one, I used two of the rounded rectangle "frames" and off centered both of the rectangles...
I layered both of the colored rectangles and added a die cut "thanks", adding a stamped sentiment on black cardstock and white embossed.  Here's a close up...
Hope you will check out the new release over at Simon...it has amazing new stamps and dies that  are FULL of celebration!!
Thanks for visiting me today!! Hugs!! Lisa

Tuesday, May 14, 2019

Comfort and Prayers

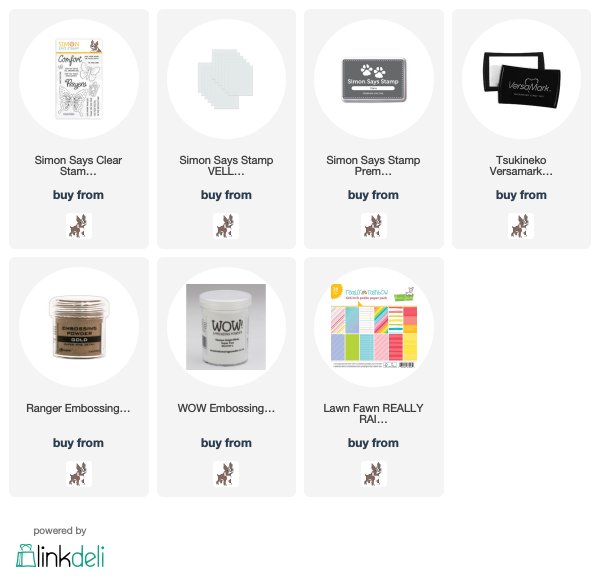
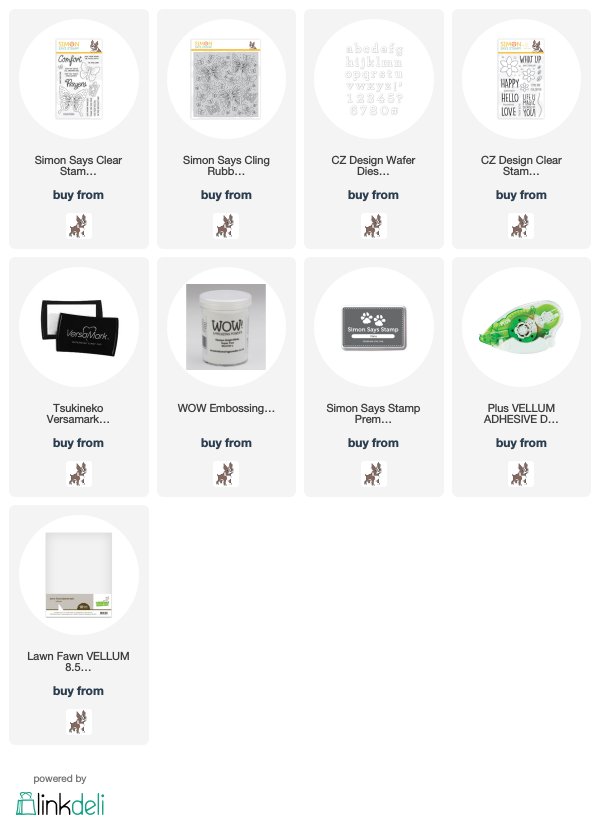
I used the Simon Says Stamp Comfort and Prayers stamp set to make two sympathy cards...
This first one was inspired by a card I made EIGHT YEARS ago!  My sister found the card while cleaning my mom's house(I gave my mom a lot of my cards back in the day), and my sister decided to use it!  I was freaking out a bit as it was EIGHT YEARS OLD!  I STILL liked it!!  SOME cards ARE timeless. She also sent me a picture and...I found it on my blog and you can see it HERE...Iwas INSPIRED!!
 I put all the five sentiment stamps I used onto one acrylic block.  I stamped the sentiments onto vellum with versamark and gold embossed.  I wrapped the vellum over three butterflies stamped onto the card panel with dark gray ink.  I scored three lines on each side of the butterflies and sentiments.  Here's a close up...
 The second one just like the first with the sentiments, this time embossed with white powder...
 I also added the tiny butterfly to the top and bottom of the sentiments.  I adhered the vellum panel over some rainbow patterned paper.  I added a piece of black cardstock under the stamped and raised panel for definition.  Here's a close up...
Simply done sympathy...when we need these kind of cards...simply done is sometimes just the right thing!
Thanks for visiting me today!! Hugs!! Lisa

Wednesday, May 8, 2019

Dahlia Heart Thanks

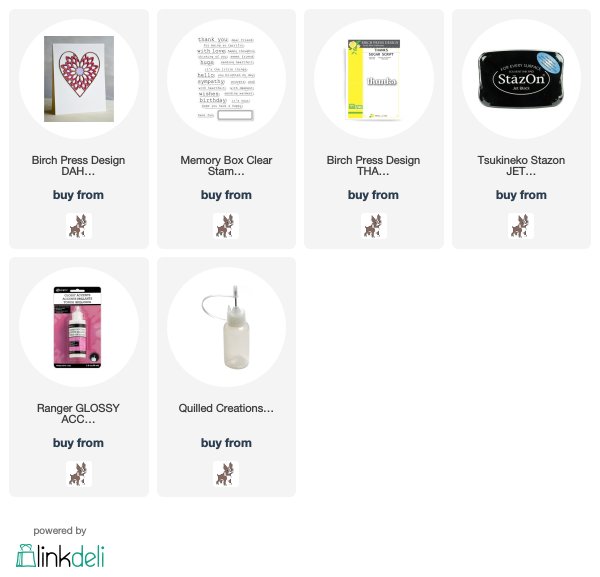
I used the beautiful new Birch Press Dahlia Heart Layer dies to make a thank you card...
 The Birch Press layered dies are SOOO amazing...three layers that compliment each other...how cool is that?!    I die cut all three layers, A, B, and C, in white and adhered them together.   I embossed the dark pink card panel with Layer A, then die cut three different shades of pink cardstock with A, as well.  I adhered the pieces from the three shades in a layered effect, the outer petals, dark, the next row lighter, then the third inner row of petals, the lightest pink.  I then adhered the white layered flower/heart over the embossed panel with adhered pieces.  I added a layered Birch Press "thanks" and stamped sentiment from the Memory Box Big and Little Words stamp set.

Thanks for visiting me today!! Hugs!! Lisa

Tuesday, May 7, 2019

Butterfly Birthday

I used some butterfly stamps and letter dies from Simon Says Stamp's latest release, Blossoms and Butterflies, and made a birthday card...
 I used the Outline Butterflies background stamp and stamped in a dark gray.  I then used strips in the color of a  rainbow, and adhered them to some paper.  I then stamped the pretty butterfly from the Comfort and Prayers stamp set on vellum with versamark and white embossed.  I adhered the piece of vellum over the strips of cardstock and hand cut around the butterfly.  I loved doing it this way, as it would have been hard to stamp and white emboss the strips with all the possibilities of white powder getting in places it shouldn't have, then the added softness that the vellum gives being over the colored paper...I really liked it.  I liked it so much, that I die cut the Archie Junior Solid letter dies for "happy" from the same colored cardstock as the butterfly, and die cut the letters again with the vellum and attached the vellum to the die cut colored letters for the same soft affect.  Here's a close up...
Oh, I had fun with this one!!  
Thanks for visiting me today!! Hugs!! Lisa