Pages

Sunday, September 30, 2018

Ornate Ornaments

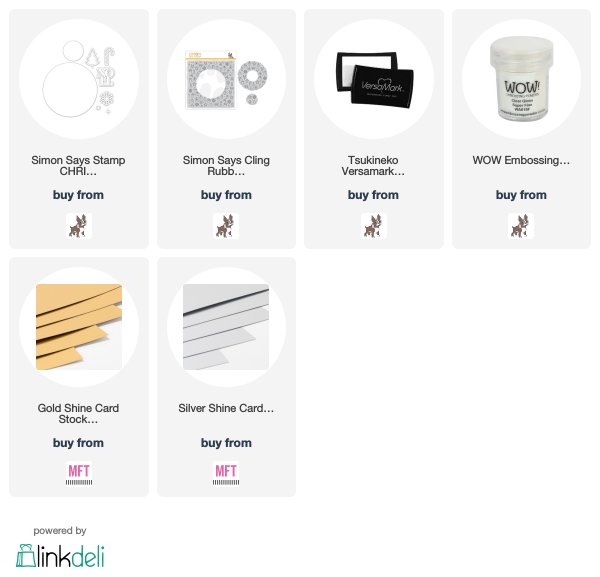
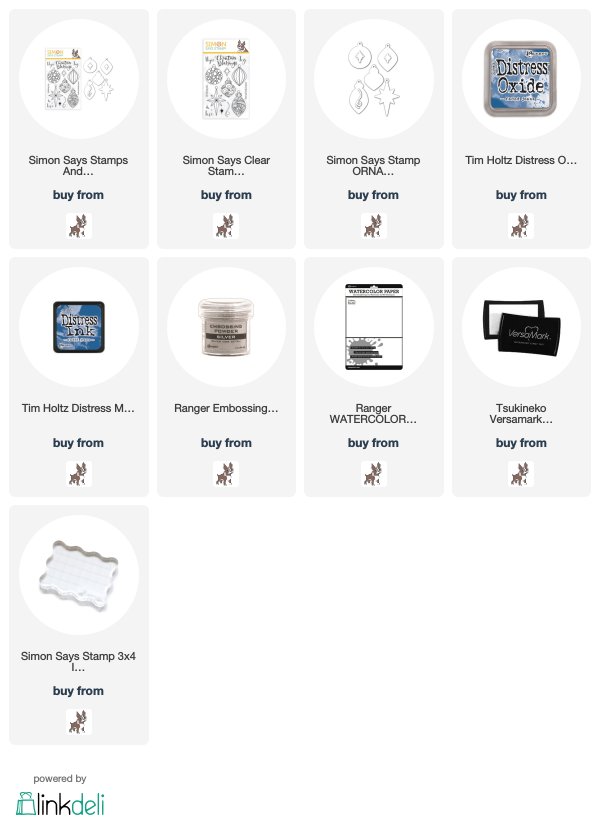
I used the beautiful new Ornate Ornaments stamp/die set by Simon Says Stamp from their latest STAMPtember® release to make a Christmas card...
I stamped all the ornament stamps at one time on vellum with versa mark, and embossed with silver embossing powder.  I die cut them all at once, too...way to speed up the process, and colored the ornaments from behind with sharpie, mark it markers.  I adhered and layered the vellum onto white cardstock, and tied silver cord onto each of the ornament openings.  I brushed some distress inks onto a piece of watercolor paper, let dry, then adhered the ornaments to the paper.  I dotted around the ornaments with one of my Prismacolor markers (a metallic silver).  I used 4 pieces of sentiment stamps from the set to make my sentiment for this card...the sentiments were all stamped together...worked like a DREAM!!!!  Stamped them with versa mark and like the ornaments, embossed with silver.  Here's a close up...
This set is sooooo pretty, a card simply done, but I think looks pretty lovely for Christmas giving!!!  Thanks for visiting me today!! Hugs!! Lisa
Wednesday, September 26, 2018

Octopus Birthday

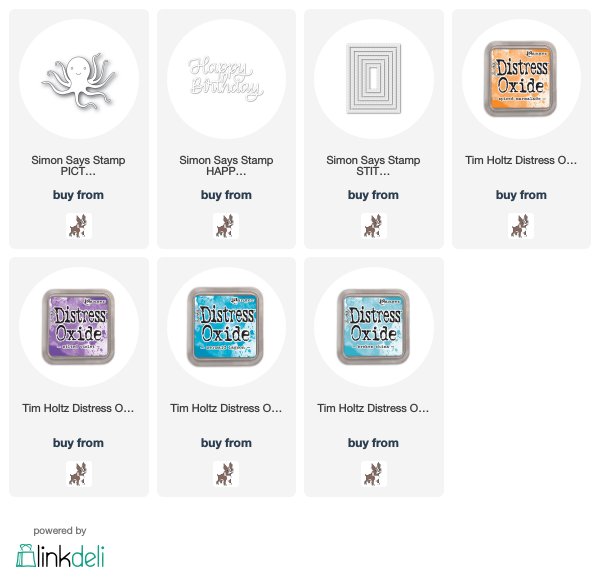
We celebrated one of my son-in-law's birthdays on Sunday...and he LOVES octopi!!  I used the Simon Says Stamp adorable Picture Book Octopus(as adorable as an octopus can be:):)!!), and Happy Birthday Script dies,  to make an under-the-sea birthday card for him...
I used all distress oxide inks to make the water and color the octopus, then die cut the sentiment die.  I layered both and adhered them both to the colored and stitched cut panel.  Here's a close up...
Ok...a quick post, but fun and simple does it:)!!!  Thanks for visiting me today!! Hugs!! Lisa

Thursday, September 20, 2018

Huge Big Thank You in Gold

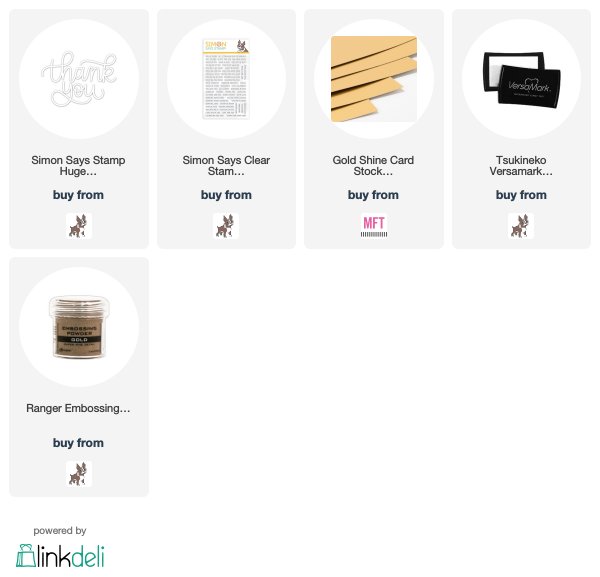
I used the new Simon Says Stamp Huge Big Thank You die from the latest STAMPtember® release, to make a thank you card!...
 This die fits an entire card...it IS wonderfully HUGE:)!!  It is so pretty, too...I opted to die cut it in gold...I thought an elegant thank you would be cool!!  I die cut the sentiment three times in gold, adhered together, and paired the thank you with a sentiment from another of the new stamp sets,  Tiny Words, stamped with versa mark and gold embossed.  The gold dotted paper is from My Mind's Eye(Fancy That....an older 6x6 pad of paper).  I added one of the gold panels that the "thank you" had been die cut from, which shows on the top and bottom of the polka dotted paper panel.  Here's a close up...
Thank you card made easy...with a pretty, card filling thank you die...FUN!!
Thanks for visiting me today!! Hugs!! Lisa

Tuesday, September 18, 2018

Christmas Icons

The Christmas Icons die set by Simon Says Stamp from their STAMPtember® collection is super sweet with lots of possibilities for some wonderful Chrismas cards!  I have made two to share with you today made with this fun set!!....
For this first card, I used the icons with a green, red, white and gold combo.  I die cut the icons,  layered, then adhered them onto layered stitched squares.  I embossed the white square for the candy cane with the little snowflakes so the white didn't "get lost" on the card!  I adhered the four squares onto a card that I had stamped and clear embossed the Simon Center Cut Holiday Icons stamp onto...a subtle background.  Here's a close up...

The second card, I simply die cut the NOEL die a BUNCH of times from metallic cardstock(the red and green are from Hobby Lobby)...
I layered each "NOEL" four times and adhered to a diagonally striped piece of cardstock that was adhered to a card.  I DID round the bottom edges for a softer look.  Here's a close up...
These Christmas Icon dies are so much fun to create with!!  Thanks for visiting me today!! Hugs!! Lisa

Monday, September 17, 2018

True Friend

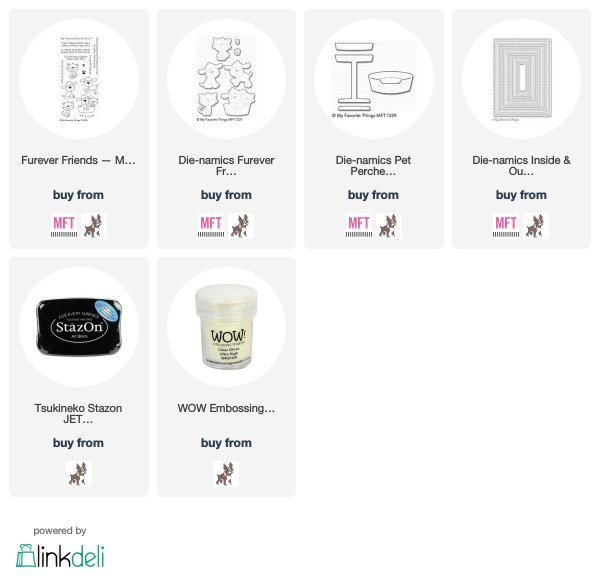
Today, I used the adorable My Favorite Things Forever Friends stamp/die set, using one of the sweet puppy images, and the bed die from the Pet Perches die set to make a clean and simple card for a friend!   I am also going to enter it into the 2018 My Favorite Things Superstar Card Challenge!! FUN!!...
Ok...I know I already said it, but this puppy is ADORABLE!!!!  I stamped, die cut, then colored him with my Prismacolor markers and layered him.  I die cut the bed from a piece of adhesive backed fabric (I've had it for a long time), love the salmon color with the "blonde" of this dog, and LOVED having his bed be fabric:)...then stamped the paw prints stamp from the set onto the die cut bed.  I used the MFT Stamps Inside Out Stitched Rectangle die to partially cut a shorter rectangle to showcase the puppy in his bed.  I added one of the sweet sentiments from the Forever Friends stamp set and done....IN LOVE!!!  I have always wanted a yellow lab, so this is my yellow lab...my daughter Emma says his name is Oscar!  Here's a close up of Oscar...
This was SO...MUCH...FUN!!!  Thanks for visiting me today!! Hugs!! Lisa

Saturday, September 15, 2018

Simple Thanks x 4

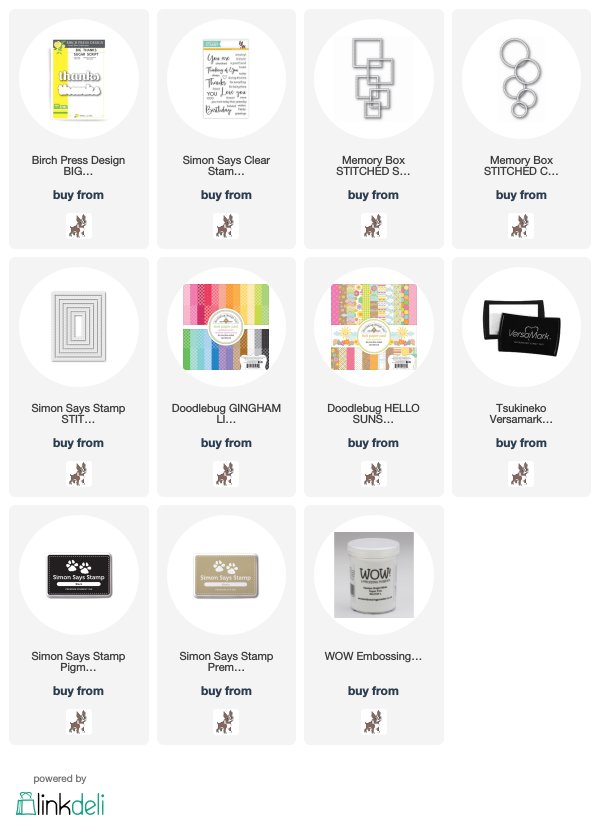
I was in need of some thank you cards...I'm ALWAYS in need of more thank you cards...family, friends, people...they all make life so wonderful!!  I pulled out a Birch Press Big Thanks sentiment dies that I had gotten a while ago, and made FOUR simply done thank you cards...
This die is WONDERFUL as a stand alone...nothing extra necessary except maybe a small additional sentiment to finish the "thanks".  I love the size as well as the font of this die( and the other Birch Press Sugar Script sentiment dies...I have a bunch of them...hope to get to use them all soon!!)
This first one I cut strips of gingham paper, adhered to a thin piece of cardstock, and die cut the "thanks" from the rainbow of colors.  I layered the die cut, and combined it with a Simon Says Stamp sentiment stamp, and adhered to a stitched panel.  I layered the stitched panel, as well.  Here's a close up...

The second one, I used the background for the "thanks" from patterned paper, and adhered it to the panel it was die cut from...
 I, again, used the small sentiment from Simon, this time stamping on kraft cardstock and cutting out. Here's a close up...

The third one, I used the "thanks" at the bottom of a card in which I used circle and square stitched dies to emboss design and texture on the card...
 I used the Memory Box stitched squares and circles for my embossing.  I layered the plain card stock "thanks" and adhered to the bottom of the card panel.  Here's a close up...

The last one, I die cut FROM the panel, layering below the panel about 3 times...the patterned paper showing from below...
 I again, used the Simon sentiment below the "thanks".  Here's a closeup...
Ok...simple fun!!  So sweet how a sentiment can and does say it all, but there are so many ways to make that one sentiment look so different whether by paper, placement or technique...FUN!!!
Thanks for visiting me today!! Hugs!! Lisa
Friday, September 14, 2018

Don't Stop Believin'...

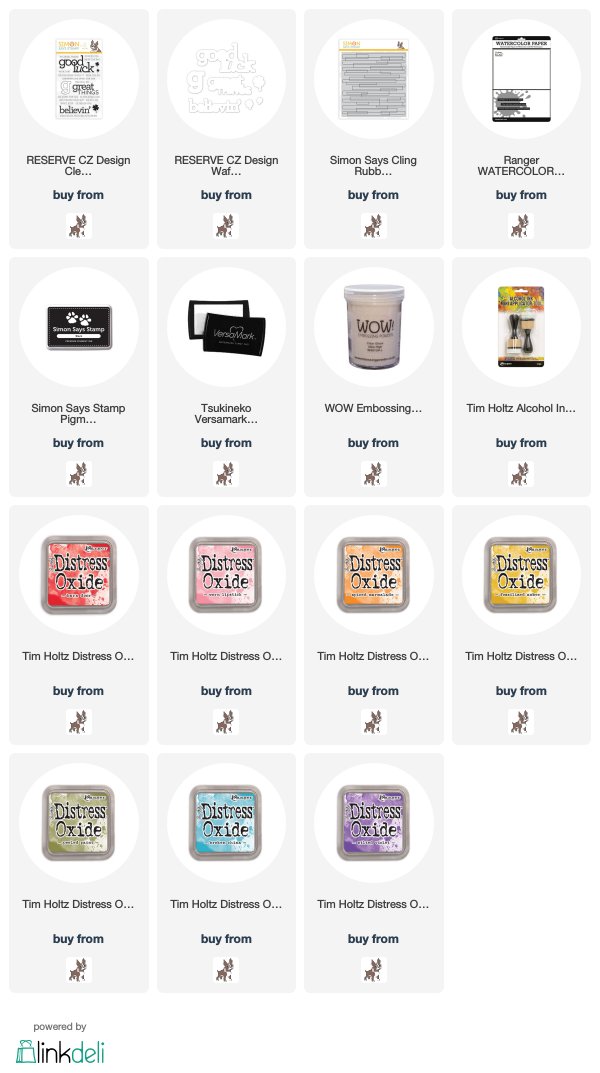
I LOVE the new Simon Says Stamp Great Things stamp/die set!!  The sentiment stamp set is chock full of encouraging sentiments, and the coordinating die set makes this set even more fun, as the dies help you to give real "life" to the wonderful sentiments!!  I wonder if some of you may recognize this sentiment(lyric)...
I combined the song lyric/sentiment with a rainbow of color on the stamped, cool, Plank background stamp, also from Simon's latest release, STAMPtember®!!  Stamped the background, clear embossed, and swiped color onto the watercolor cardstock.  I stamped, die cut and layered the sentiments and adhered to the colored panel.  Here's a close up...
Don't stop believin'...really...hold on!!!  Thanks for visiting me today!! Hugs!! Lisa

Wednesday, September 5, 2018

Beautiful Flowers 2

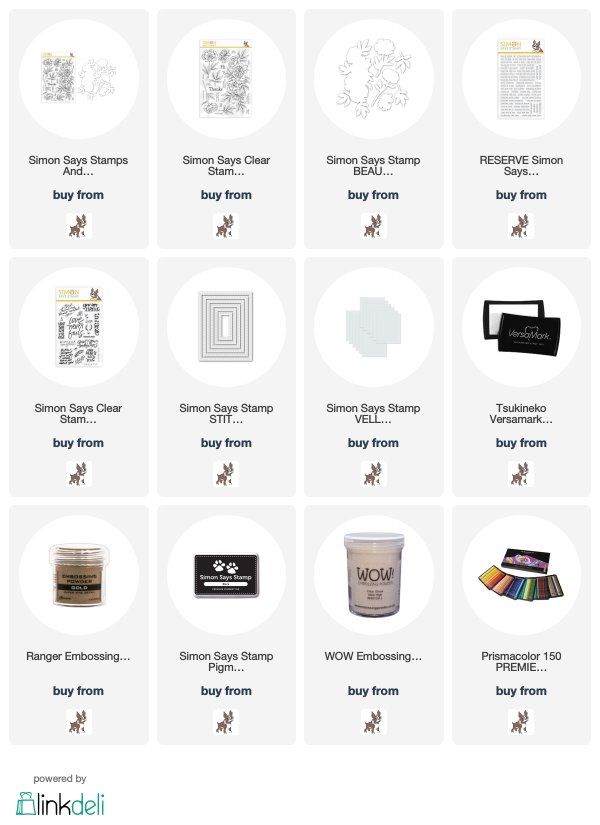
The new Simon Says Stamp Beautiful Flowers 2, from the new STAMPtember® release is SO beautiful!!  I used one of the flowers and a couple of the leaves to make three cards to share with you today...
The first one is colored with Prismacolor pencils, layered and adhered to a stitched panel stamped with 2 of the sentiments.  This flower needs no extas, it is beautiful all...by...itself!!  
 Here's a close up...

The second one, stamped, embossed, and colored with Prismacolor markers...
I layered the flower and the stitched window and used a sentiment from the new Tiny Words stamp set.  Here's a close up...

The third one, I stamped the leaves with Versamark, stamped on vellum, and gold embossed...
I also stamped a sentiment from the new Spiritual Sentiments stamp set.   I colored from behind the vellum, and  adhered the whole panel to the card.  I added some gold dots with a Prismacolor gold pen from my marker set.  I added some braided gold thread.  Here's a close up...
Truly beautiful flowers....and sheer happiness to put them on paper!!   Thanks for visiting me today!! Hugs!! Lisa

Sunday, September 2, 2018

STAMPtember® Party!!


YAY..it's STAMPtember® over at Simon Says Stamp!!  STAMPtember® is a month long celebration of stamping!!  There is an AMAZING new collection of stamps, dies, stencils and stamping accessories over at the Simon store, and the Simon Blog will be celebrating with different events throughout the month of September...you HAVE to check it out!!  
TODAY, Simon is hosting a STAMPtember® PARTY!! A whole lot of artists are celebrating the beginning of this new release and the month long event with a STAMPtember® Party!  Make sure you check out the Simon Blog for all the details as you join me at the party, for a list of all the artists who will also be at the party!! 
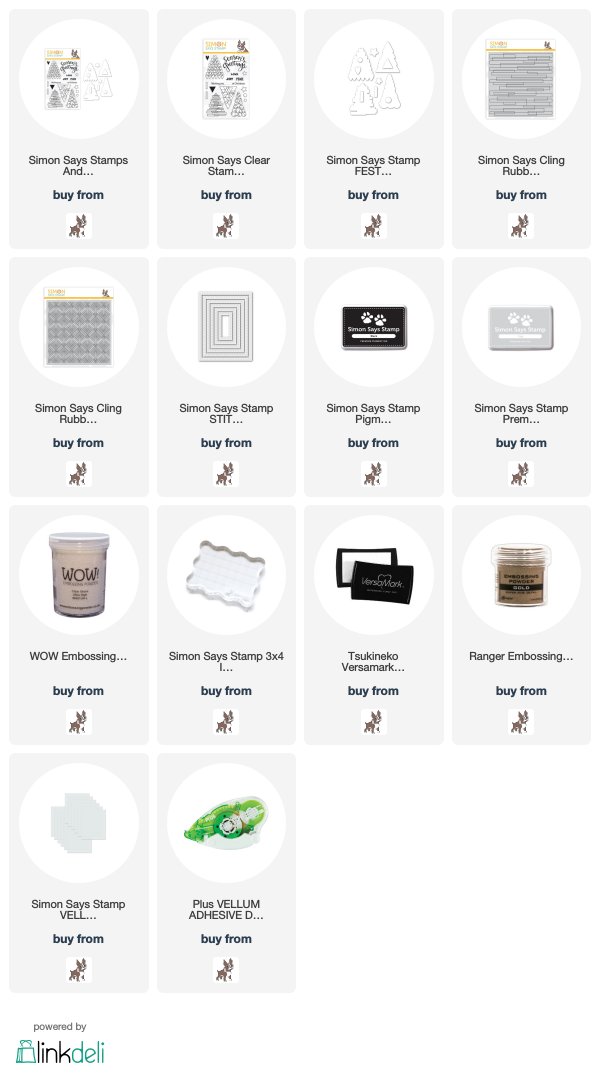
I have used one of the fun and pretty, new Christmas stamp/die sets, Festive Trees (Christmas is fast approaching!), to make a few cards to share with you. I love simplicity, especially at Christmas, and these trees are simply and wonderfully enough for a Christmas card...
This set has some really cool, graphic Christmas trees...such fun!!!!  I used the plank tree from the set, colored in shades of green, added the new Plank Background stamp, and one of the sentiments from the set.  I colored the star for the top of the tree with my Prismacolor markers gold pen that came with my markers.  Here's a close up...

Then, I used the triangle tree, colored in, what else, RAINBOW!!  
I used sharpie markers for the tree, and stamped, and cut the rectangle from the card panel that I had stamped the Simon Deco Diamonds onto.  This time the star AND the base were colored gold.  Here's a close up... 

And then a card done with the heart tree...
I versamarked on vellum and gold embossed.  I colored the hearts from the back of the stamped vellum and adhered to a layered tree.  I added the sentiment with the LOVE put into the middle, and embossed with gold powder.  Here's a close up...
I had so much fun making these cards!!!  
As the Stamptember heading above says, you can use the code AUTF39,  and receive free Fall dies with any purchase!!  I hope you will check out the Simon Blog for more details on today's party and for the month long events to follow!!  SUCH FUN, I can hardly stand it!!
Thanks for visiting me today!! Hugs!! Lisa
Saturday, September 1, 2018

Happy STAMPTEMBER®!!

Today there is a HUGE release over at Simon Says Stamp...STAMPTEMBER®!!  It is SUCH a huge release and hugely celebrated every year, that they have a registered trademark on the name!!   I am SO excited about this next month of projects, the array of stamps, dies, and stencils is AMAZING!!  They have even come out with a metal adaptor plate...YAY!!!!!!  Make sure you check out the Simon Blog for details about the fun things they'll be doing this month, along with the surprise stamp sets they'll be releasing throughout the month....SOOOO...MUCH...FUN!!!!  
I have used one of the new stamp/die combo sets, and made a couple sweet birthday cards to celebrate!!!....
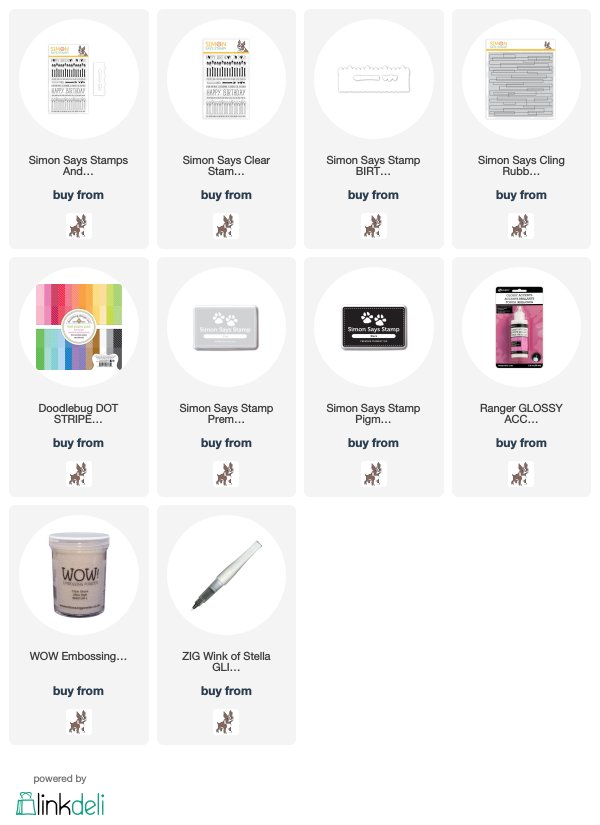
 This set of stamps with coordinating dies,  is Birthday Borders and what cute, sweet, fun set of stamps/dies!!  I stamped the new Simon Plank background stamp in Fog colored ink.  I stamped the sentiment on the card, then glossy accented the hearts.  I stamped, die cut, and colored the candles, adding Wink of Stella brush marker to the flames for some glitter.  Here's a close up...
The second one, I did a simpler, yet more complicated version of the first, with the other large Happy Birthday sentiment stamp from the set...
I say more complicated, because in this one, I wanted "design" on the candles, so I decided to paper piece the candles with Doodlebug rainbow polka dot paper.   I stamped then hand cut and adhered each candle and layered the candles like the first.  It was FUN...REALLY!!!!!  Here's a close up...
Seriously...FUN!!!!   Hope you will check out the fun over at Simon, and hope I'll see you tomorrow, for a fun event that celebrates this release with a whole bunch of amazing artists...cannot wait!!!!  Thanks for visiting me today!! Hugs!! Lisa