Pages

Monday, July 30, 2018

Love and Sunshine...With an Ornate Pop!

 A very cool set of dies by Simon Says Stamp just came out with their new Friendly Frolic release, Ornate Background dies!!  I have loved having the Ornate Background stamp, but this takes that stamp to a whole new level.   I made a simply colored card to show you the pop-up effect of these new dies...
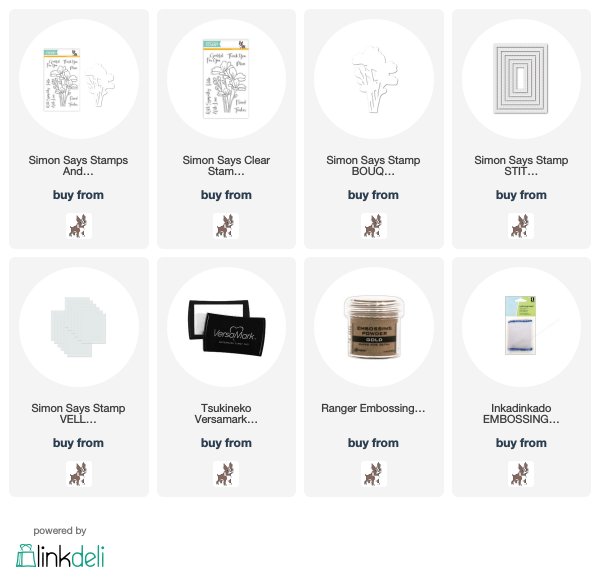
The three dies in the set all match three different flowers on the stamp.   I used the biggest and my favorite flower on the stamp to die cut, and after stamping, die cut the flower.  What is cool about these dies is that they don't totally cut the image...they only partially die cut the image.  I colored the flower with my Prismacolor markers, making it the sole colored flower on the card, and used pop up dots underneath for a definite lift.  I added a die cut and layered sentiment(i swiped the two yellow prismacolor markers on white cardstock to die cut from... so the die cut sentiment has a soft ombre feel:)!), as well as a stamped sentiment on cardstock.  Here's a close up...
Such fun...who'd have thought...a die for a background stamp...how cool is this??!!  Thanks for visiting me today!! Hugs!! Lisa
Sunday, July 29, 2018

Bouquets of Sympathy

This last week, I had need of several sympathy cards...the hardest card to make or to send.  I had been a part of yesterday's Simon Says Stamp blog hop, and I used a new set of stamps on vellum with gold embossing.  I loved the look of the gold and colored flowers, and the ease of actually making and putting the cards together!  So...I decided to try it with another set of stamps/dies.  I made four sympathy cards, simply changing out the color of the flowers.  The cards are simply done, but they convey my heart.
The first one done in a melon color...
I die cut the embossed image, and colored with the markers on the back of the embossed vellum.  I then adhered the die cut to a layered set of three floral die cuts that were cut from white cardstock.  I adhered the flowers to a die cut stitched and layered rectangle, that had a sentiment stamped on it, also embossed in gold.  Here's a close up... 

The next with the flowers colored orange...
...and a close up...

The flowers in pink...
...with a close up...

The flowers done in yellow...
...and again, a close up....
This pic shows the back side with all the mark it and sharpie markers I used for these cards:
This pic shows the front side after coloring some of the petals, so you can see what it looks like:
  I am loving gold embossing and coloring on vellum!!  Simply done...and for times like these...an easily created card to express your sympathy, makes life just a little easier. 
Thanks for visiting me today!! Hugs!! Lisa

Saturday, July 28, 2018

Simon Says Stamp Friendly Frolic Release Blog Hop!


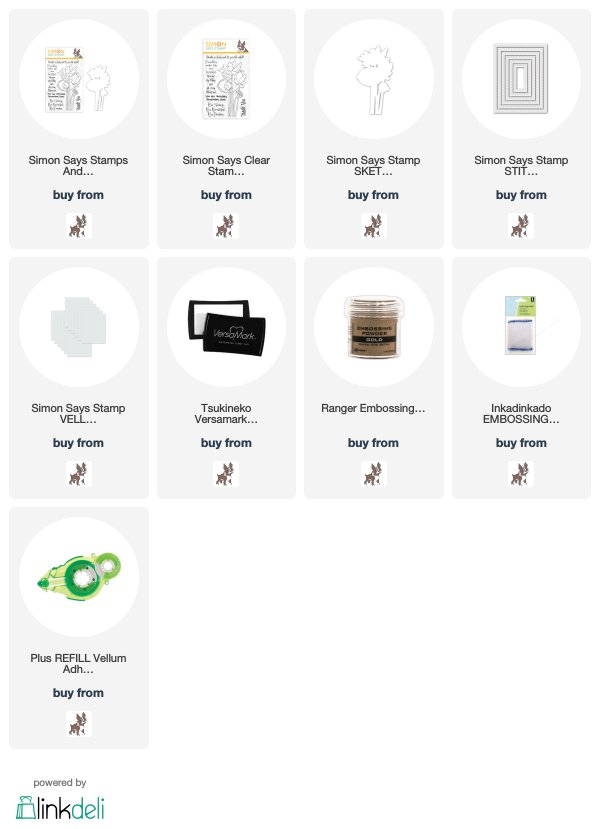
I am so happy to be a part of today's blog hop, celebrating Simon Says Stamp's newest release, Friendly Frolic!!  This release is jam packed with fun, beautiful and cool stamps/dies, along with a few other stamping must haves!!!   I have used one of the beautiful new combo stamp/die sets, Sketch Lotus Flowers, and used this super pretty set THREE different ways!  I'll tell you right now...I LOVE this set!...
On all three cards, I used a heavy weight vellum, gold embossed, and colored the flowers on the back of the vellum with Sharpie and Mark it markers.
 This first one, I die cut the flowers, colored, and layered.  I adhered the die cut vellum onto the white layers with vellum adhesive.  I used one of the sweet sentiments, stamping with versa mark and gold embossing, like the flowers.  Here's a close up...

The second one, I simply used the entire entire panel of vellum as the front panel of the card...
I stamped, embossed and colored the flowers, then adhered the vellum to the card in a couple spots, and tied some very fine gold thread around the top of the card for prettiness and to help secure the vellum to the card. I used another of the beautiful sentiments from the set....LOVE not only this set, but the sentiments!!!  Here's a close up...

The third one, I die cut the card panel with the die, and placed the stamped, embossed and colored piece with the flowers under a layered die cut panel....
This one used yet another of the sentiments from the set.  Here's a close up...
Ok...three different looks with one stamp/die set... I don't know about you, but I think THAT'S sweet!  This set is beautiful, and I truly had SO...MUCH...FUN!!!
My fun is above, yours is below!!
Simon Says Stamp will be generously giving a $25 coupon to one commenter from each and every blog on the hop, simply leave a comment for a chance to win!!  The winners will be chosen and be posted on the Simon Says Stamp Blog this coming Wednesday, so make sure you check the blog to see if you're a winner!
The next stop on the hop is Lea Lawson
 All the participants of today's blog can be found below.  If you get lost, you can head to the  Simon Says Stamp Blog...hope you will check out all the amazing artists' inspiration today!!  

Hope you will check out the release over at Simon, and remember, there is a free mystery gift with every order...use the code FREEG...and remember, it's for a limited time only!!

Thanks for visiting me today!! Hugs!! Lisa

Friday, July 27, 2018

Leafy Frame with Distress Oxide Inks

I used the pretty new Simon Says Stamp Leafy Frame from the new Friendly Frolic release,  to make a couple cards...
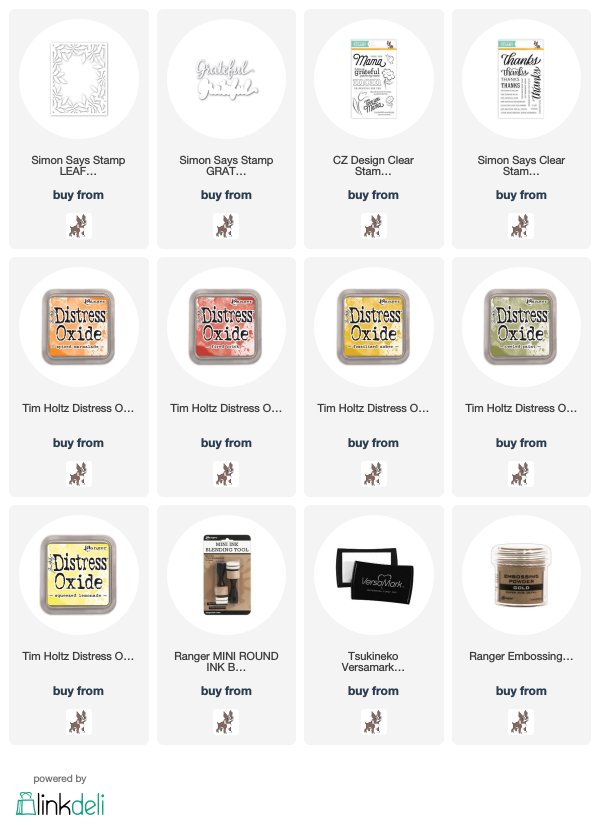
I sponged a number of Distress Oxide inks(spiced marmalade, fired brick, fossilized amber, peeled paint) onto a piece of watercolor paper.  I then die cut the pretty new Simon Leafy Frame die from the inked paper.  I added another layer underneath the inked die cut, die cutting that one with white cardstock.  I die cut the background of the Simon Grateful sentiment  die, layered , and die cut the actual sentiment from white cardstock, and layered it, as well.  I added a piece of sentiment stamp from the Love You Mama stamp set.  Here's a close up
The second one, I simply used the Peeled Paint and Squeezed Lemonade distress inks onto another piece of watercolor paper.   I die cut, layered and spritzed with a bit of water.  I added a sentiment in gold.
Here's a close up...
Simply done...so sweet, that I could use a beautiful die...so pretty as a stand alone, and with a sentiment, can make a beautiful card!!  What fun!!  Thanks for visiting me today!! Hugs!! Lisa

Thursday, July 26, 2018

Folk Dance Die Fun!

I used the super pretty new Folk Dance die from Simon Says Stamp's newest release, Friendly Frolic, which just came out today!!  I think this die is so stinkin pretty!!!  I was having so much fun, I  used it FOUR different ways...showing you just some of the wonderful versatility of this die...
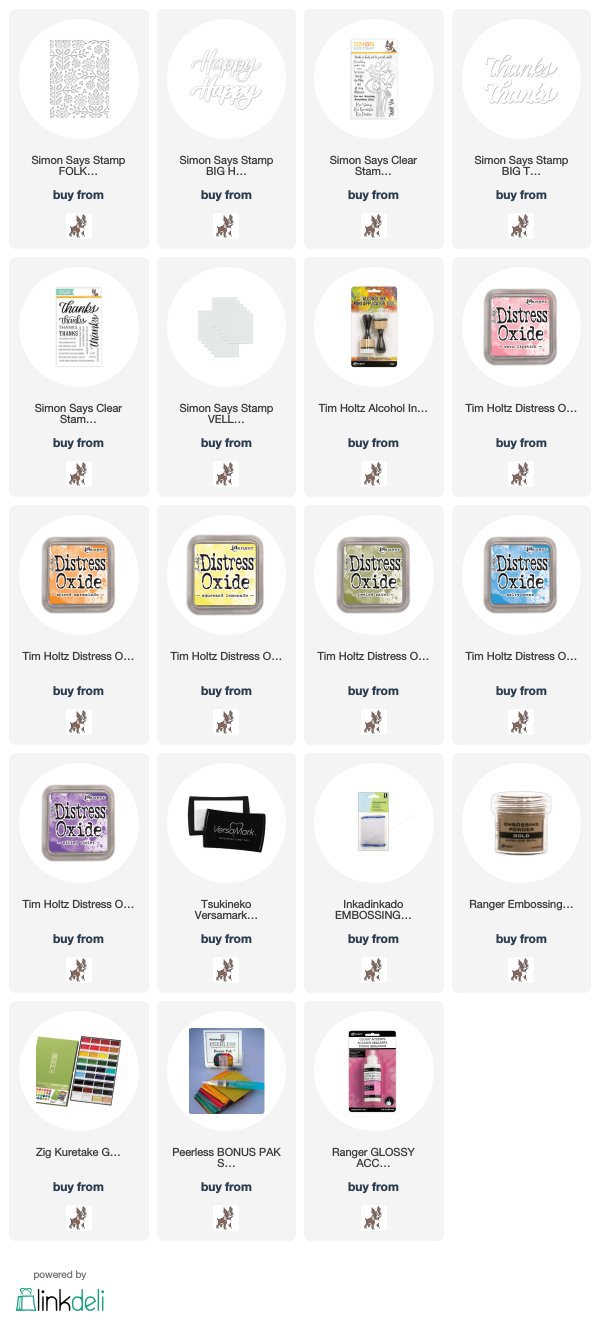
This first card, I die cut the Folk Dance die a couple times with white cardstock, and adhered, together.  I used a piece of watercolor paper and sponged seven colors of Distress Oxide Inks from top to bottom in rainbow fashion.  I then adhered that to the white layered panel and added the sweet new "Happy" die to the front of the card, along with a piece of sentiment from Simon's Big Thanks Words stamp set.  Here's a close up...
The  second one, I used a piece of green cardstock behind layered black die cuts.  I added die cut blue and yellow flower pieces, adhering into the black die cut panel, and opposite middles for the yellow and blue flowers...
I added a die cut Simon Says Stamp Thanks die cut sentiment in the same color as the flowers.  Here's a close up...
The third one is super simply done with a single piece of pretty cardstock underneath the layered die cuts....
I added a vellum panel with a gold embossed sentiment from the Simon Big Thanks Words stamp set.  Here's a close up...
The fourth one, I watercolored on an embossed piece of watercolor paper (embossing to be able to see the flower and leaves real well while painting)...
I used a more intense paint of the same green, on the green dots.  I added a beautiful sentiment from the new Simon Says Stamp set, Sketch Lotus Flowers, stamped with versamark on vellum and gold embossed.  Here's a close up... 
  This die makes my heart happy...what a pretty and super fun full card die!!  Hope you will check out the new release over at Simon...it's wonderful!!  Thanks for visiting me today!! Hugs!! Lisa

Tuesday, July 24, 2018

Hibiscus Love

I used the beautiful new Simon Says Stamp Hibiscus Frame and made a thank you card...
Ok...I LOVE this flower die!!  I googled the hibiscus flower and found one that I especially thought was pretty...a pink flower with an orange center....so....I used my Distress Oxide inks, sponged the two colors on some watercolor paper, as well as the leaf in Peeled Paint green.  I then embossed the flower and cut it out around the outside lines with a scissor.  I adhered it to a layered white die cut...three layers deep including the top, main panel(that had the sentiment already stamped and embossed on it).  I die cut and layered three times, the flower's stamen and adhered to the panel.   Adhered the whole panel to a card.  Here's a close up... 
This flower makes me happy!!  A very fun card to make!!  Thanks for visiting me today!! Hugs!! Lisa

Wednesday, July 18, 2018

Thanks Bunches

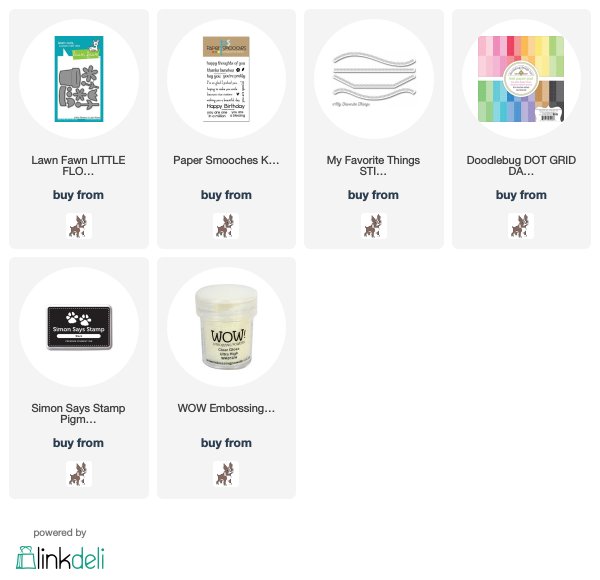
I used a flower die from the sweet Lawn Fawn Little Flowers die set to make a thank you card...ok...REALLY loving the rainbows, of late!!...
I used the larger of the two daisy flowers in the set, and die cut in white, as well as 6 different colored cardstocks.  I layered each flower and added an enamel dot that went along with the color of each flower.  I stamped the Paper Smooches sentiment and clear embossed.  I die cut a curved border, and added a piece of patterned paper below that die cut border.  I adhered each of the flowers to the curved panel and adhered it to a card after adhering the black polka dotted piece.  Here's a close up...
Simply done, but this sweet flower and and a cute sentiment is all you need(the rainbow is pretty sweet, too😊😊!!).  Rainbows make me happy...and who doesn't need more happy??!!  Thanks for visiting me today!! Hugs!! Lisa

Monday, July 16, 2018

Debra Mandala

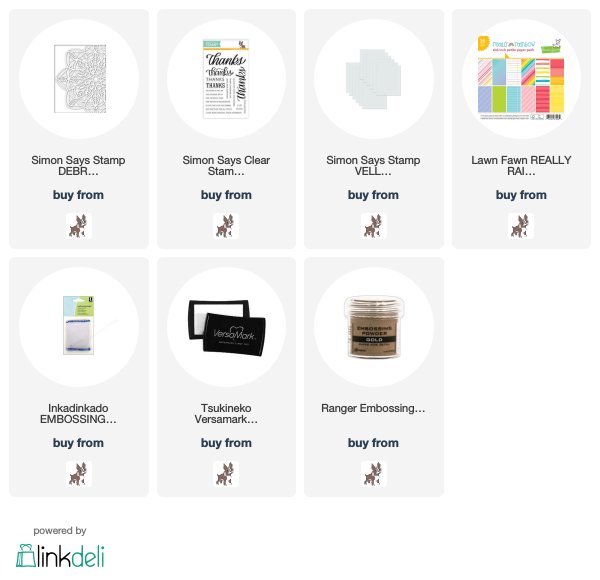
I used the beautiful new Simon Says Stamp Debra die to make a thank you card...
 I die cut and layered the die cut three times.  I adhered it to a piece of Lawn Fawn rainbow paper.  I added gold embossed Simon sentiments on vellum.  Here's a close up...
A beautiful die and the right piece of patterned paper...it's love...and so much fun!!  Thanks for visiting me today!! Hugs!! Lisa

Sunday, July 15, 2018

Rainbow Tulips

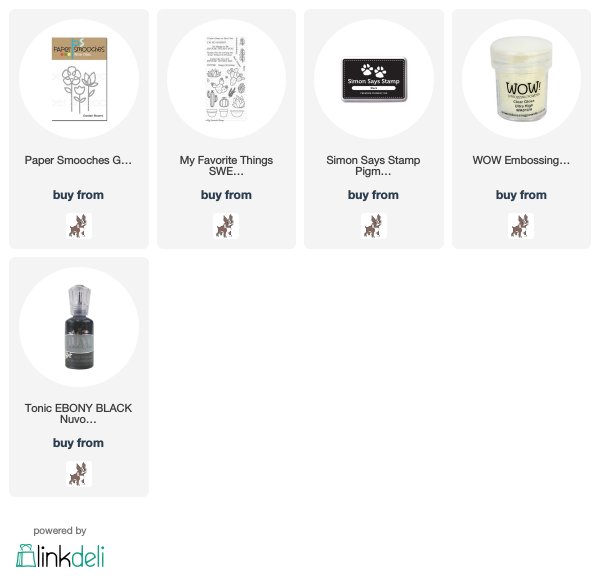
I had purchased the Paper Smooches Garden Blooms dies a while back, just pulled them out to play with and made a card...
 I thought these flower dies were so fun looking!  I've simply used them, today, with only the die cut outline/border.  These flowers can have a variety of looks, depending on what/how many pieces of the flowers you choose to use and how you choose to color them!!  I chose to use 7 different colored pieces of cardstock, die cut and layered the tulips once with white and the top two layers, the color of the flower.
I adhered them to a card that I had stamped a My Favorite Things sentiment onto, as well as some Tonic black crystal drops in between the sentiment.  You might be asking...why THAT sentiment?  Well, even if you weren't asking, here's why:)!  I had to look through MANY birthday sentiments until I found one, this one, that fit 3 across the card perfectly for this design.  They had to fit without running off the card, but had to be long enough to fit below all the flowers, and have no partial sentiments...I had a "look" in mind, and this one was the only "happy birthday" that fit all the requirements:)!  Simple design "looks" simple, but sometimes takes a bit of work, as simple can be complicated!!  Here's a close up...
 Flowers, Rainbows, a birthday, and simple design...aaahhhhh...happiness in my heart!!!  What fun!!!  Thanks for visiting me today!! Hugs!! Lisa

Tuesday, July 10, 2018

Bicycles x 3!

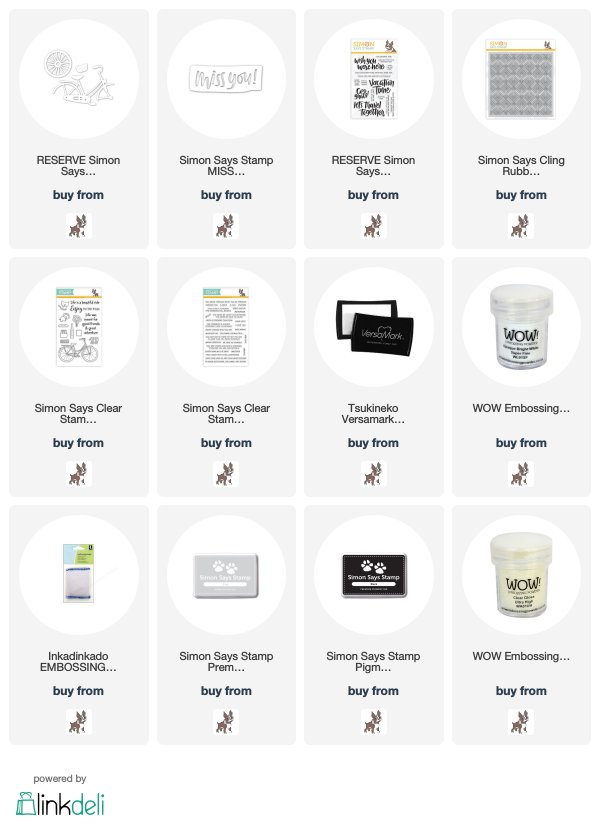
I used the fun new Simon Says Stamp Classic Bicycle die to make three cards...all simply made, with a slightly different look to the bicycles...
This die is so stinkin' cute and fun!!  The first one, I simply die cut the bike, left it all a light blue, and die cut the tires and left them white.  I layered both the bike as well as the tires, and adhered to a card with a sentiment from the Vacation Time stamp set.  I also used the Miss You Block die, die cutting in the same color as the bicycle, and layering!  Here's a close up...

The second one, I did the same as the first, except I colored the tires and spokes...the tires with a black mark it marker, the spokes and a few of the possible metal parts of the bike with my silver Prismacolor marker...
I stamped the Simon Deco Diamonds stamp on the card for a background, and then used the Vacation Time stamp set, again, for the sentiments on my card.  I did used a tiny brad on each of the back wheels, coloring this and the one below, to match the color of the bike.  Here's a close up...

The third one, I adhered strips of colored cardstock together on thinner cardstock and die cut for a rainbow colored bicycle...
I thought the rainbow made for a beautiful bike(you know me and rainbows...I think they are amazing!!!!) and on this one, I left the spokes white, and simply colored the tires.  I used sentiments from two older Simon stamp sets, that I thought perfectly spoke to my pretty bike!!  Here's a close up...
LOVE this cute little 3D bike...SO MUCH FUN!!!!!  
Thanks for visiting me today!! Hugs!! Lisa